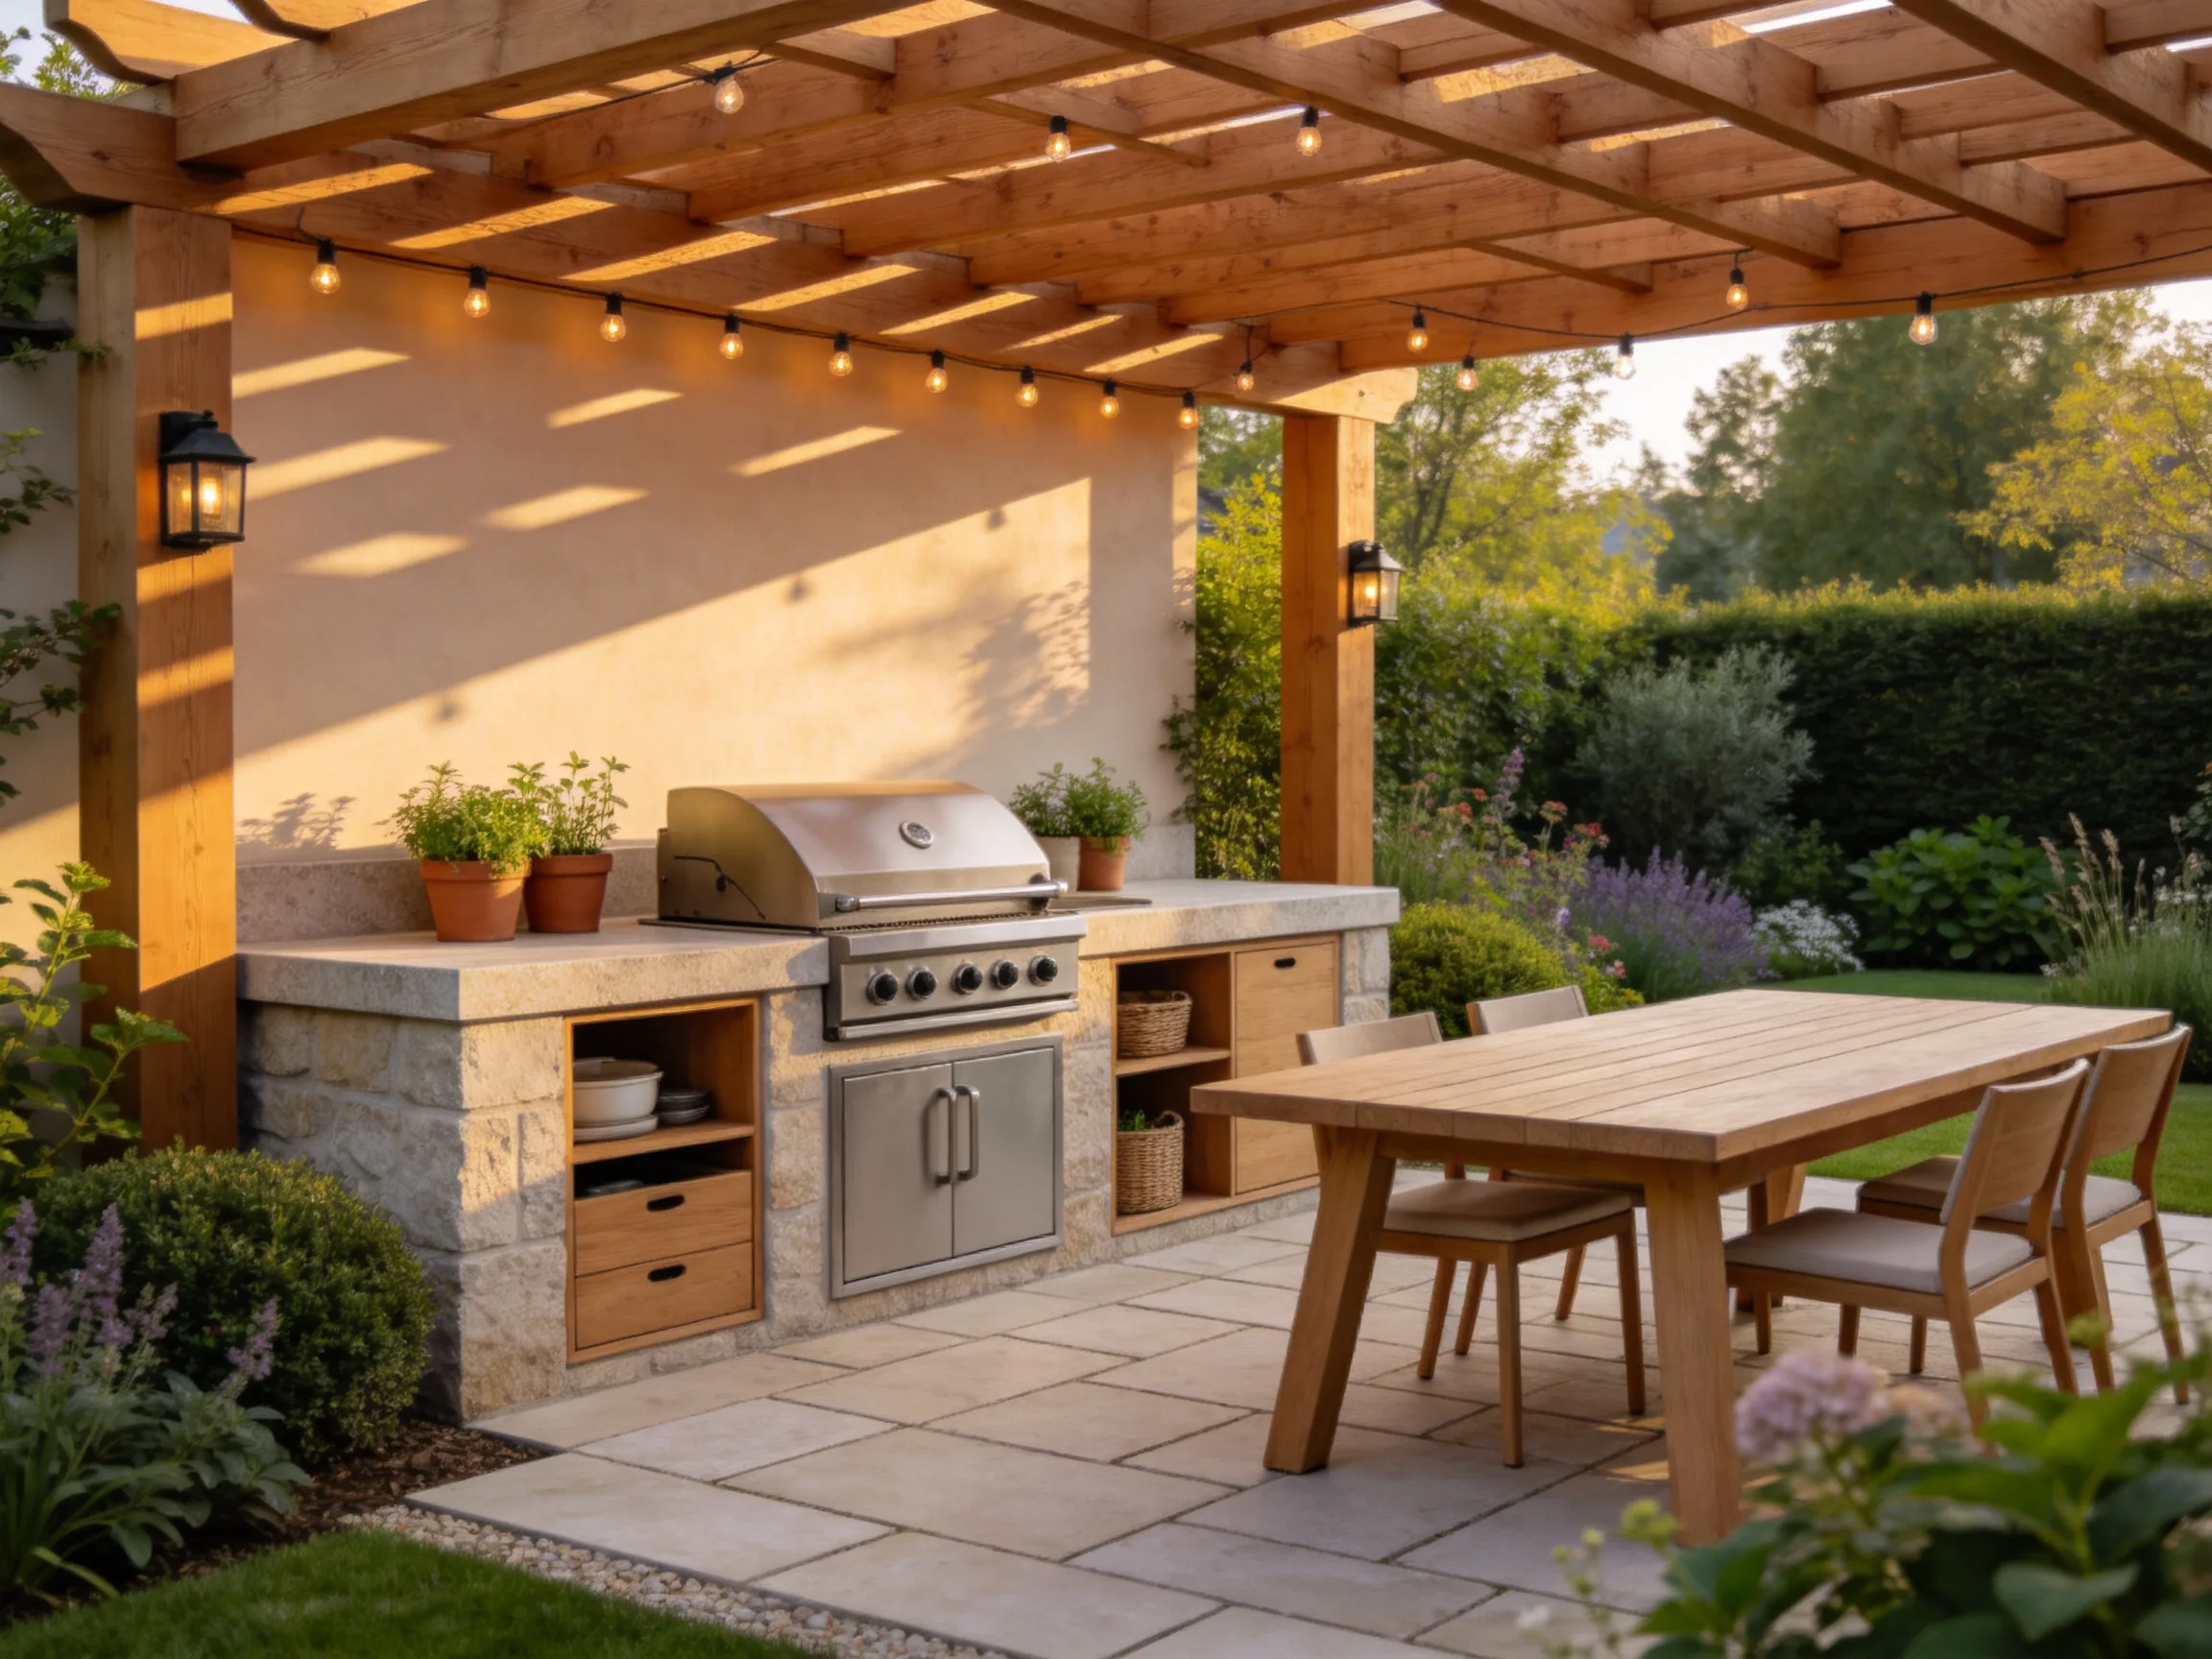
A well-planned BBQ backyard design can turn a basic grill into a comfortable outdoor cooking destination. Combine durable surfaces, organized storage, shade, lighting, seating, and easy-care planting so the area works for quick weeknight meals as well as larger gatherings.
1. Build a Compact Built-In Grill Station
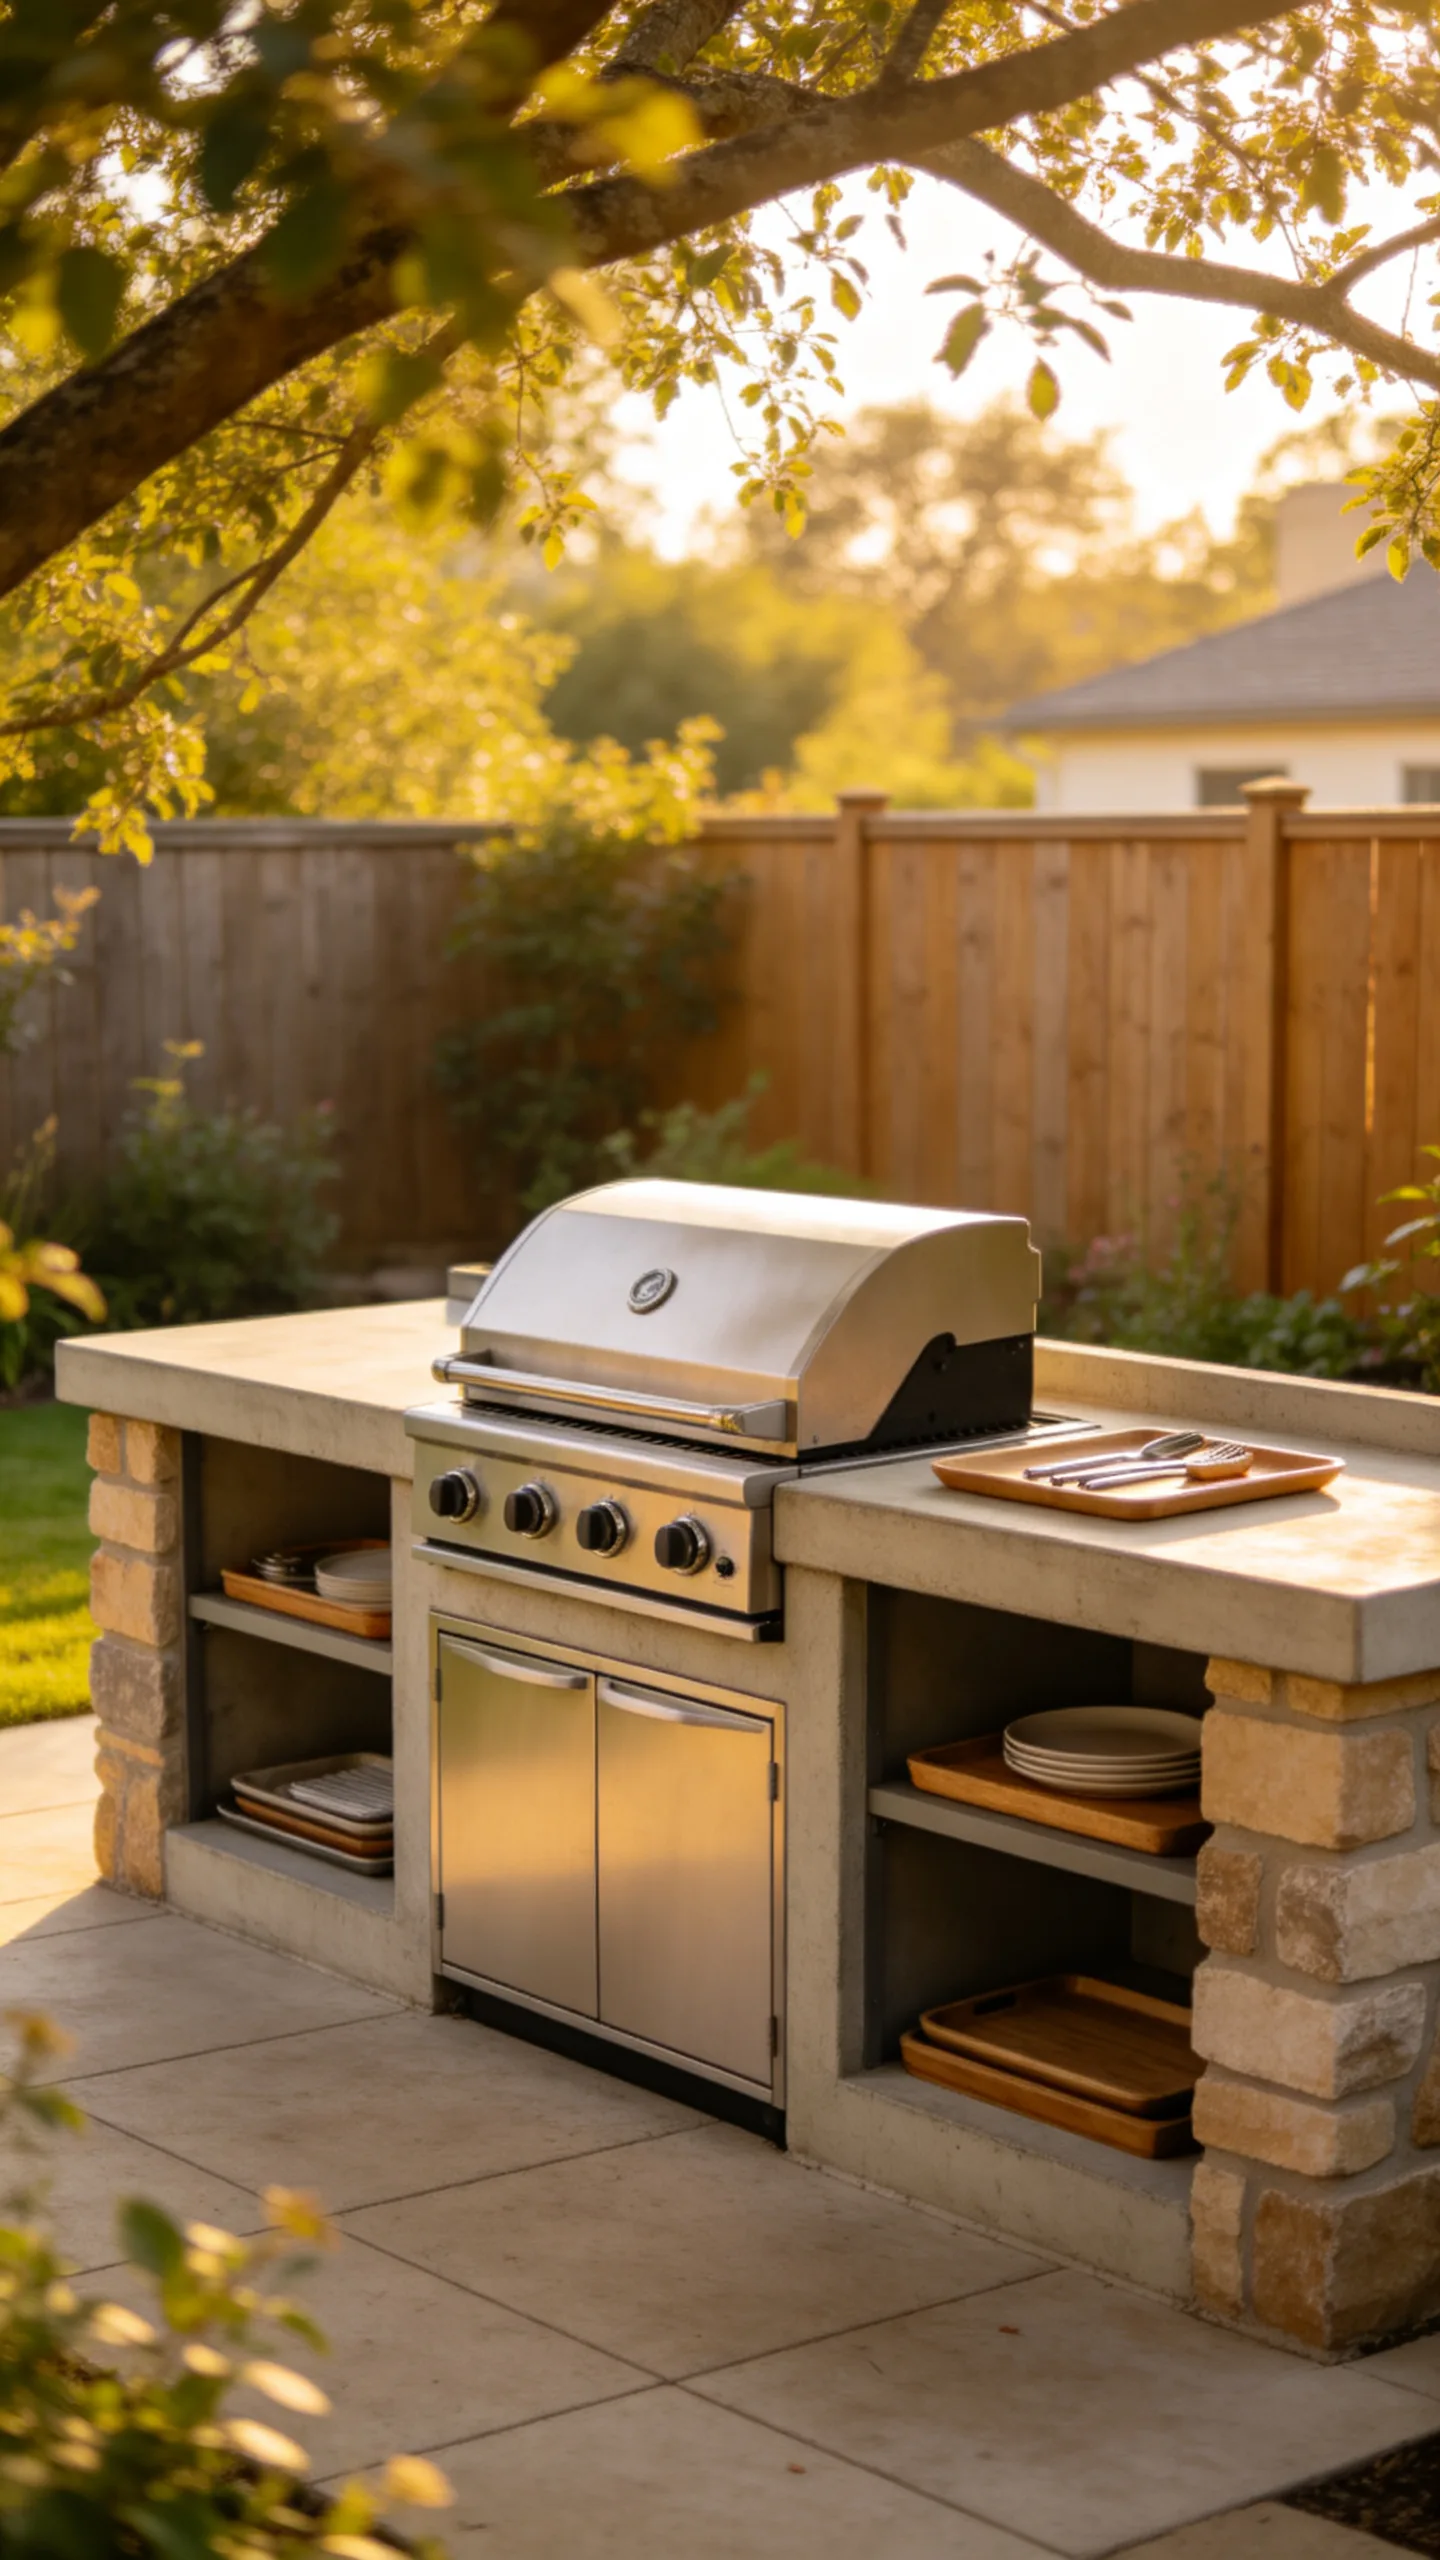
Create a dedicated cooking run with a built-in gas or charcoal grill set into a counter made from concrete, brick, stone, or exterior-rated porcelain tile. Include landing space on both sides of the grill so hot pans and prepared food do not need to rest on a dining table.
Add weatherproof cabinets below for charcoal, utensils, trays, and cleaning supplies. Keep the grill away from fences, overhanging branches, and combustible siding, following the clearance requirements in the grill manufacturer’s instructions.
2. Use a L-Shaped BBQ Counter
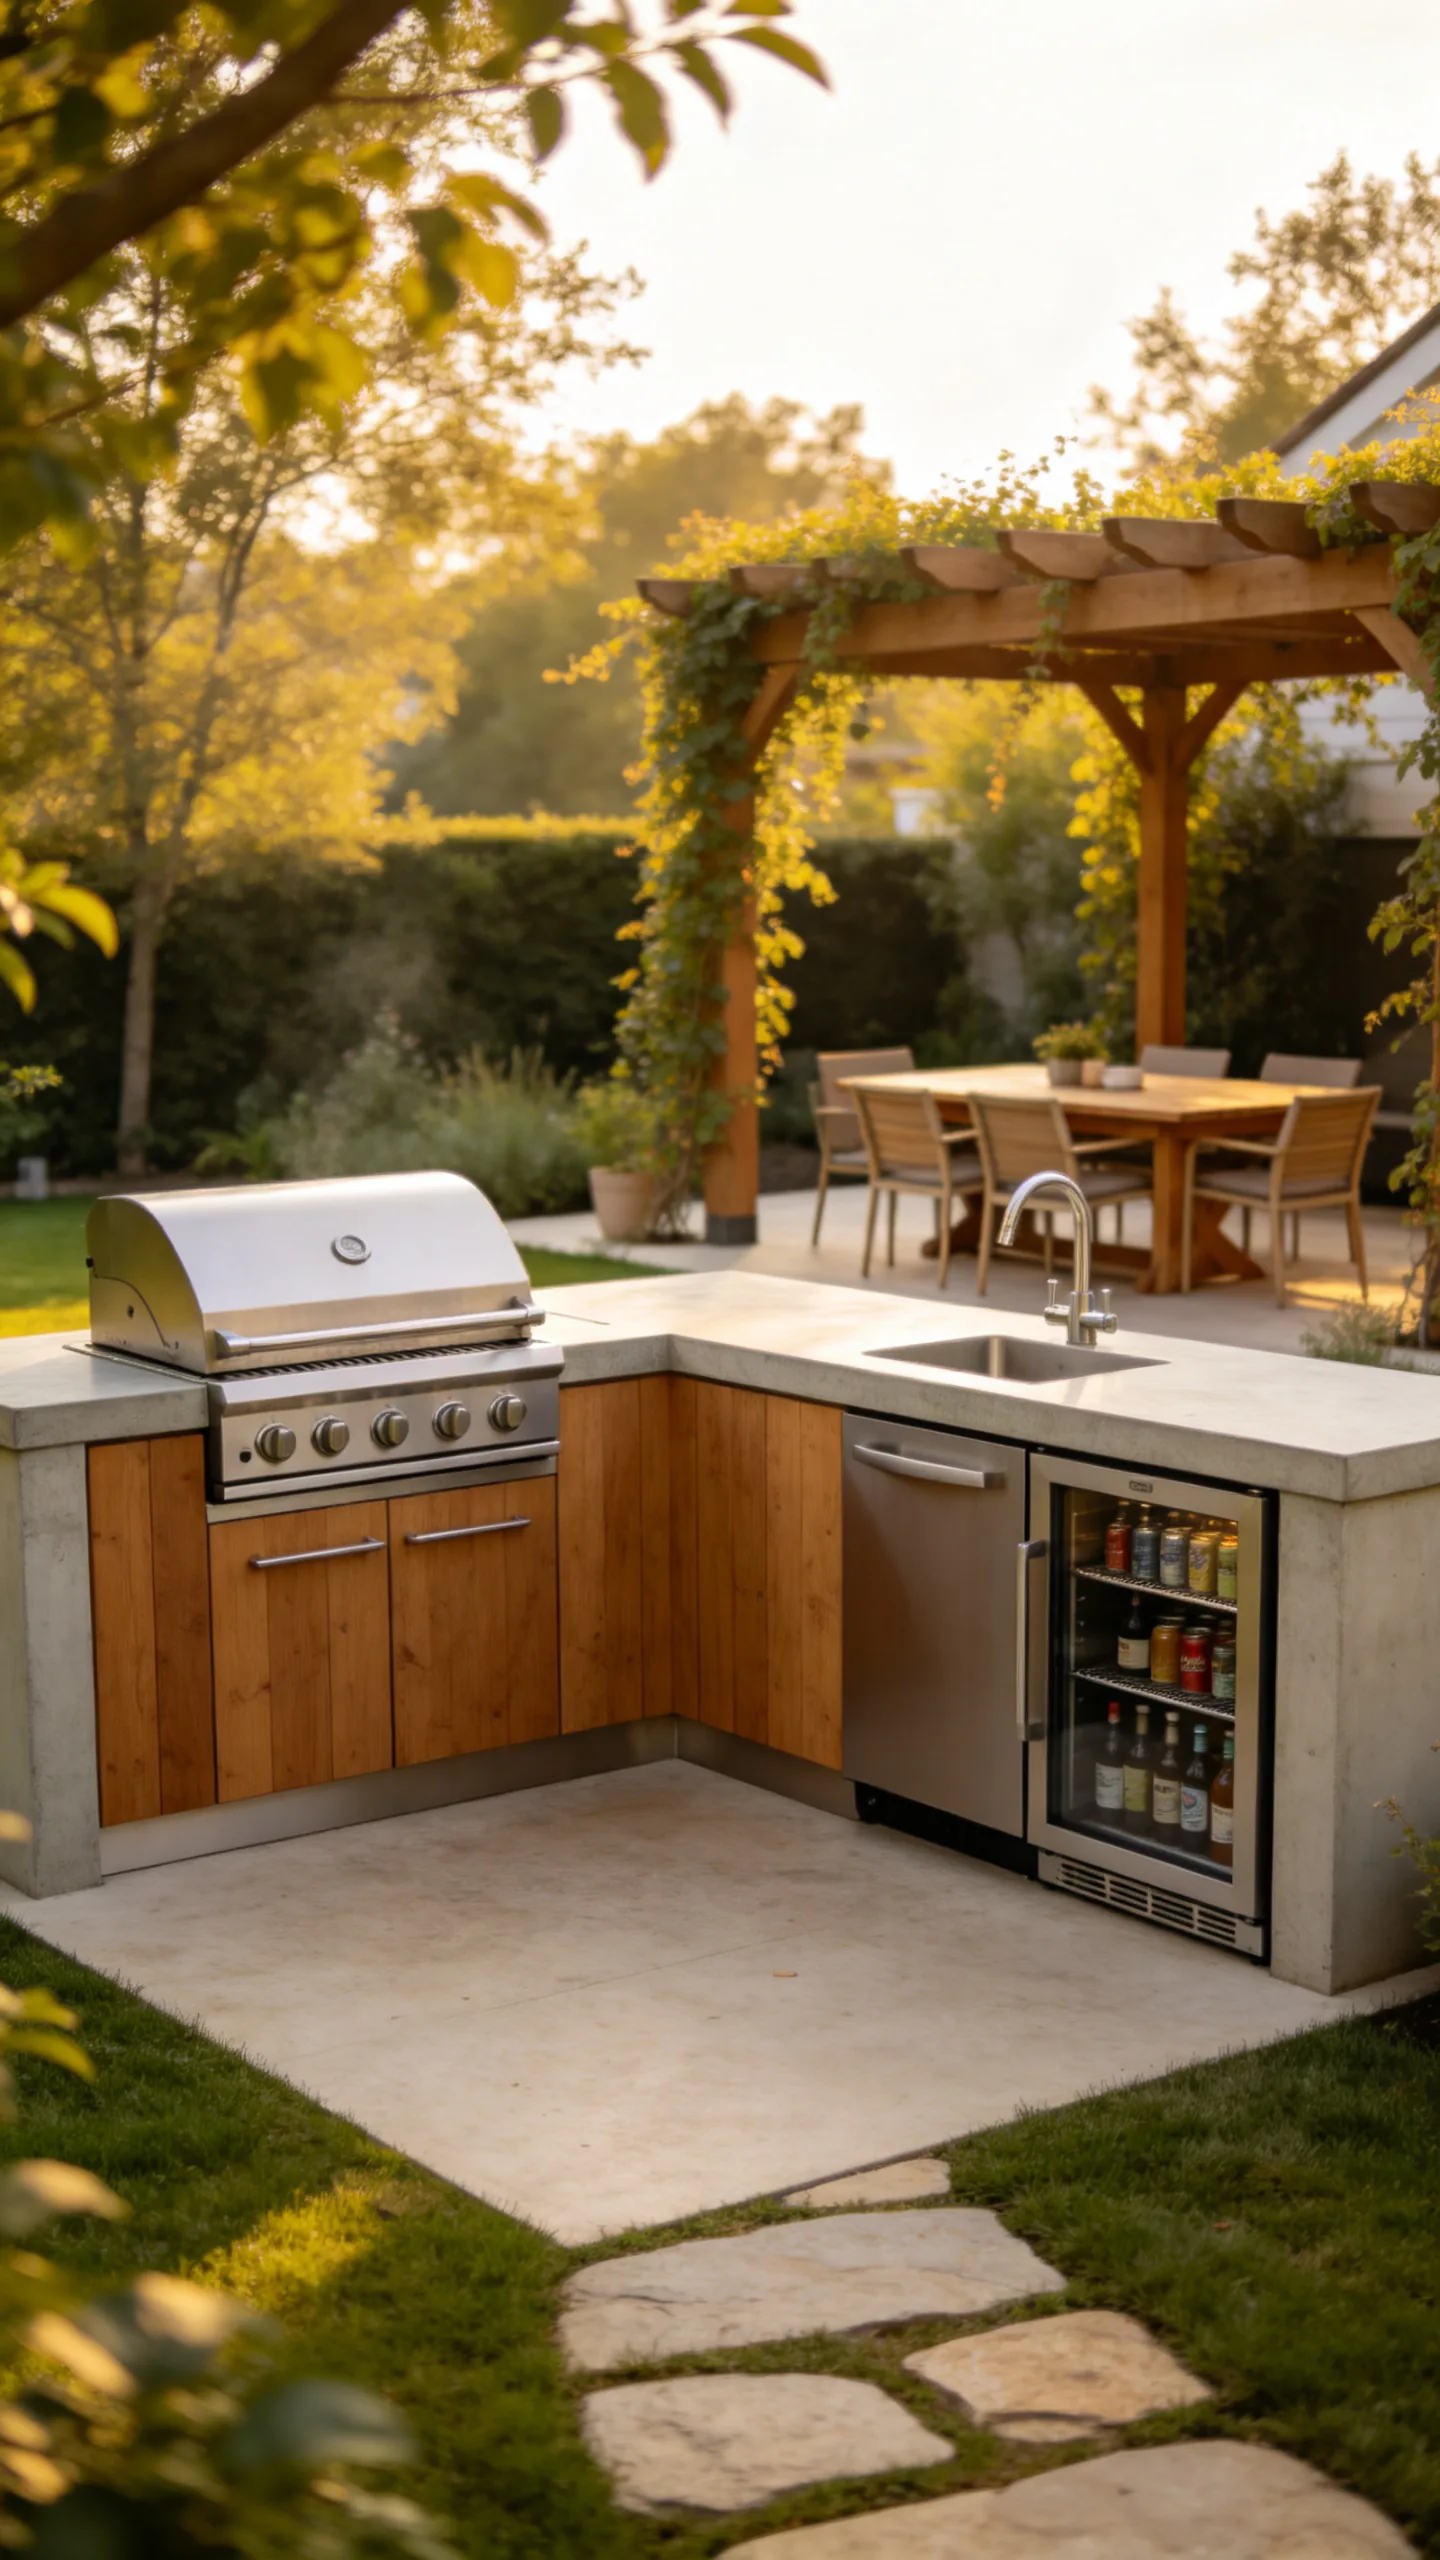
An L-shaped counter makes an efficient layout for a corner of the patio while separating cooking from serving. Place the grill on one leg and use the shorter return for a sink, prep surface, or beverage station.
This configuration creates a natural working triangle between the grill, refrigerator or cooler, and dining area. It also leaves the center of the yard open for circulation, which is useful in smaller backyards.
3. Frame the Grill With Brickwork
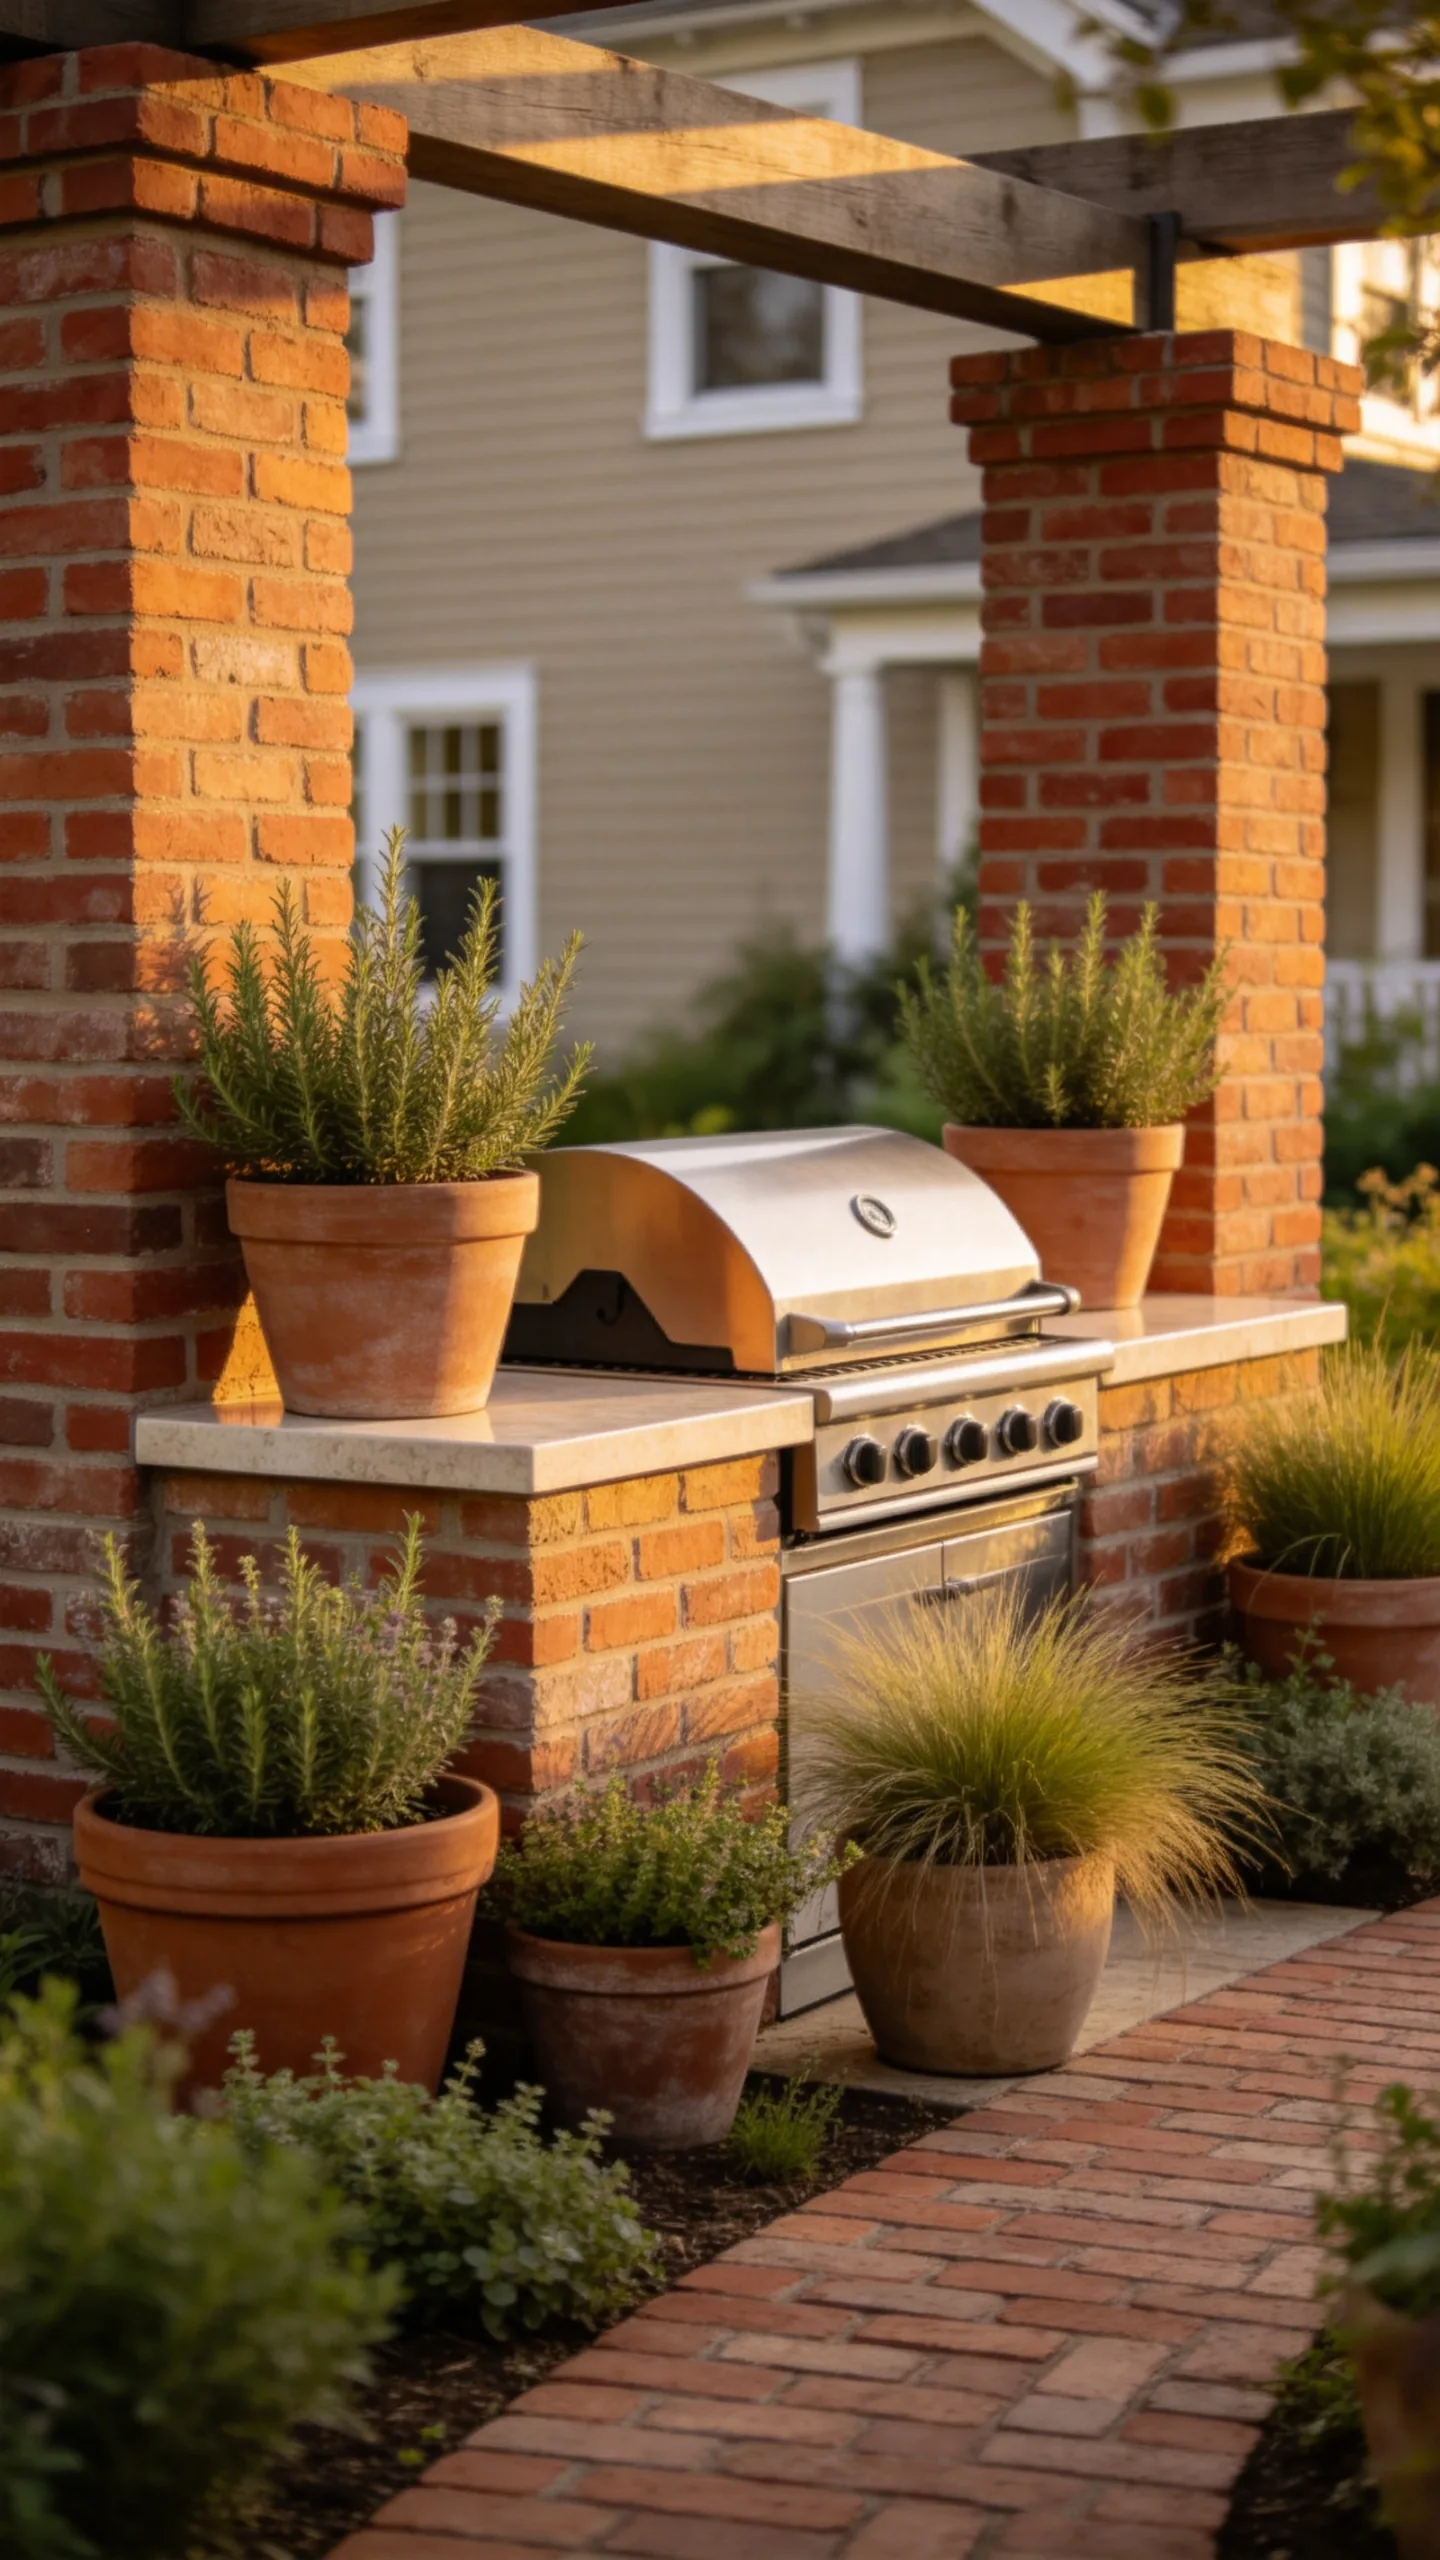
Use brick piers and a brick counter base to connect the BBQ area with a traditional house exterior or a brick garden path. Choose a frost-resistant outdoor brick and a properly sealed countertop to reduce staining from grease and rain.
Soften the masonry with large containers of rosemary, thyme, or compact ornamental grasses. Keep foliage far enough from the grill to avoid heat damage and make trimming straightforward.
4. Install a Pergola Over the Cooking Area
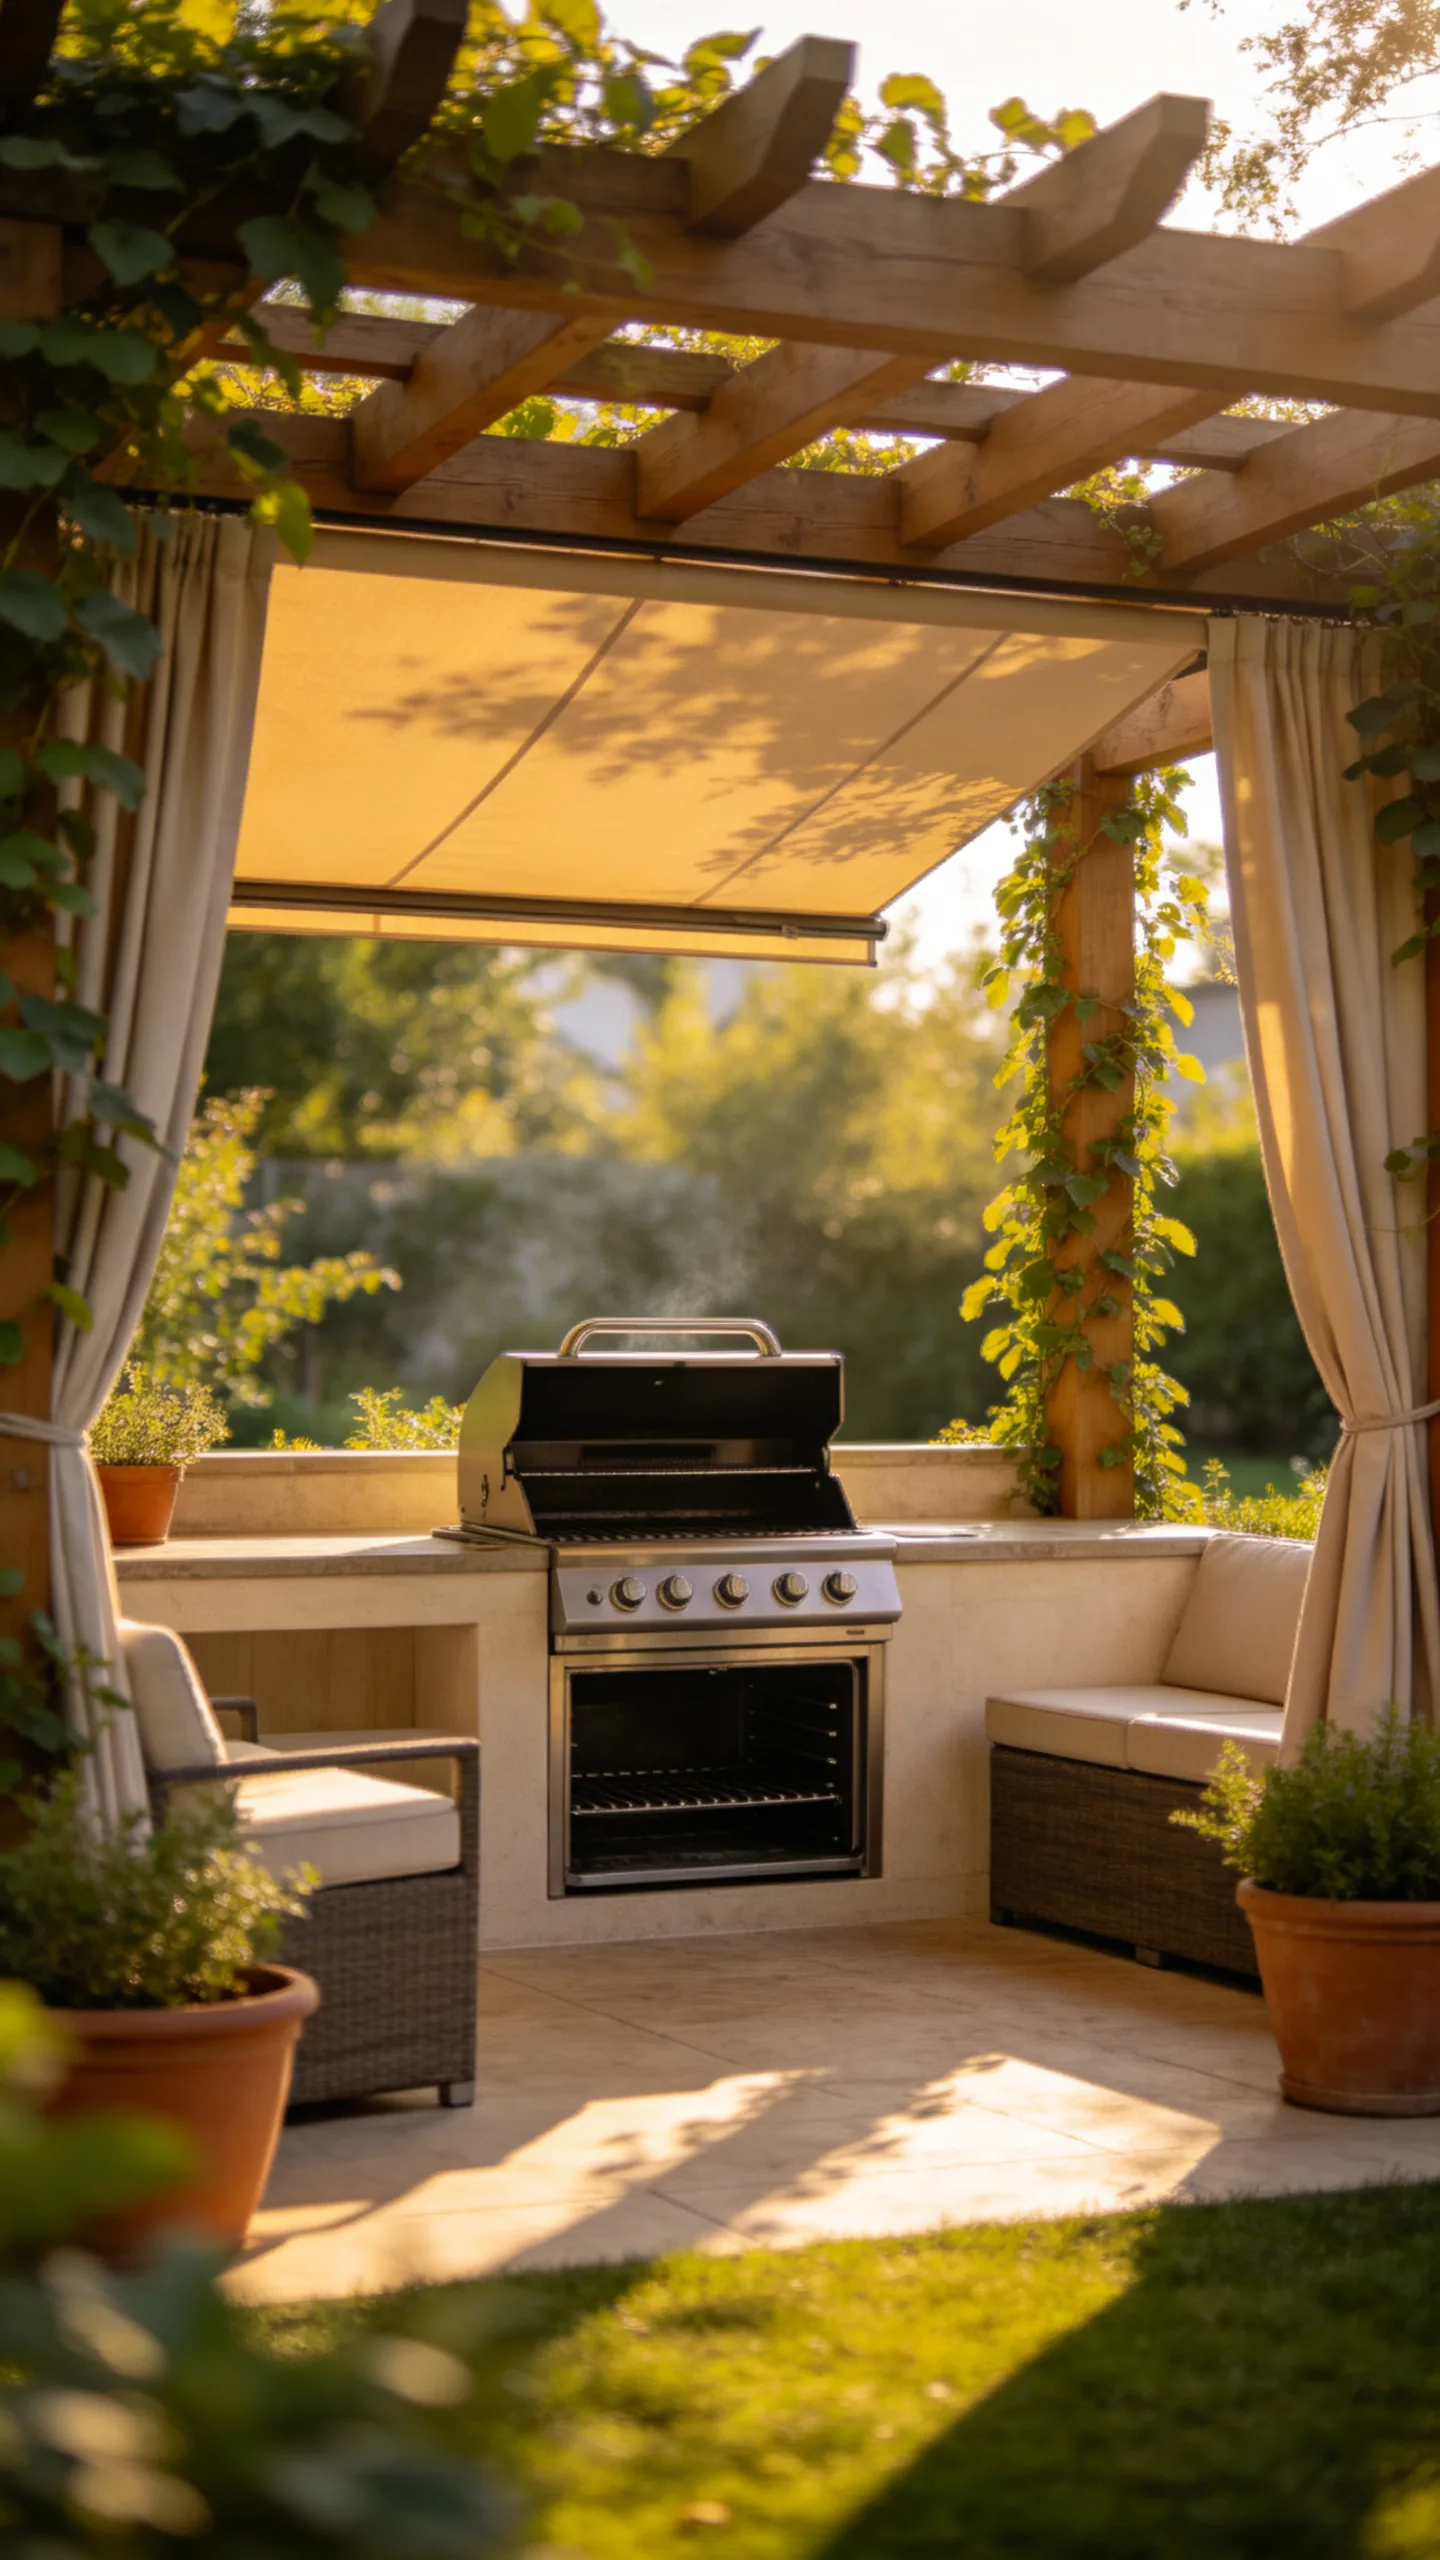
A pergola defines the outdoor kitchen and provides a structure for a retractable shade canopy or weather-rated outdoor curtains. Position the roof so it shades the counter during the hottest part of the day without blocking ventilation around the grill.
Train a suitable climbing plant, such as star jasmine or a noninvasive grape variety where climate allows, along the outer posts rather than directly over the grill. This adds greenery and privacy while keeping leaves away from cooking heat.
5. Add a Paved Grill Patio
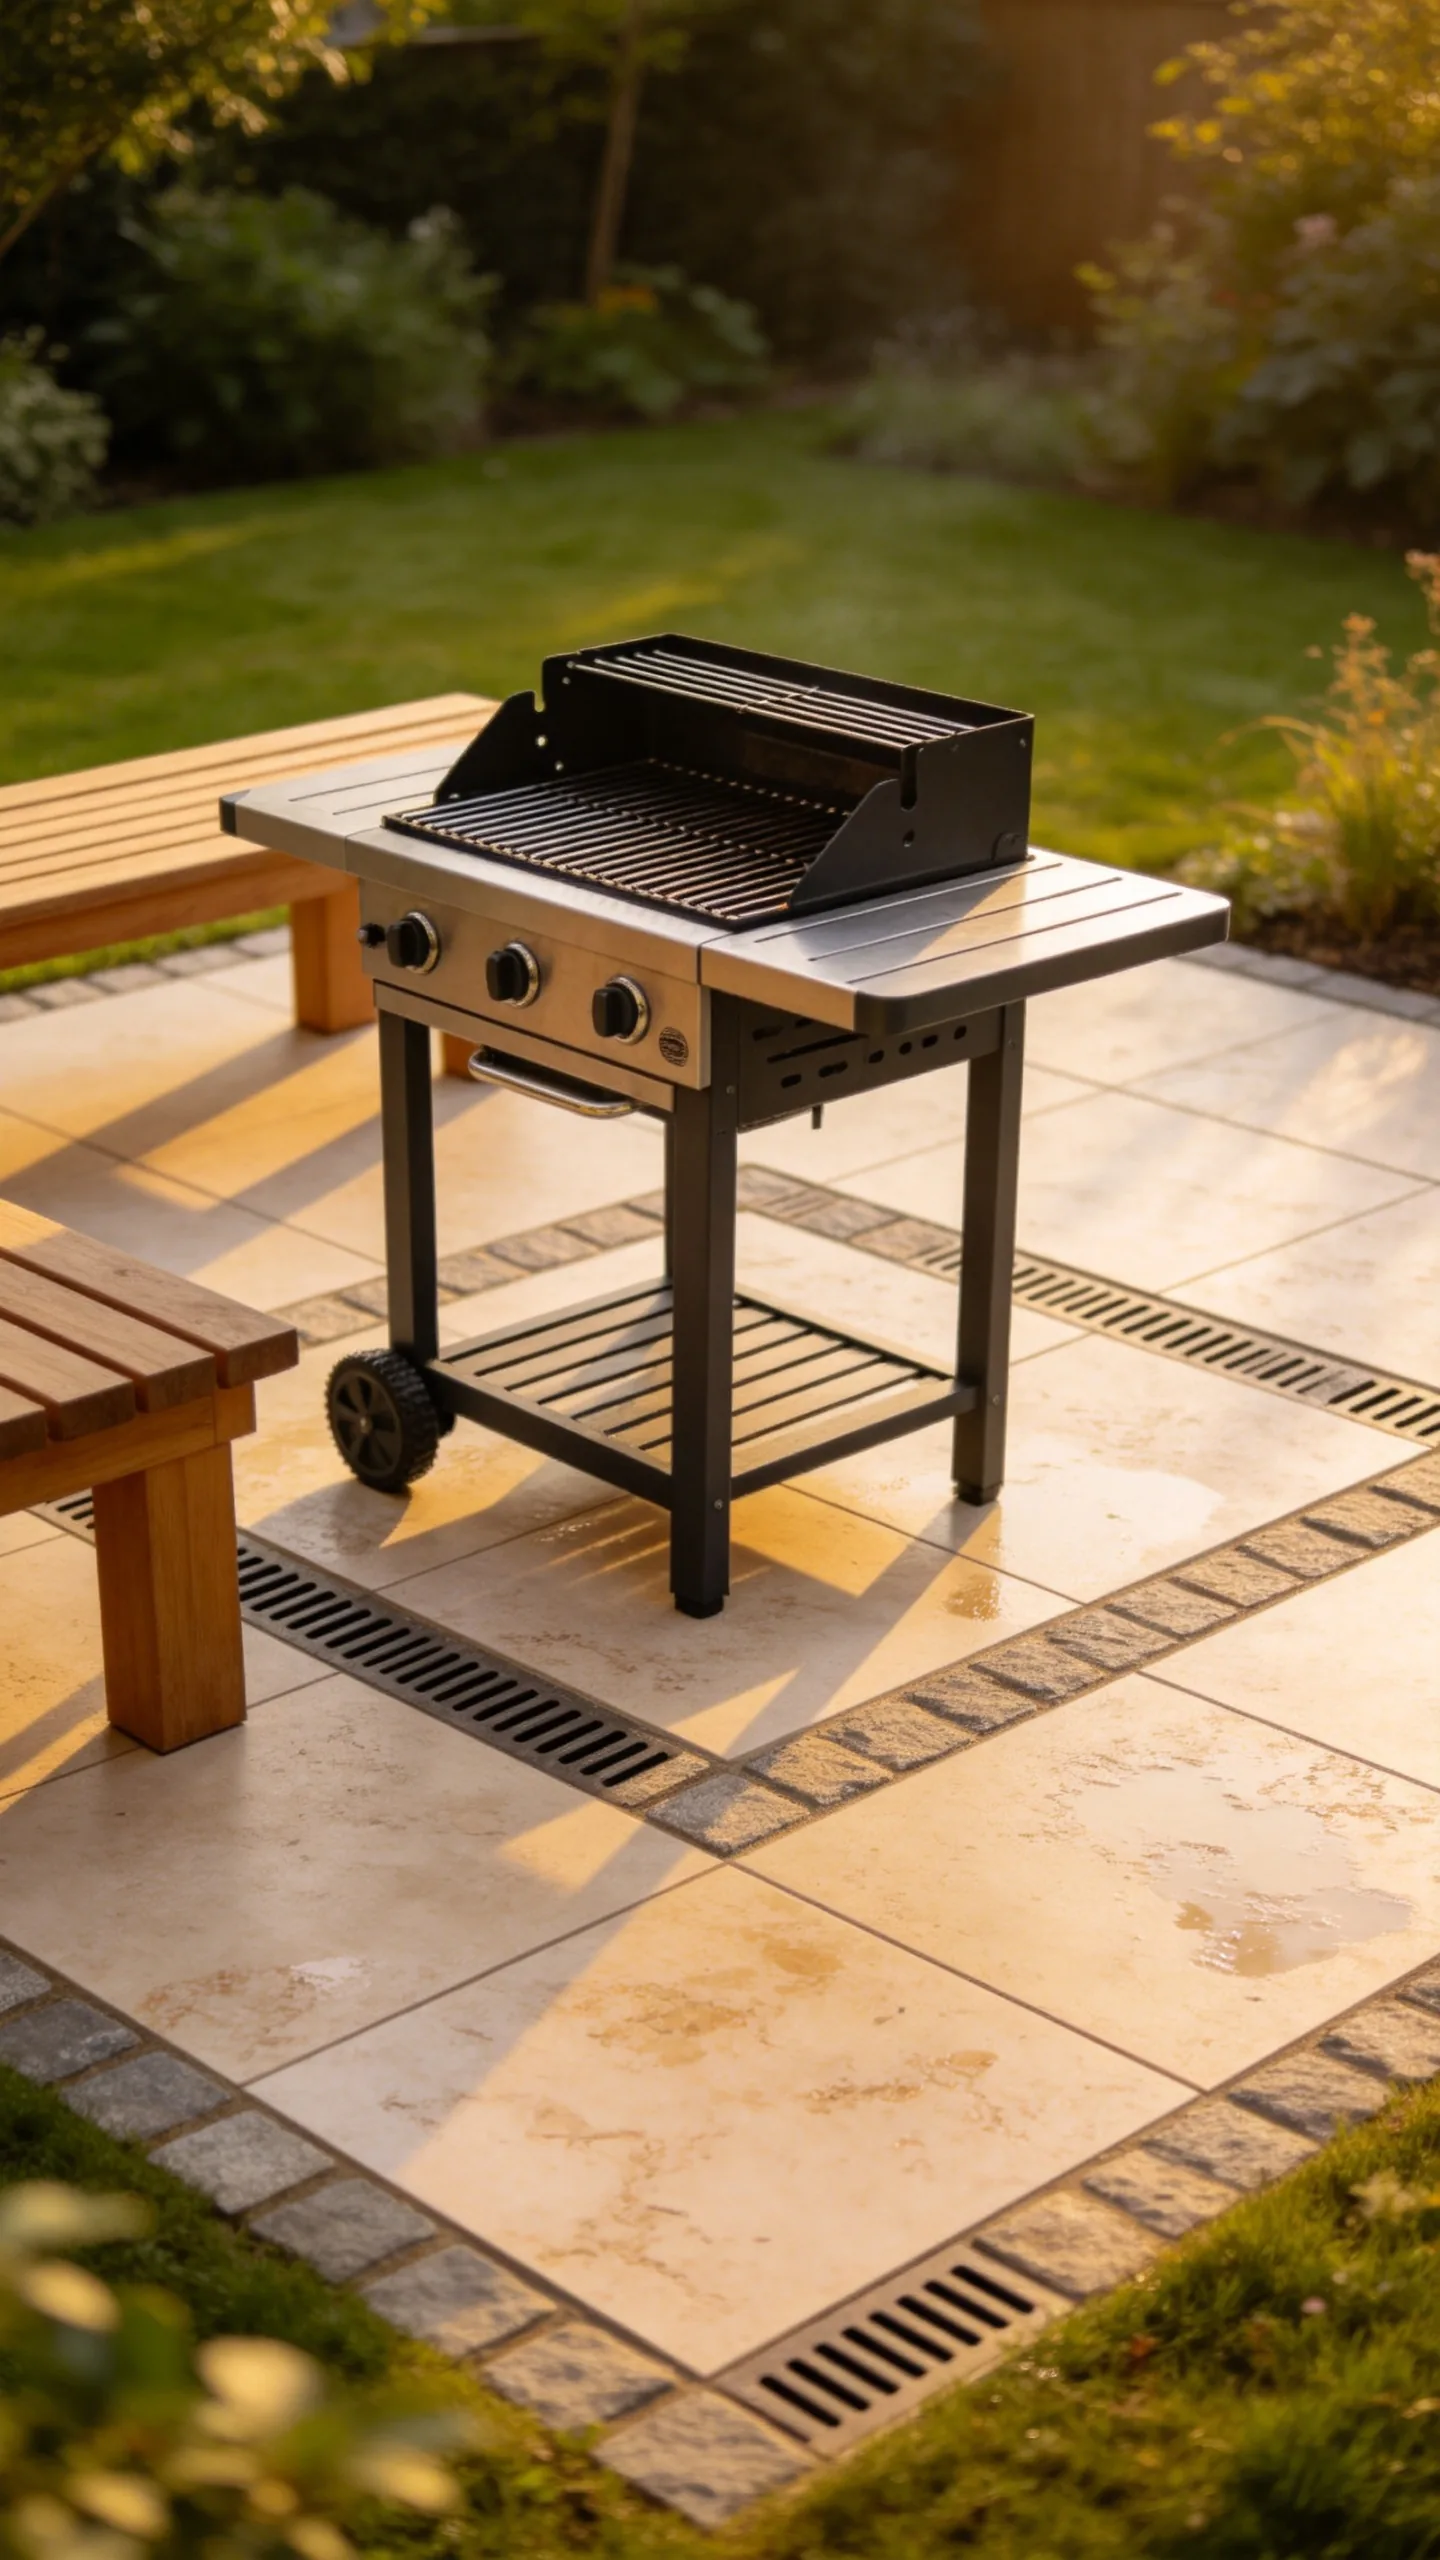
Lay a small patio of concrete pavers, natural stone, or textured porcelain slabs beneath the BBQ station and adjacent seating. A level, non-slip surface keeps the grill stable and makes it easier to roll out a cart, sweep away crumbs, and clean grease spills.
Use a contrasting border around the cooking zone to visually separate it from the lawn. Leave adequate joints or drainage gaps according to the paving system so rainwater does not pool beside the foundation.
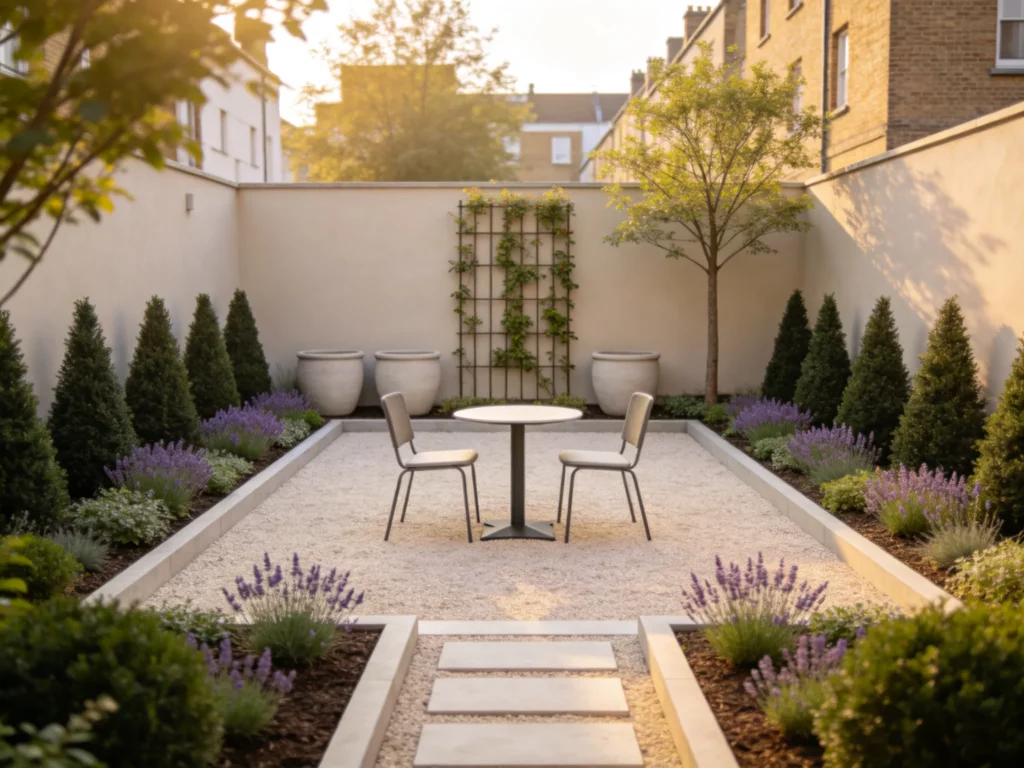
6. Create a Gravel BBQ Courtyard
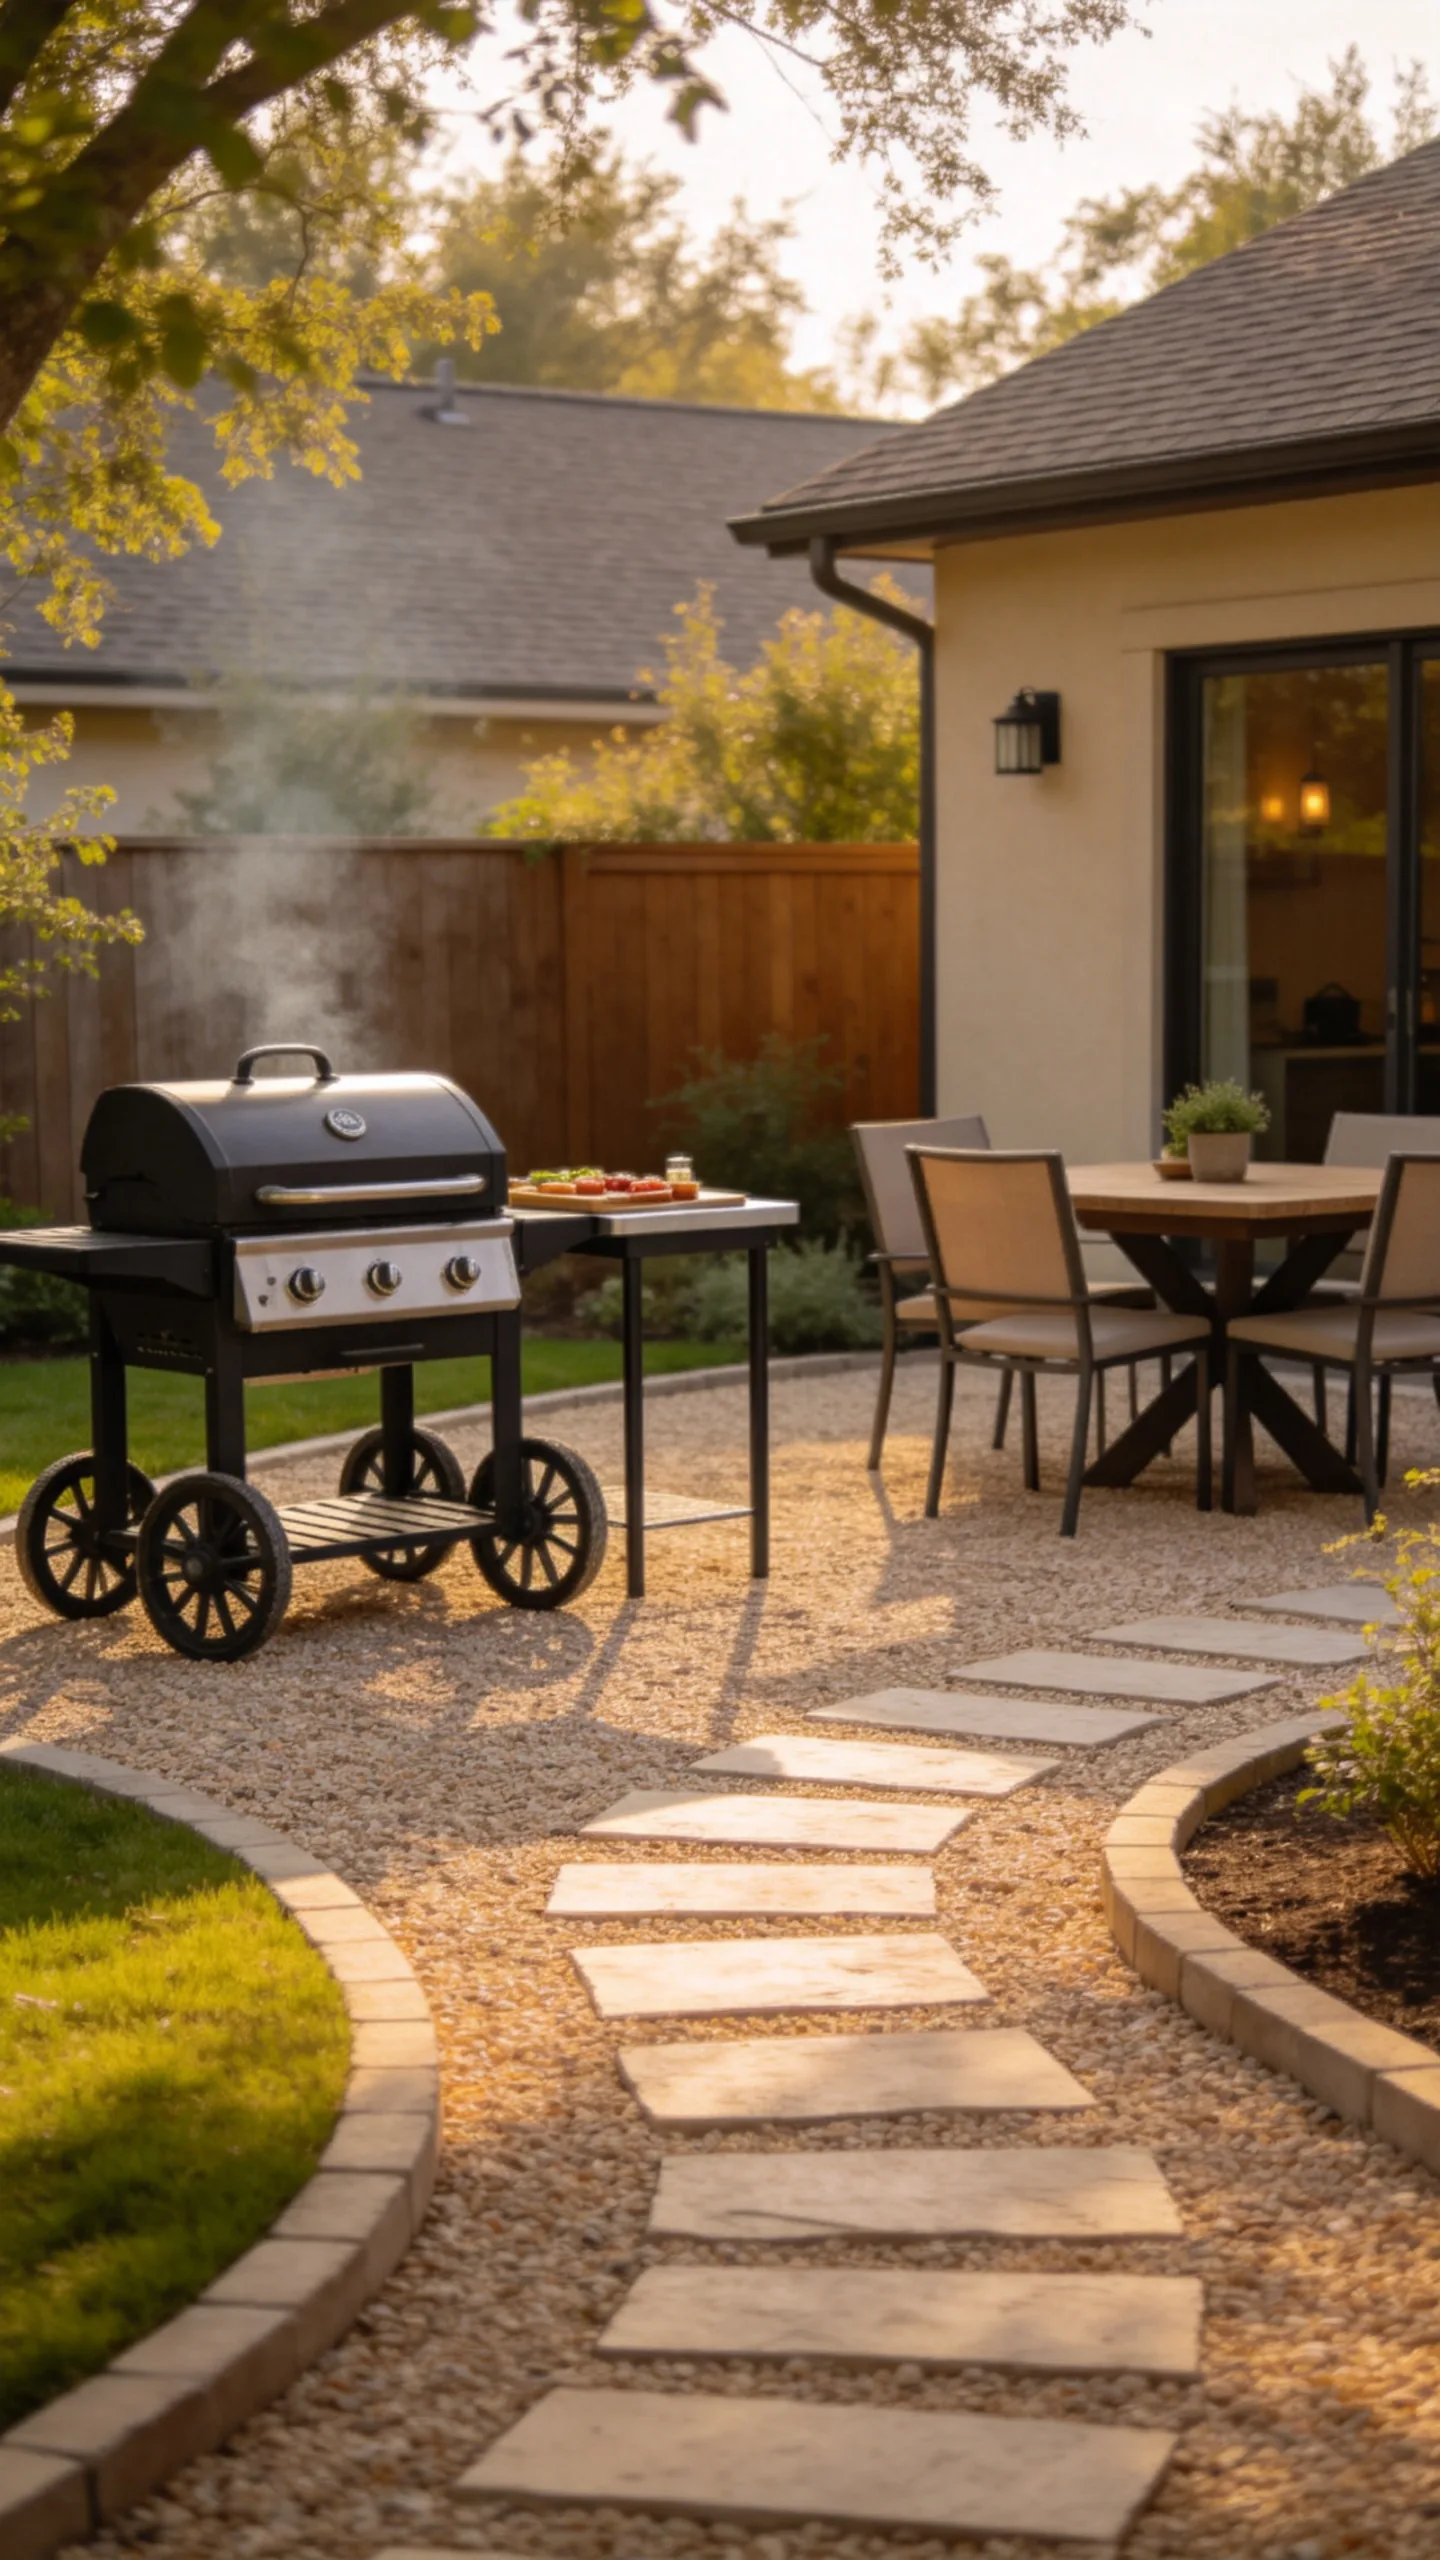
A compact gravel courtyard can provide a lower-cost base for a freestanding grill, prep cart, and dining table. Install a firm edging system and a compacted base beneath the gravel so chairs and grill wheels do not sink into loose stone.
Choose angular gravel that locks together better than rounded pebbles. Add stepping stones from the house to the cooking area, and keep a clear, stable route for carrying hot food.
7. Design a U-Shaped Outdoor Kitchen
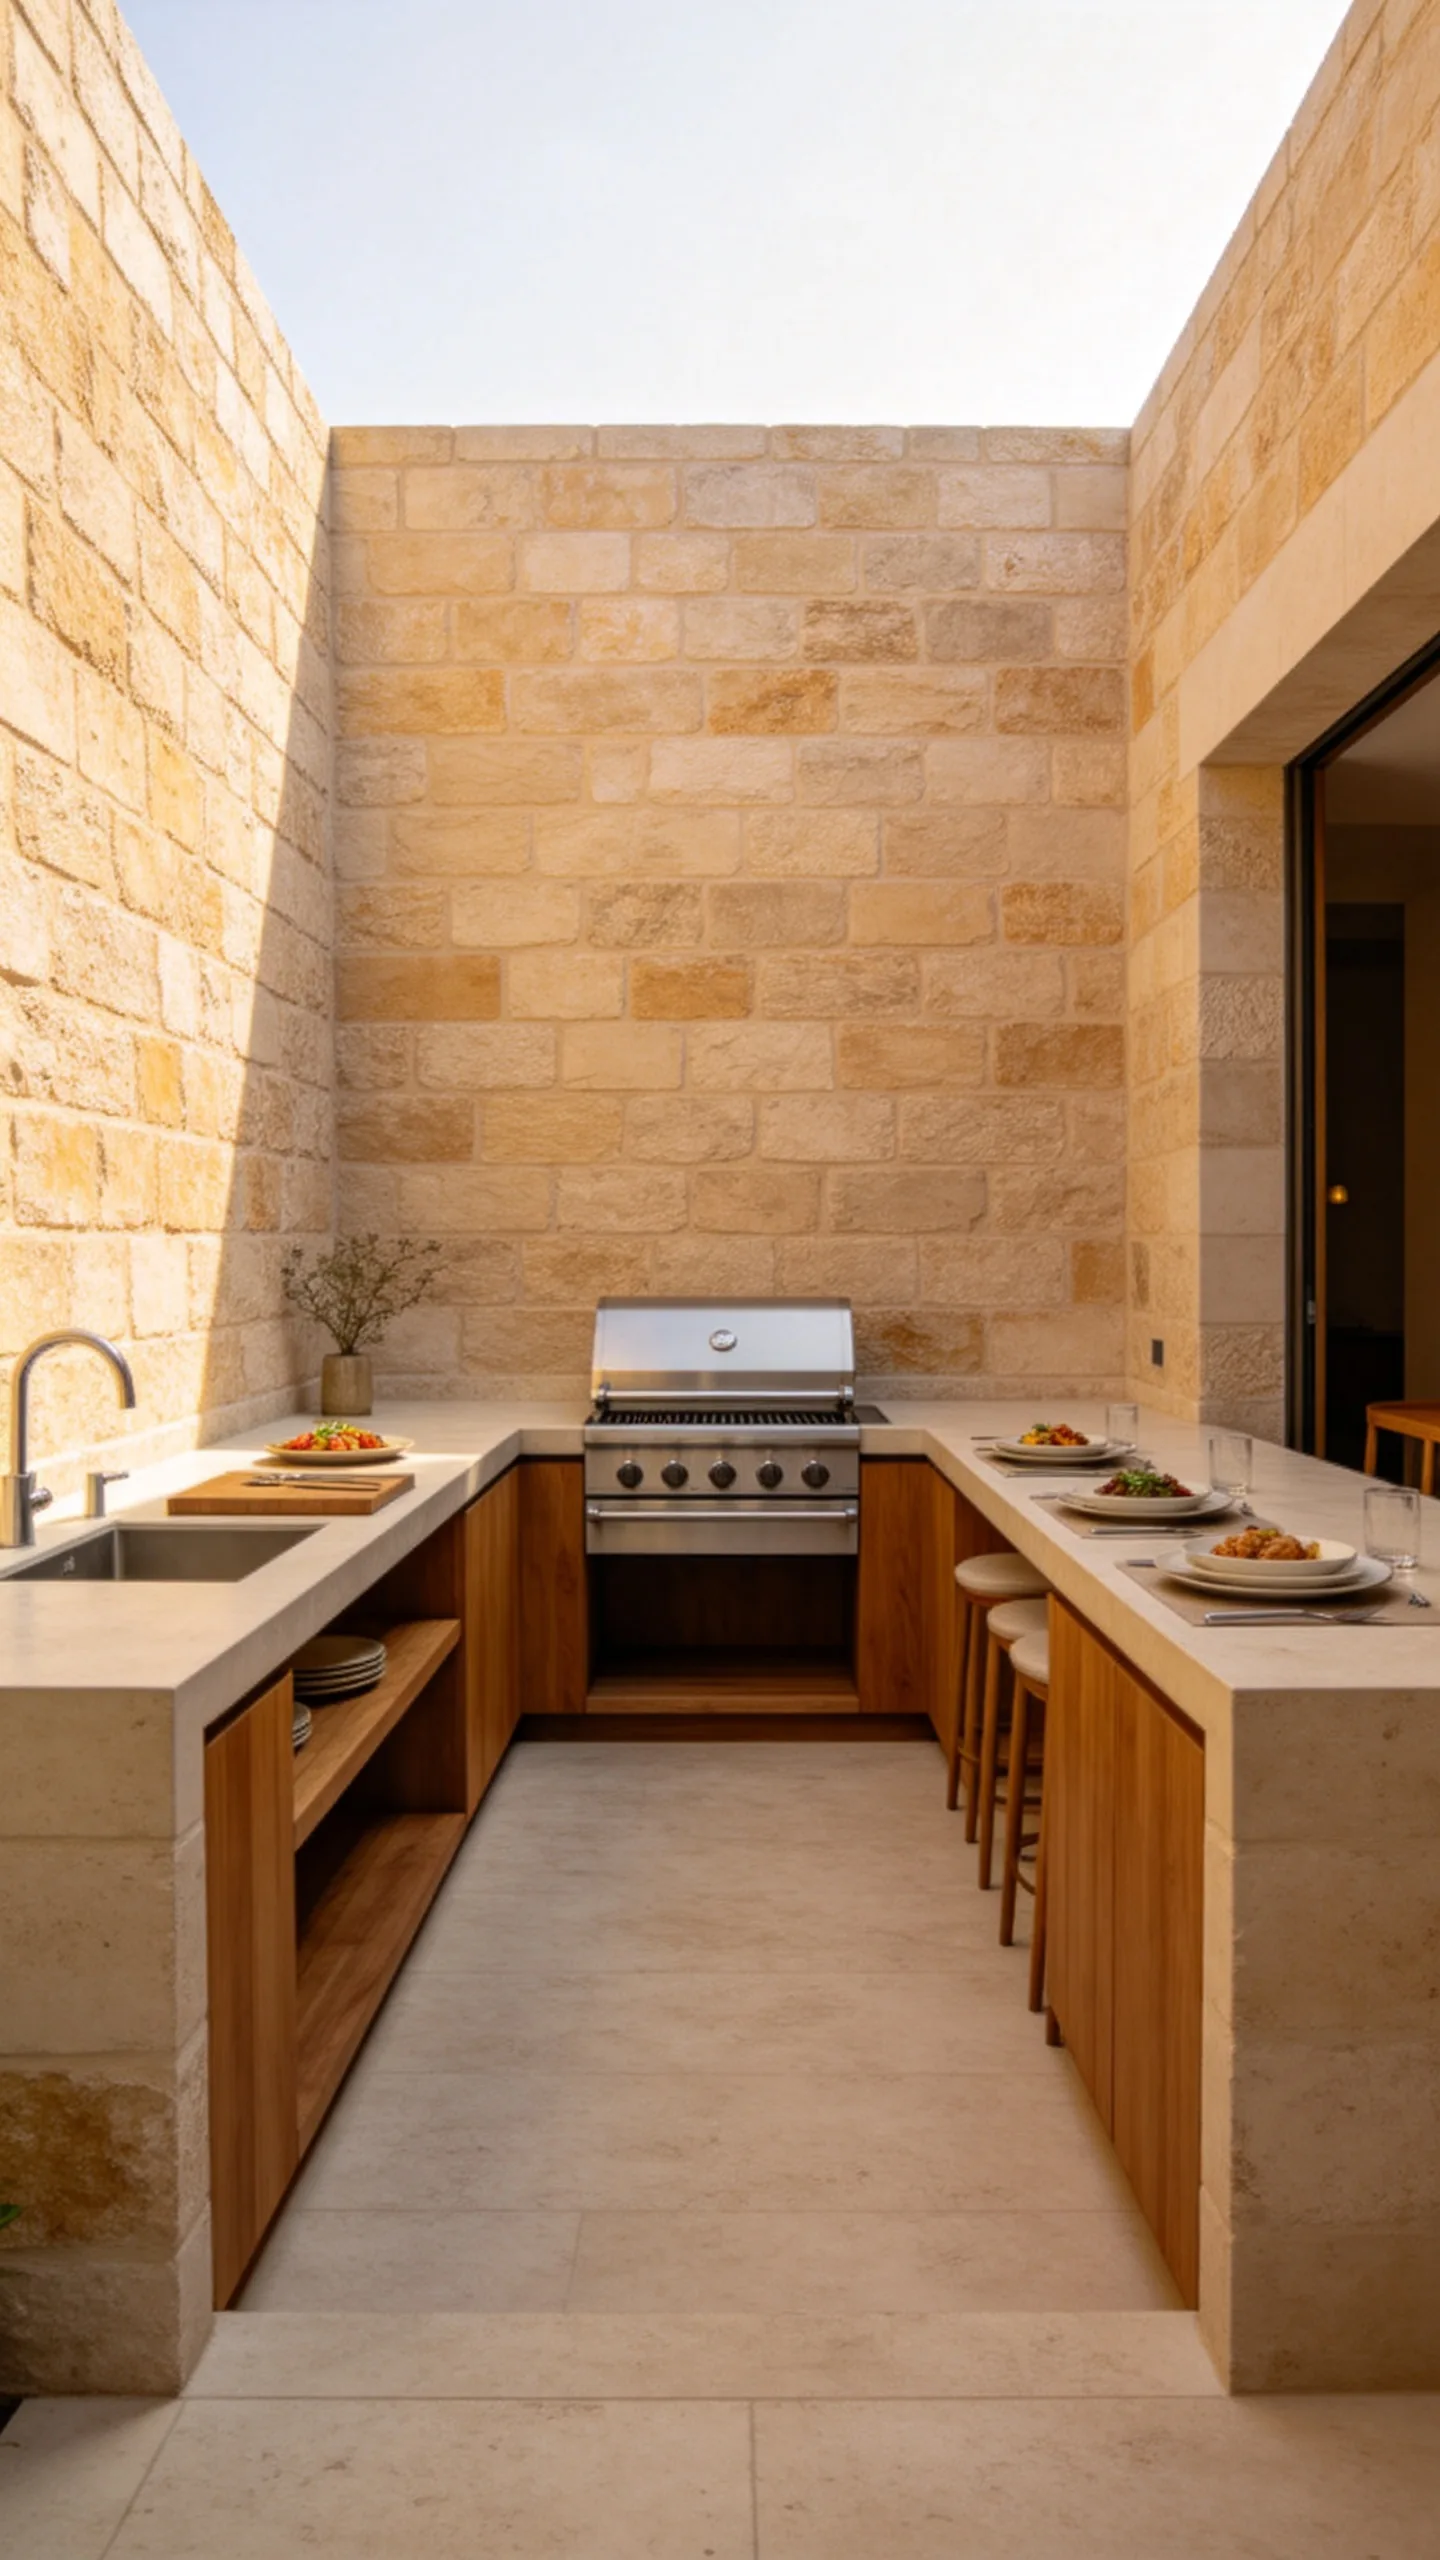
A U-shaped layout gives the cook several work surfaces and keeps utensils, ingredients, and serving dishes within reach. Place the grill on the rear run, with preparation and plating counters on the side runs.
This arrangement works best in a larger patio or against three-sided masonry walls. Include open legroom or a lowered section if the space will also be used for casual counter seating.
8. Add a Narrow BBQ Bar Along a Fence
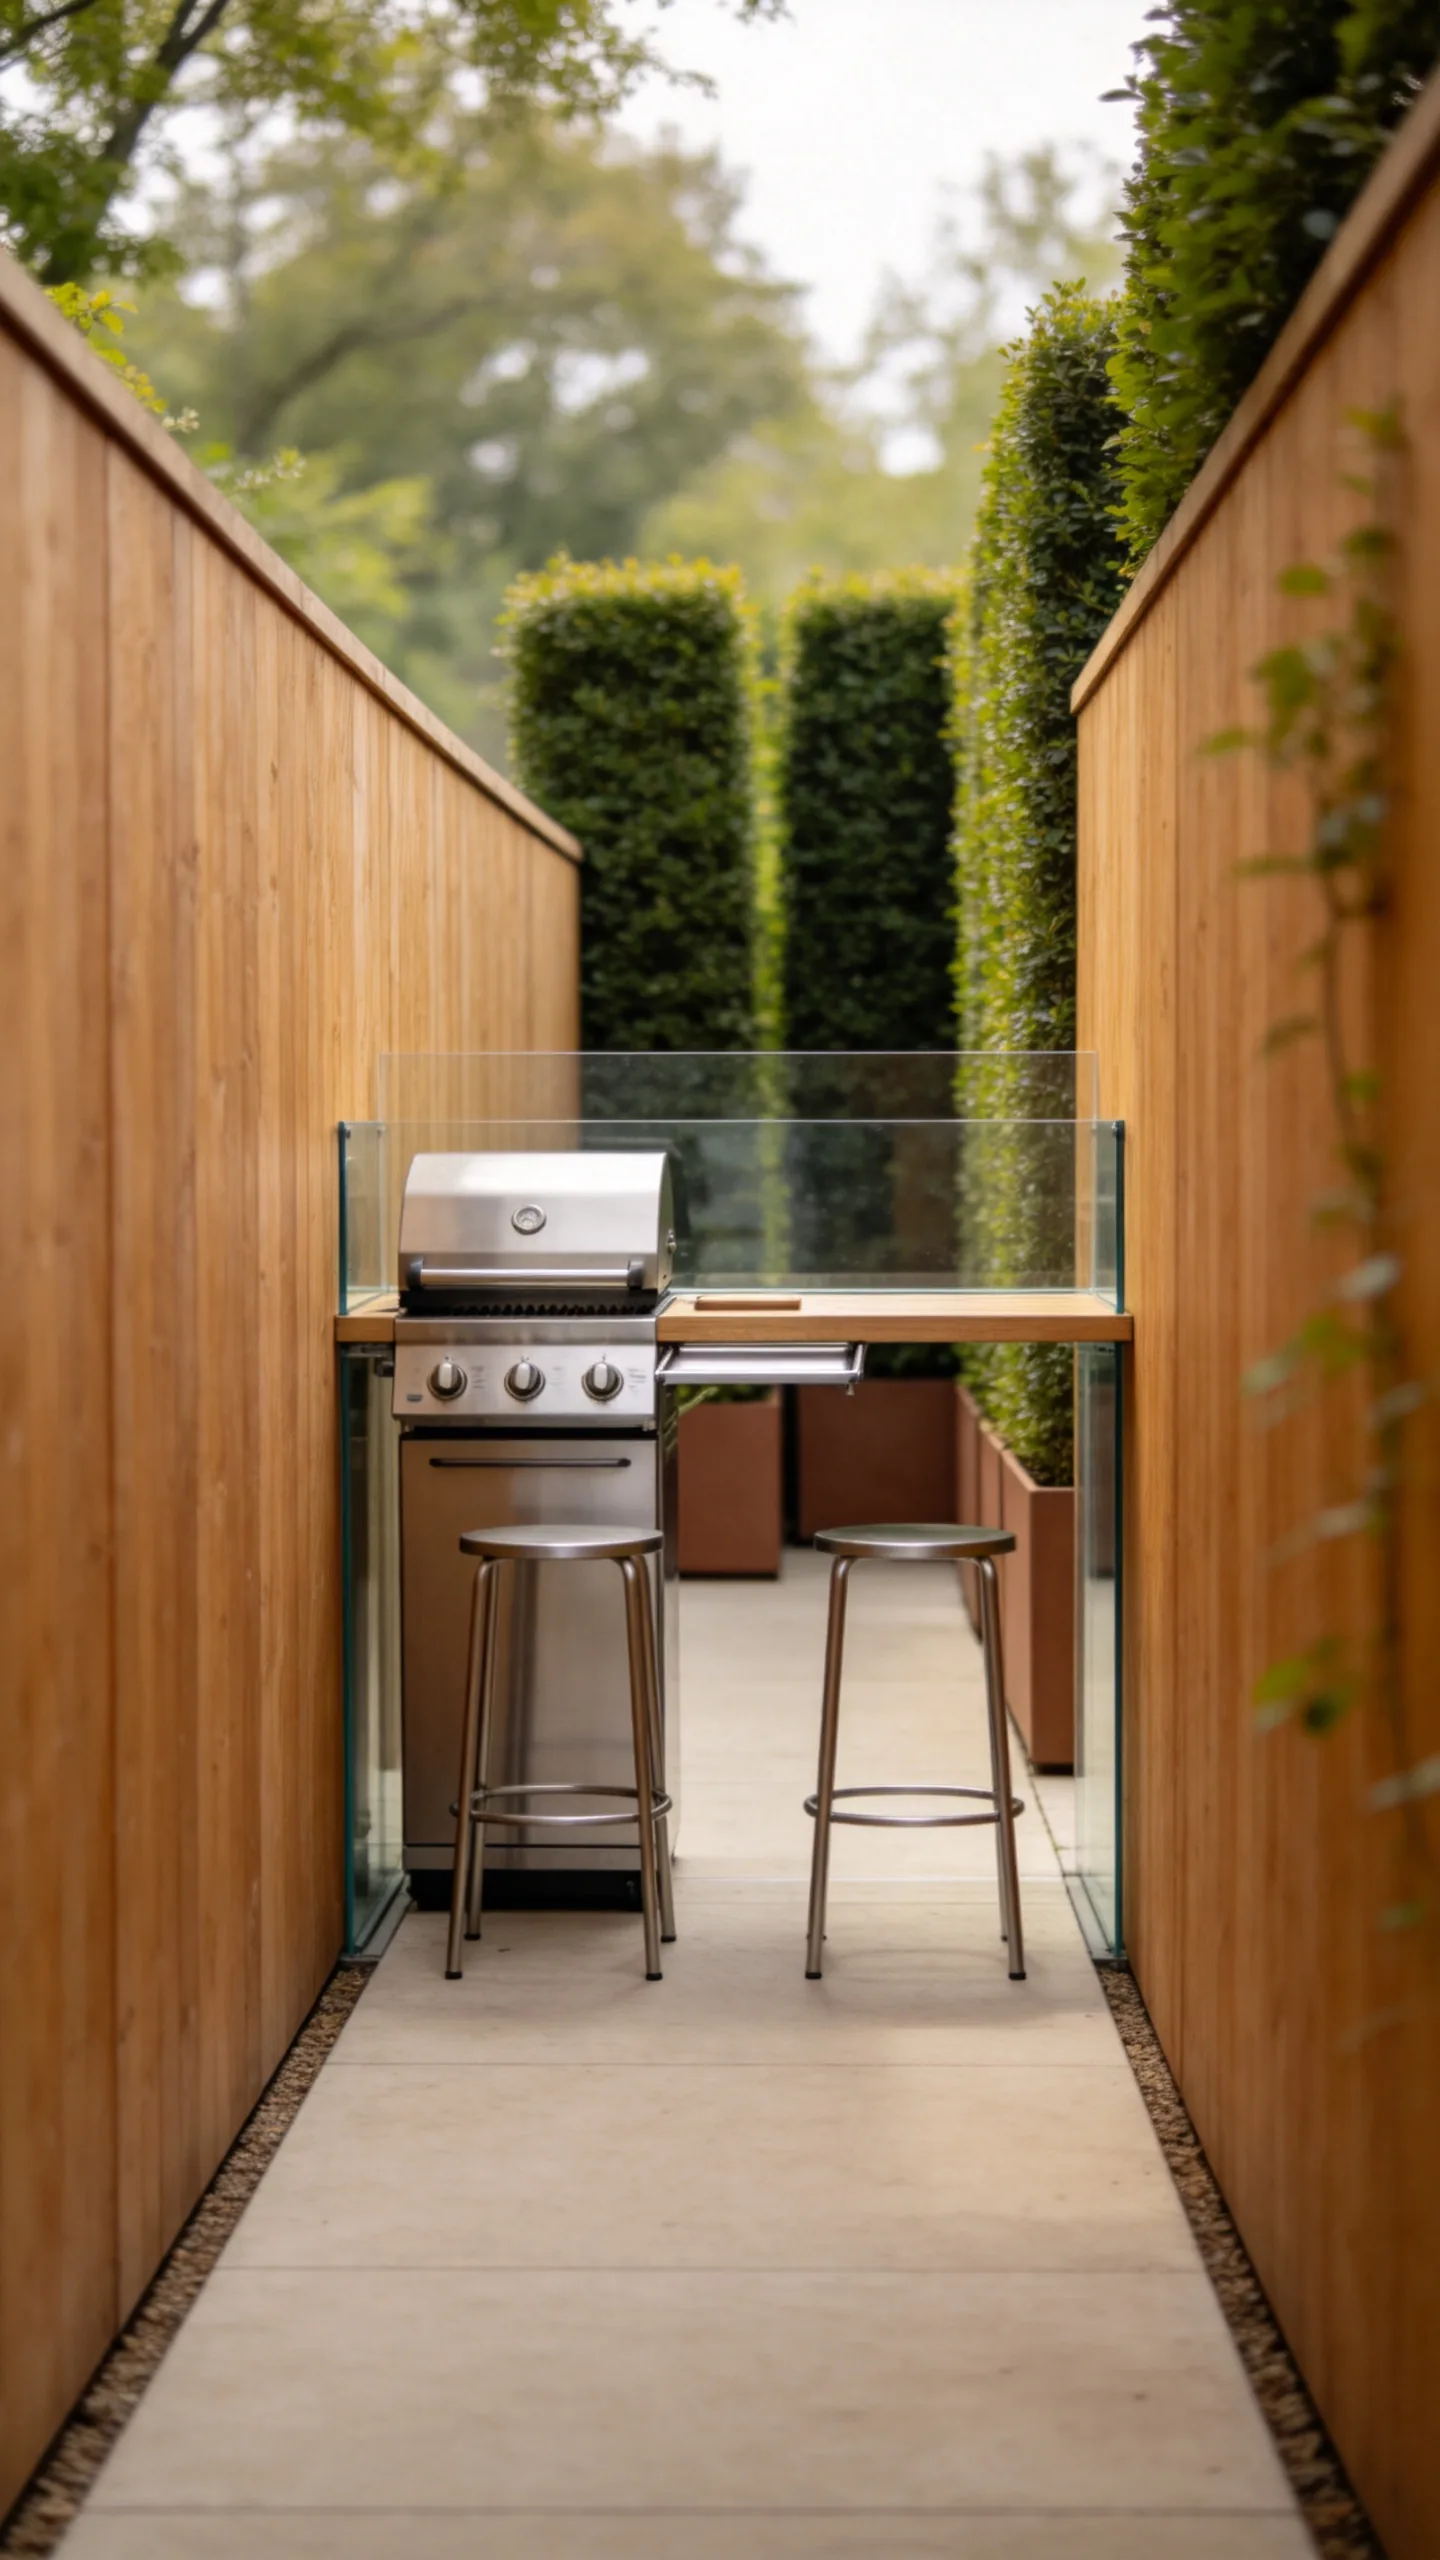
Use a slim counter attached to or set just inside a sturdy boundary wall to create a BBQ bar without consuming the whole yard. A compact grill, fold-down prep shelf, and narrow stools can fit where a full outdoor kitchen cannot.
Protect timber fencing from heat and grease with the clearances and shielding required for the appliance. Plant a narrow hedge or use tall containers beyond the counter to improve privacy without reducing workspace.
9. Install a Weatherproof Prep Sink
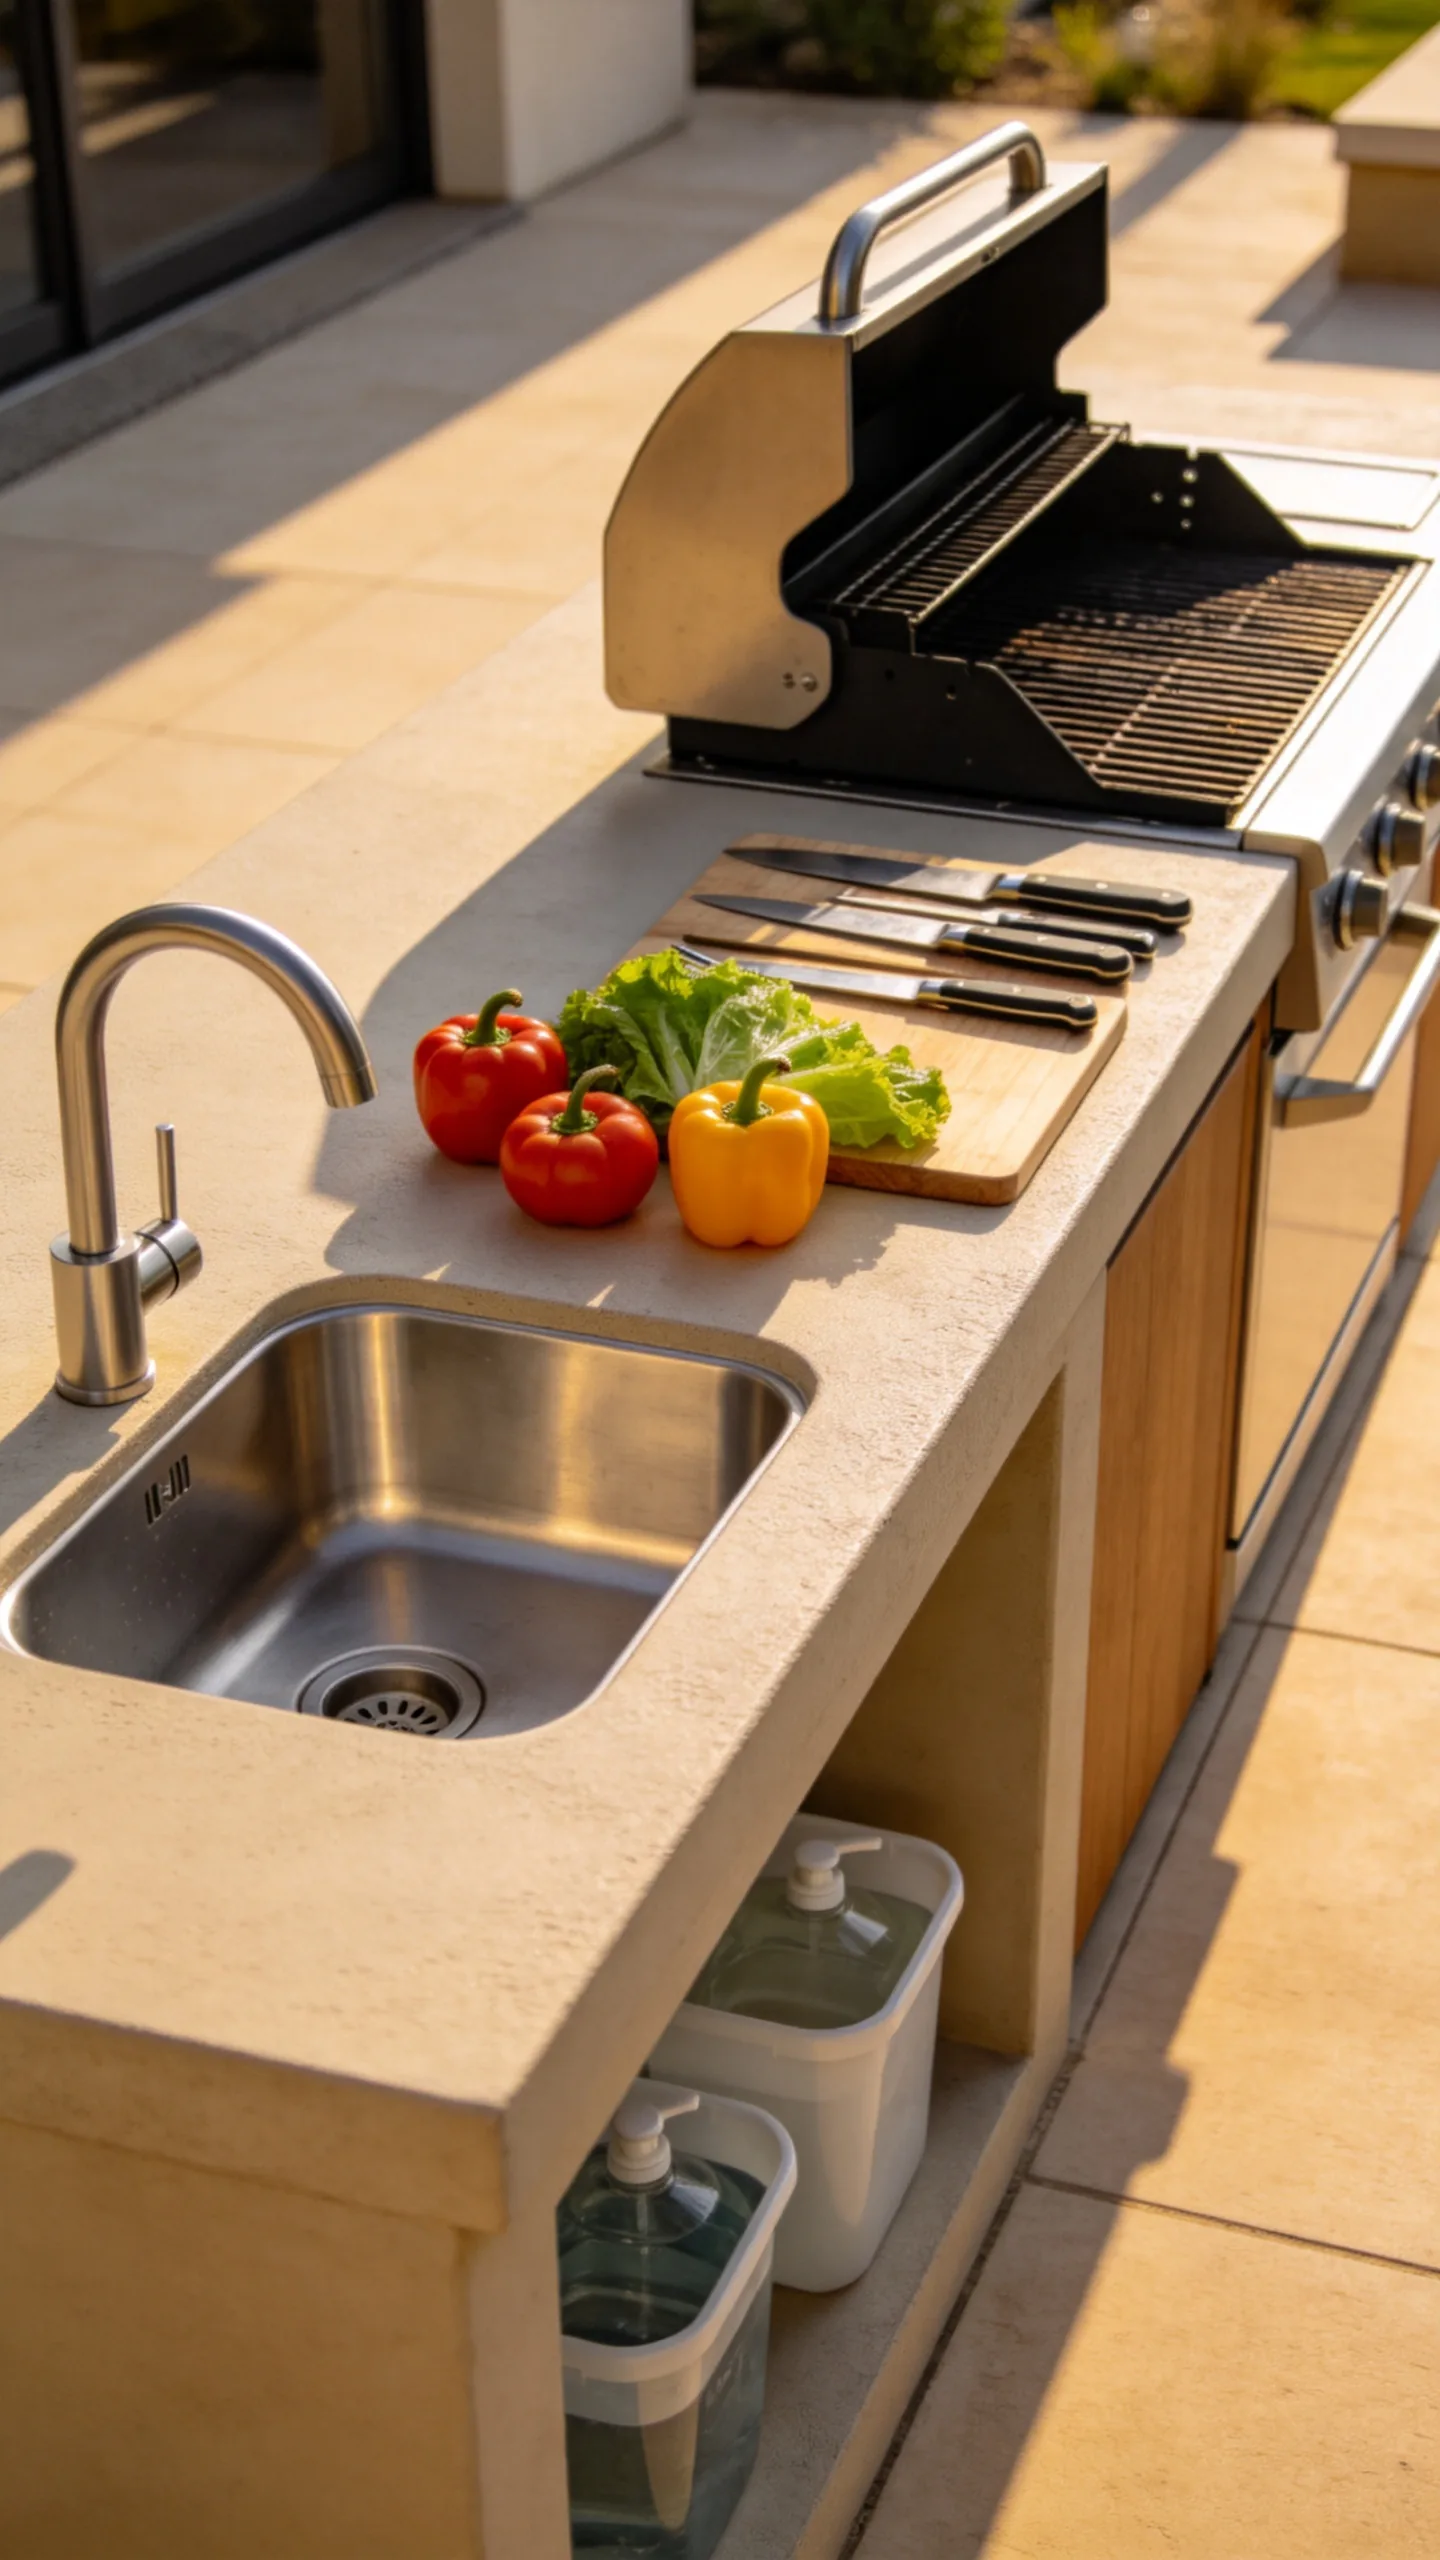
A small outdoor sink makes it easier to rinse vegetables, wash hands, and clean utensils without repeatedly walking into the house. Use plumbing designed for local frost conditions, and plan drainage before installing the counter.
If a permanent water line is impractical, consider a portable camping-style sink with a clean-water container and wastewater tank. Position it beside the prep counter rather than directly beside the grill to keep the work zones organized.
10. Use Concrete Countertops for a Modern Look
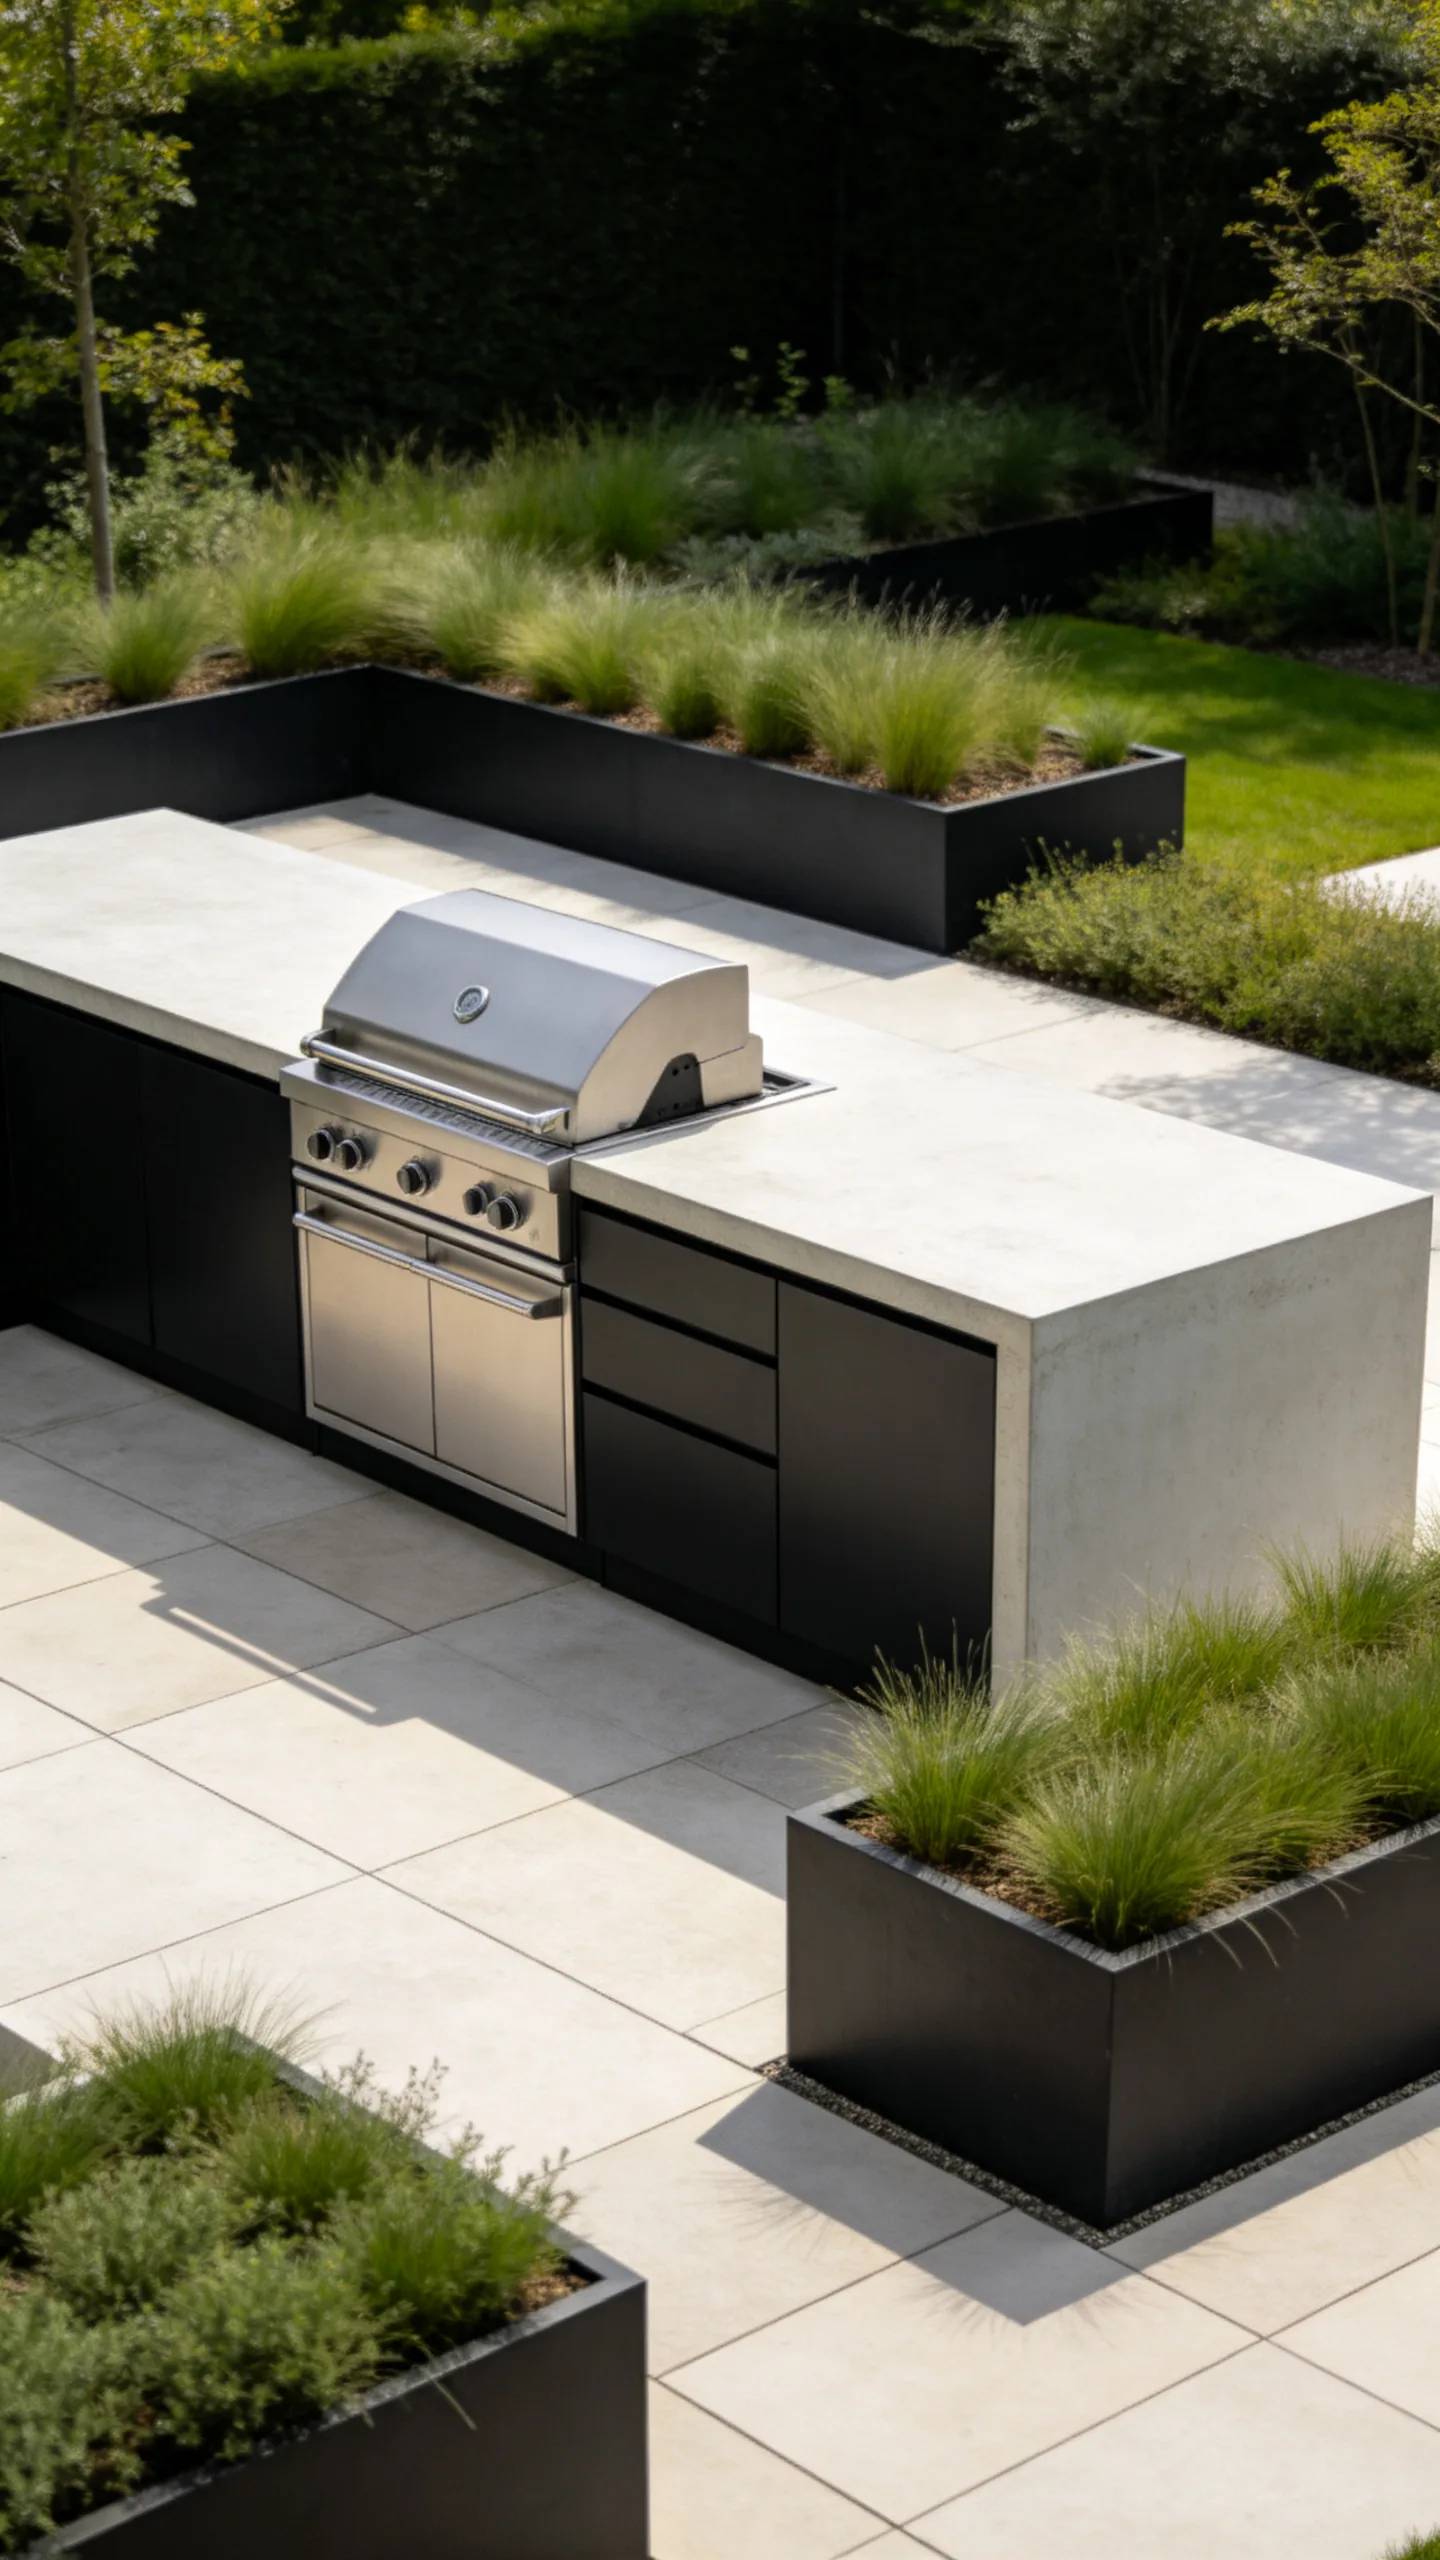
Concrete counters create a clean, contemporary foundation for stainless steel, black metal, or painted cabinetry. Seal the surface with a product rated for outdoor use, then wipe spills promptly to limit oil and food staining.
Pair the counters with large-format paving and simple rectangular planters. Choose plants with restrained forms, such as clipped bay, agave where hardy, or evergreen grasses suited to the local climate.
11. Set Up a Portable Grill and Rolling Cart
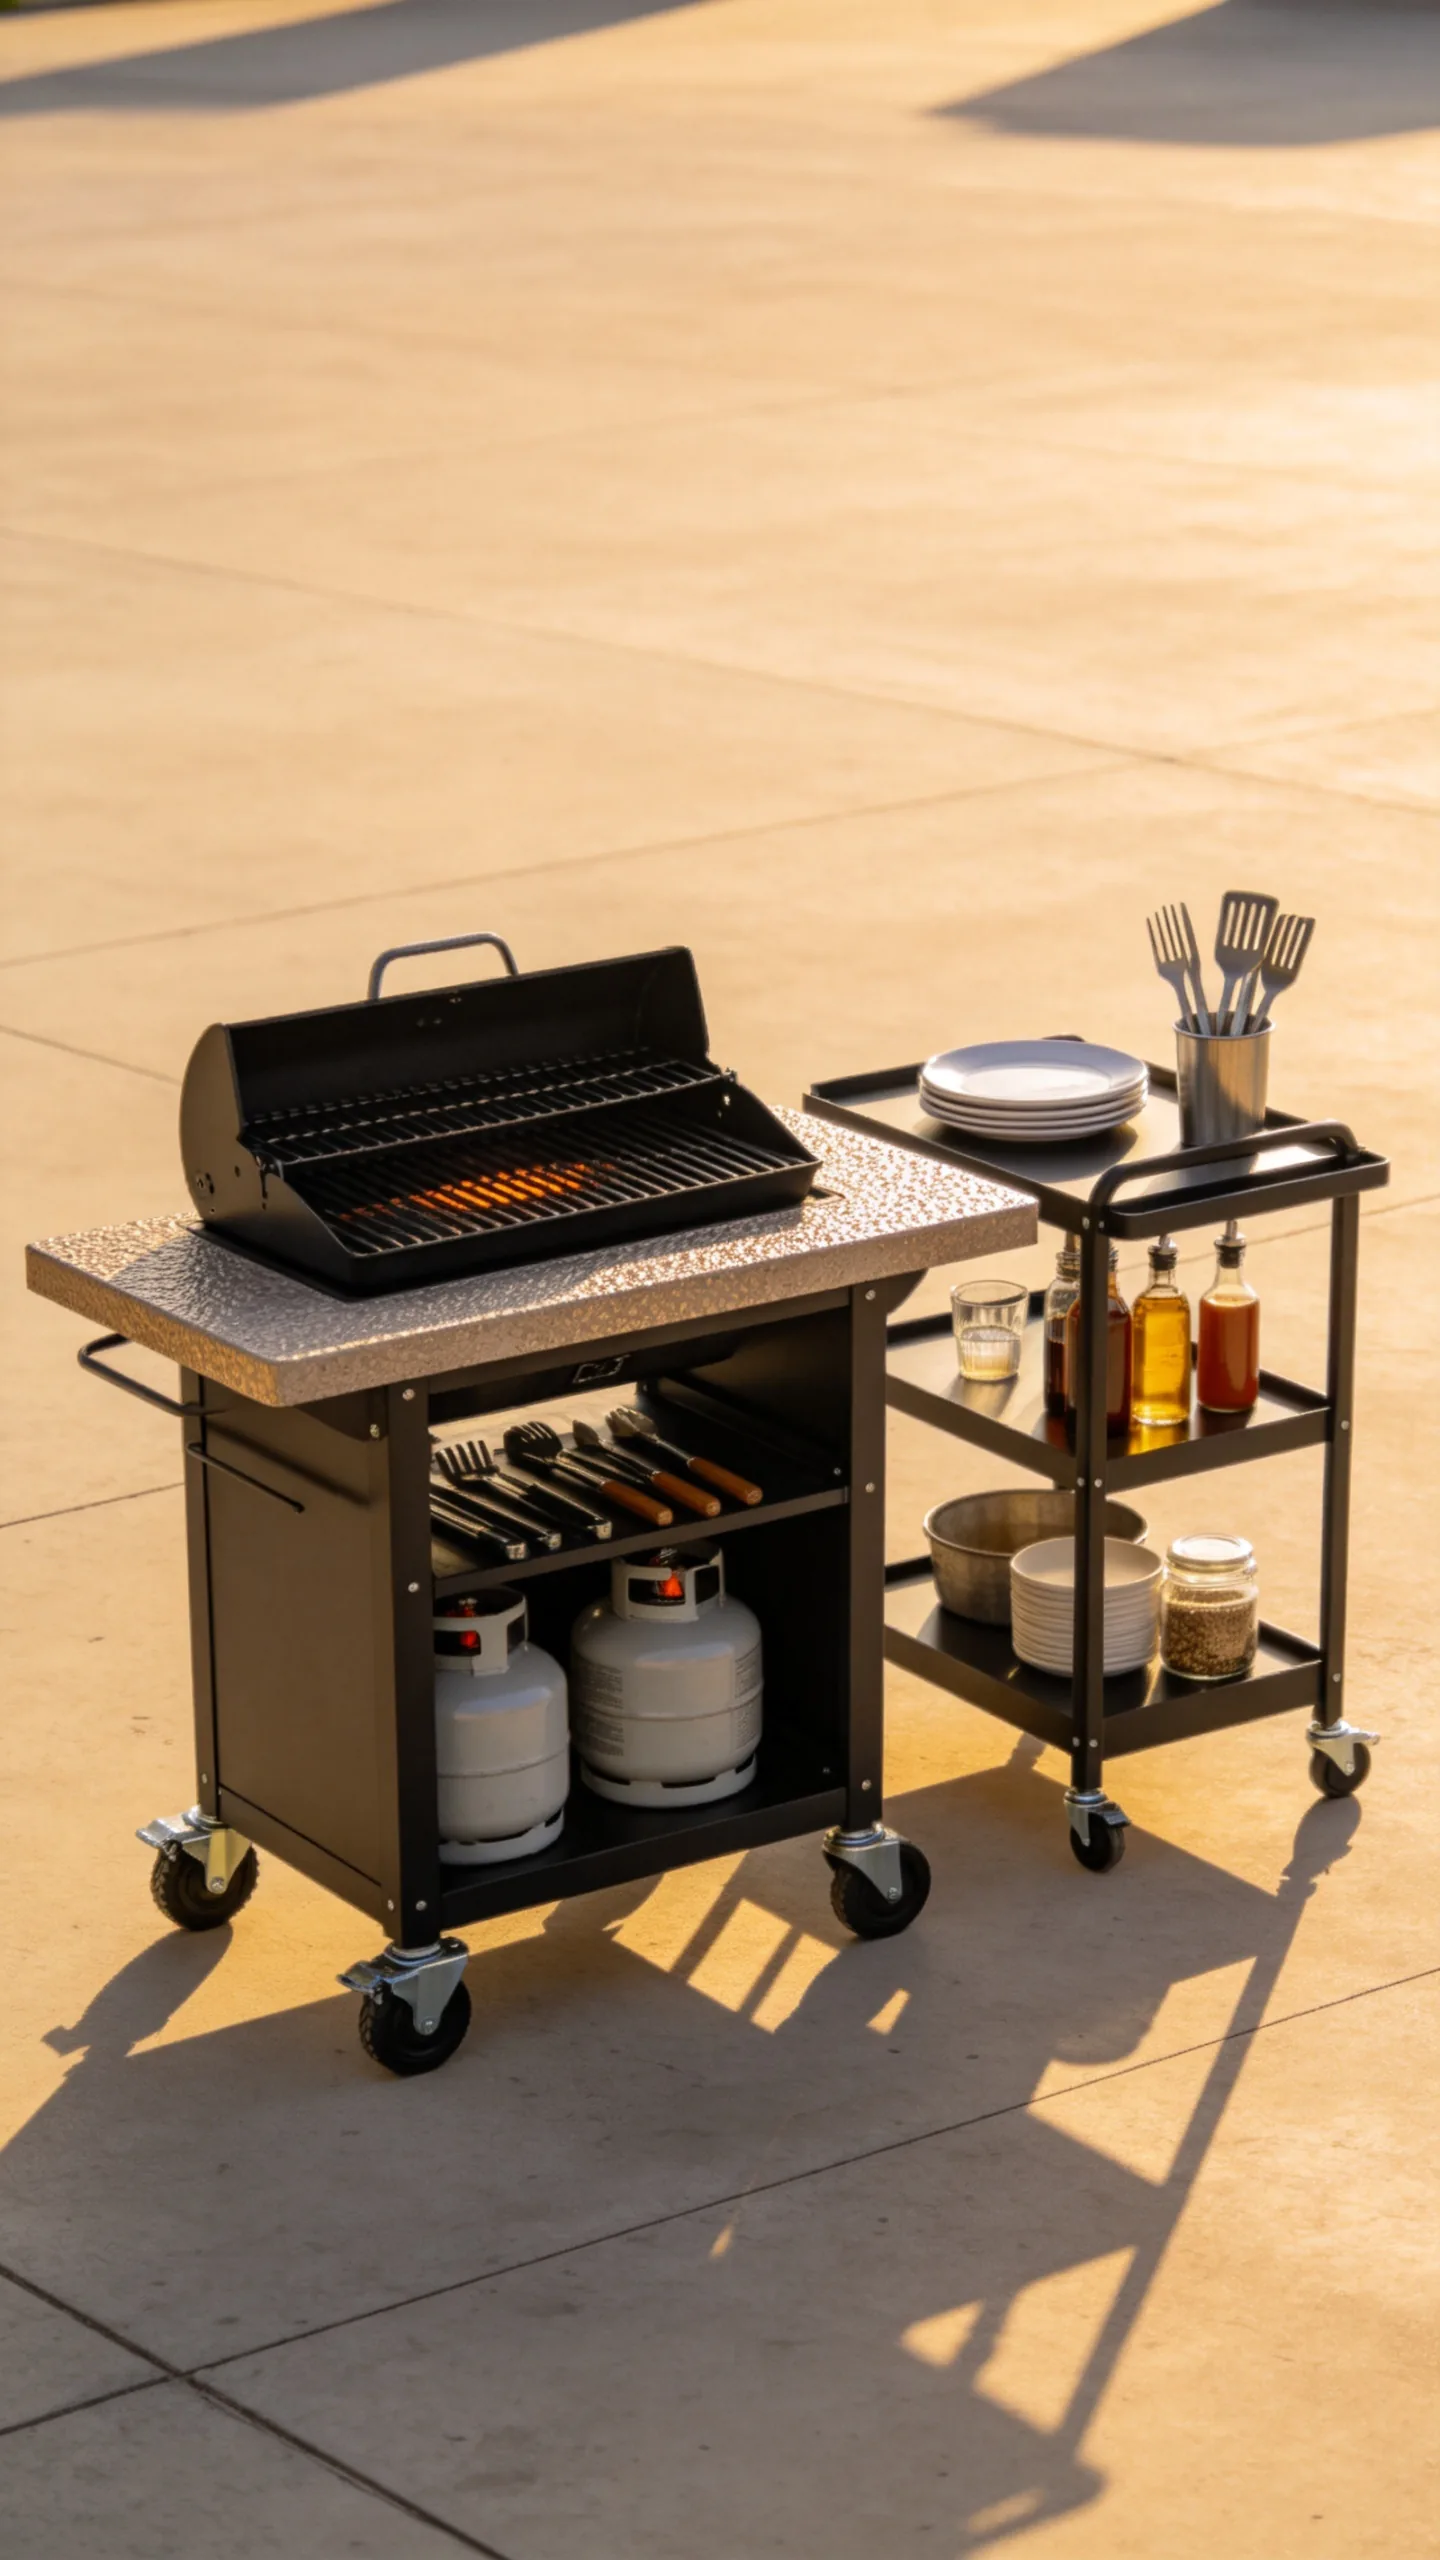
A high-quality portable grill paired with a wheeled cart can deliver much of the function of a permanent kitchen while keeping the layout flexible. Select a cart with locking casters, a heat-resistant worktop, and lower storage for fuel and tools.
Park the cart on a level hard surface and move it into covered storage during severe weather if the manufacturer recommends it. A matching bar cart can hold sauces, plates, napkins, and drinks during gatherings.
12. Add a Built-In Wood Storage Nook
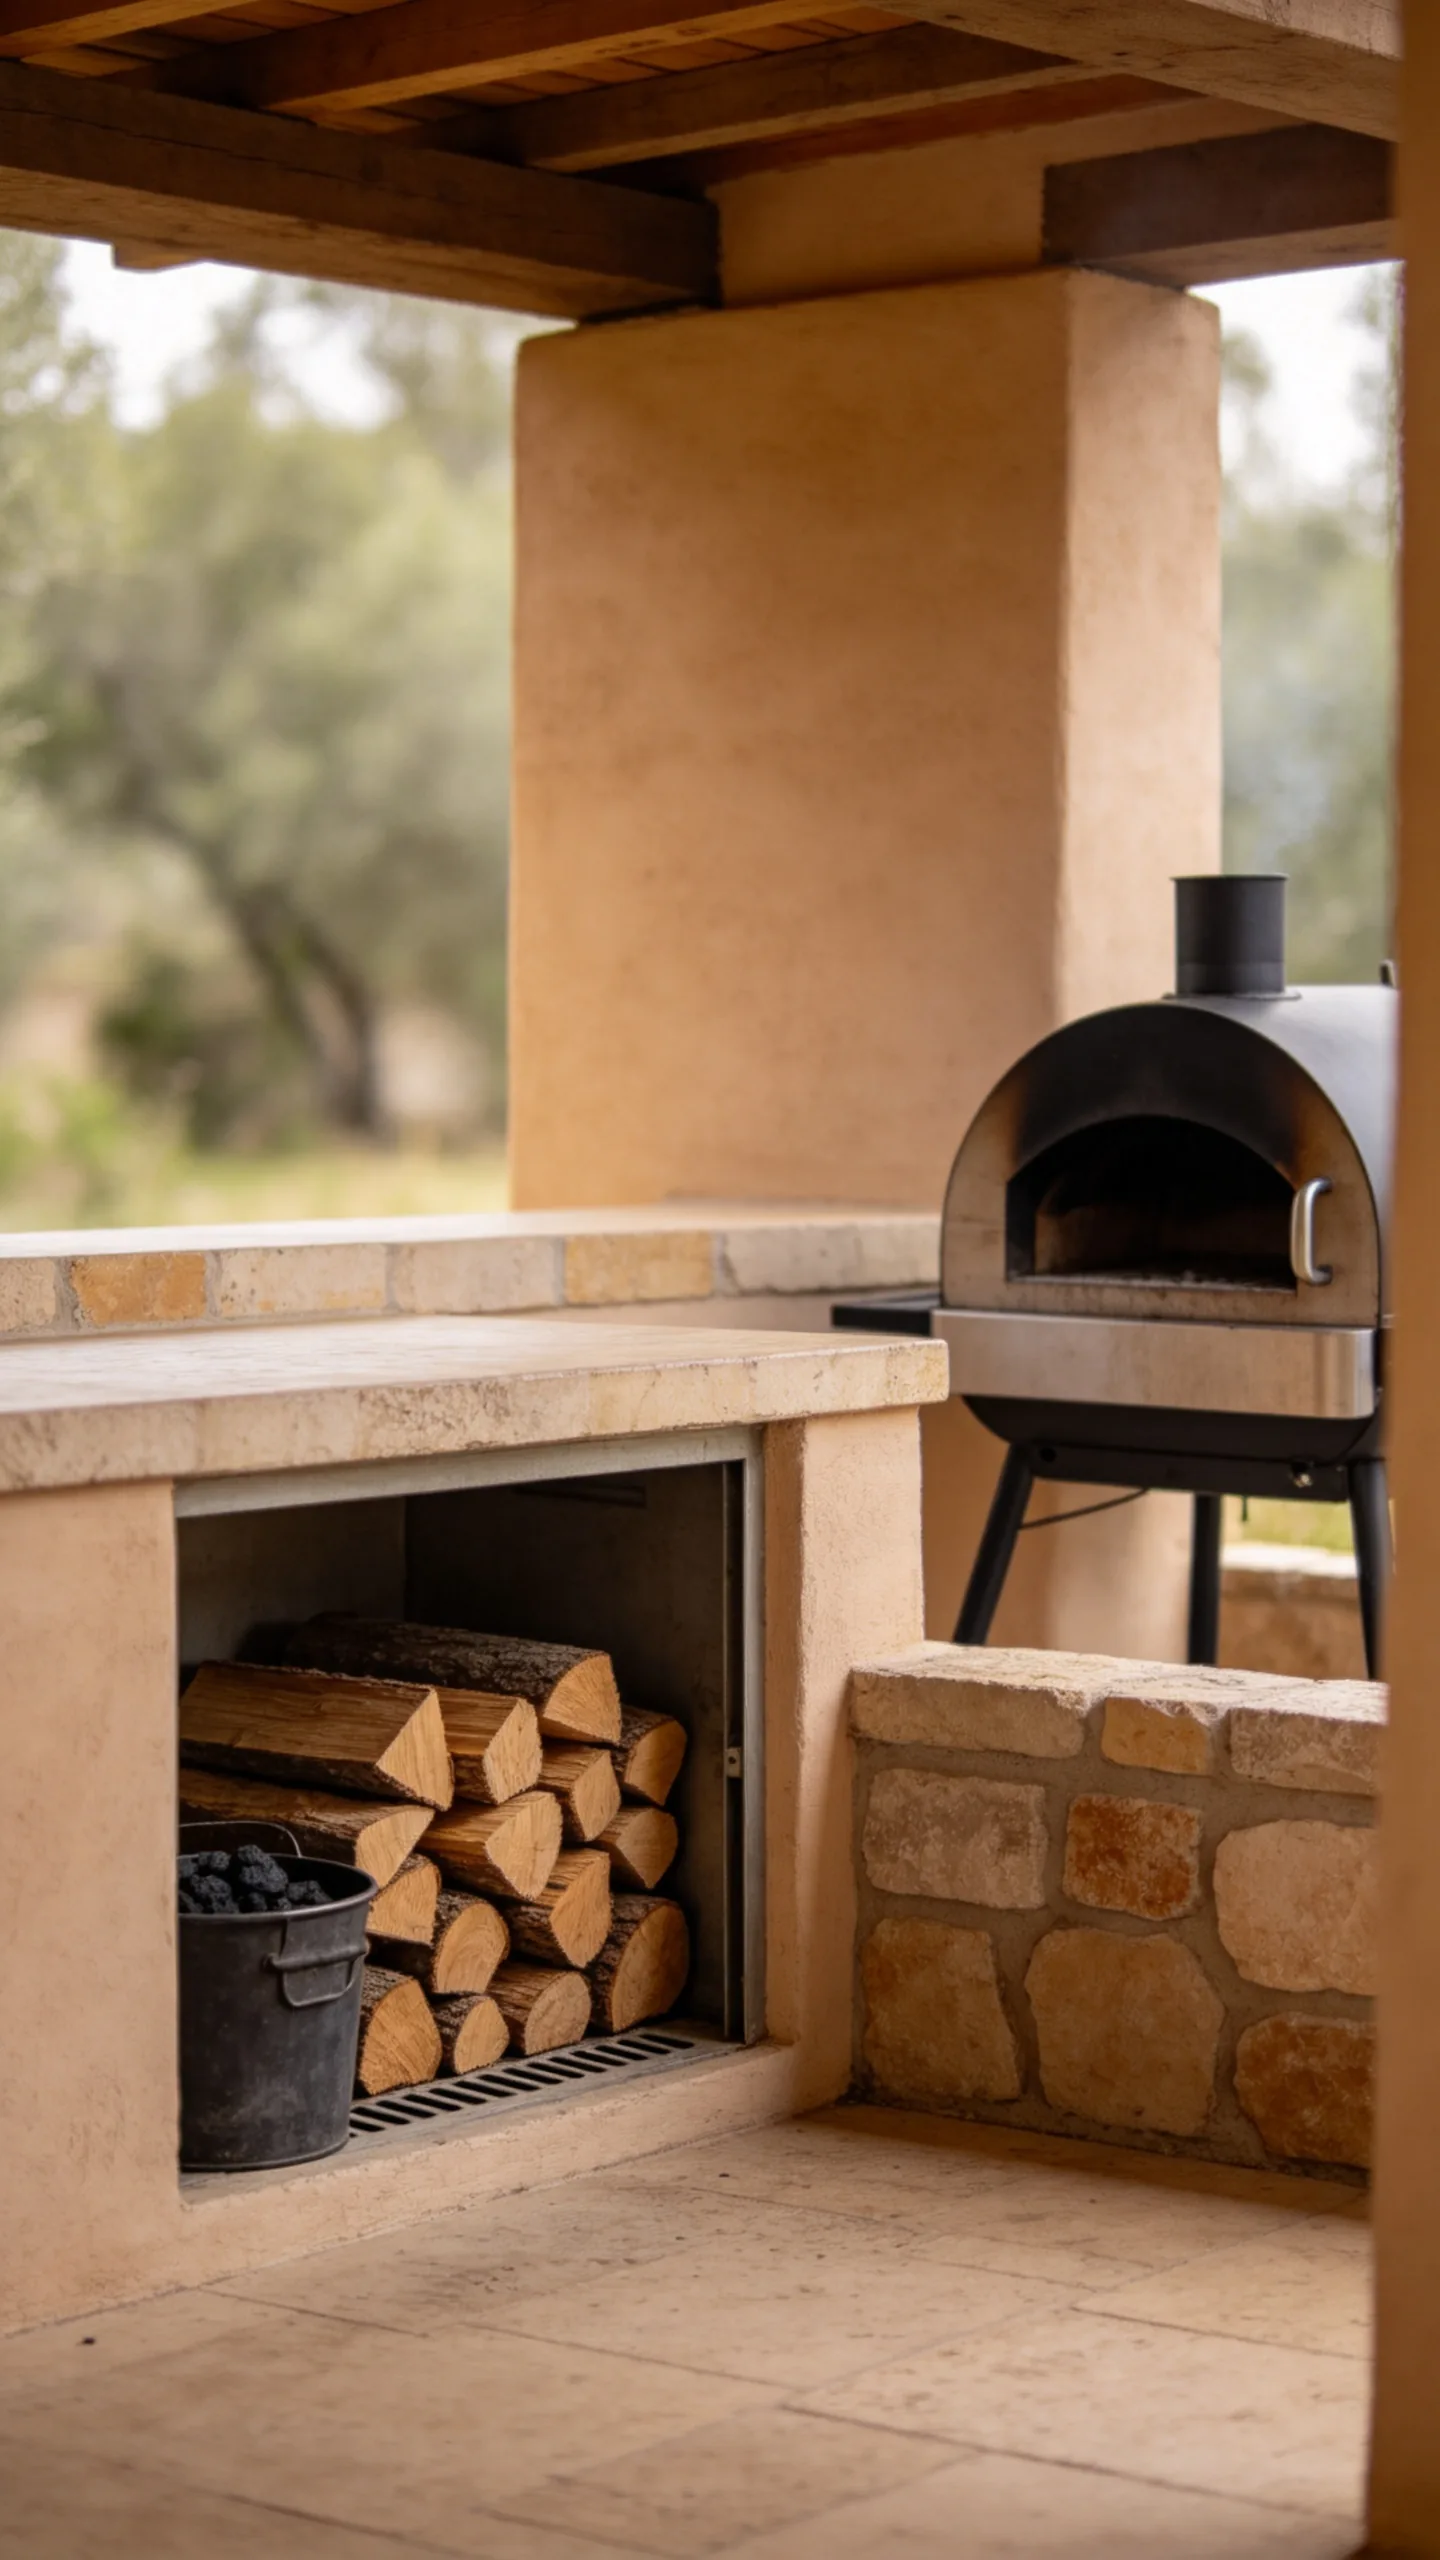
If the BBQ area includes a wood-fired oven or charcoal grill, create a dry storage niche beneath or beside the counter. Use ventilated masonry or metal framing rather than an enclosed unprotected timber compartment.
Store only the amount of wood or charcoal needed for regular use, and keep it away from direct rain while allowing air circulation. A tidy fuel nook prevents bags and logs from taking over the dining area.
13. Create a Separate Pizza and BBQ Zone
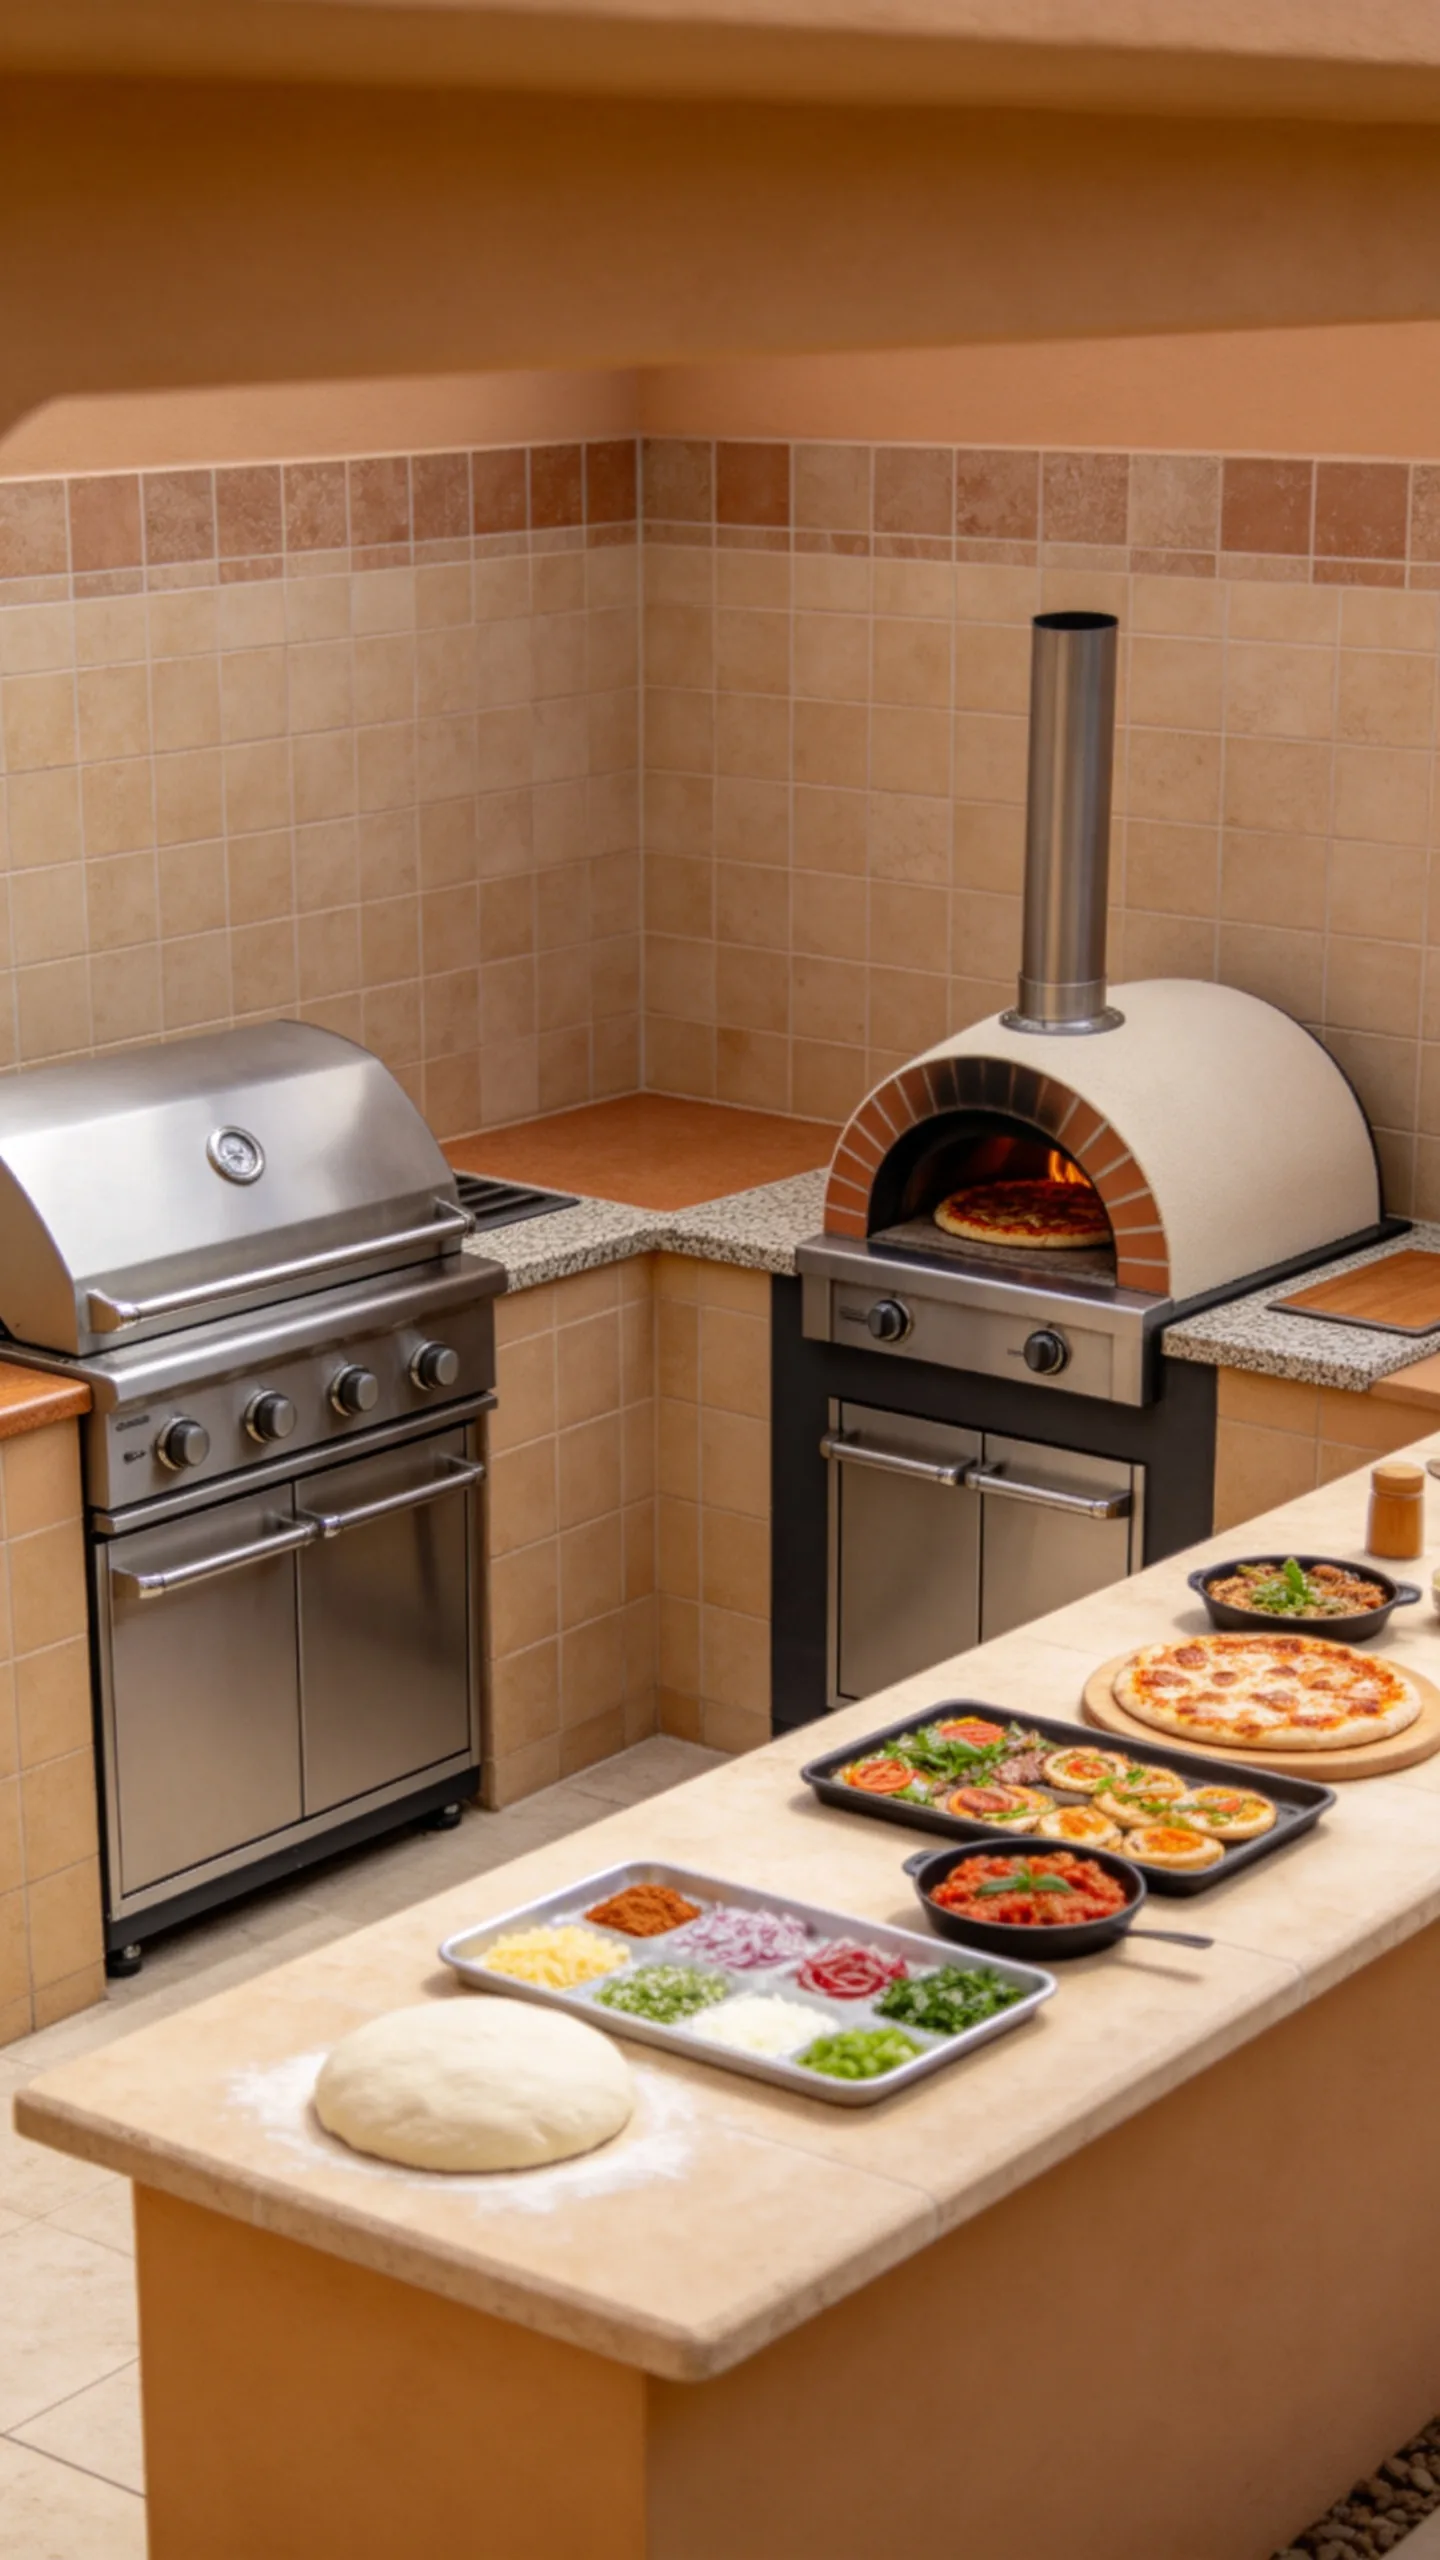
Combine a grill with a compact outdoor pizza oven, but give each appliance its own landing surface and safe clearance. Arrange the ovens along one wall and place a broad prep counter nearby for dough, toppings, trays, and finished food.
Use heat-resistant tile or stone behind the appliances. Keep a clear walkway in front so the cook can handle hot doors and pans without colliding with guests.
14. Add a Roof With Openable Ventilation
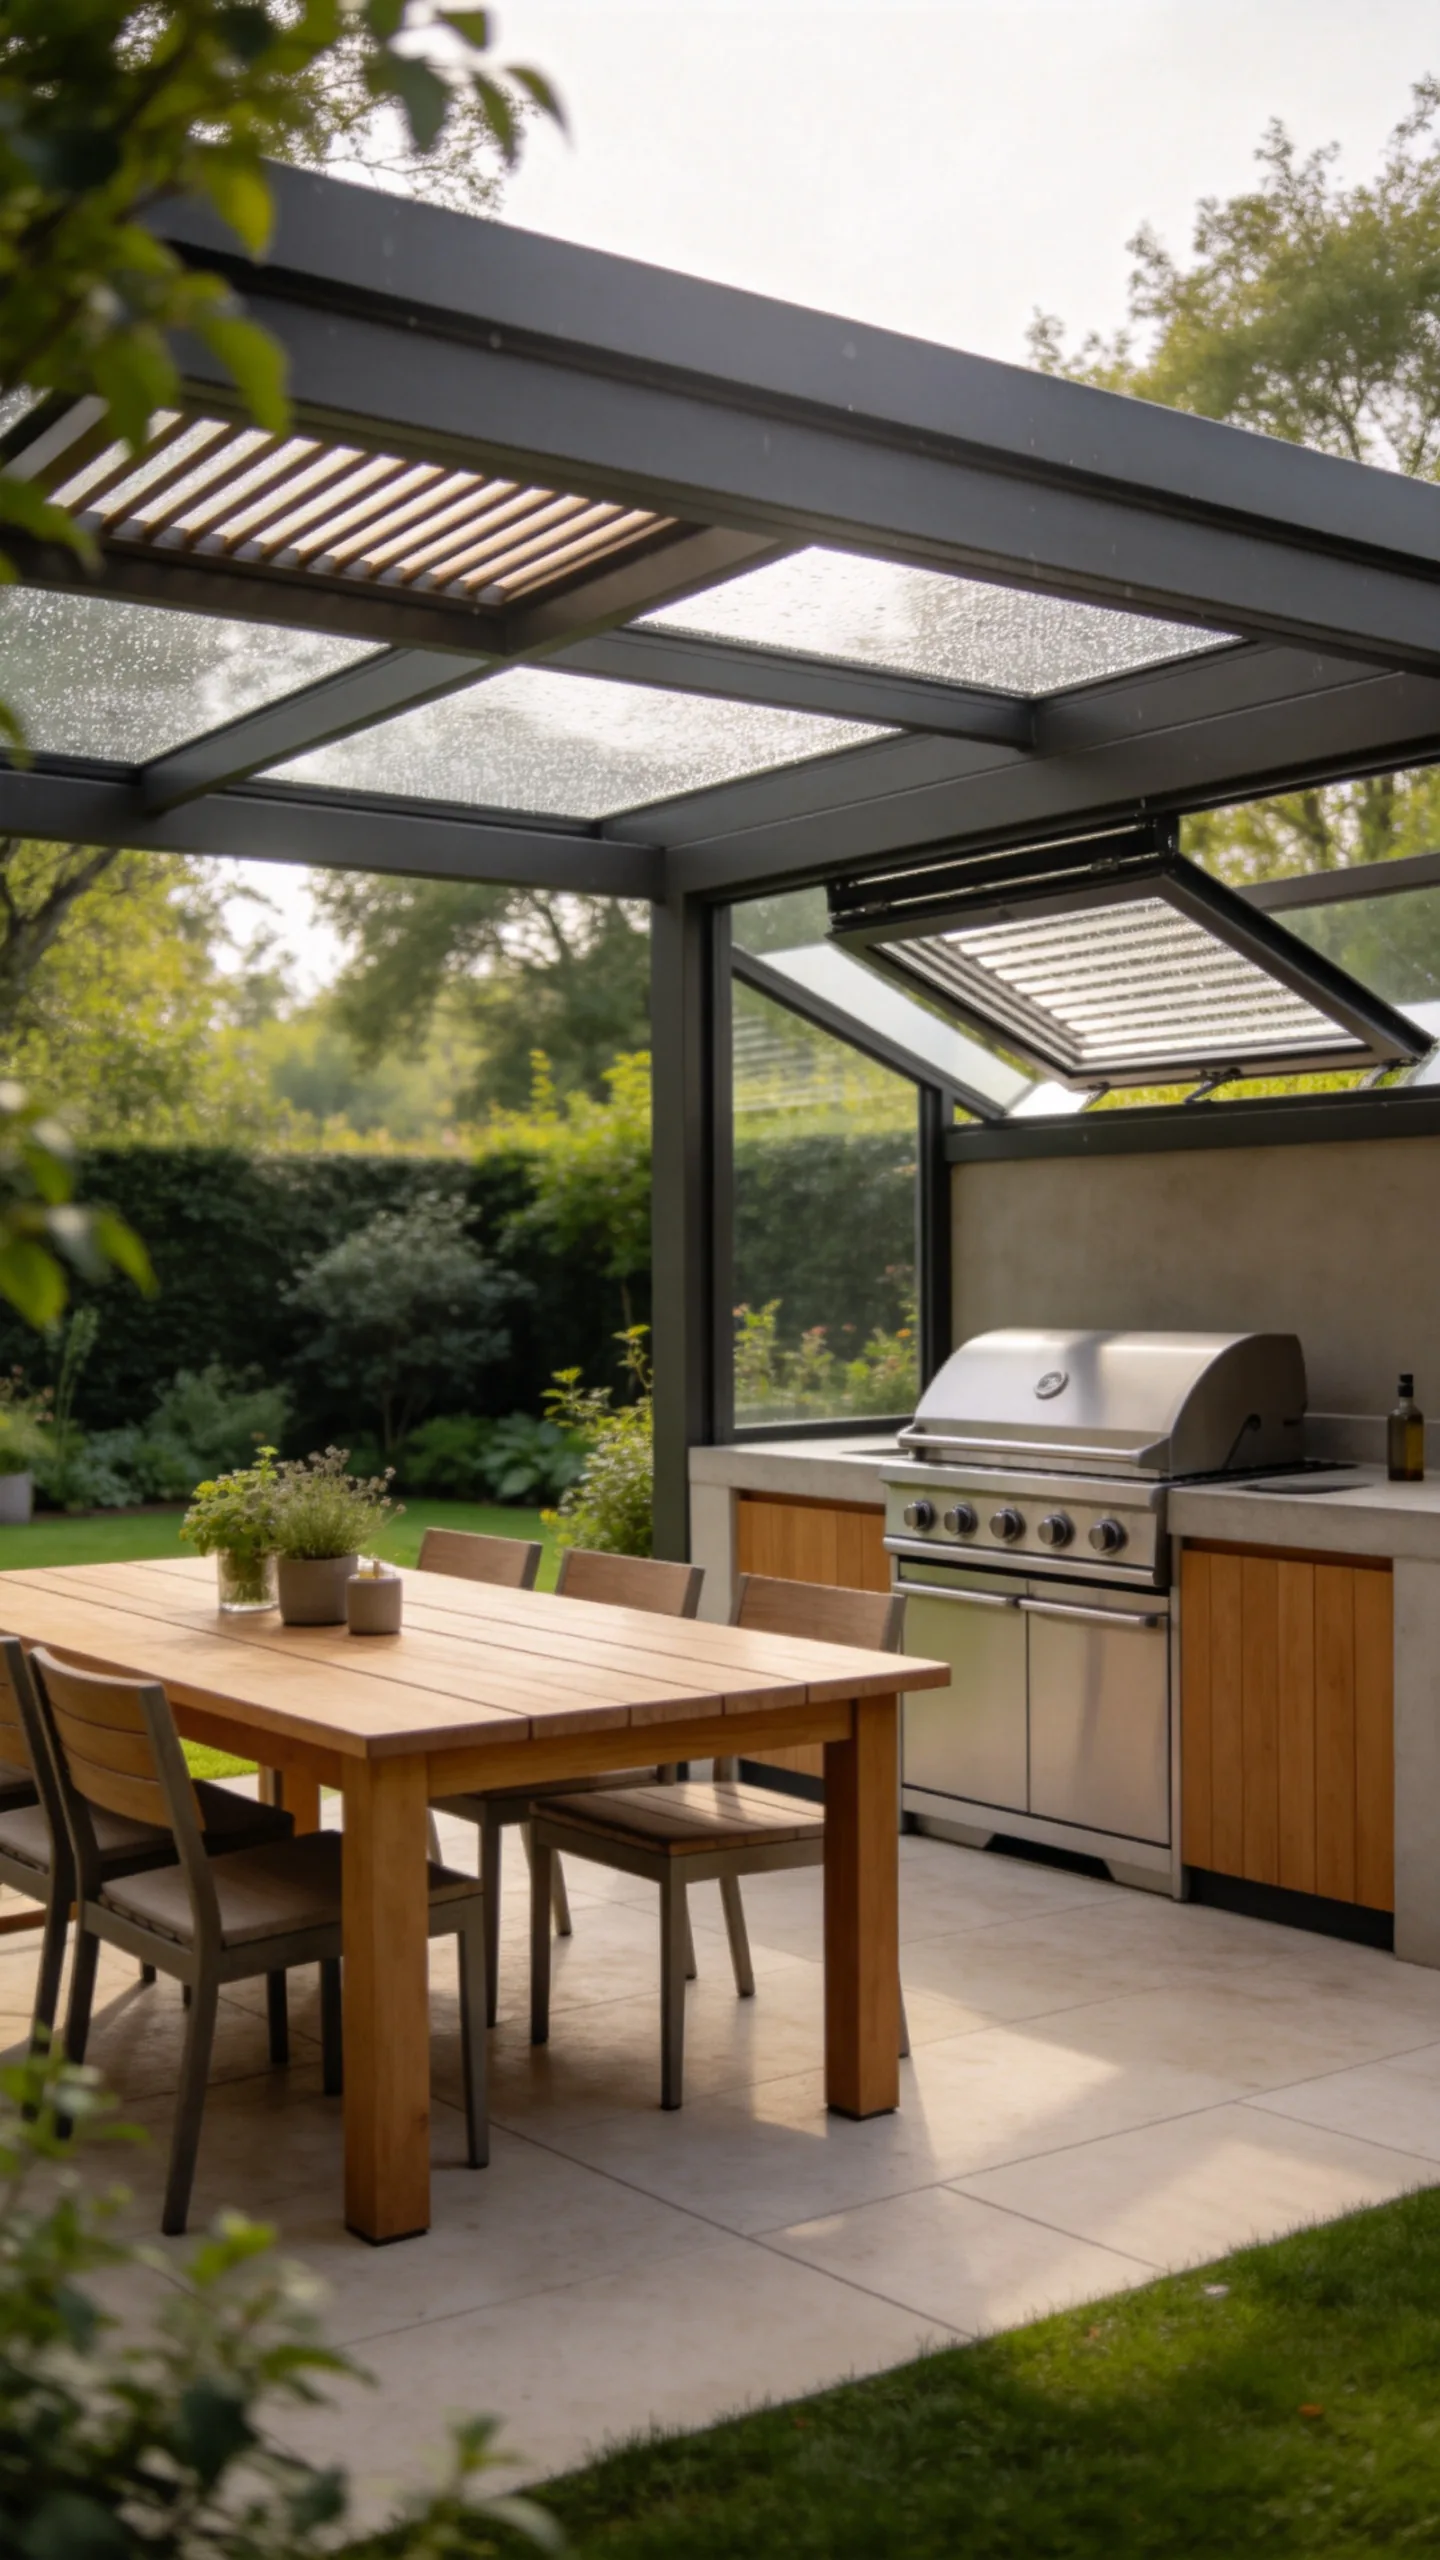
A covered BBQ area can extend the cooking season, but the roof must be designed for smoke, heat, and appliance ventilation. Use an approved hood or ventilation system for enclosed or partially enclosed layouts, and check local building and fire regulations.
For a more open design, combine a solid rain-shelter section over the dining table with an uncovered grill bay. This protects guests from weather while keeping the cooking appliance in a naturally ventilated location.
15. Use Outdoor Cabinets for Hidden Storage
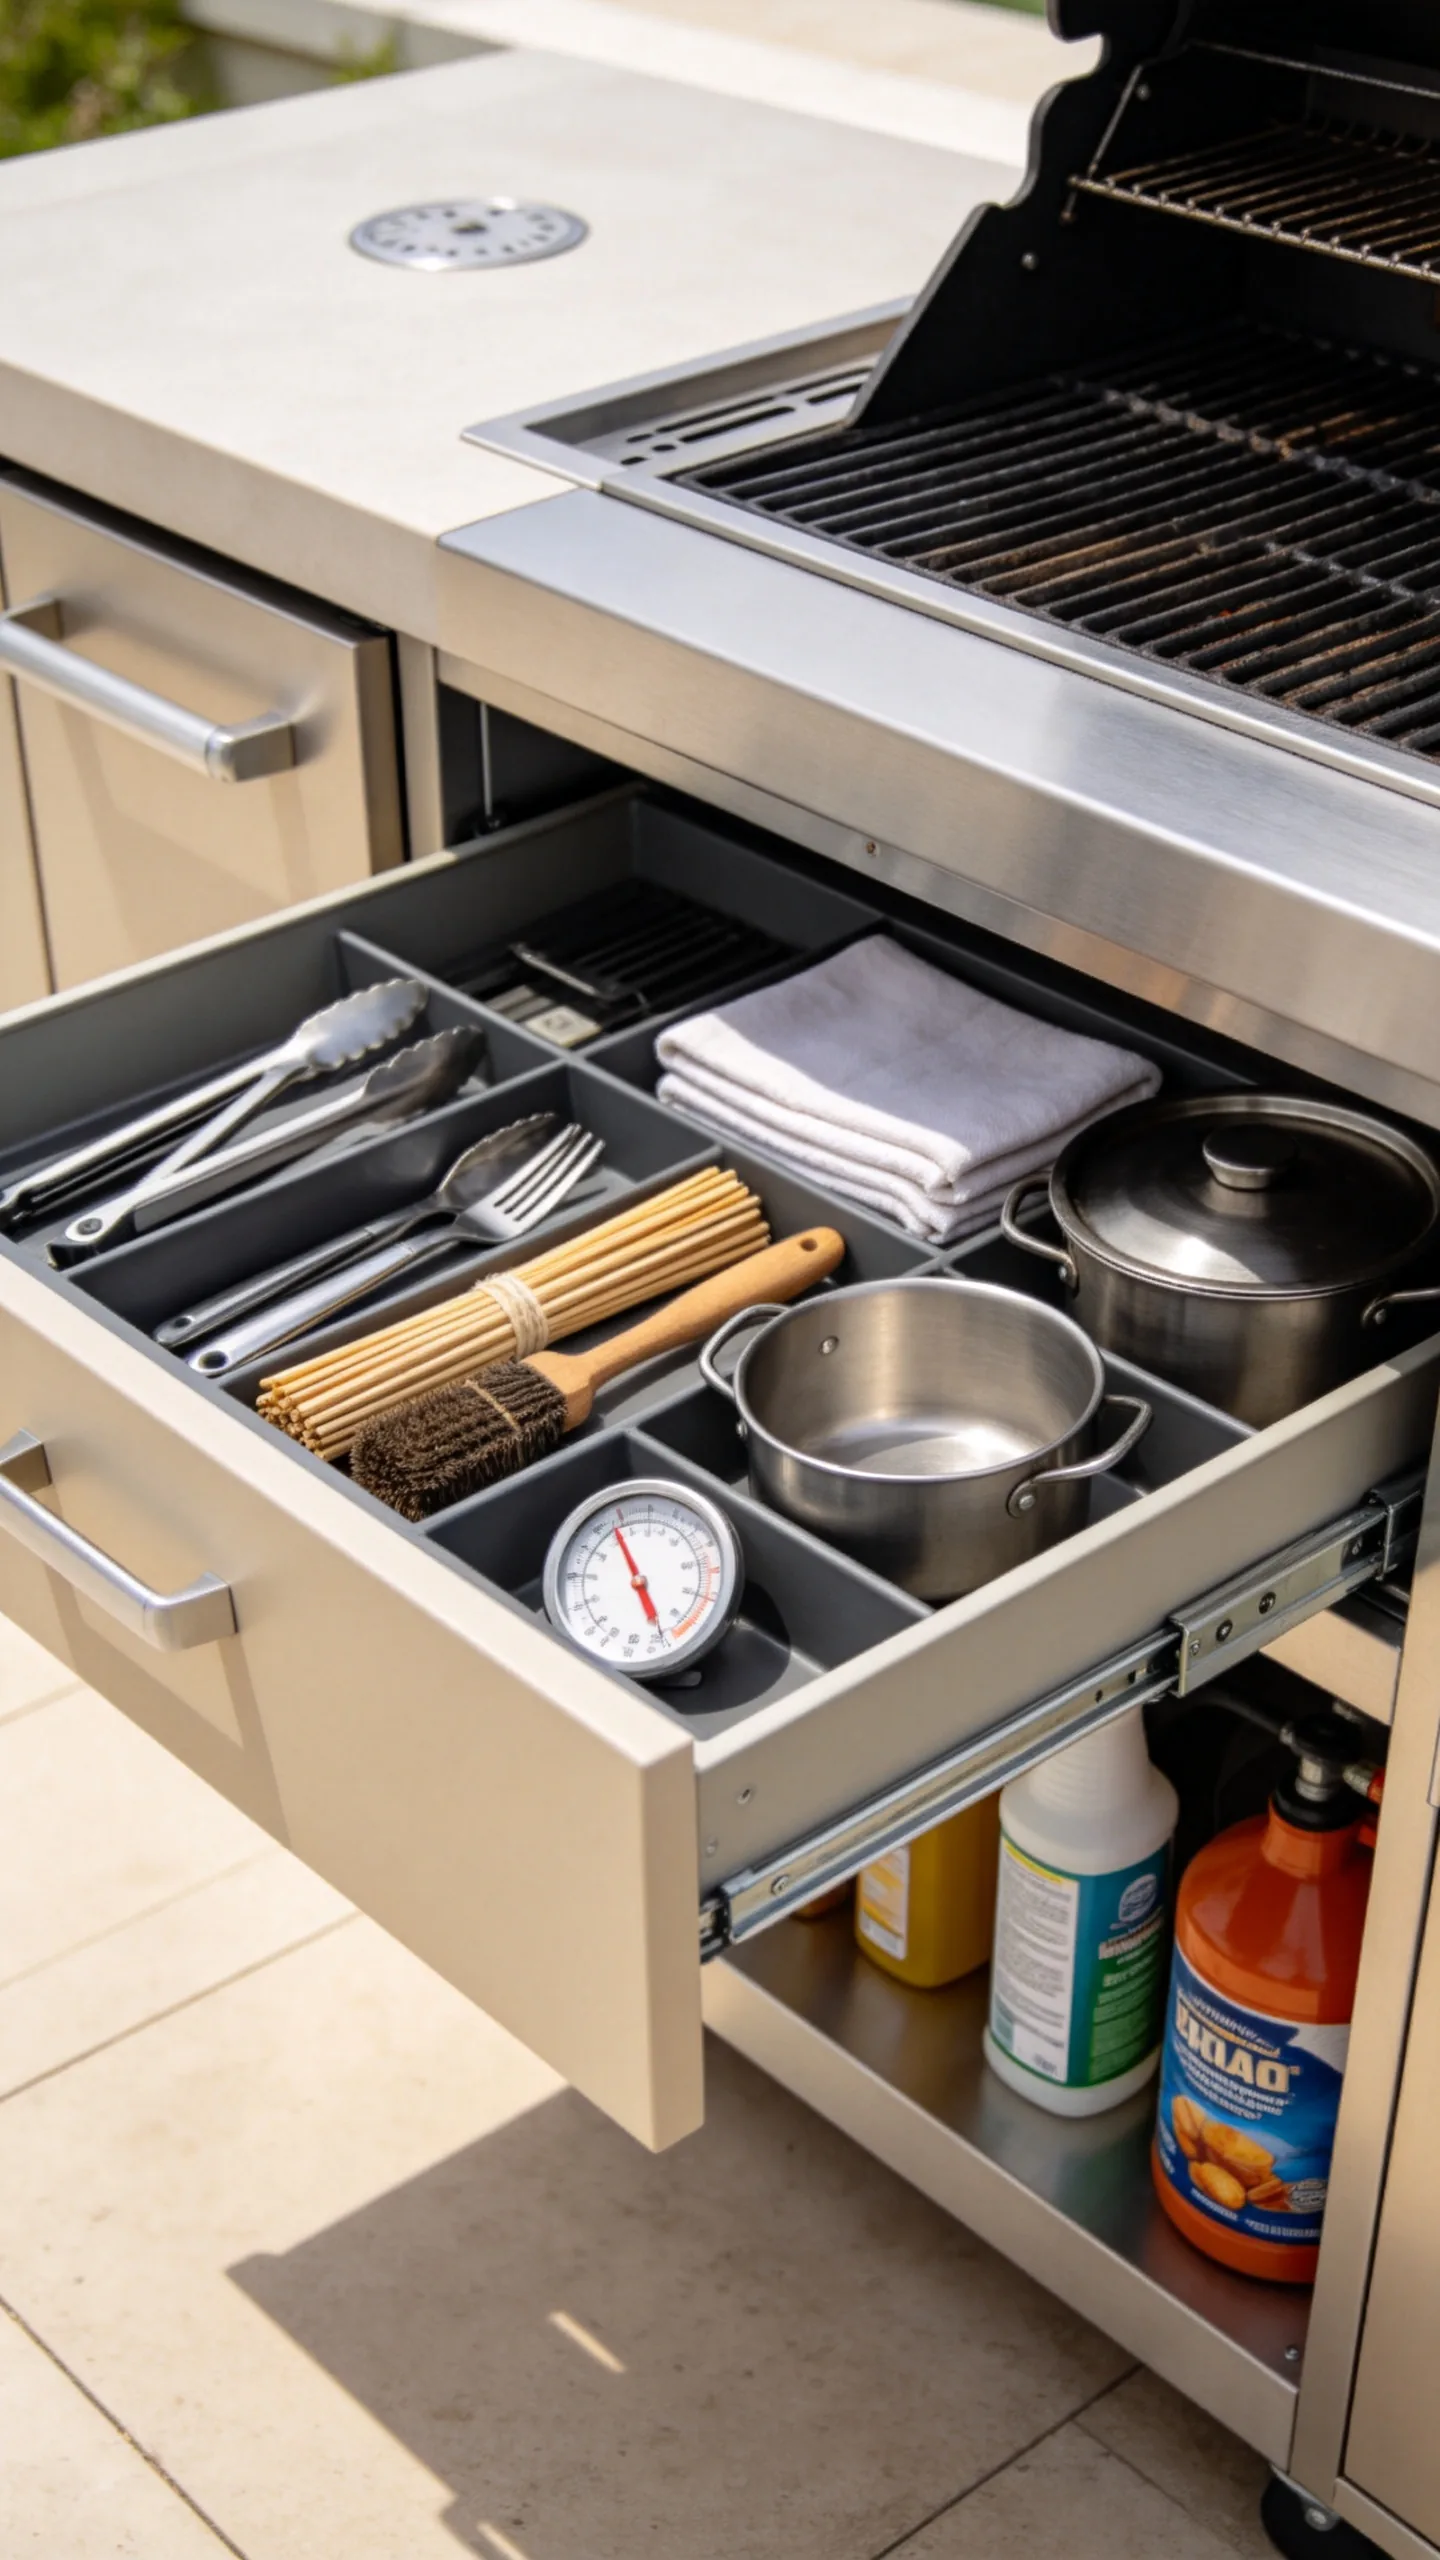
Install cabinets made from marine-grade polymer, stainless steel, powder-coated aluminum, or another material rated for outdoor exposure. Reserve separate compartments for sharp tools, cookware, fuel, table linens, and cleaning products.
Add drawers directly beneath the prep surface for tongs, thermometers, skewers, and grill brushes. Keeping these items at the station reduces trips indoors and leaves the counter ready for serving.
16. Design a BBQ Area Around a Fire Pit
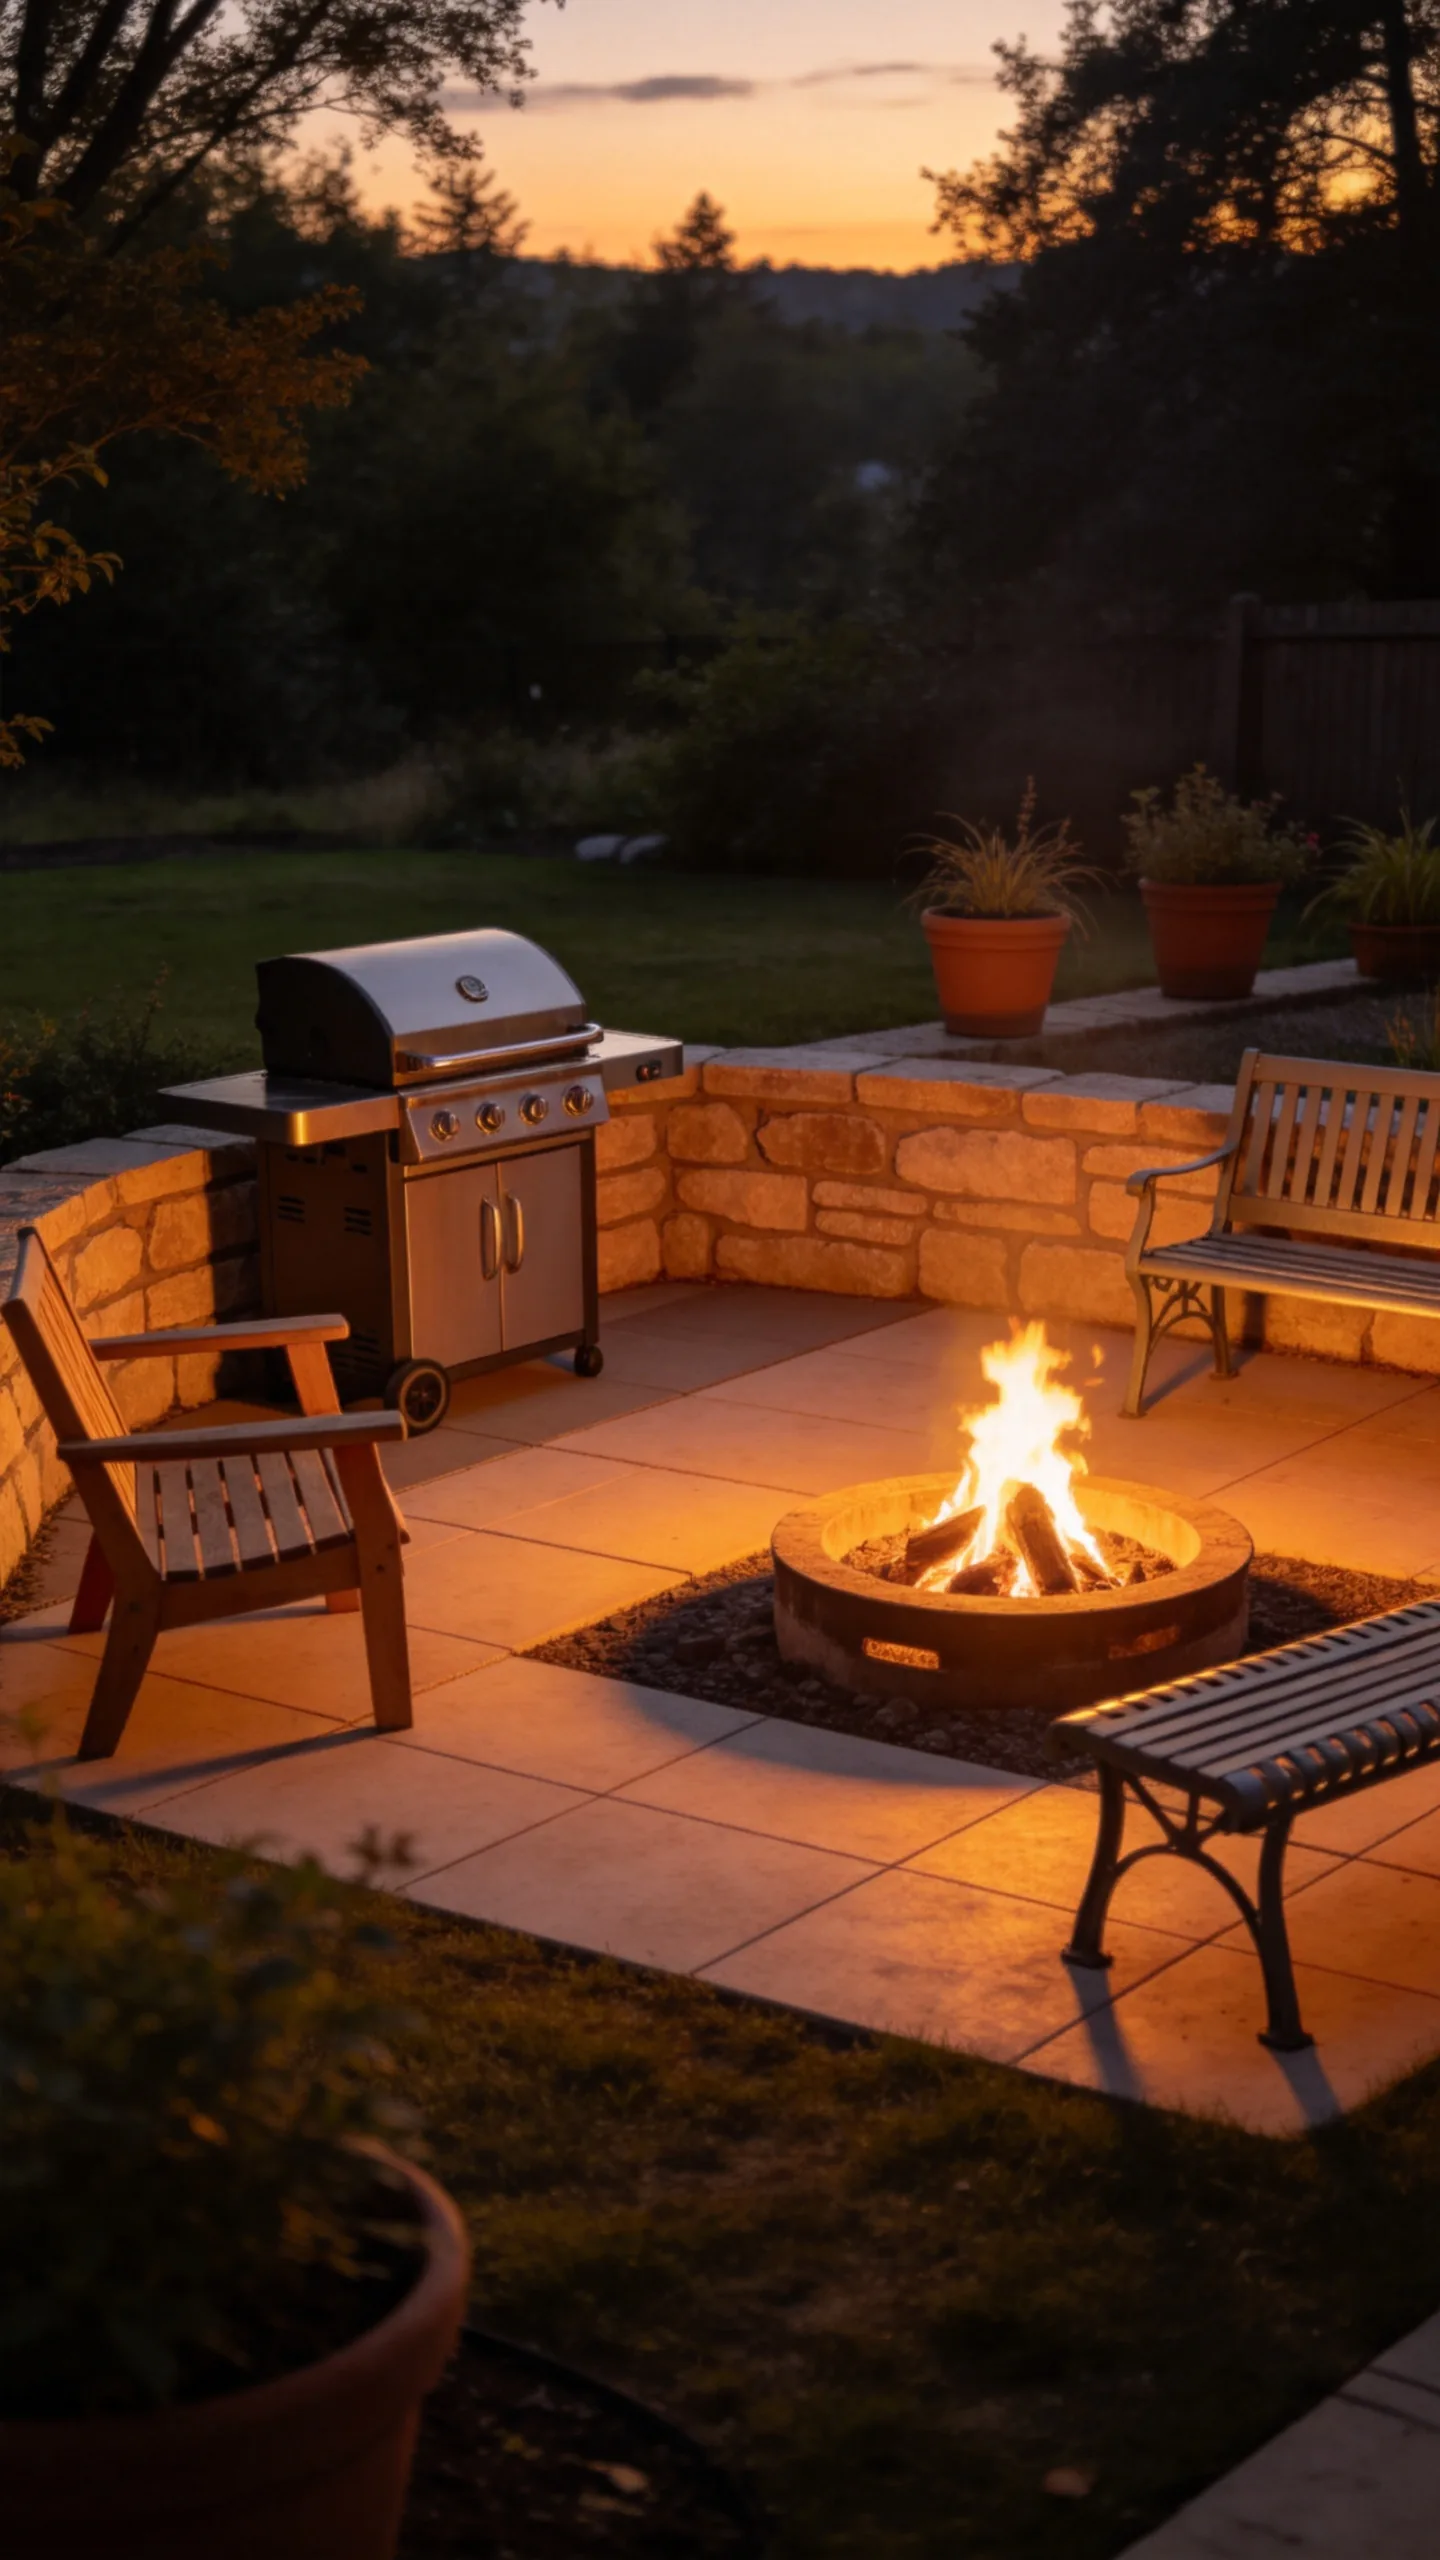
Place the grill or cooking grate near, but not directly over, a dedicated fire pit zone to create a layered evening entertaining space. Use noncombustible paving around both features and provide seating that can be moved away from heat.
Separate the BBQ work area from the fire pit with a low stone wall, planter, or change in paving pattern. This keeps grilling traffic organized while allowing the fire feature to remain a relaxed gathering point.
17. Add Layered Lighting for Evening Cooking
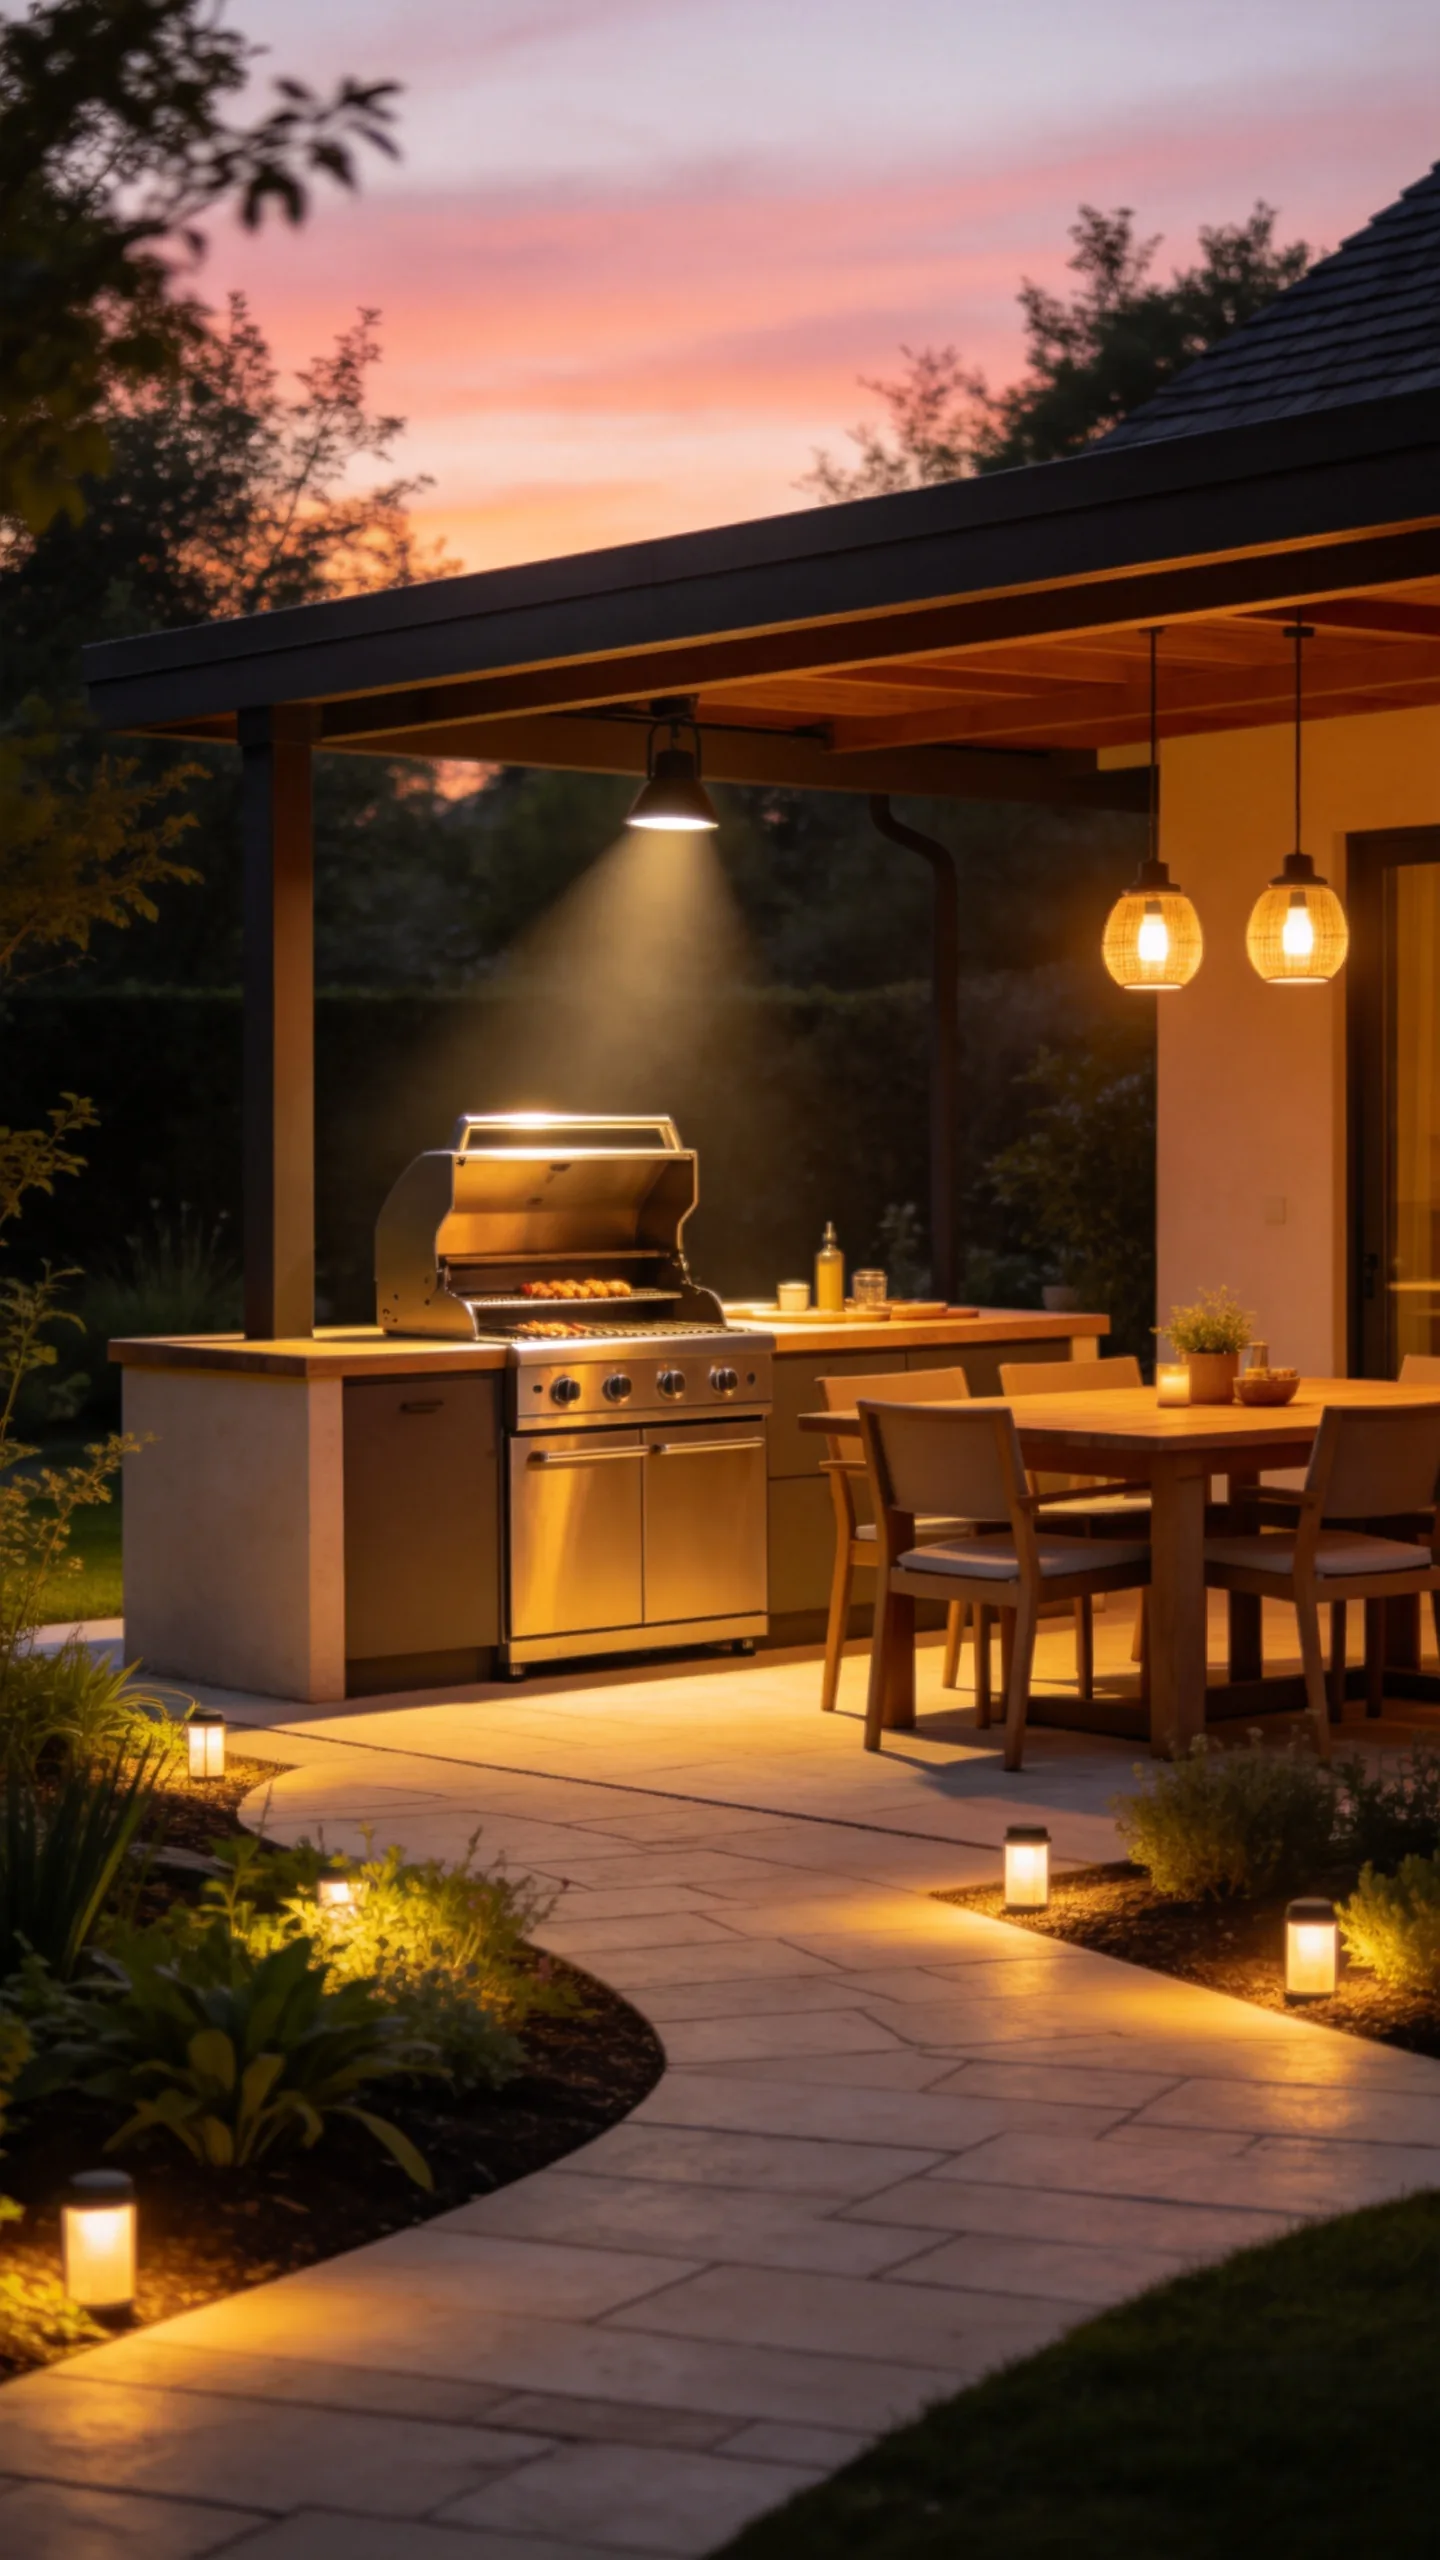
Combine task lighting at the grill, low-level path lights, and warm ambient fixtures over the dining table. Shield bulbs so they illuminate the work surface without shining into the cook’s eyes or creating excessive glare.
Use outdoor-rated fittings and protect electrical connections according to local codes. Solar lights can mark paths and planting beds, while a properly installed circuit is more reliable for bright task lighting.
18. Create a Shaded BBQ Area With Container Trees
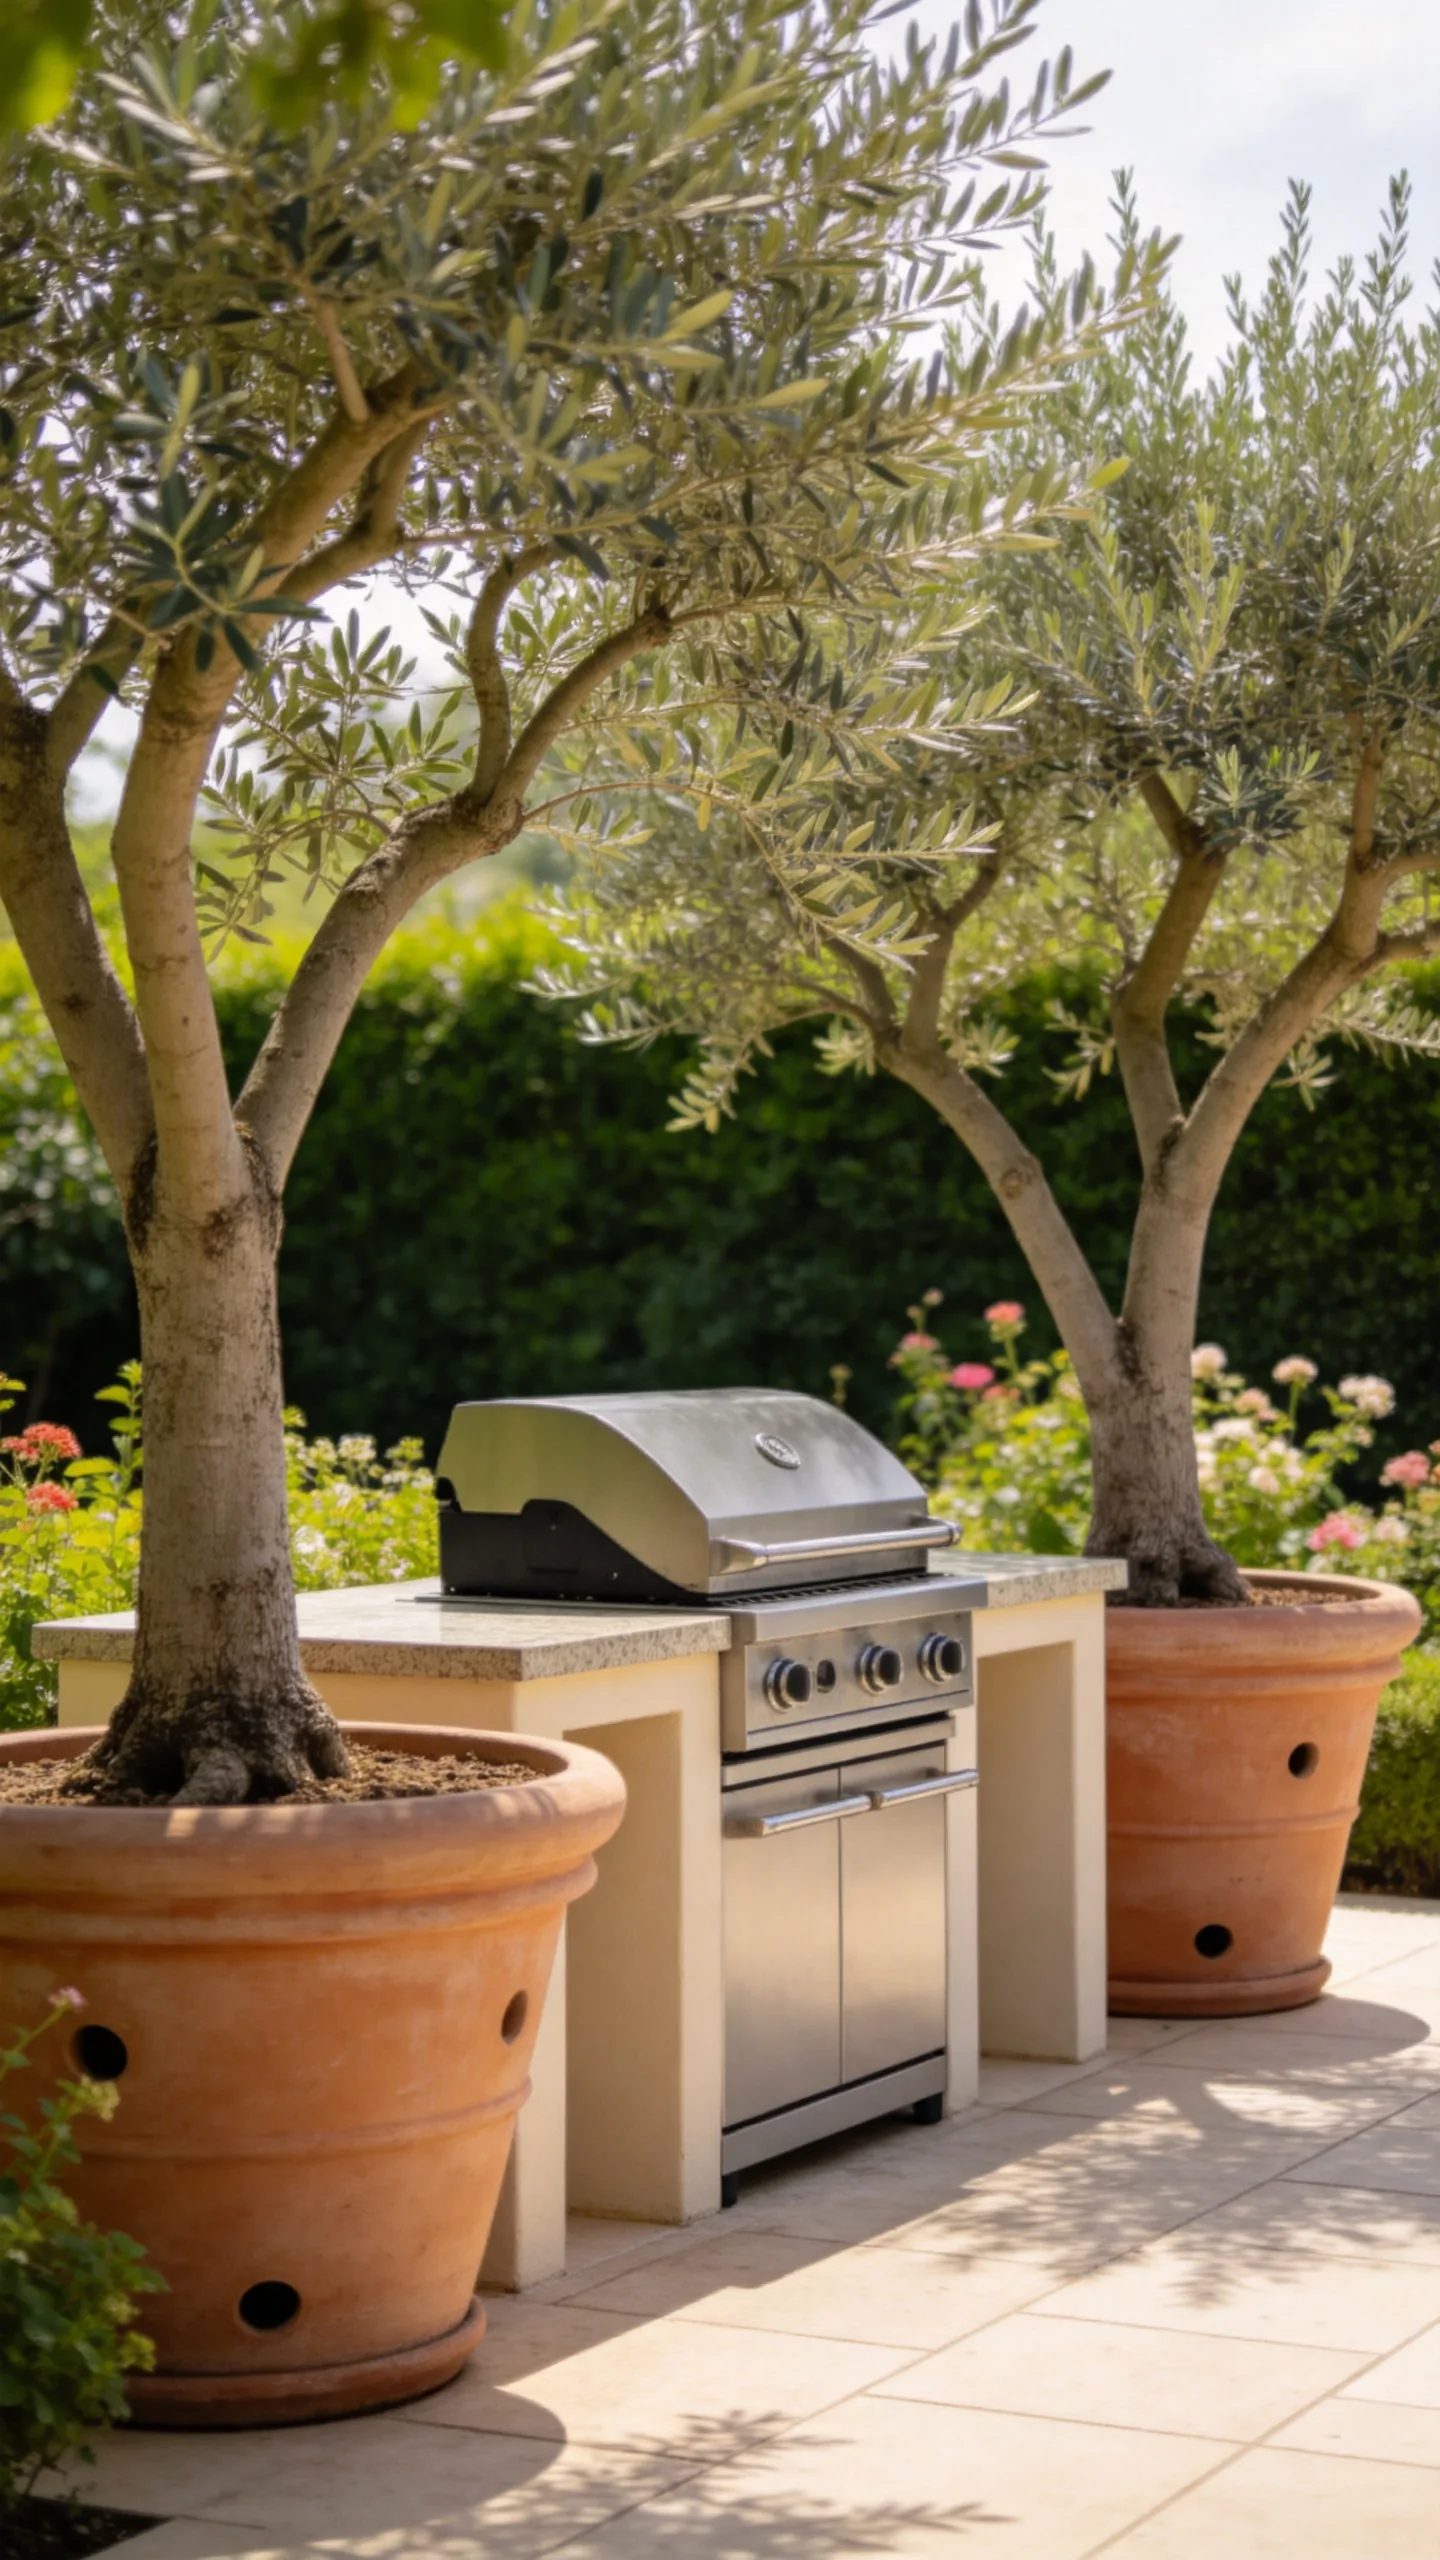
Use large, stable containers with compact trees to provide movable shade and a green backdrop around the cooking patio. Depending on climate and available space, options may include a dwarf citrus, olive, Japanese maple, or small multi-stem ornamental tree.
Keep containers far enough from the grill to protect leaves, flowers, and roots from excessive heat. Select pots with drainage holes, use a well-draining mix, and add casters only if the container remains stable when moved.
19. Build a Privacy Screen Behind the Grill
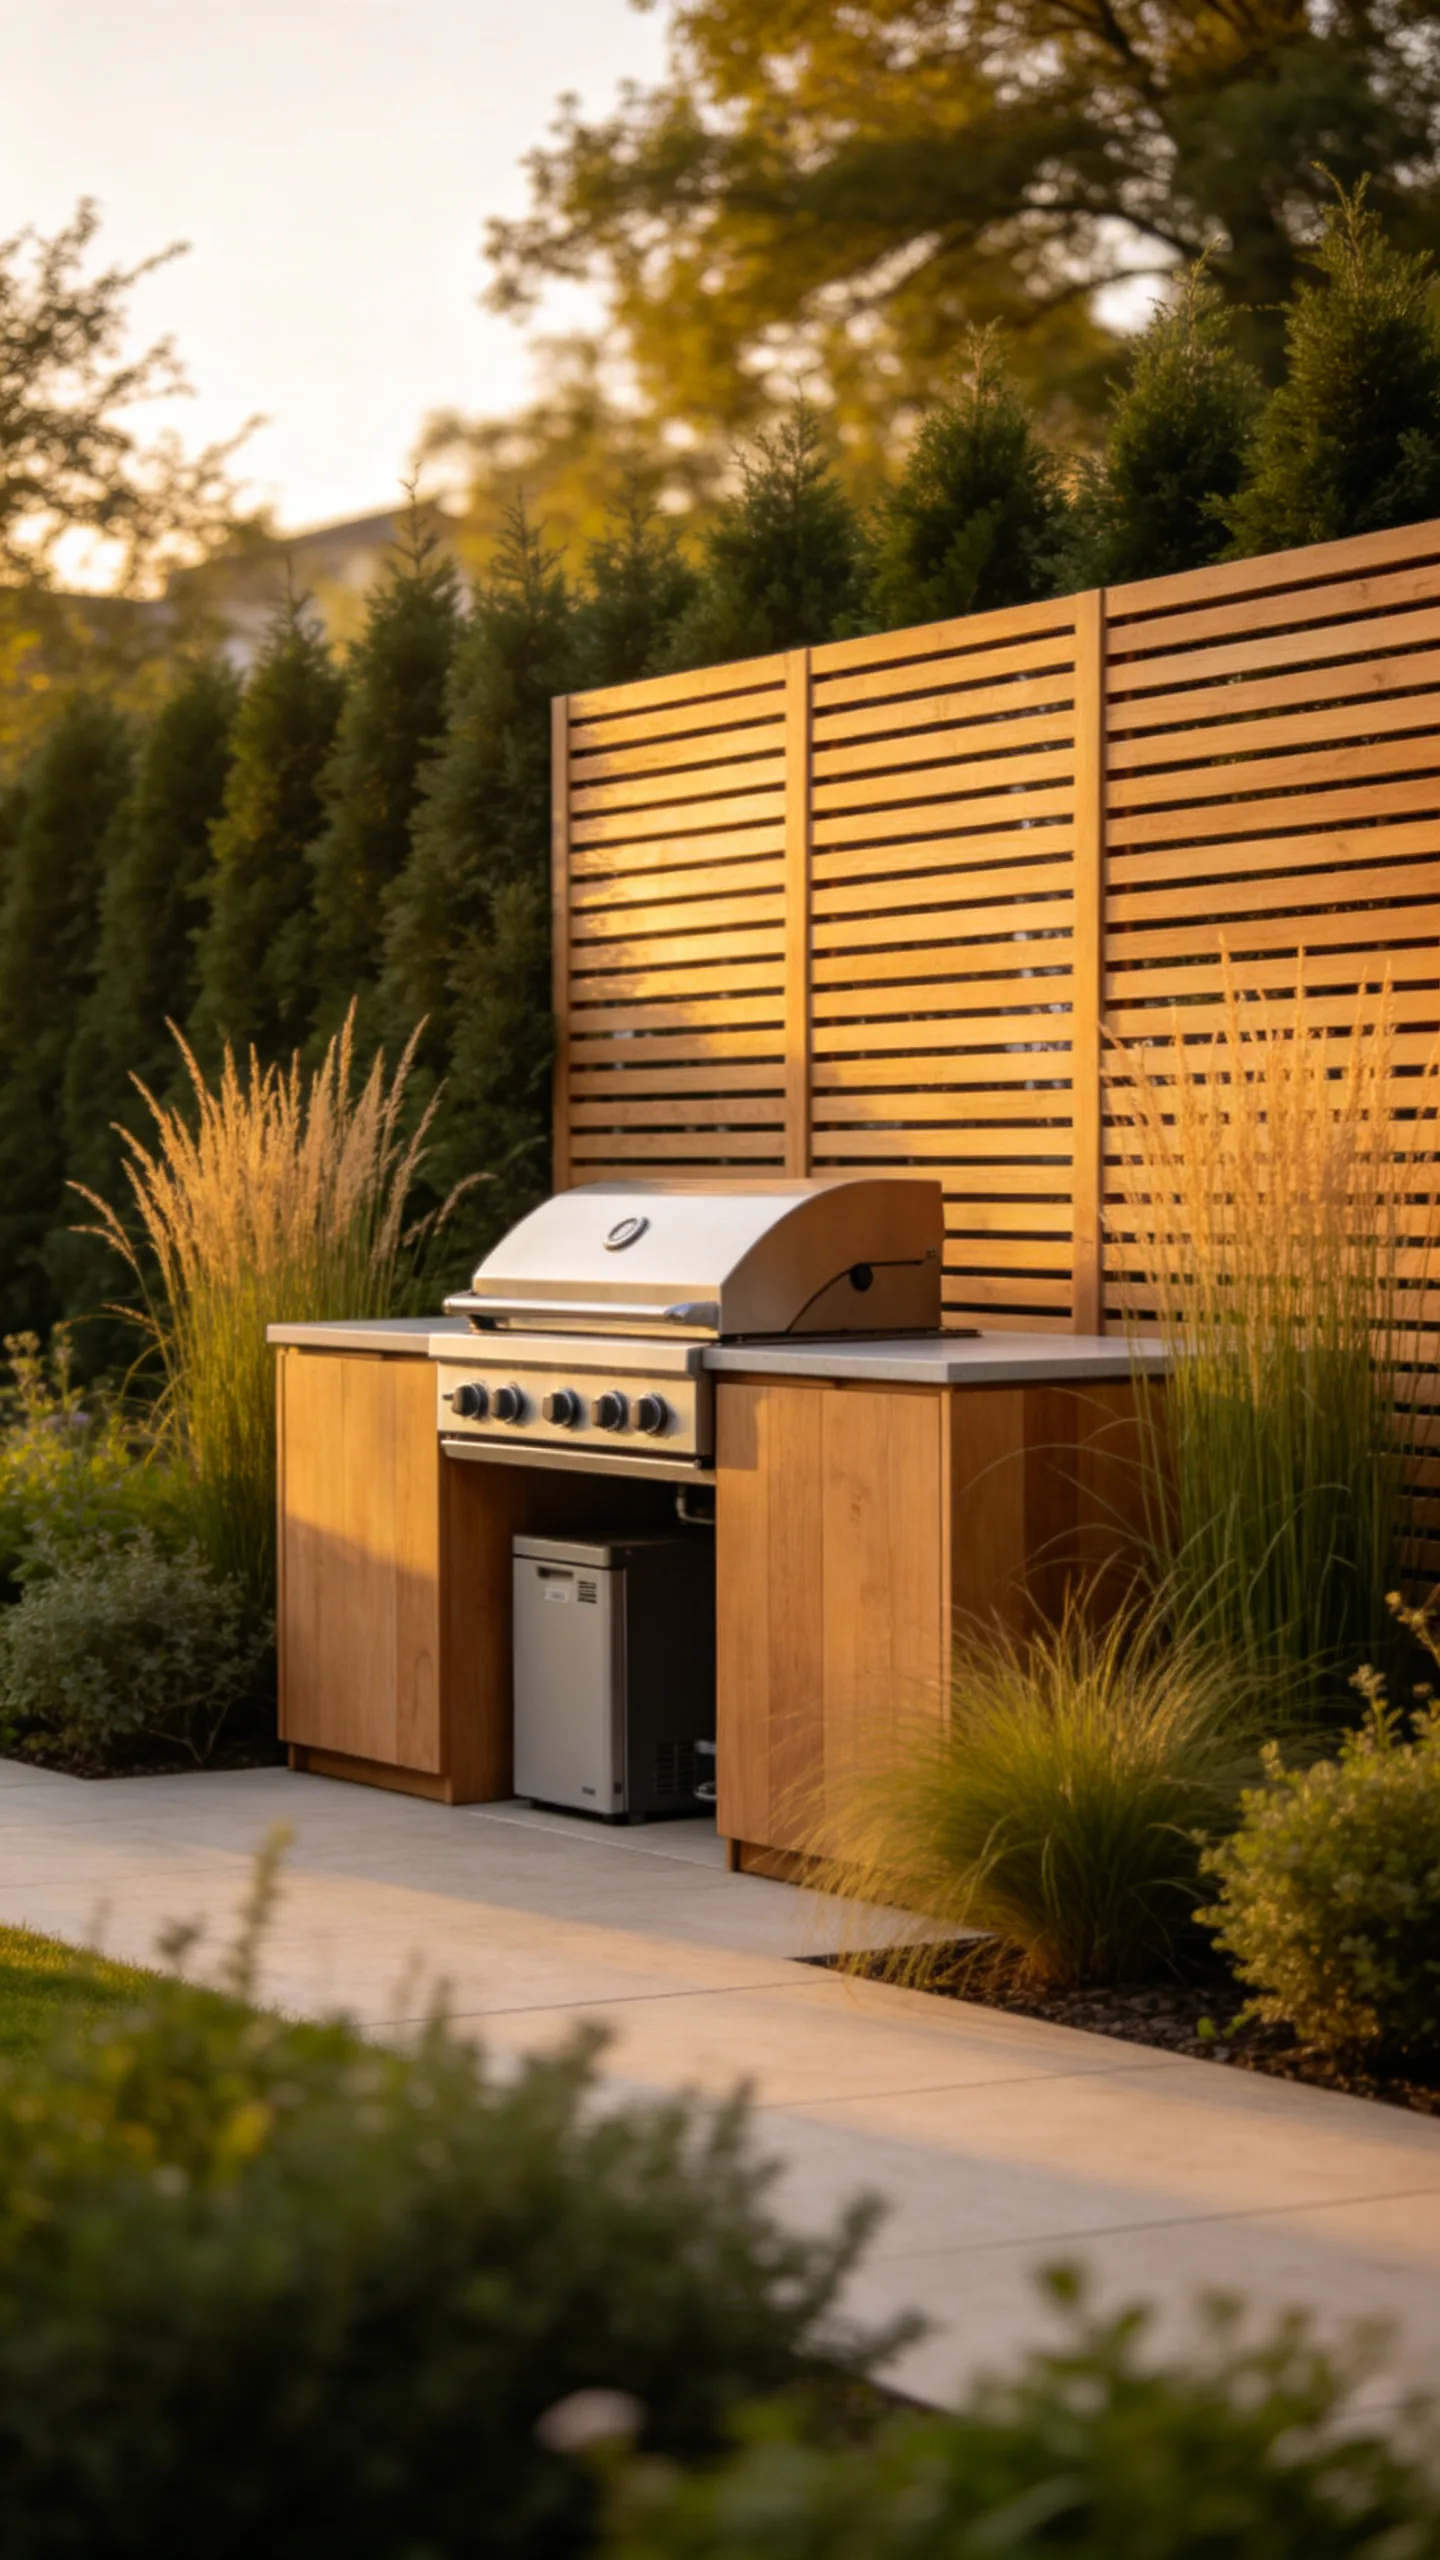
A slatted wood screen, rendered wall, trellis, or evergreen hedge can hide utility equipment and make the BBQ area feel more intentional. Leave air gaps in slatted screens and maintain the grill’s required distance from combustible materials.
For planted screening, consider clumping bamboo where appropriate, tall grasses, or evergreen shrubs suited to the local growing conditions. Install drip irrigation or place containers near an existing water source to simplify summer care.
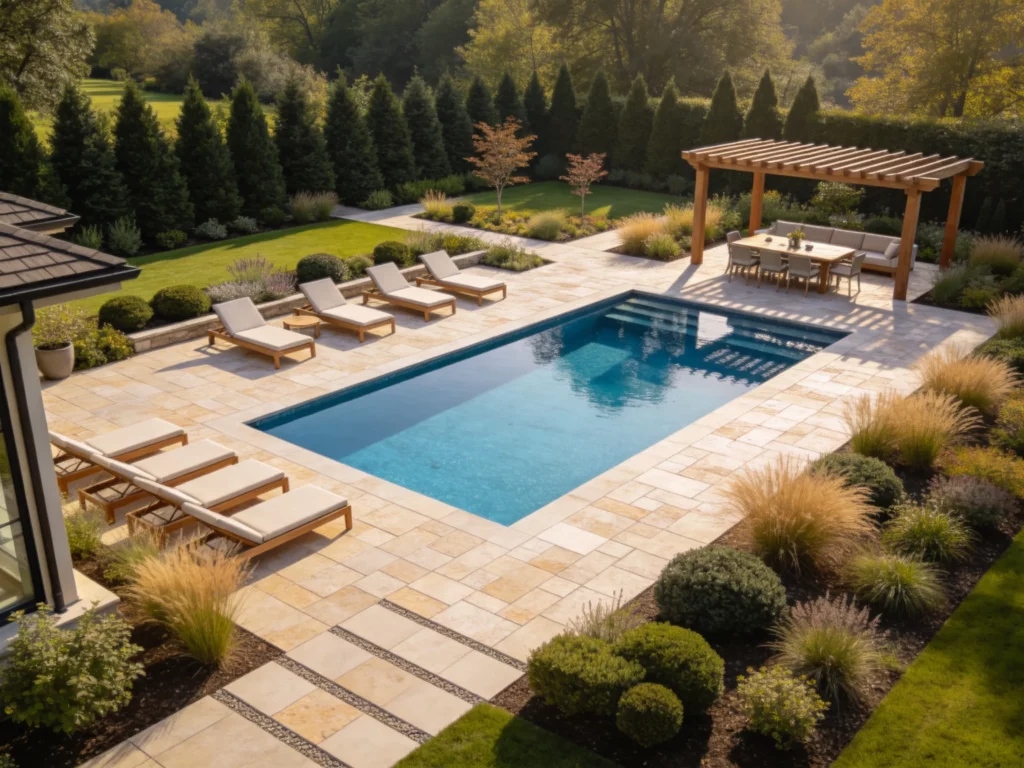
20. Add a Pergola Dining Extension
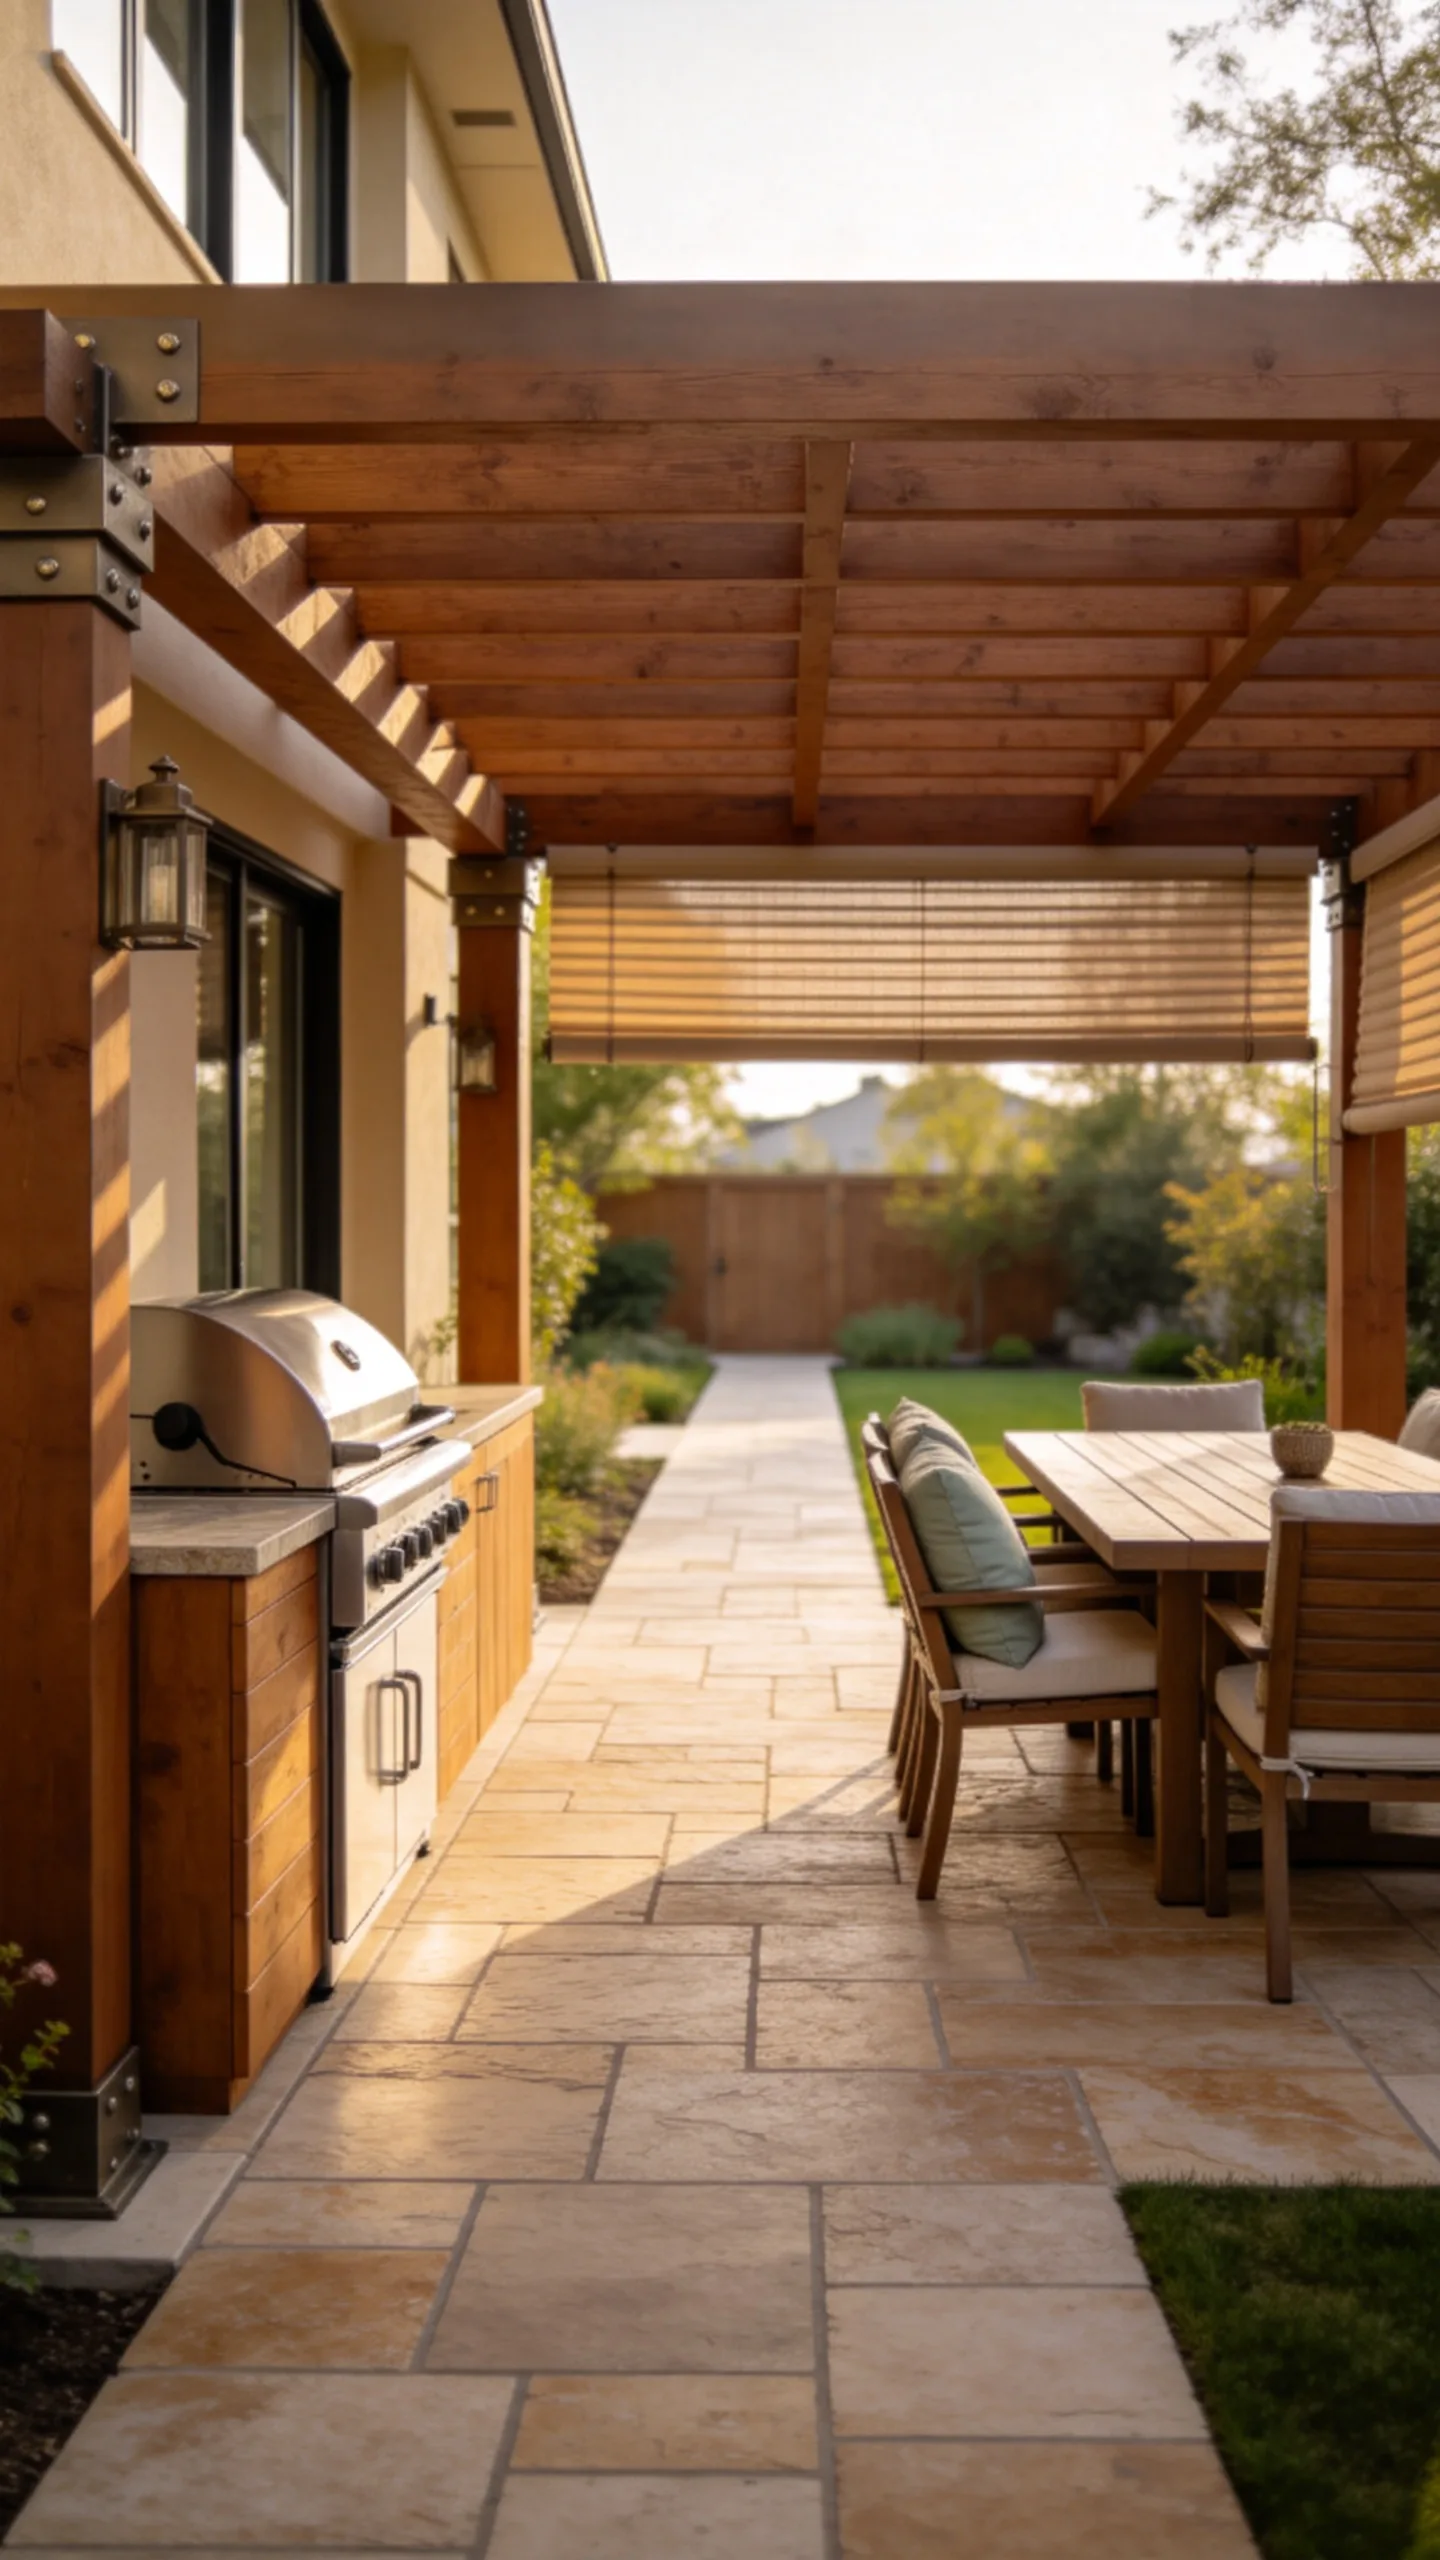
Extend the BBQ patio with a separate pergola-covered dining area so guests can sit close to the cook without crowding the grill. Use the same paving, timber stain, metal finish, or masonry color in both zones to make them feel connected.
Place the dining table outside the main path between the kitchen door and grill. Add washable outdoor cushions, a ceiling fan where suitable, or roll-down shade panels for comfort during bright afternoons.
21. Use a Kitchen Garden Beside the BBQ
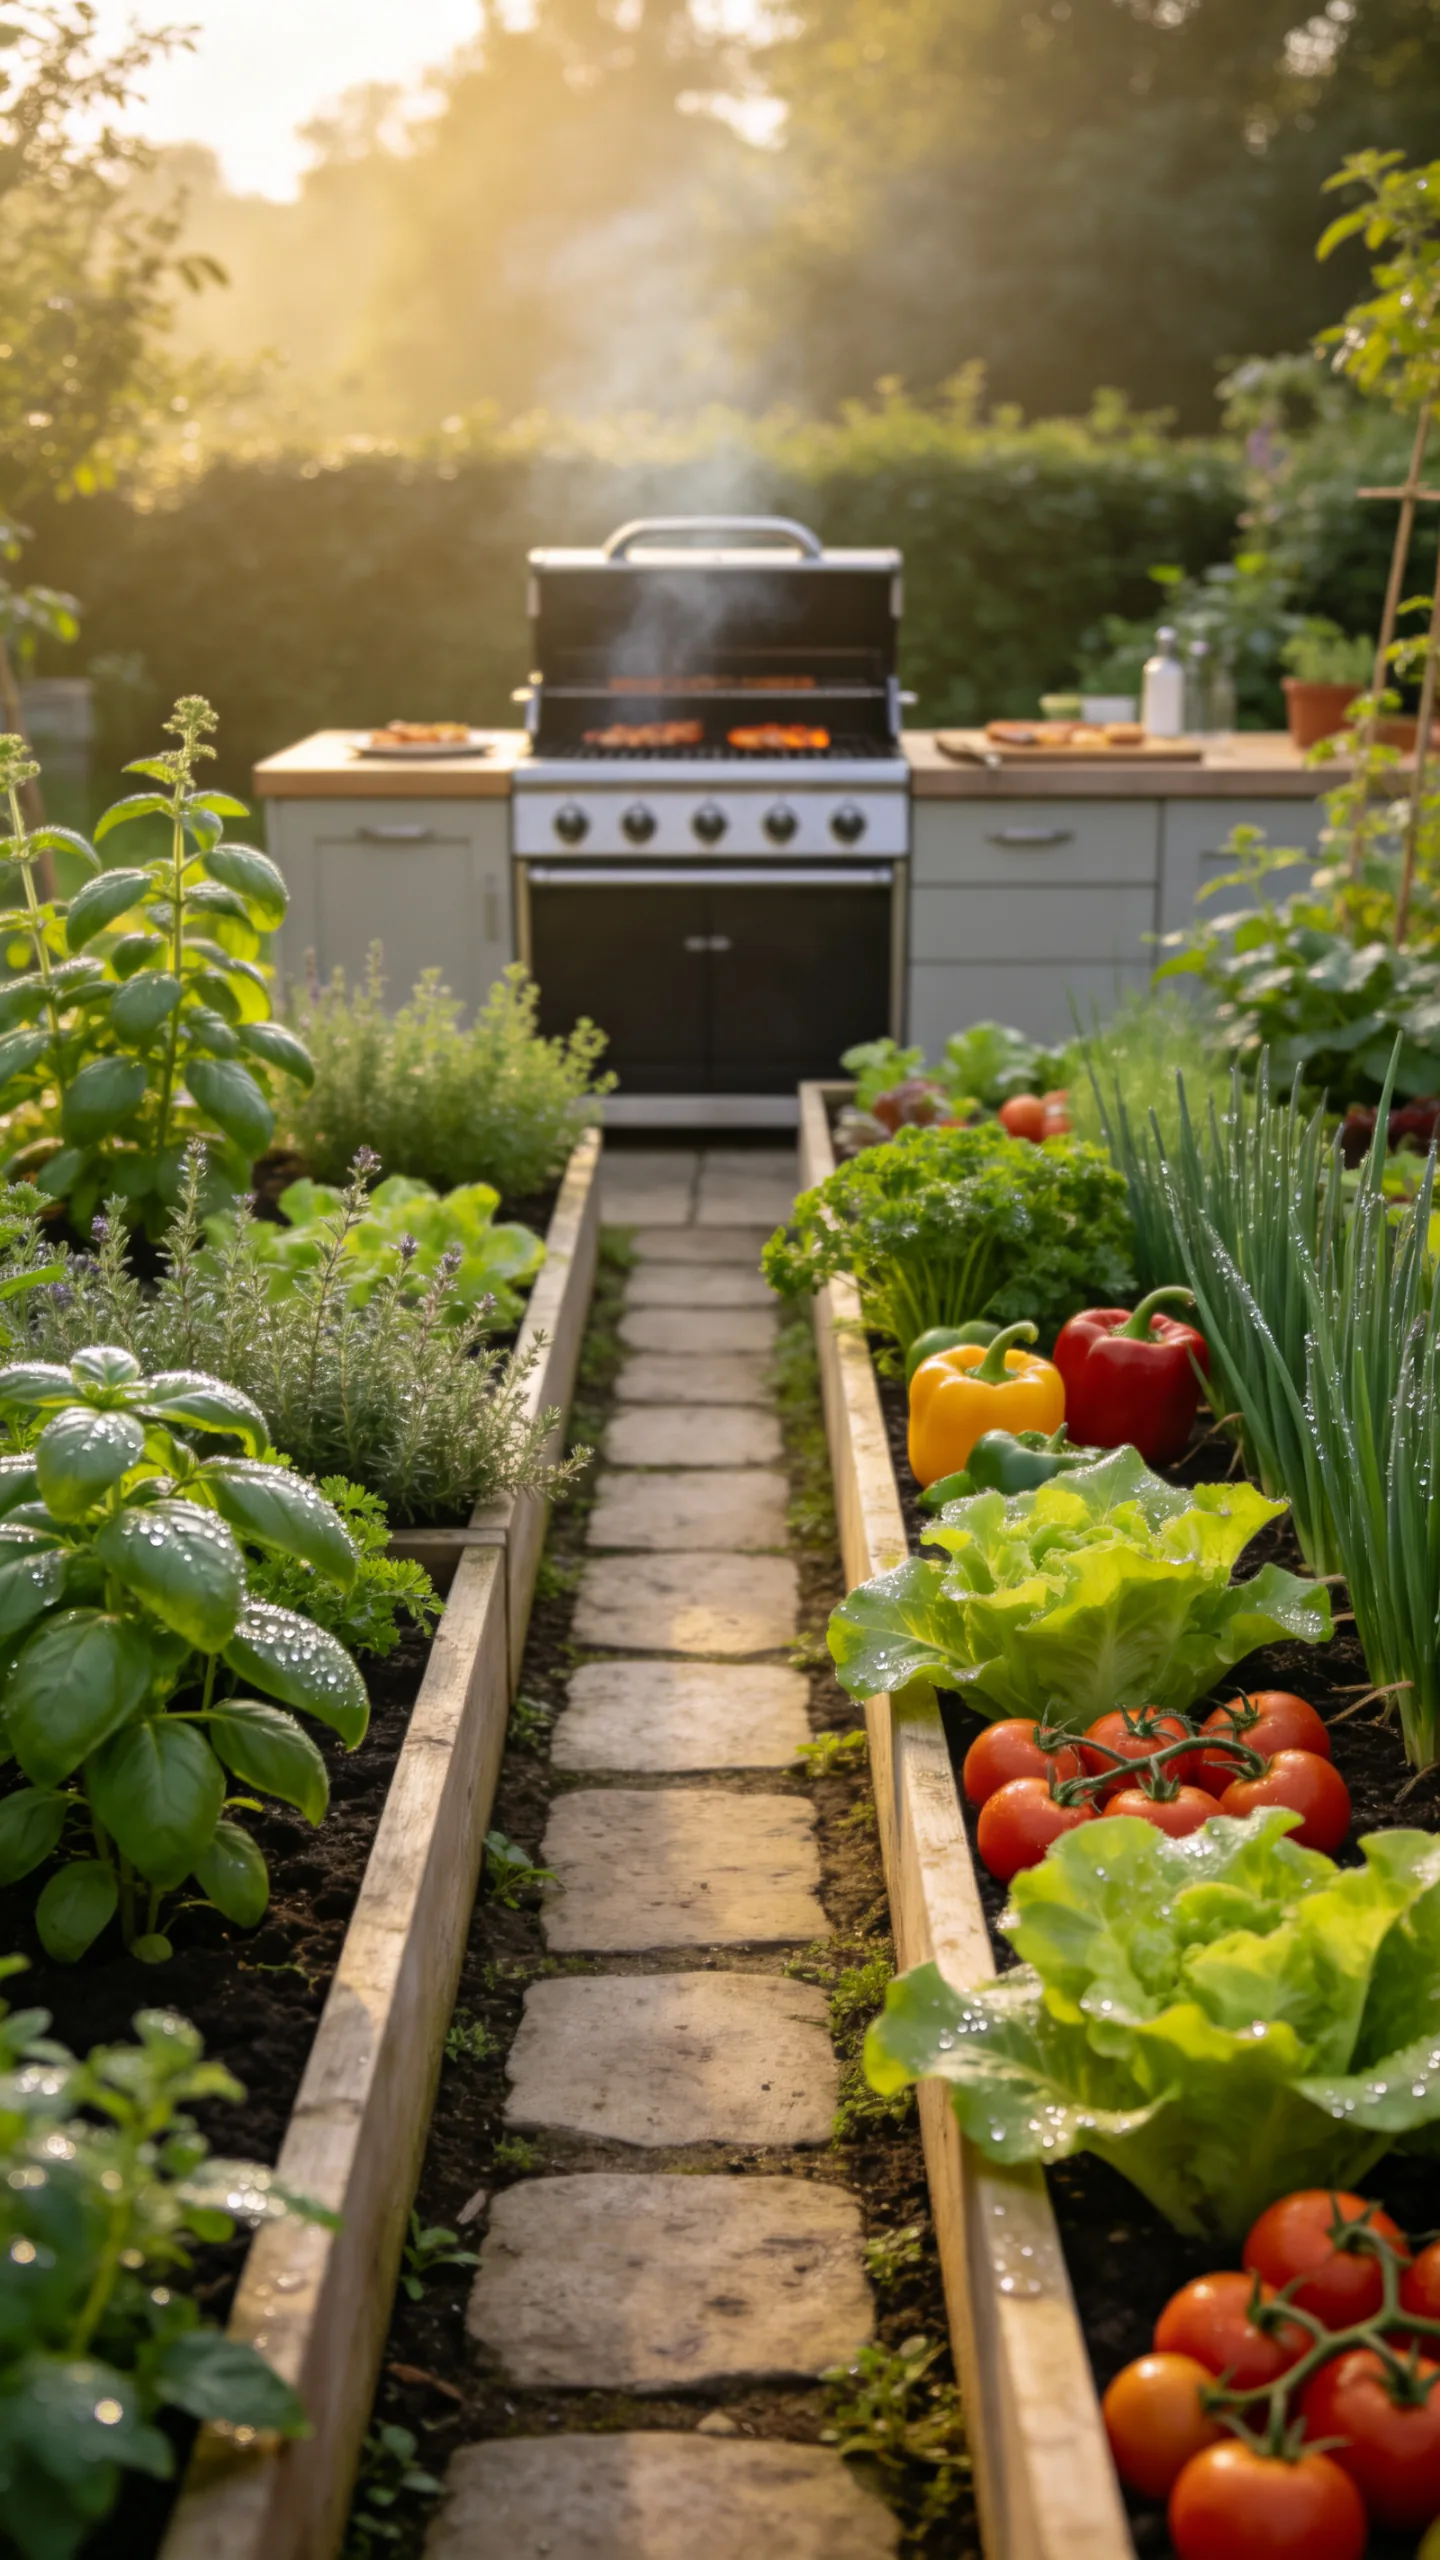
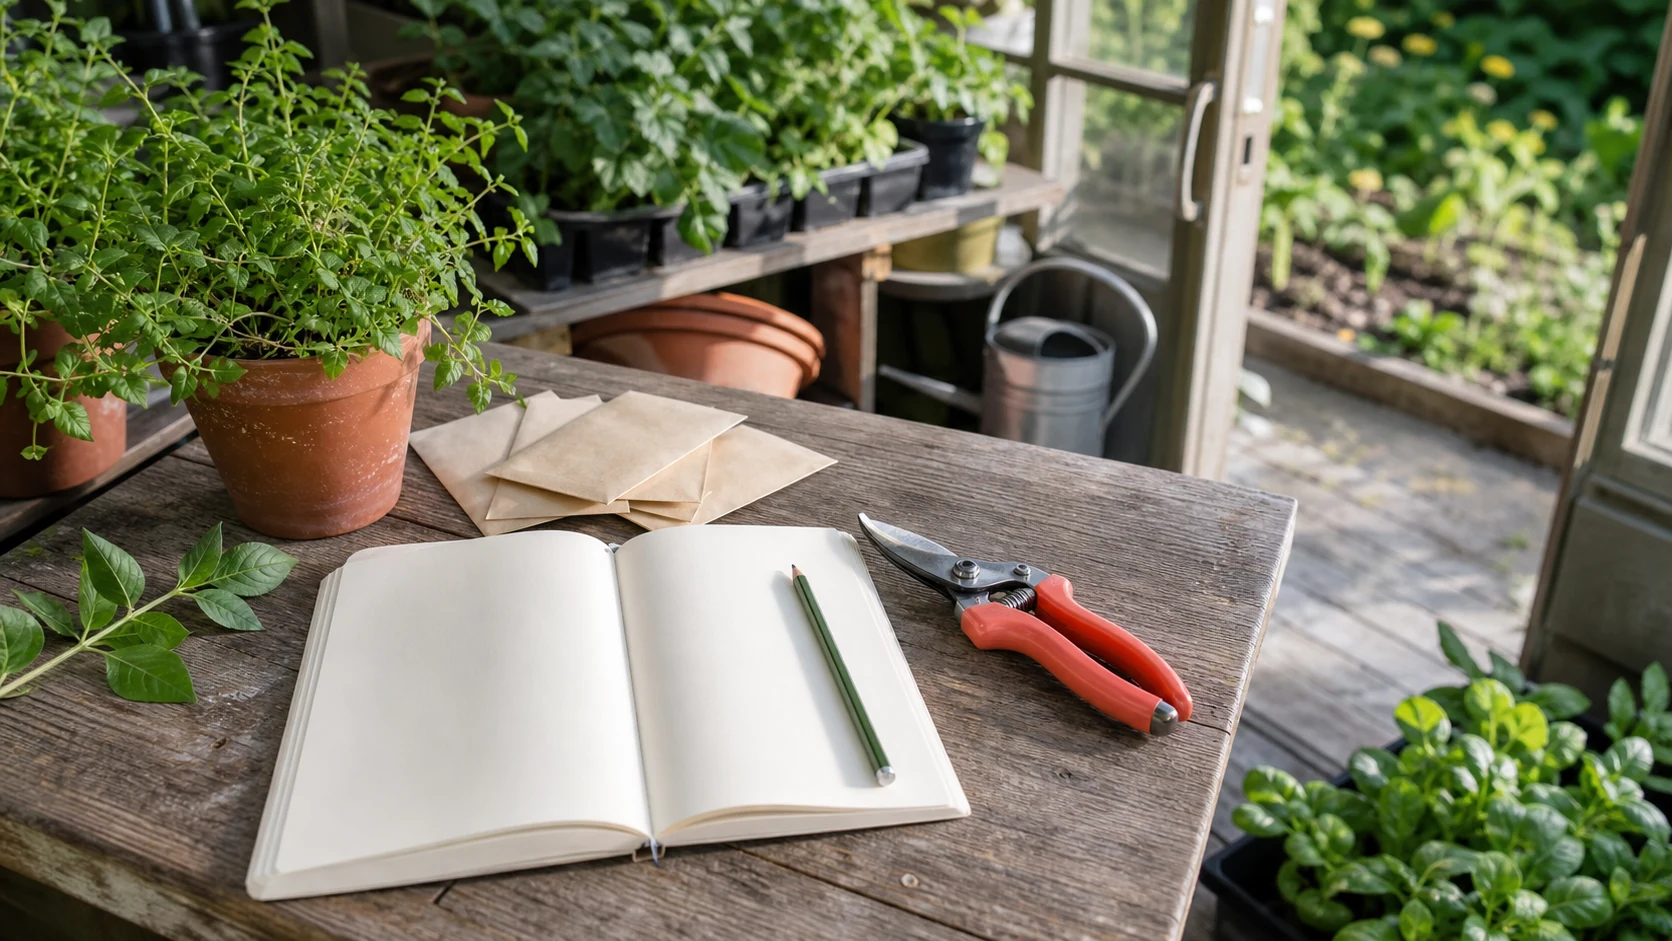
Plant a small herb and vegetable garden next to the cooking area for convenient access to chives, parsley, basil, thyme, peppers, salad leaves, and compact tomatoes. Raised beds, trough planters, or wall-mounted herb pockets can fit beside a patio without requiring a large lawn.
Choose plants according to local light, frost, and watering conditions, and keep edible crops away from direct grill smoke and grease. A narrow path between the beds and counter allows harvesting without stepping into the cooking workspace.