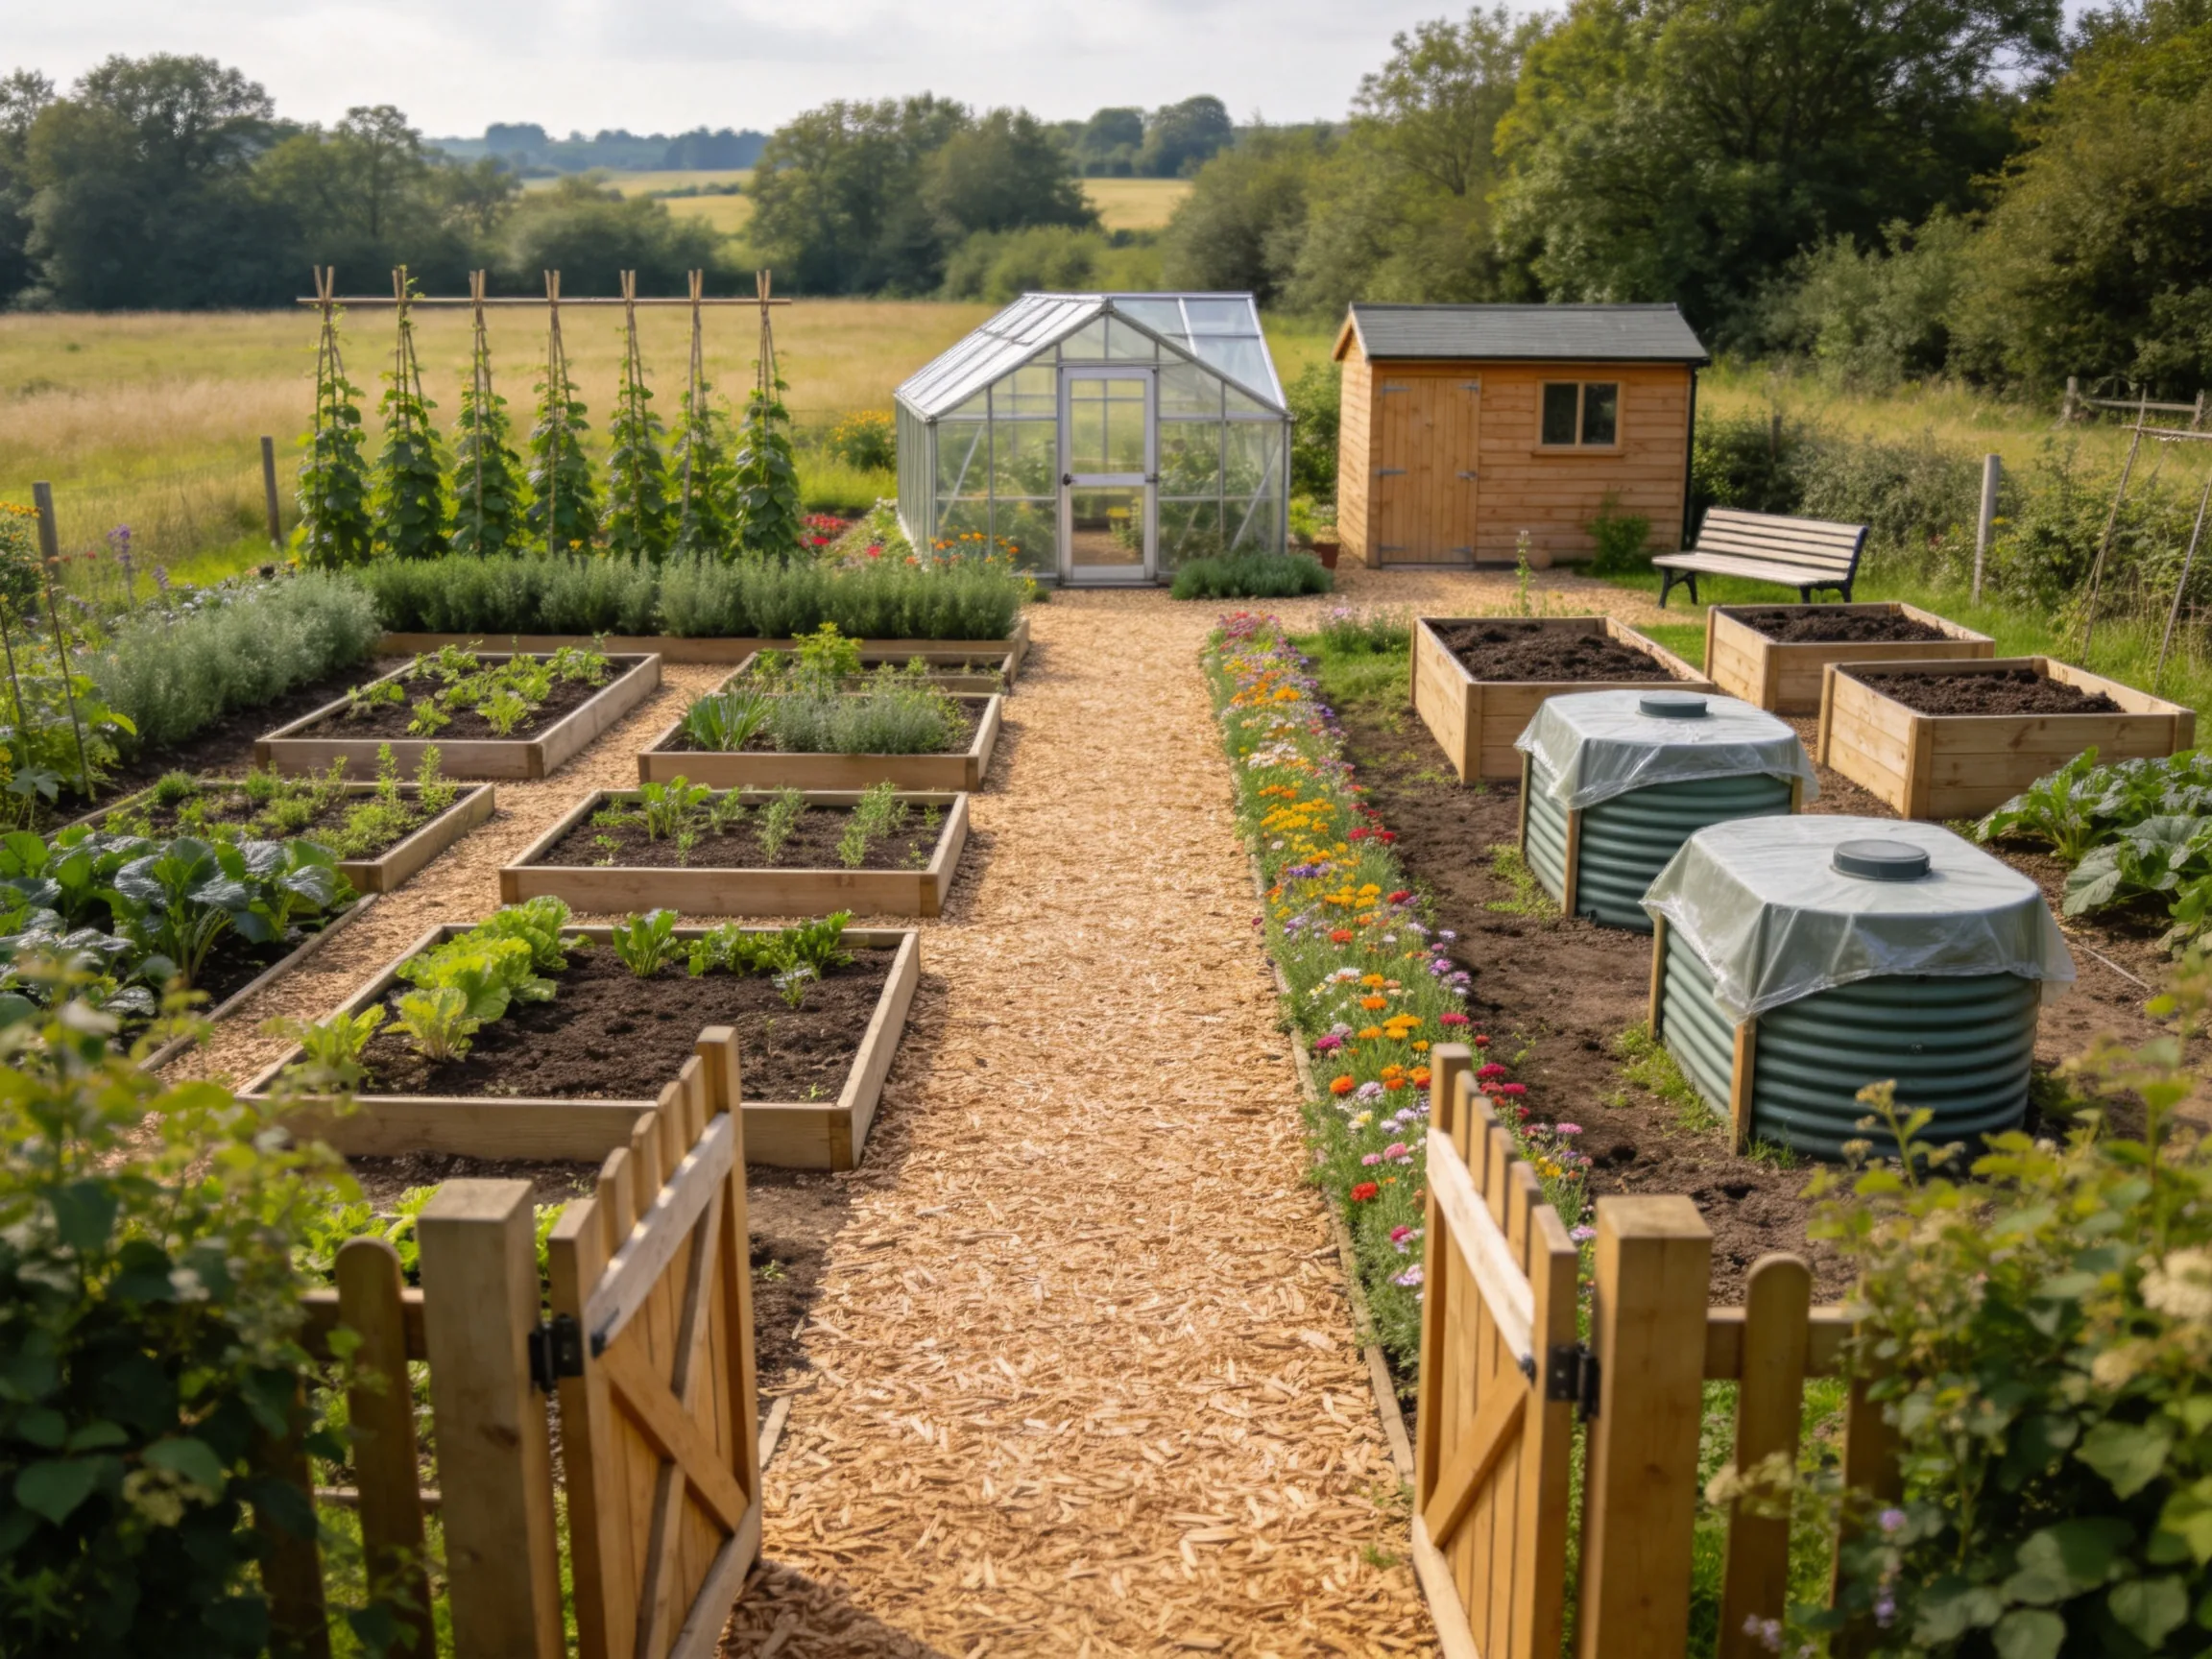
Planning an allotment layout before digging helps you use every section of the plot without making daily jobs harder. Start by checking the plot’s measurements, sunlight, access points, water supply, soil condition, and any rules from the allotment association.
The ideas below combine practical growing space with clear paths, manageable beds, storage, wildlife features, and places to sit. Adapt the sizes to your plot, mobility needs, preferred crops, and the amount of time you can spend gardening each week.
1. Divide the Plot into Four Manageable Growing Zones
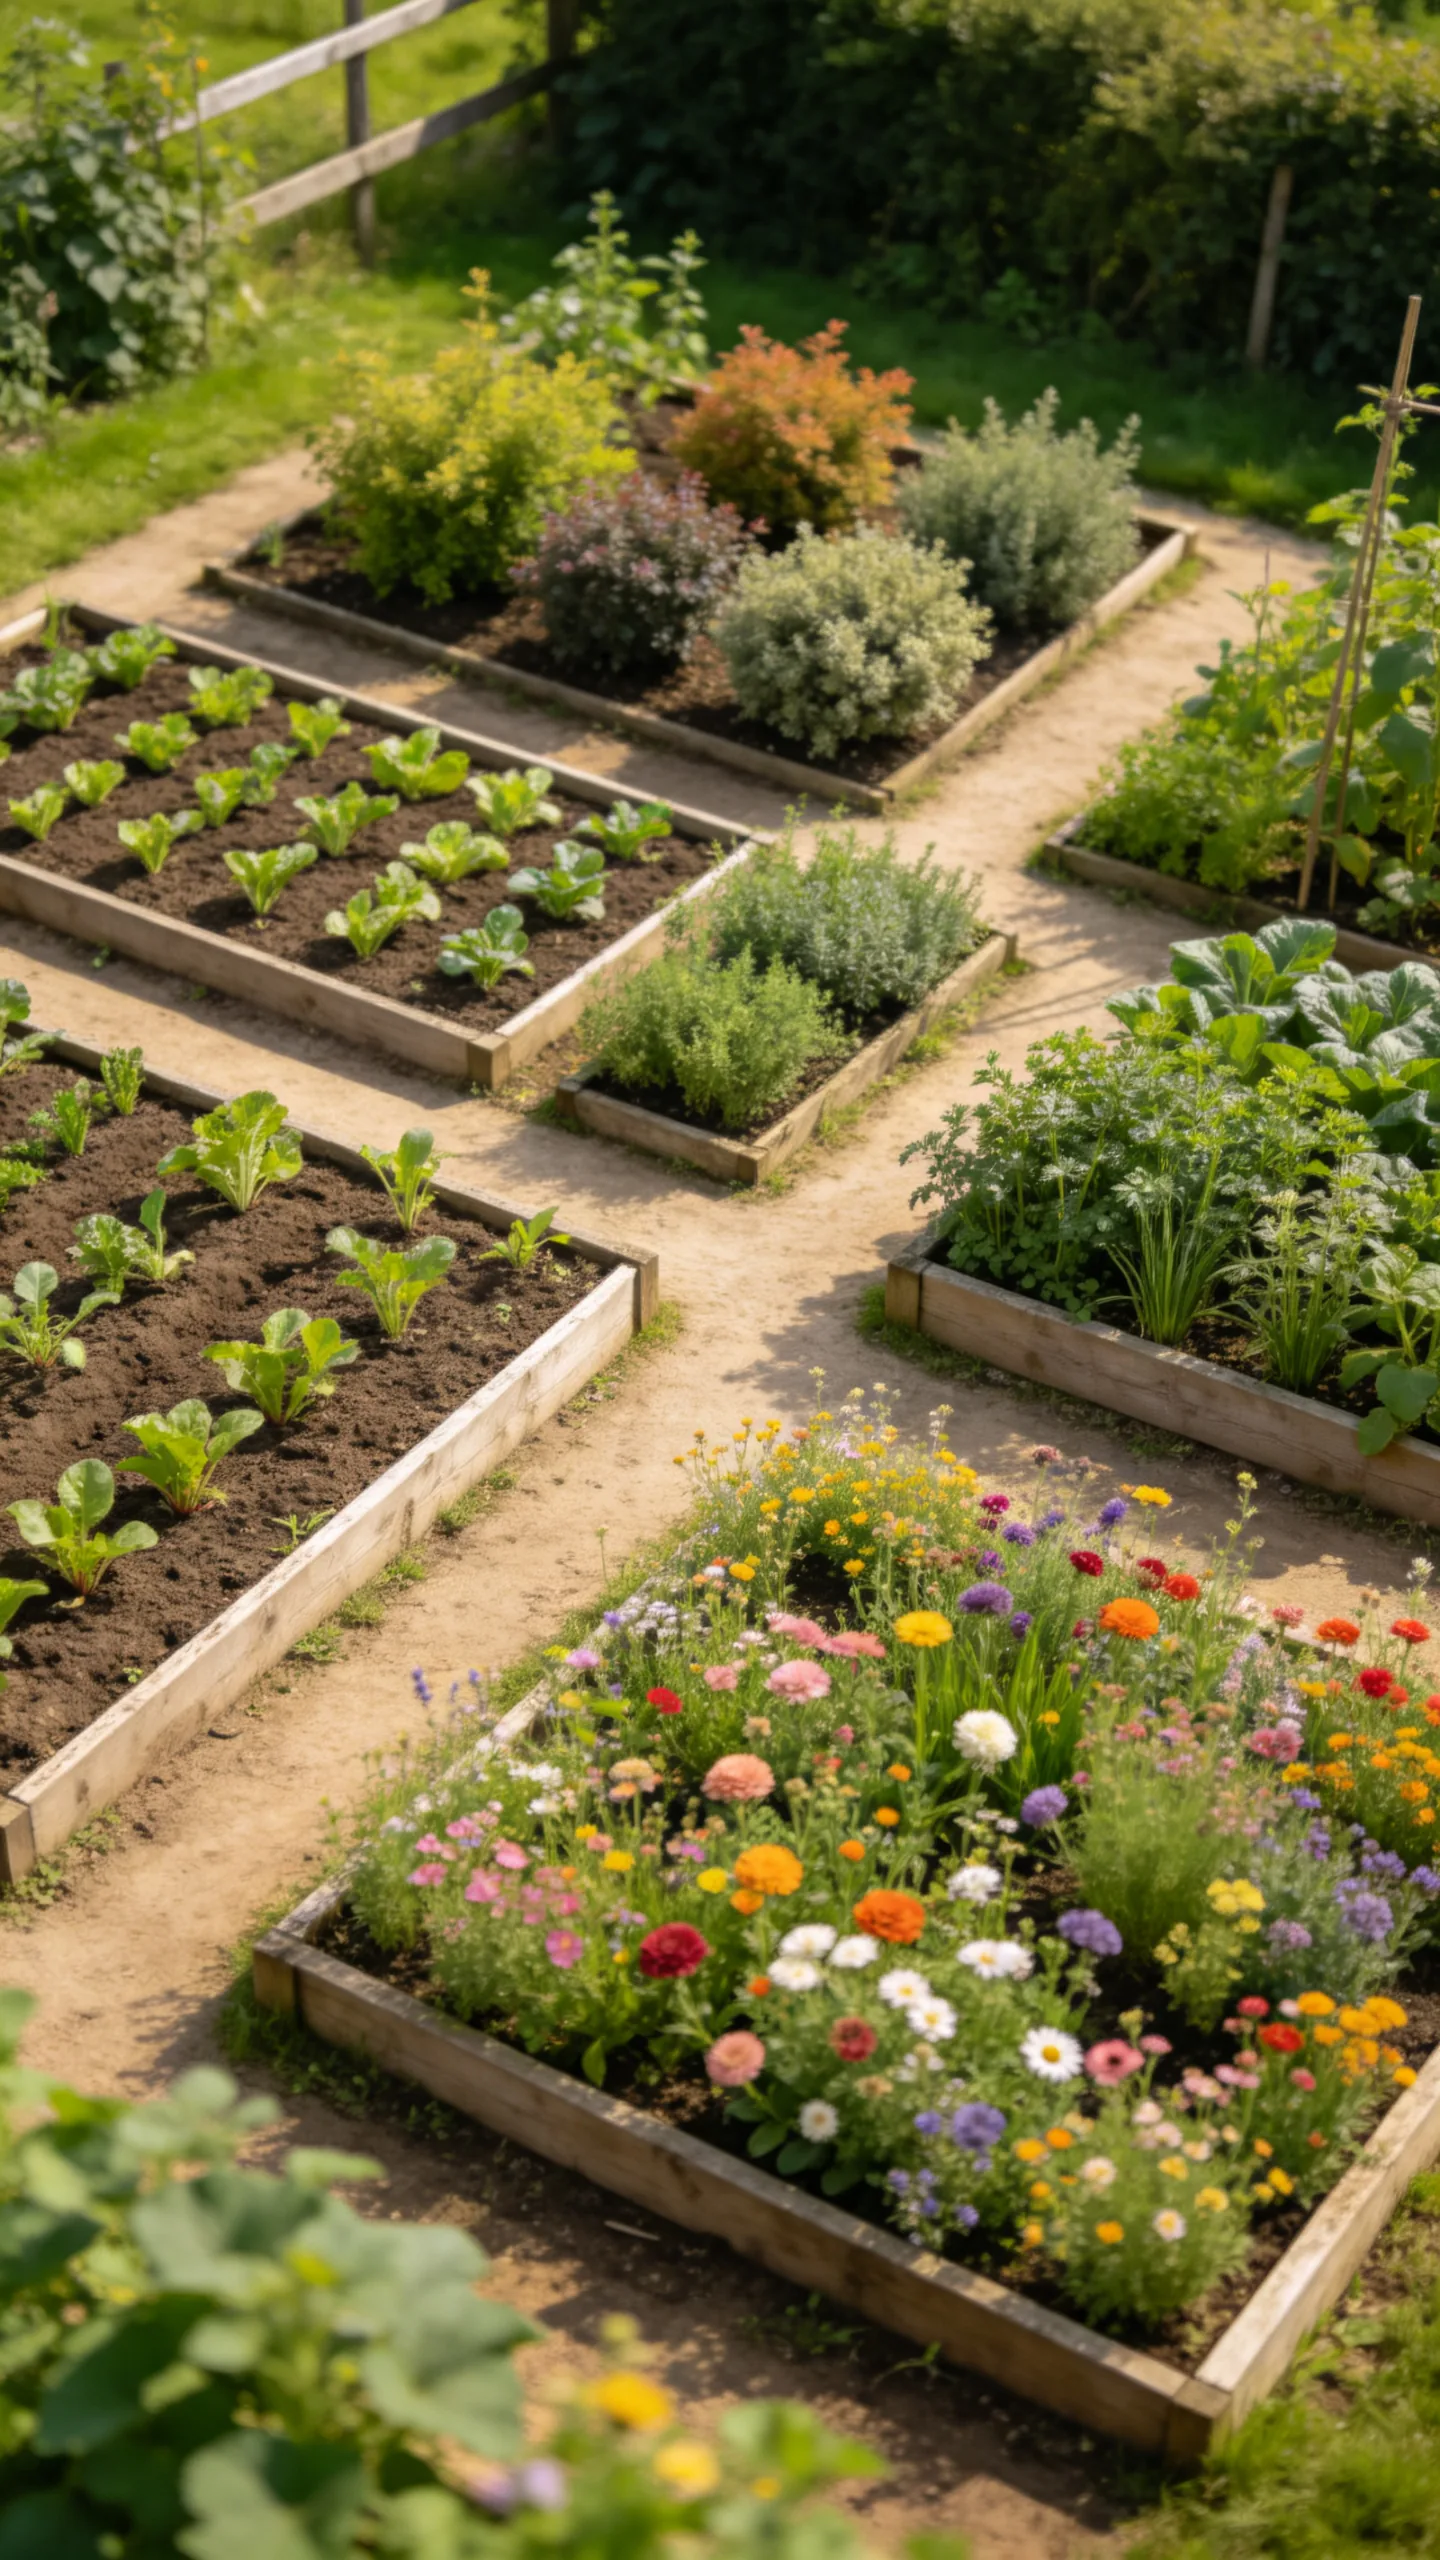
Split the allotment into four broad sections for vegetables, soft fruit, perennial crops, and flowers or wildlife planting. This gives a beginner a simple visual plan and prevents the entire plot from becoming one large area that is difficult to weed or rotate.
Use narrow paths between the zones and label each area with small signs. The vegetable section can contain annual crops, while rhubarb, strawberries, fruit bushes, and herbs stay in spaces that do not need frequent digging.
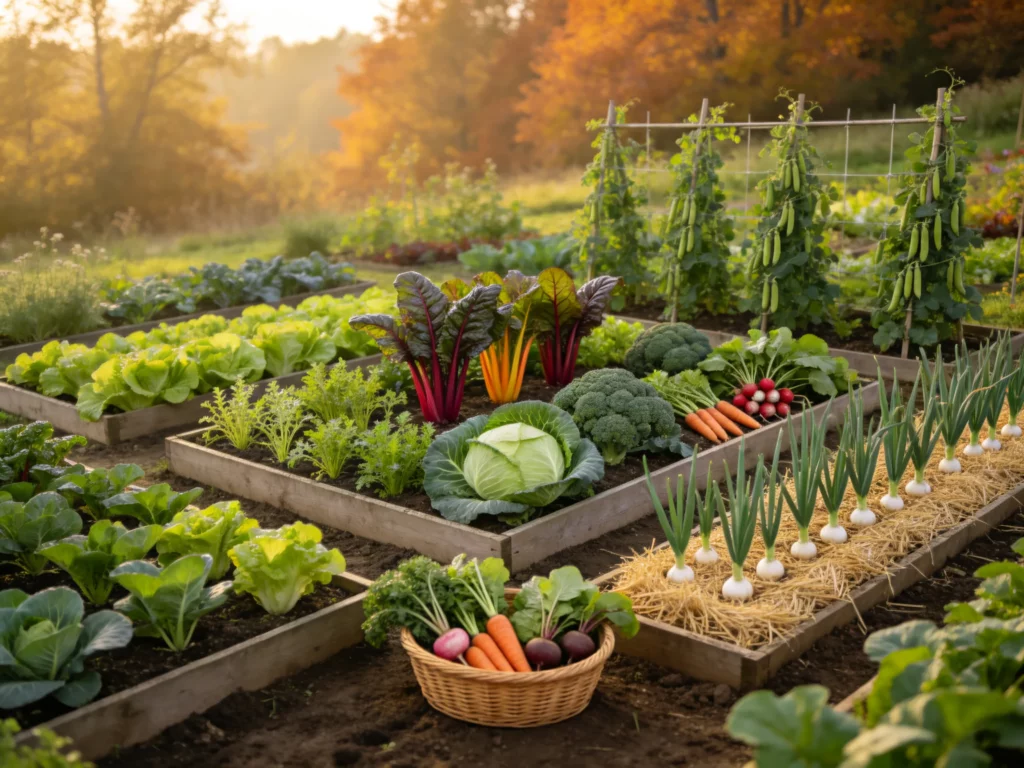
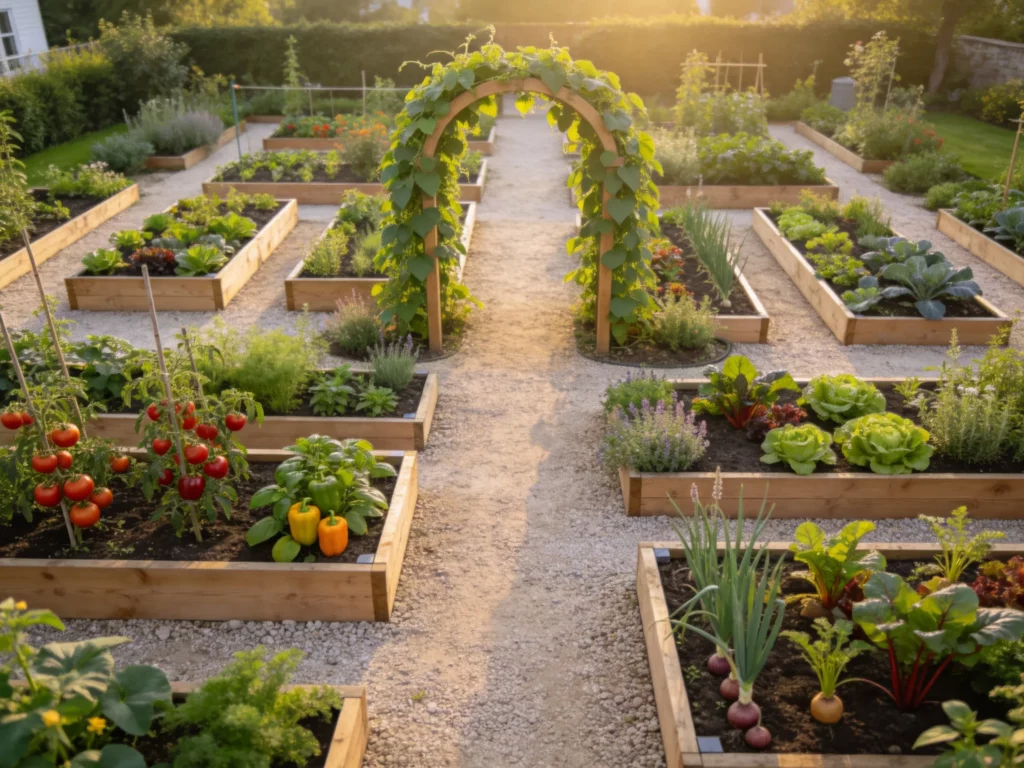
2. Use Rectangular Raised Beds with Permanent Paths
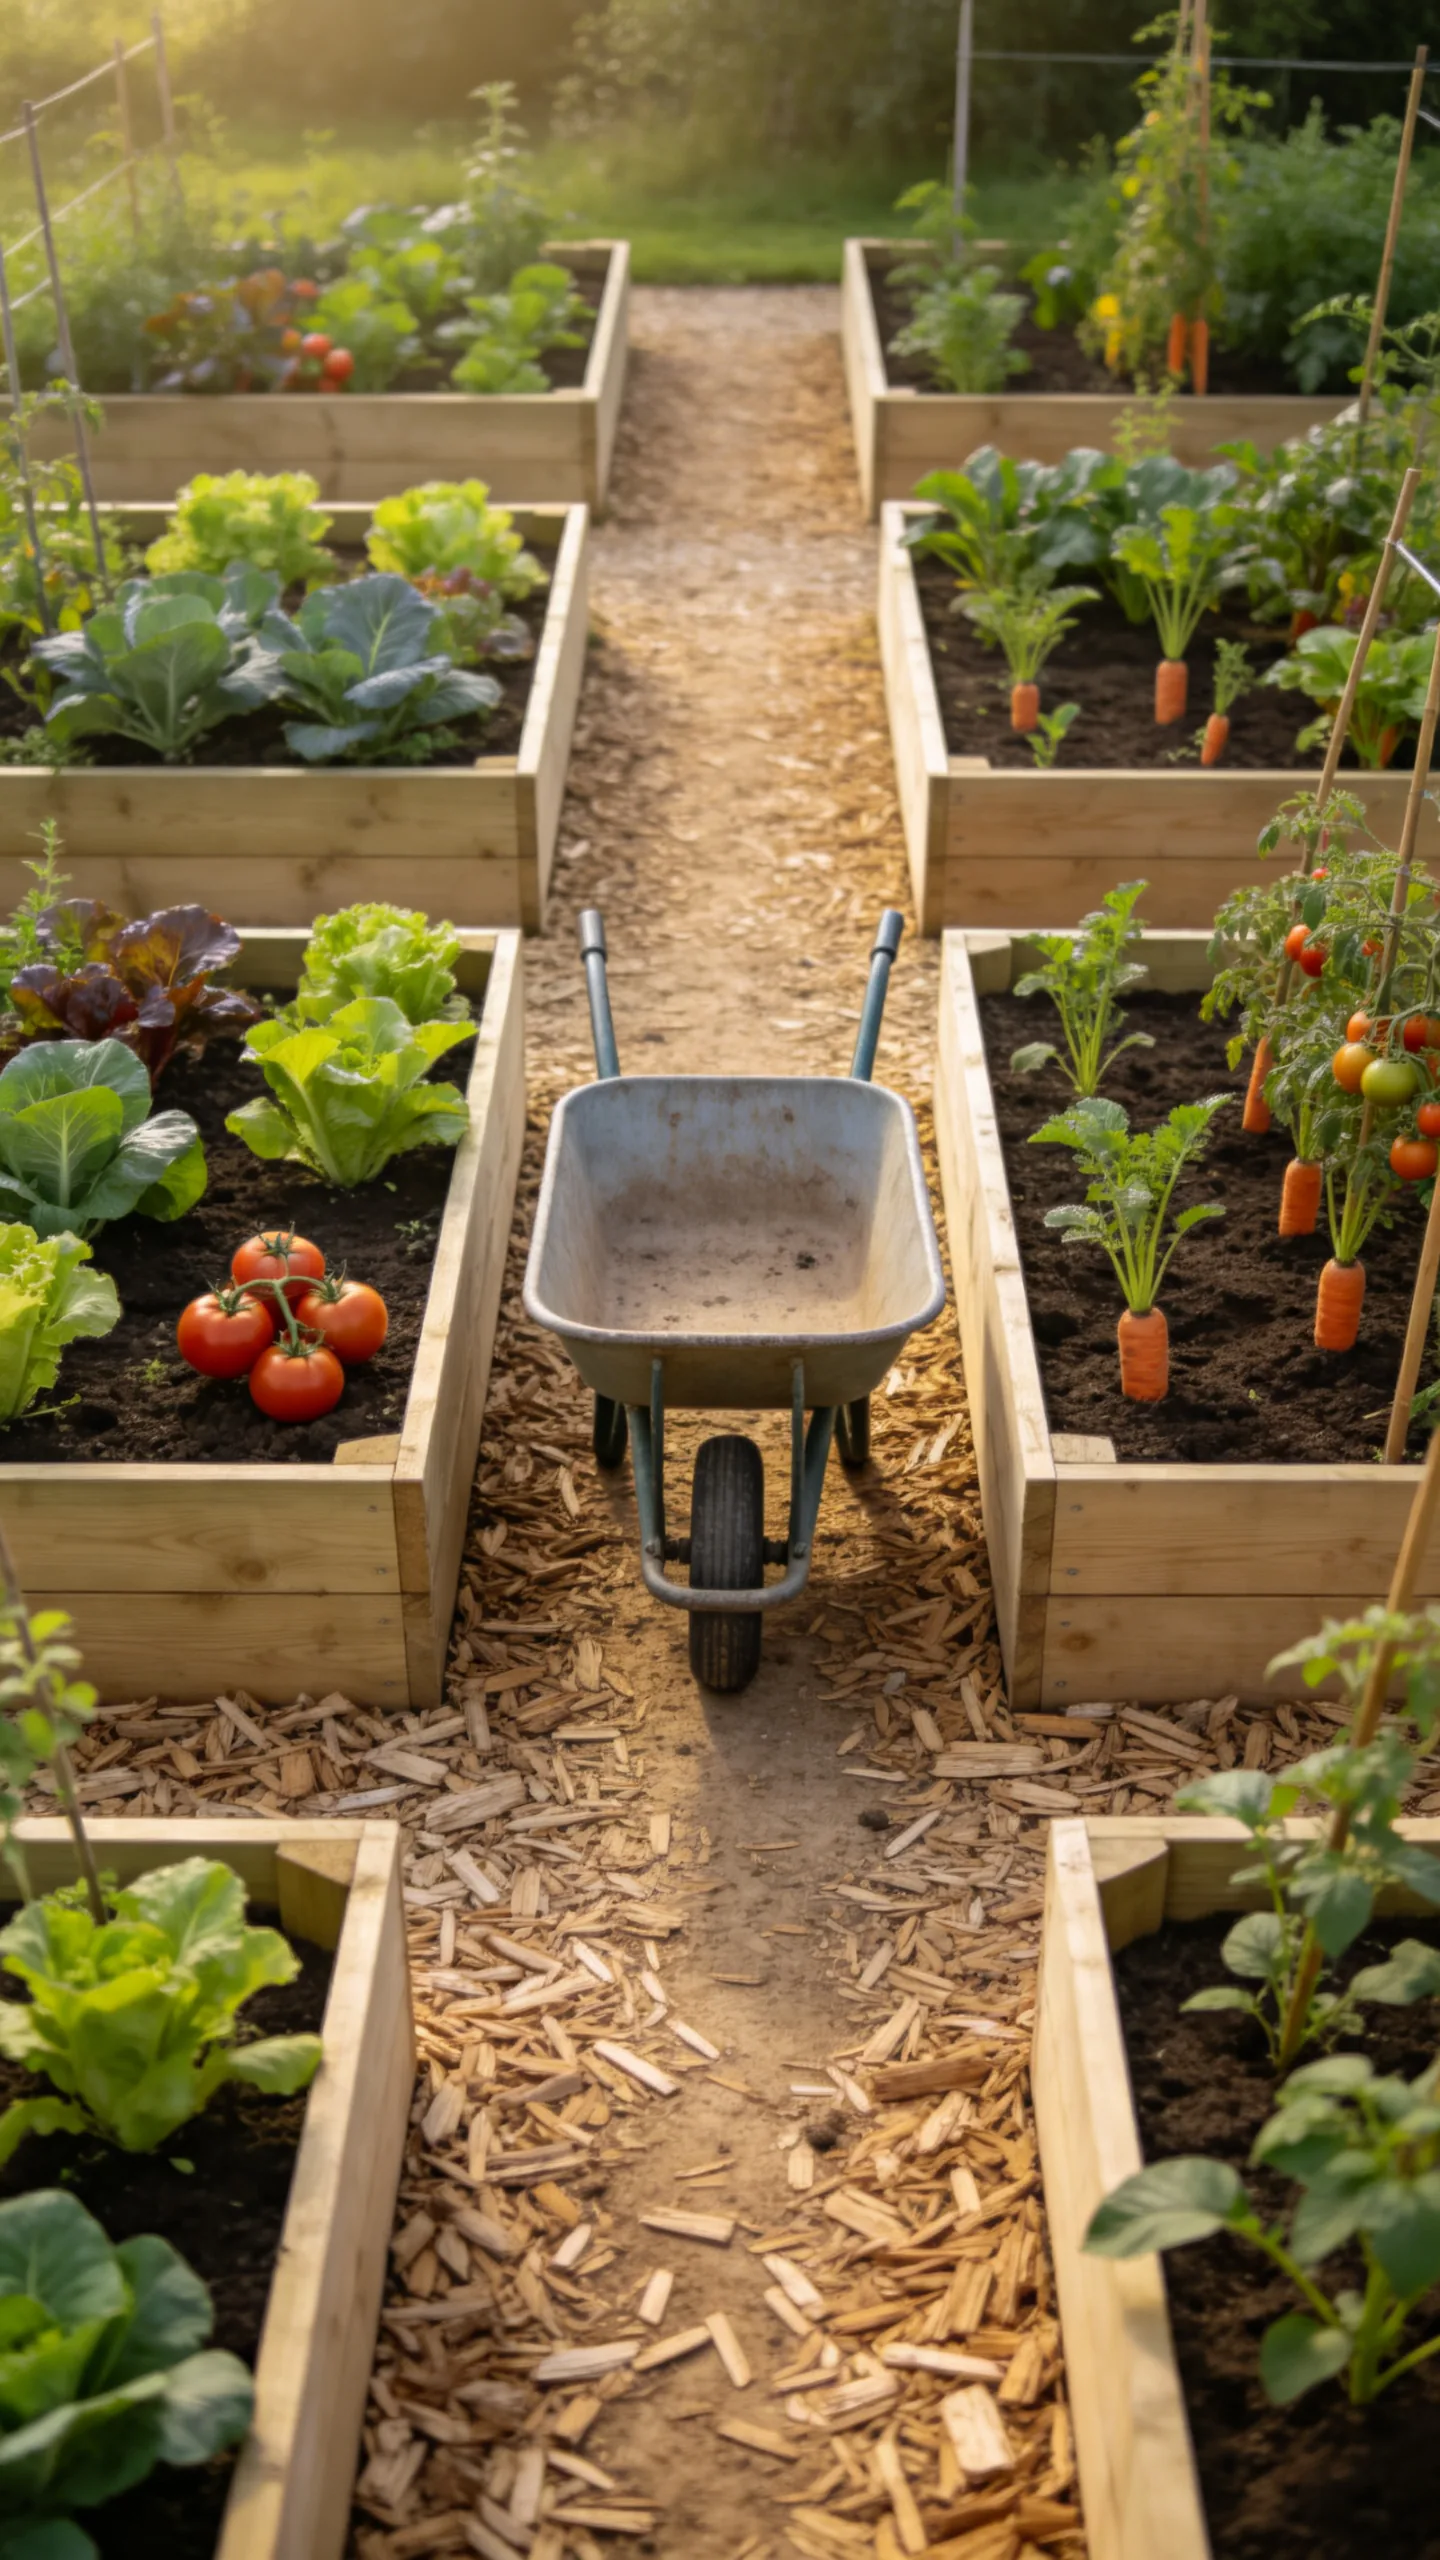
Create several rectangular beds rather than one continuous growing area. Beds around 1.2 metres wide allow you to reach the centre from either side without stepping on the soil, although narrower beds may be better if access is limited.
Cover the paths with woodchip, cardboard and mulch, or another material permitted by the allotment site. Permanent paths reduce soil compaction, make wheelbarrow movement easier, and give the plot a tidy structure from the first season.
3. Arrange Beds Around a Central Main Path
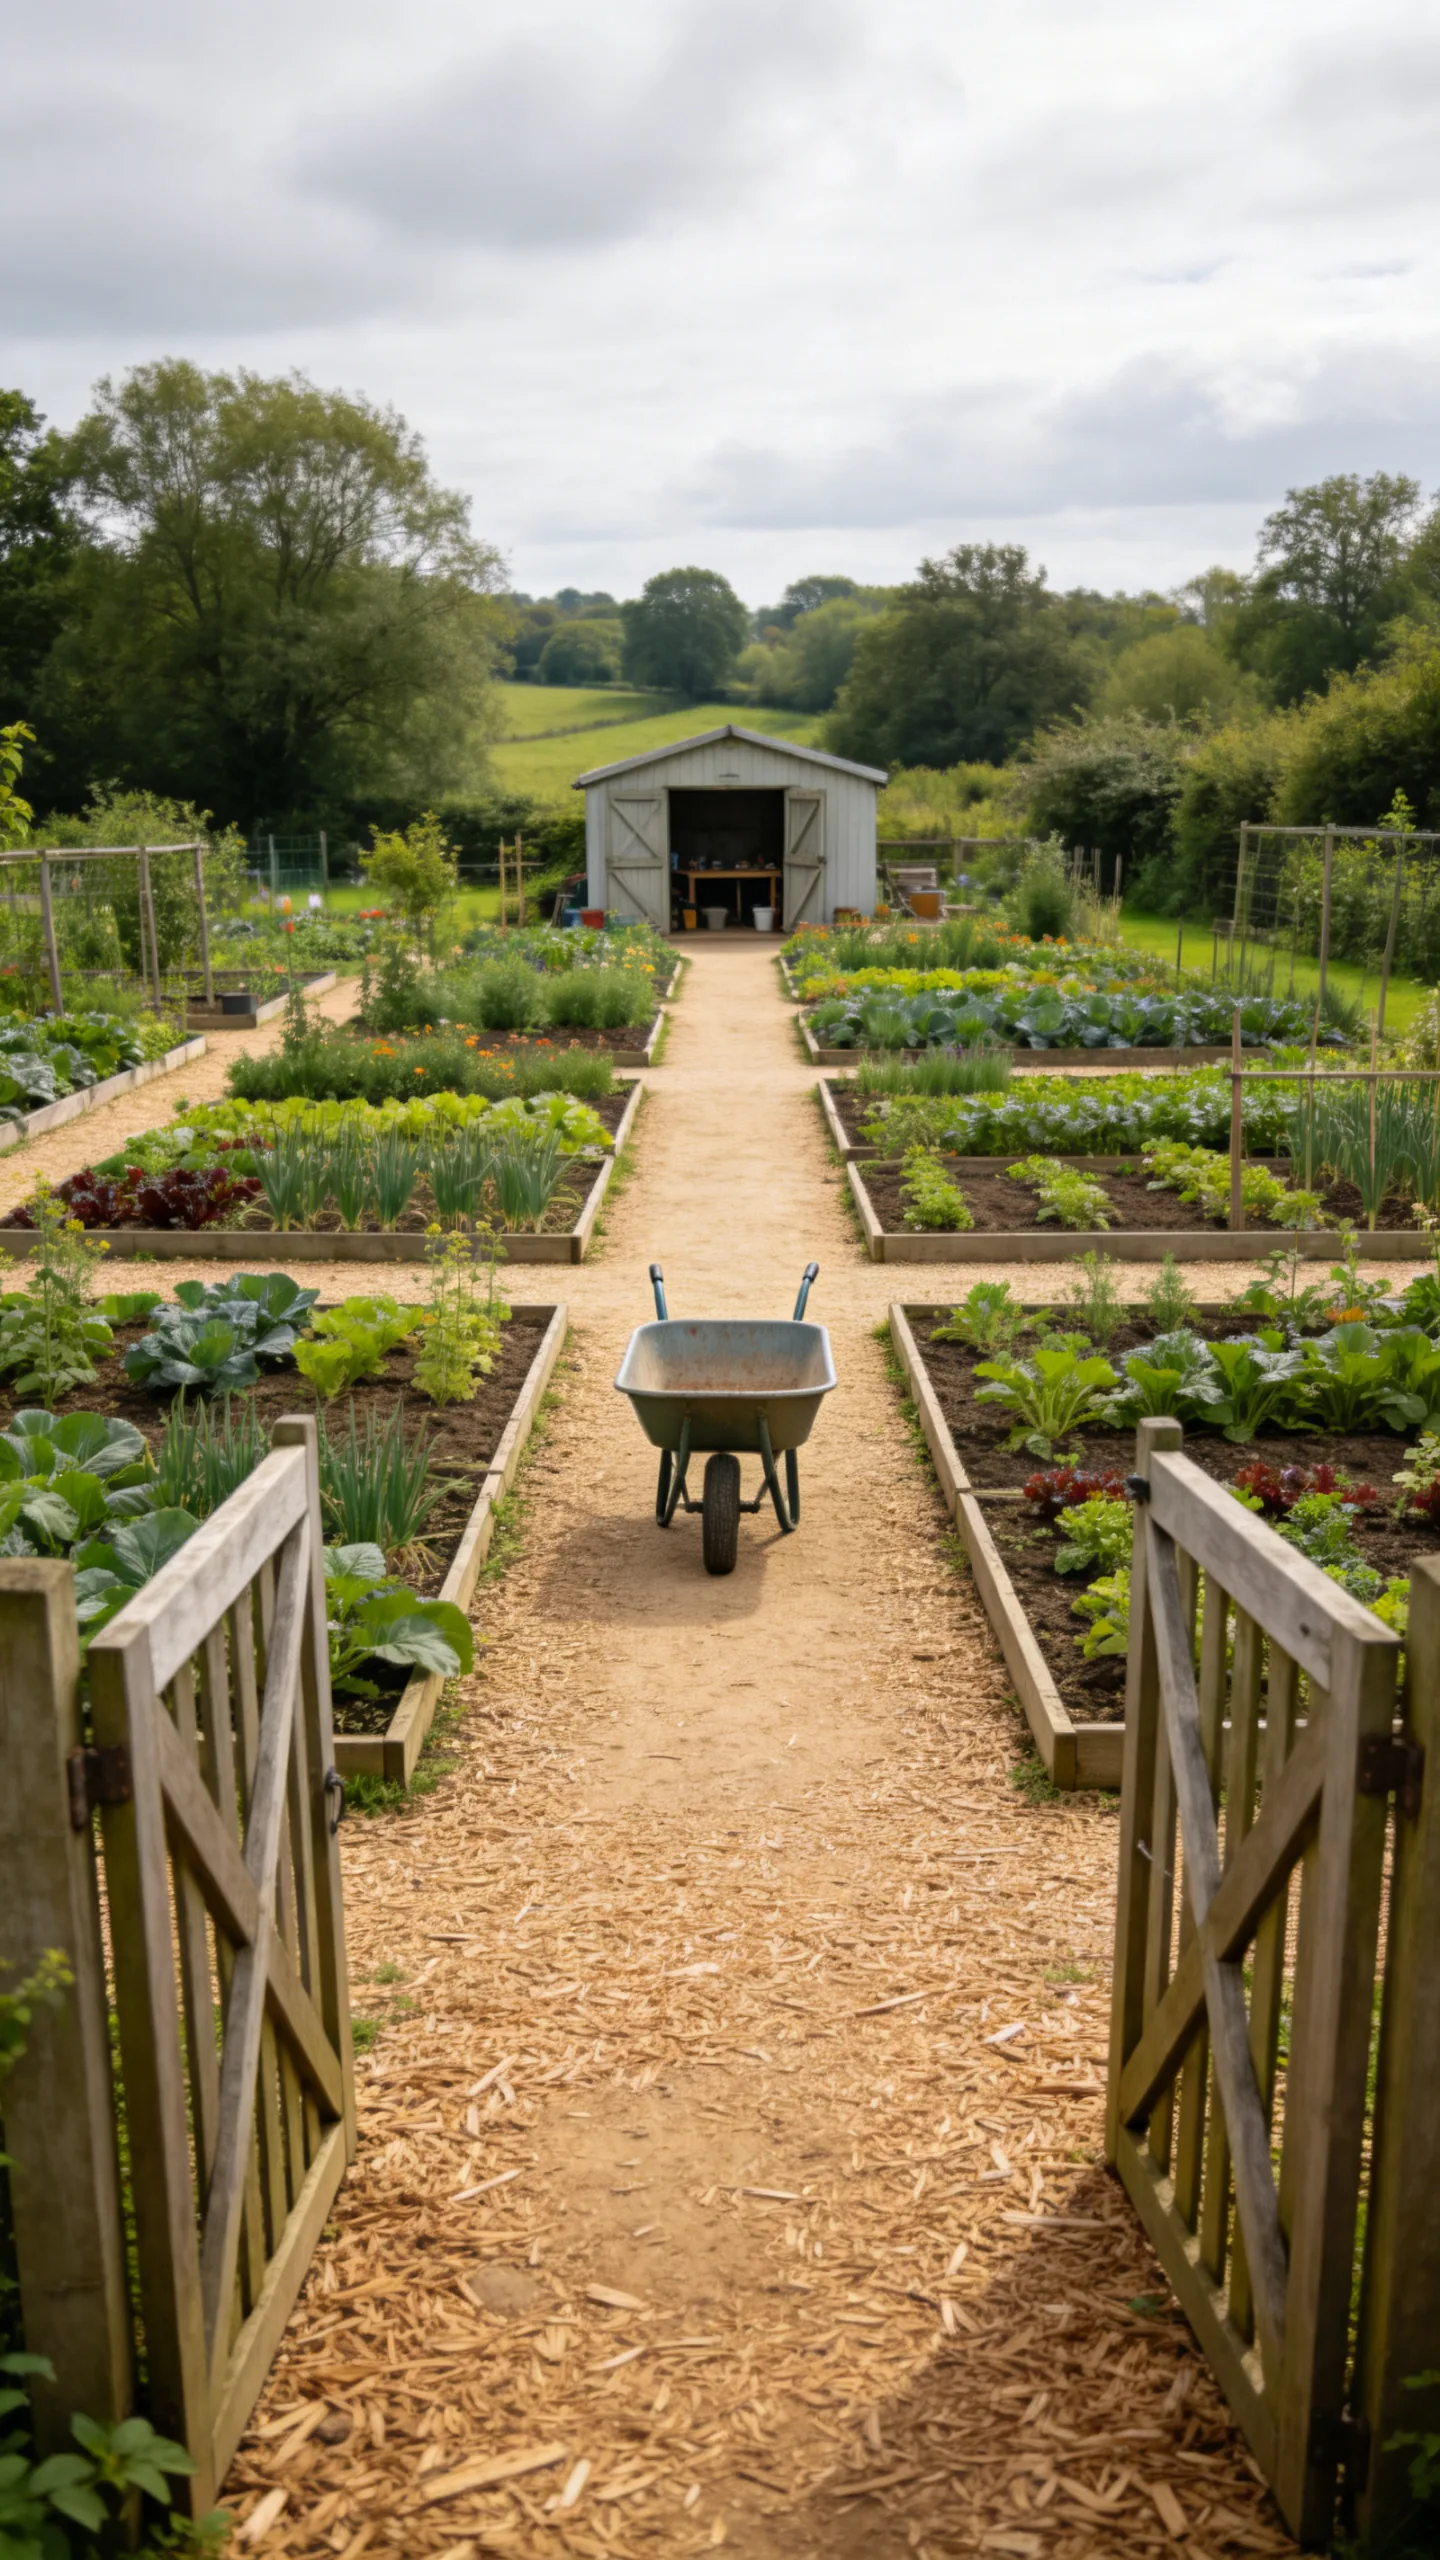
Place a wider path from the gate to the shed, water butt, or main working area, then branch off with smaller paths to each bed. A central route makes it easier to carry compost, tools, and harvested crops across the plot.
Leave enough width for a wheelbarrow rather than designing paths only for walking. Keep the main route as level as possible, especially where winter rain could create muddy or slippery ground.
4. Plan a Simple Crop-Rotation Grid
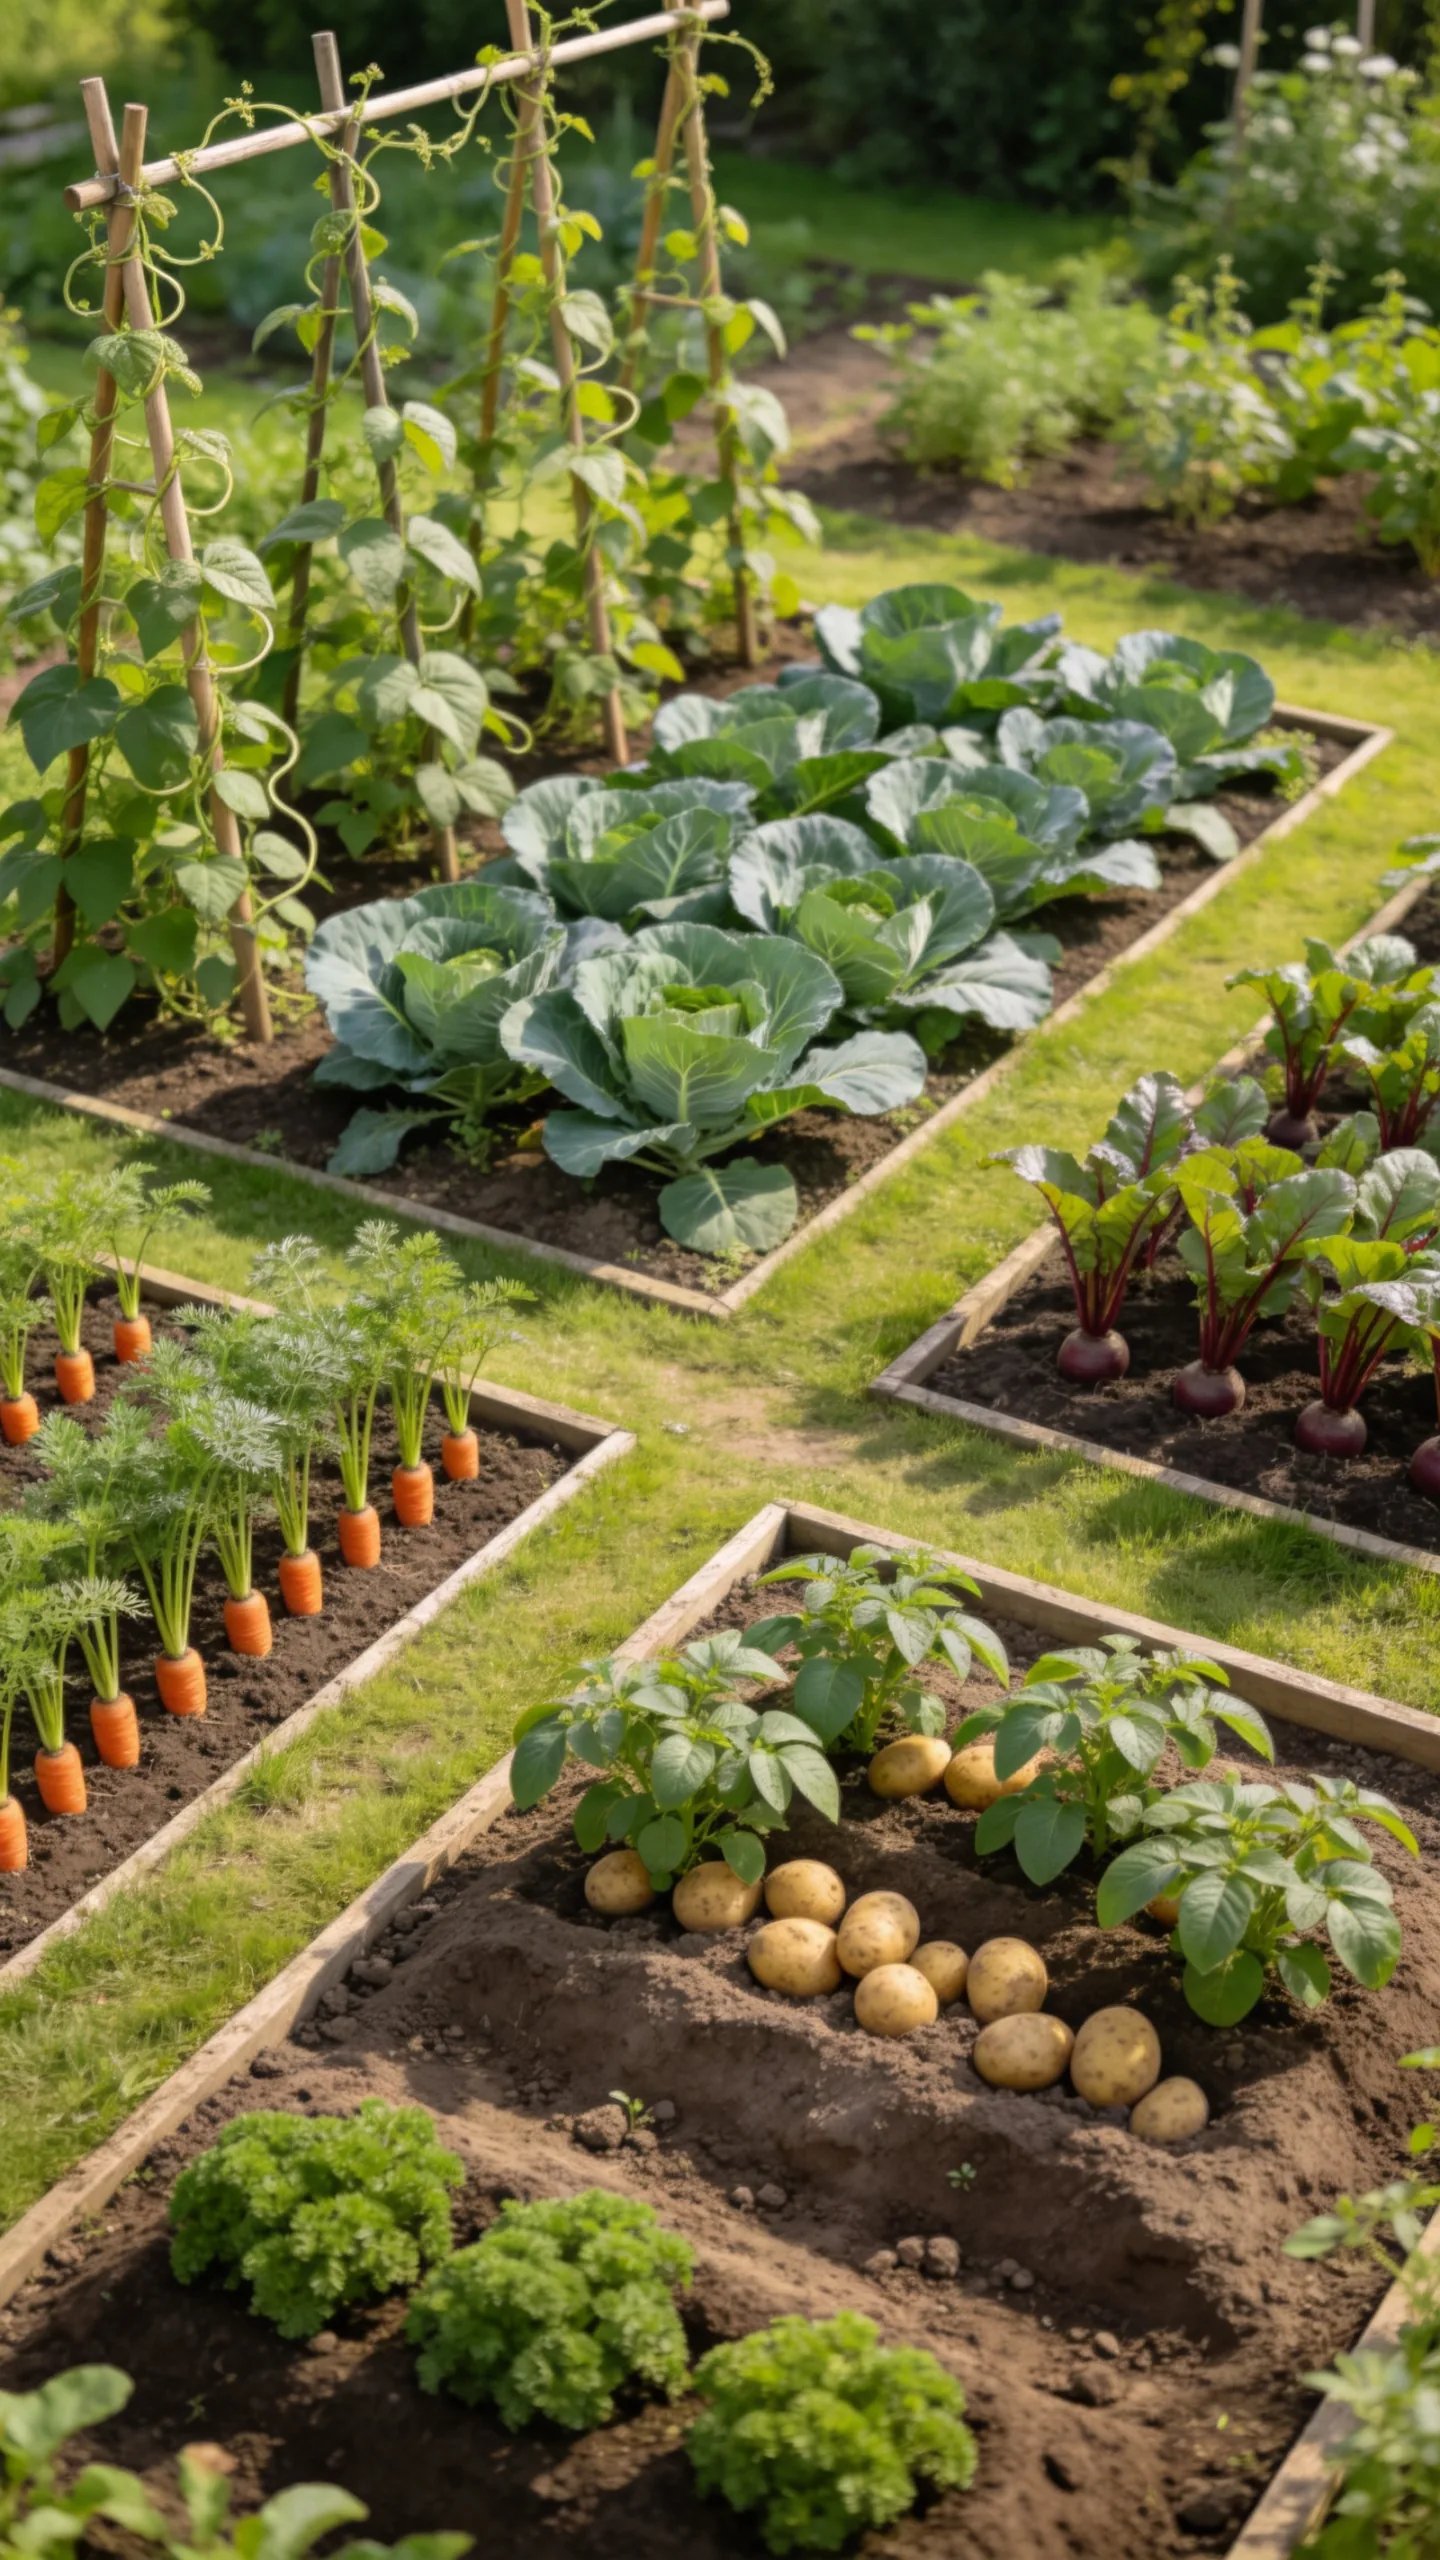
Divide the growing area into four or more blocks and assign each block a crop group. A beginner-friendly rotation might separate legumes, brassicas, roots, and potatoes, with salads and herbs fitted around the edges.
Move each crop group to a different block each year where space allows. This makes planning easier and can reduce the repeated buildup of some soil pests and diseases, although rotation does not replace good sanitation or suitable crop choices.
5. Put Tall Crops on the North Side
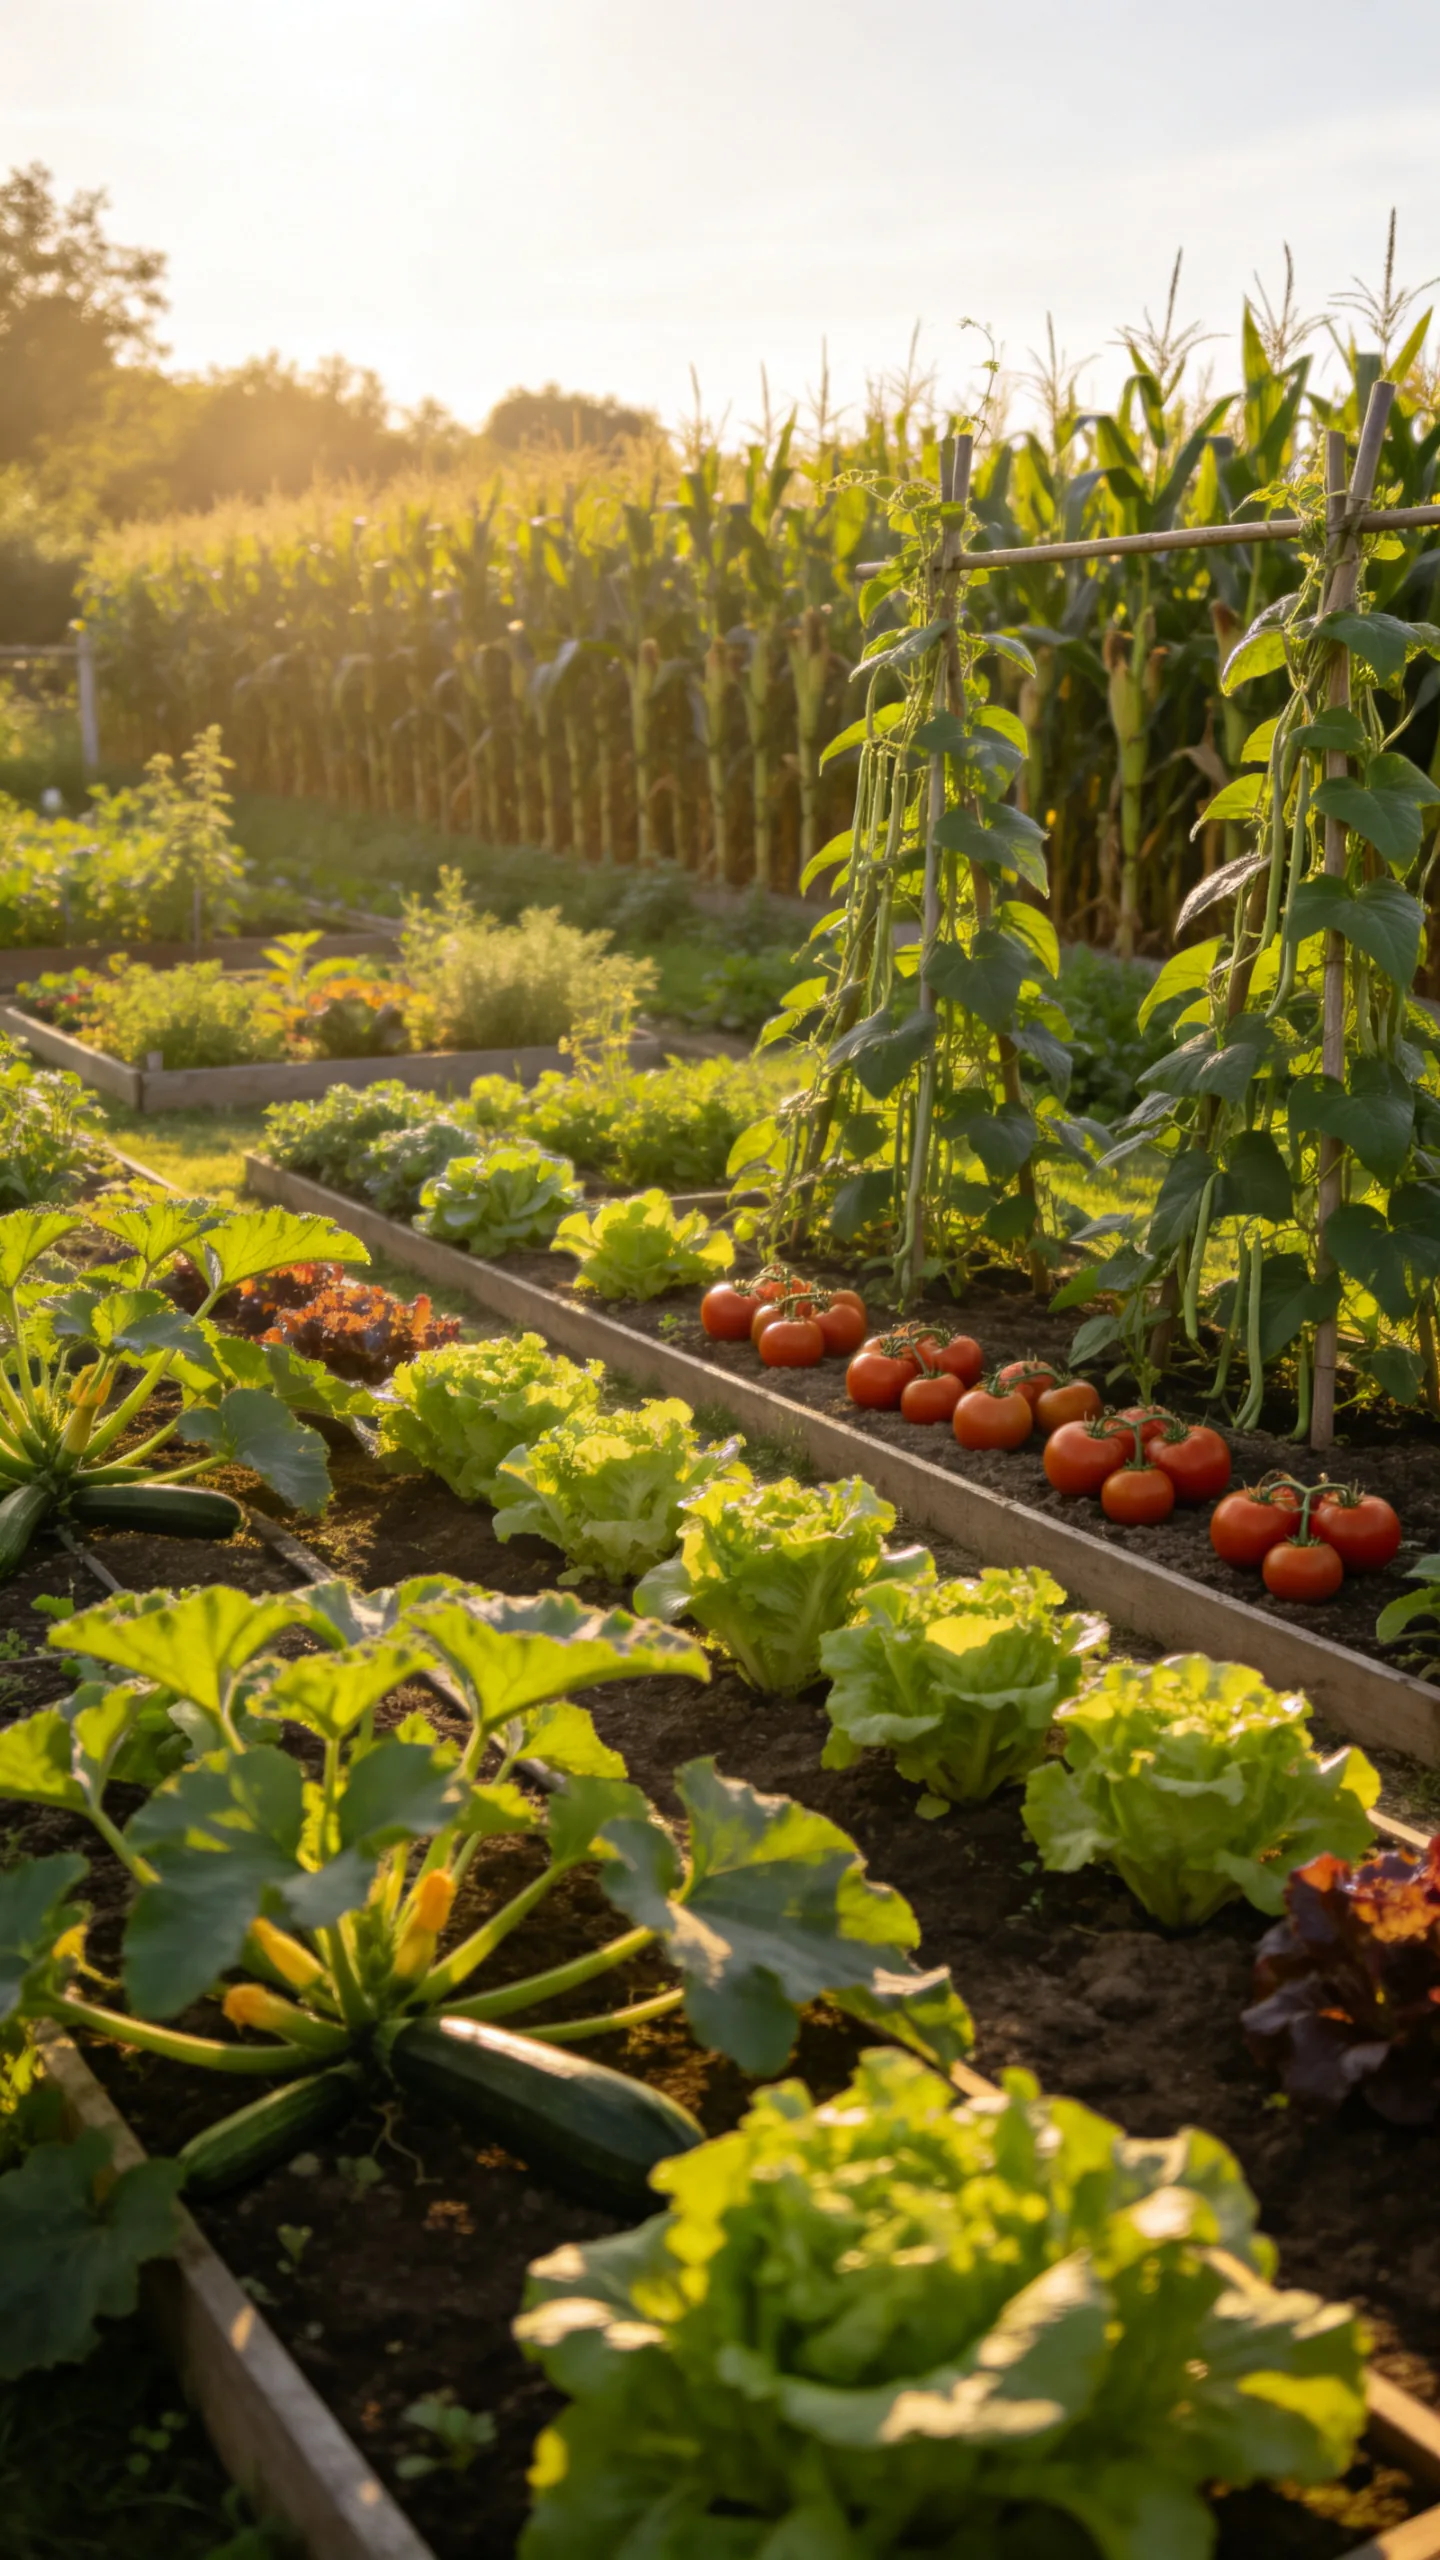
Place runner beans, climbing peas, sweetcorn, Jerusalem artichokes, and tall supports along the northern edge of the plot. This reduces the risk of tall plants shading shorter vegetables during the main growing season.
Check the direction of the strongest afternoon light before finalising the layout. If the plot has unusual shading from trees, fences, or buildings, position tall crops so the sunniest beds remain available for tomatoes, courgettes, and other light-hungry plants.
6. Add a Dedicated Soft-Fruit Border
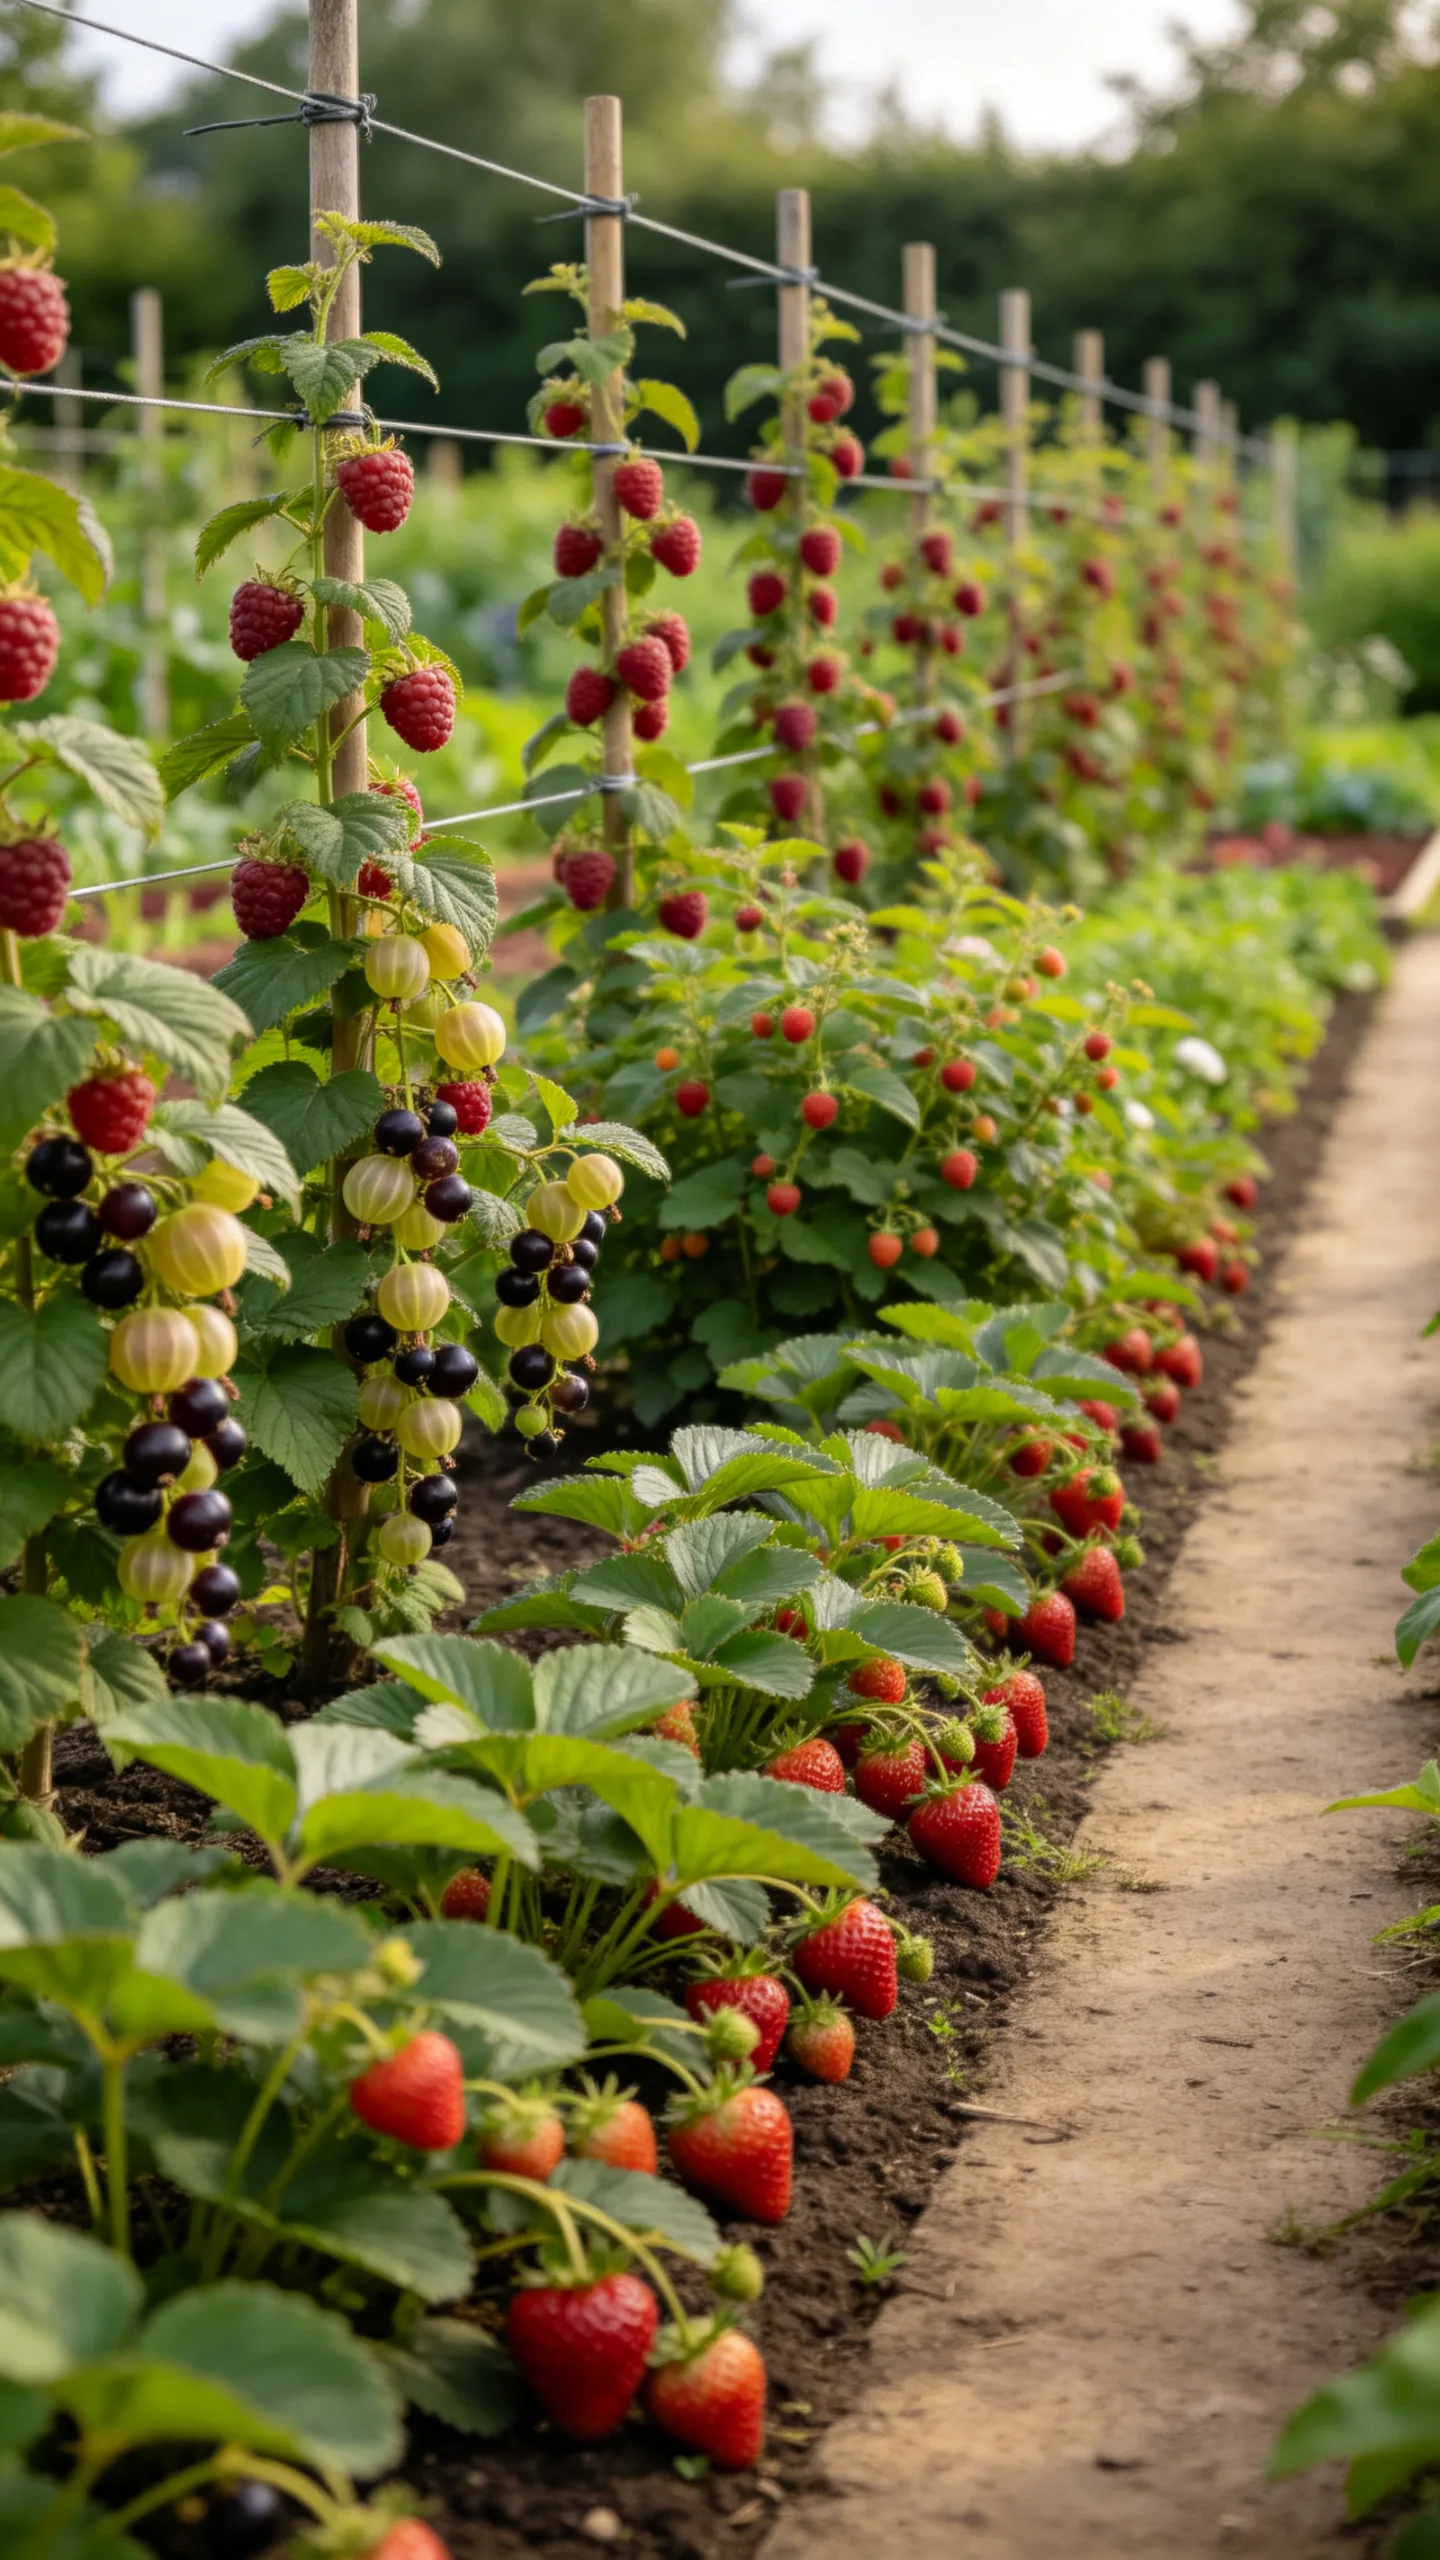
Use one long border for raspberries, blackberries, gooseberries, currants, or strawberries instead of scattering fruit plants through vegetable beds. Install supports and tie-in wires before planting raspberries or blackberries so the canes stay contained.
Choose a position with good light and leave working space on both sides where possible. Keep perennial fruit away from annual beds that need regular digging, since established roots and permanent supports can make crop rotation awkward.
7. Build a Compact Herb and Salad Bed Near the Entrance
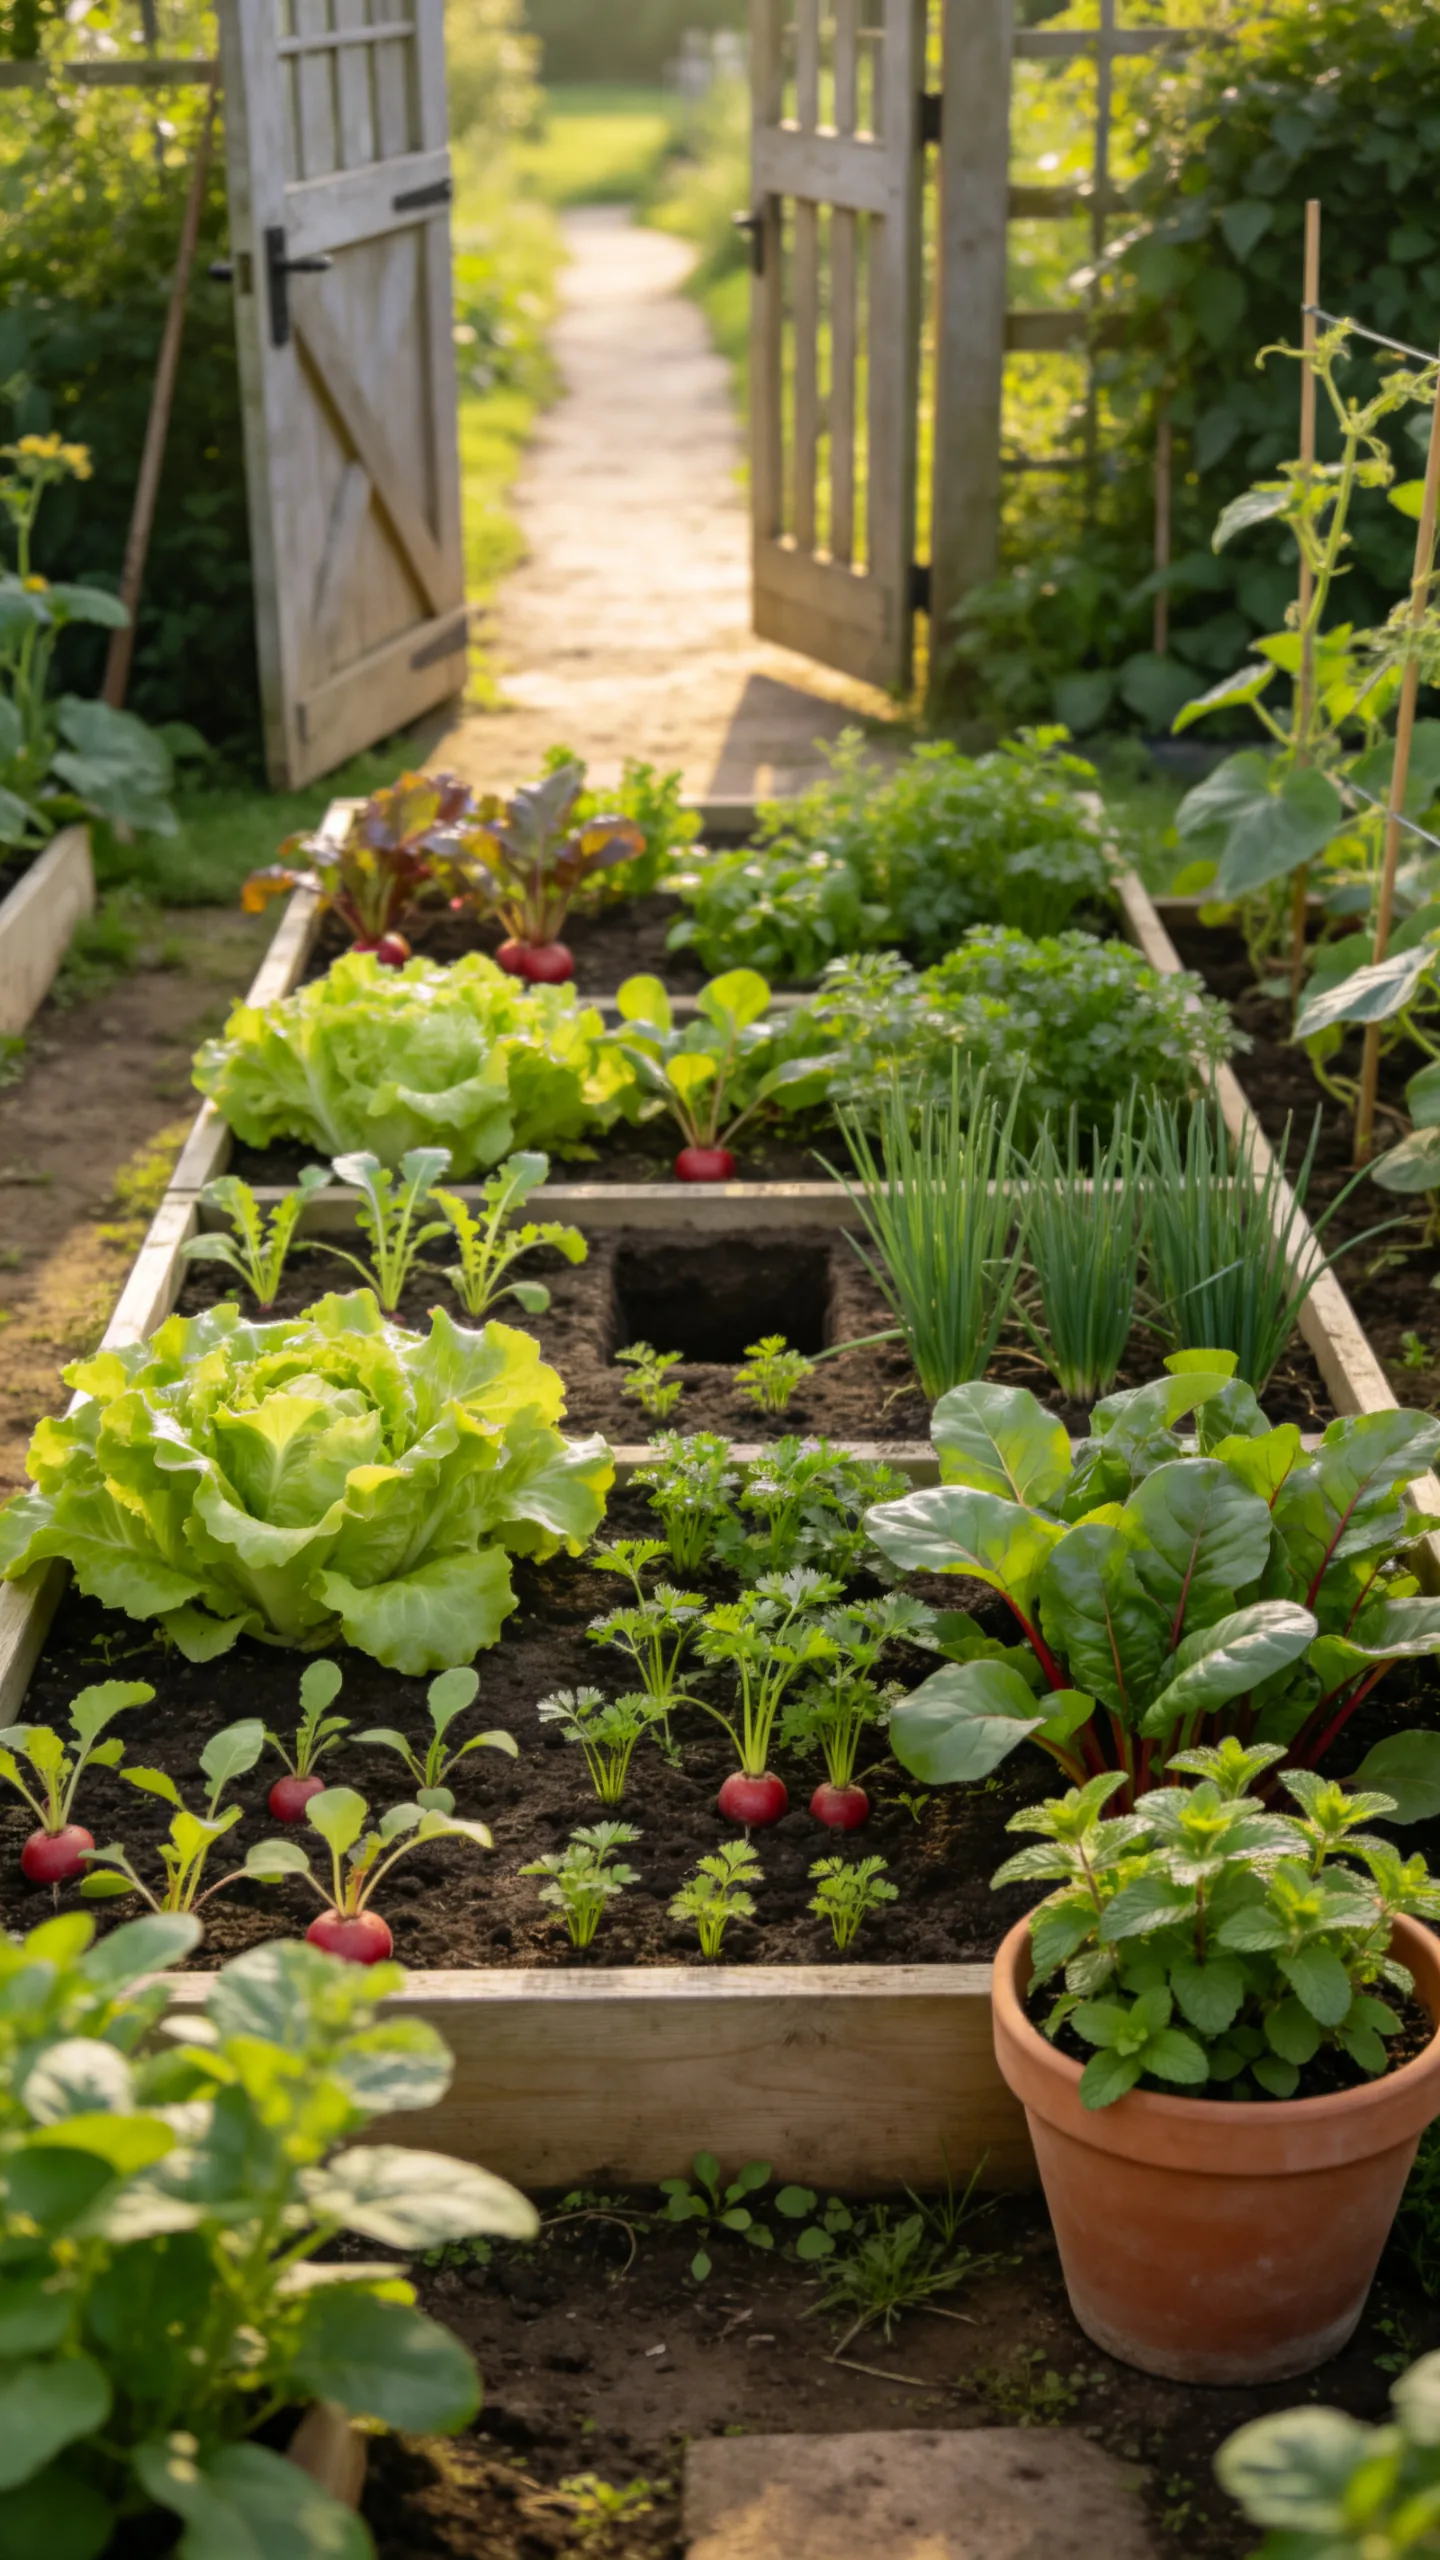
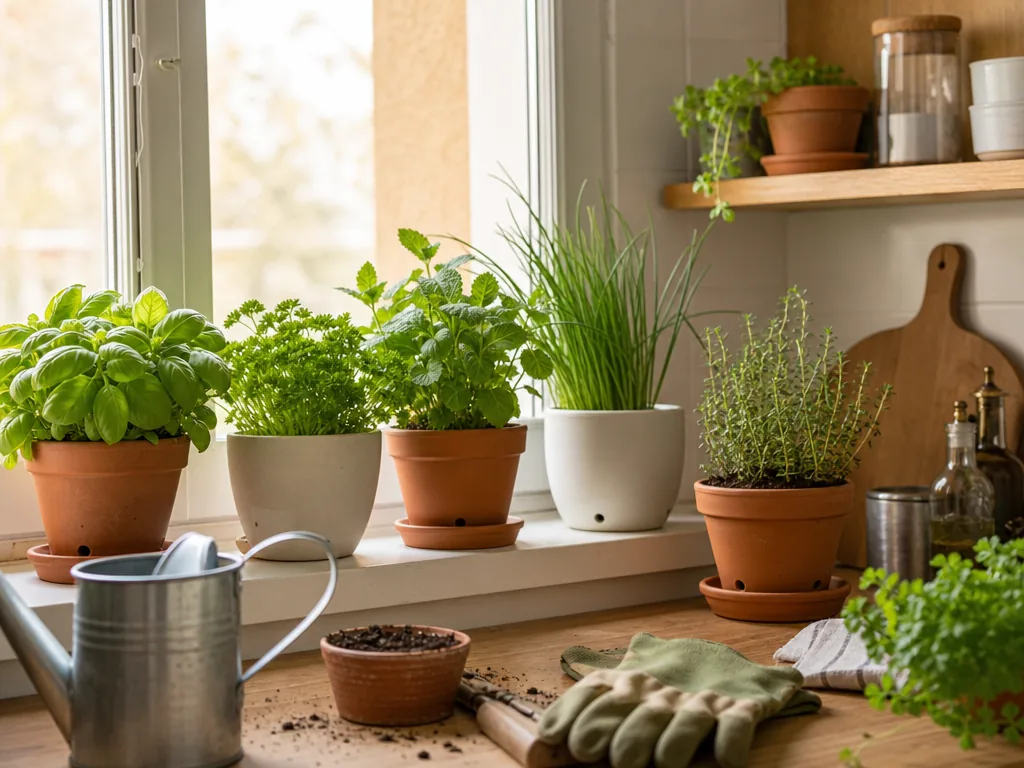
Plant frequently harvested crops such as parsley, chives, coriander, lettuce, rocket, radishes, and spring onions close to the gate. A small bed or set of containers near the entrance makes quick visits more productive.
Use succession sowing to refill empty spaces every few weeks during suitable weather. Group herbs that prefer similar conditions together, while keeping spreading mint in a container to prevent it from taking over nearby soil.
8. Create a Greenhouse or Cold-Frame Corner
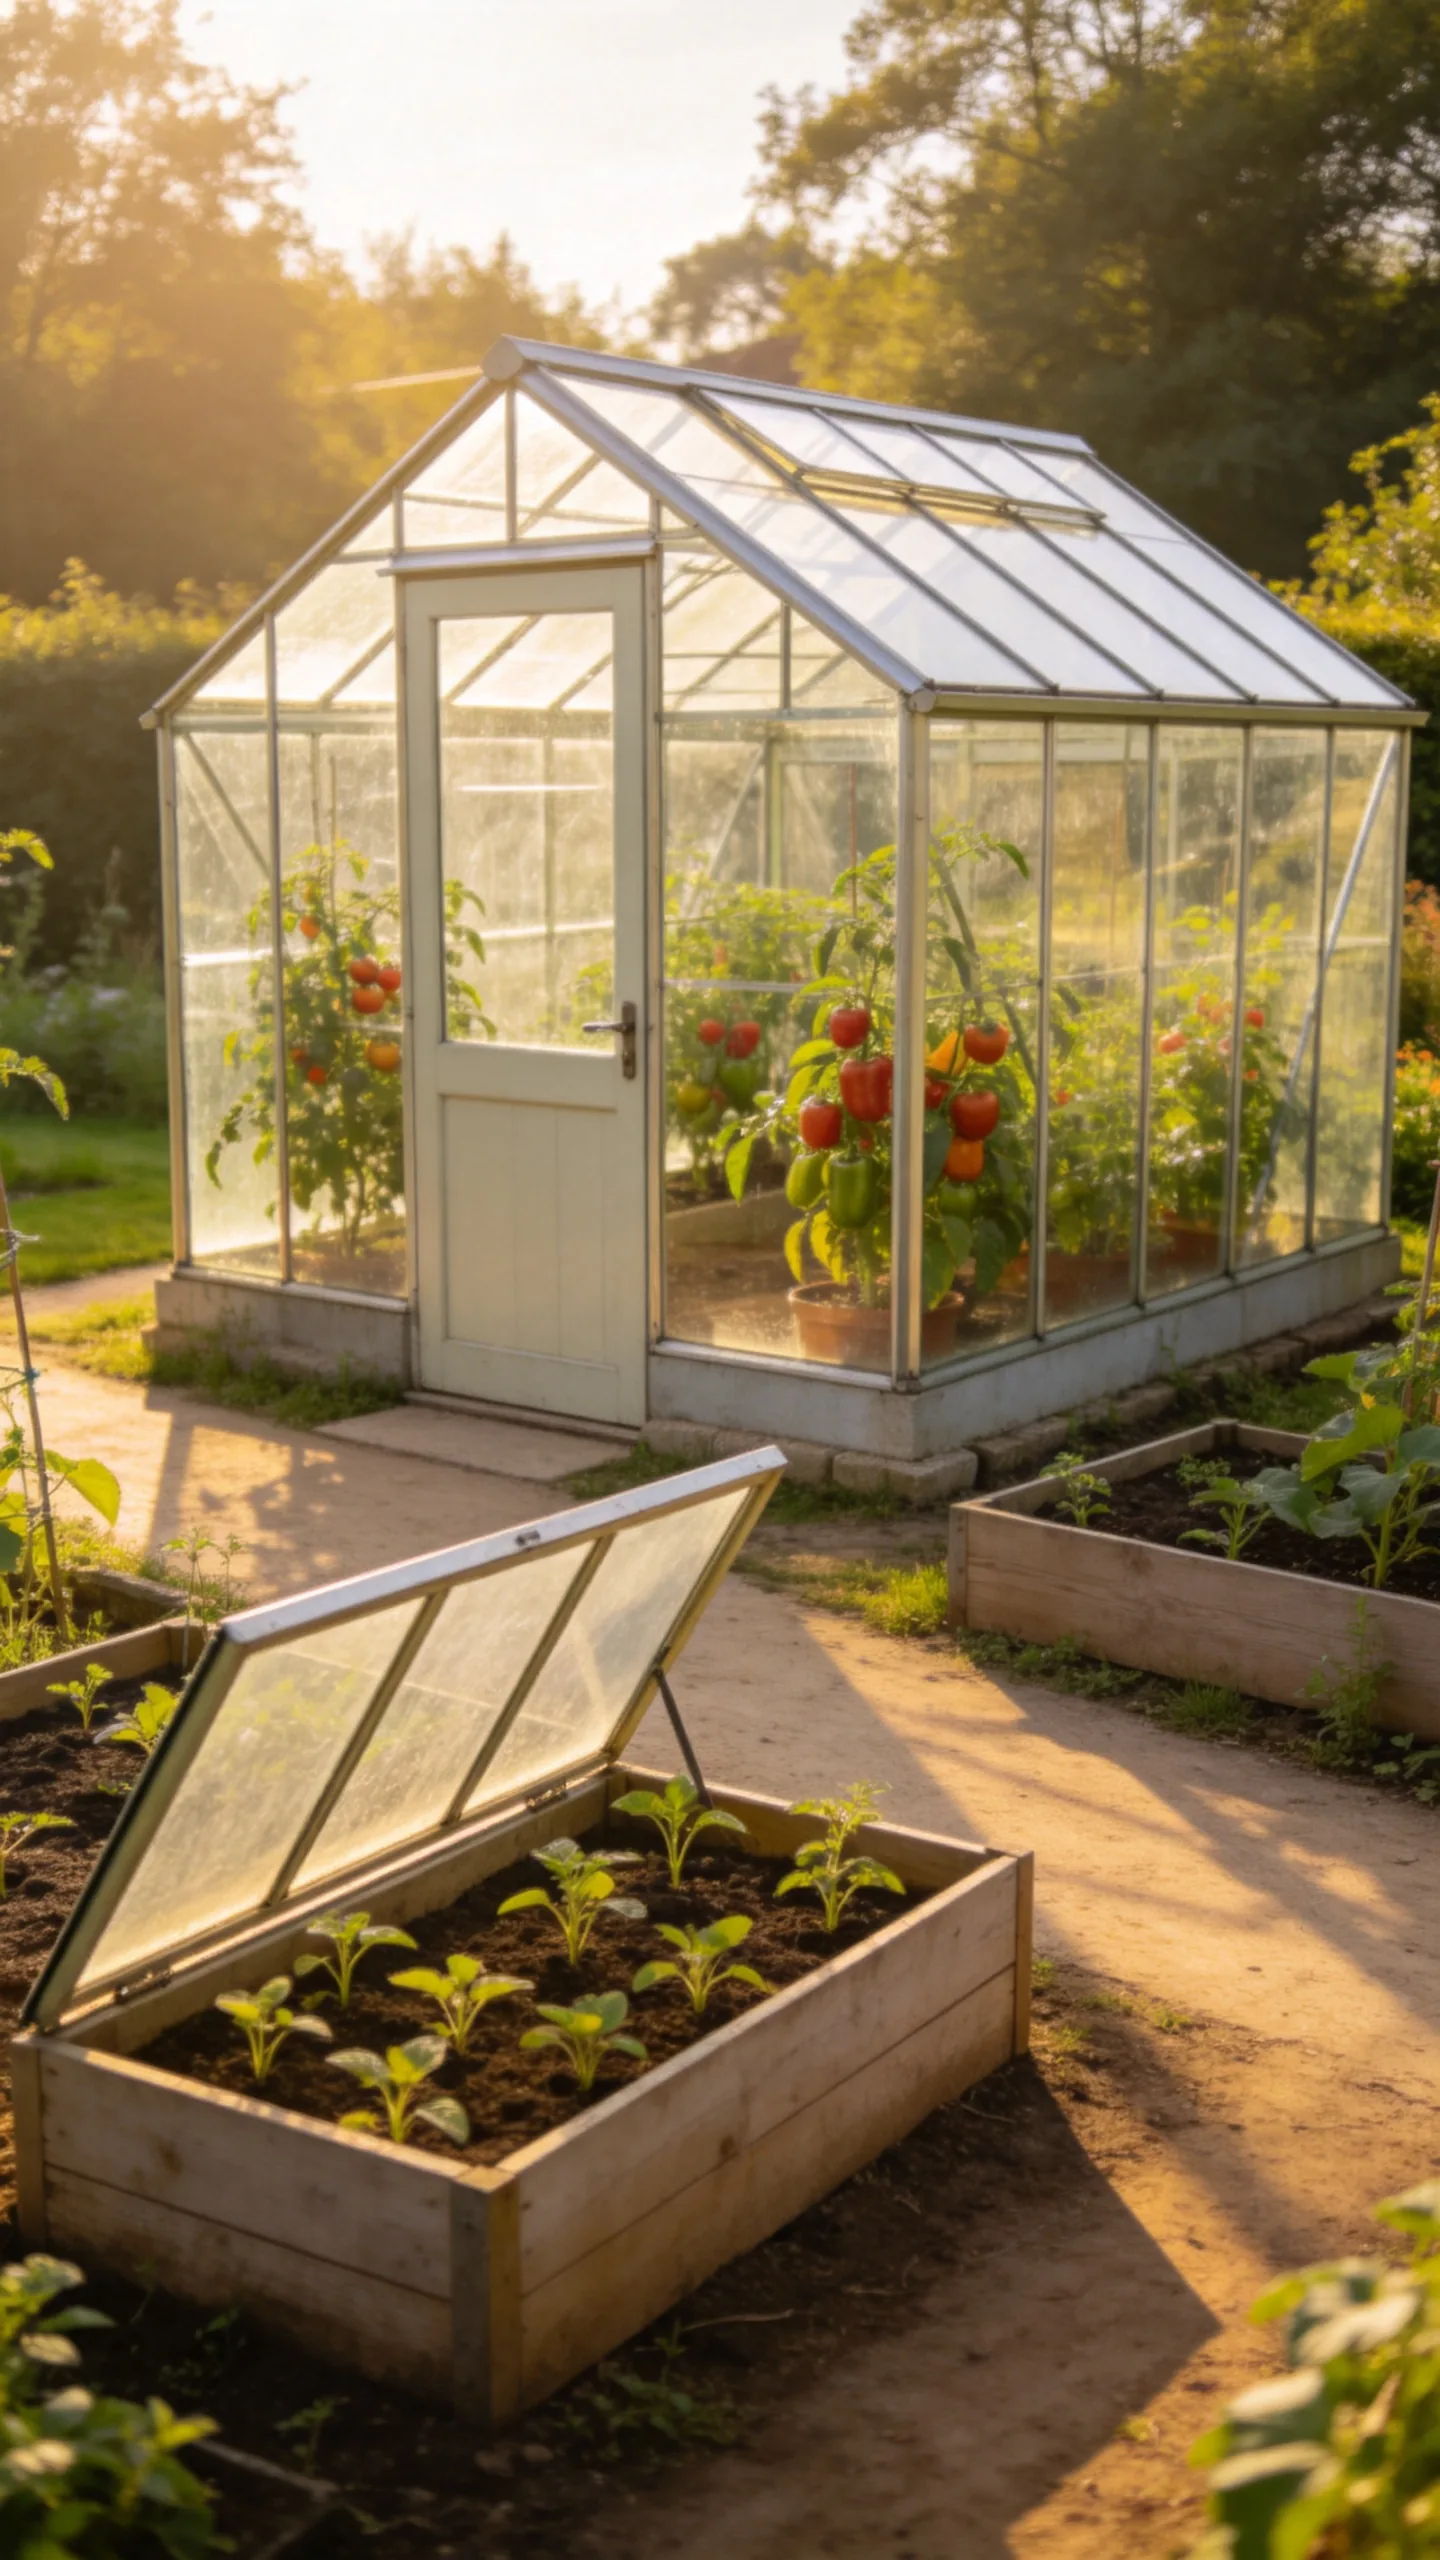
Reserve the sunniest sheltered corner for a greenhouse, polytunnel, or several cold frames. Keeping this structure near the entrance or main path makes watering, ventilation, and checking seedlings less time-consuming.
Use it for early sowings, tender tomatoes, peppers, cucumbers, or hardening-off young plants. Confirm the allotment rules and measure the structure before preparing the base, leaving enough room to open doors and walk around it safely.
9. Use a Fruit-Tree Cordons Along the Boundary
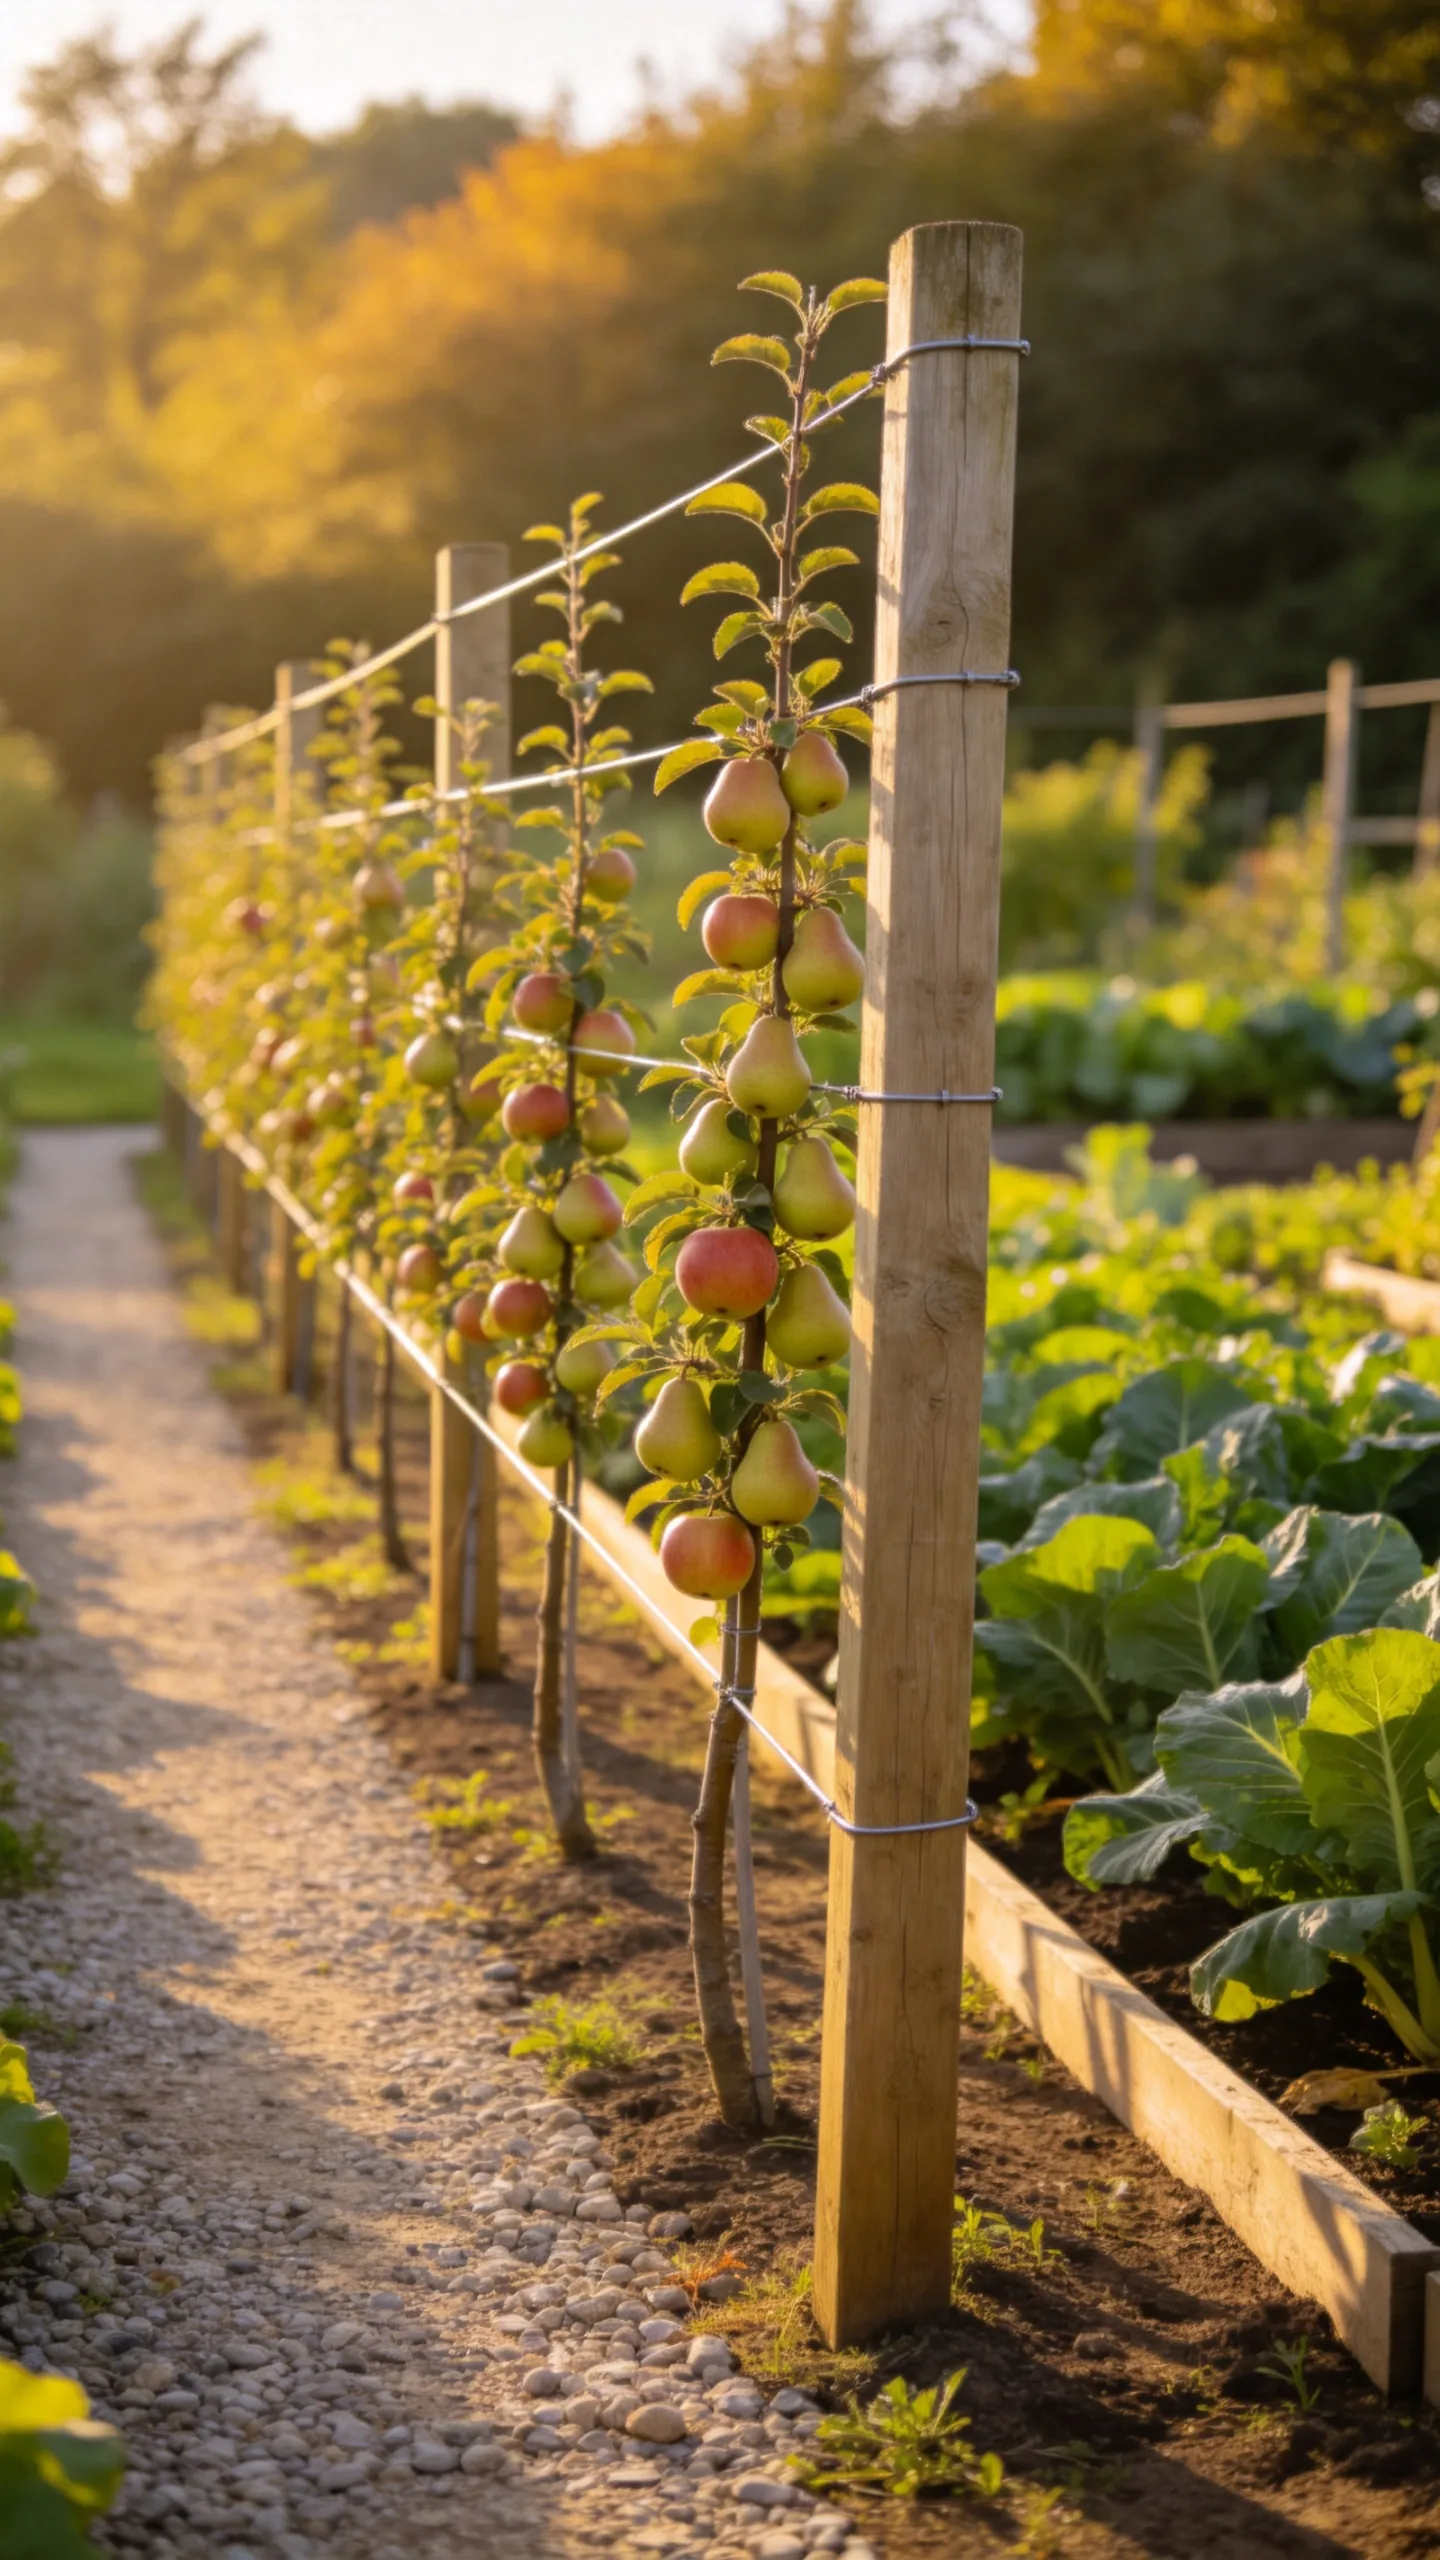
Train compact apple, pear, or plum trees as cordons along a sunny boundary where permitted. Their narrow shape uses vertical space and leaves most of the central plot available for vegetables.
Install a strong support system before planting and check the mature height and pruning requirements of each variety. Avoid placing trees where their roots, shade, or fallen fruit will interfere with neighbouring plots or narrow paths.
10. Add a Trellis Screen for Vertical Growing
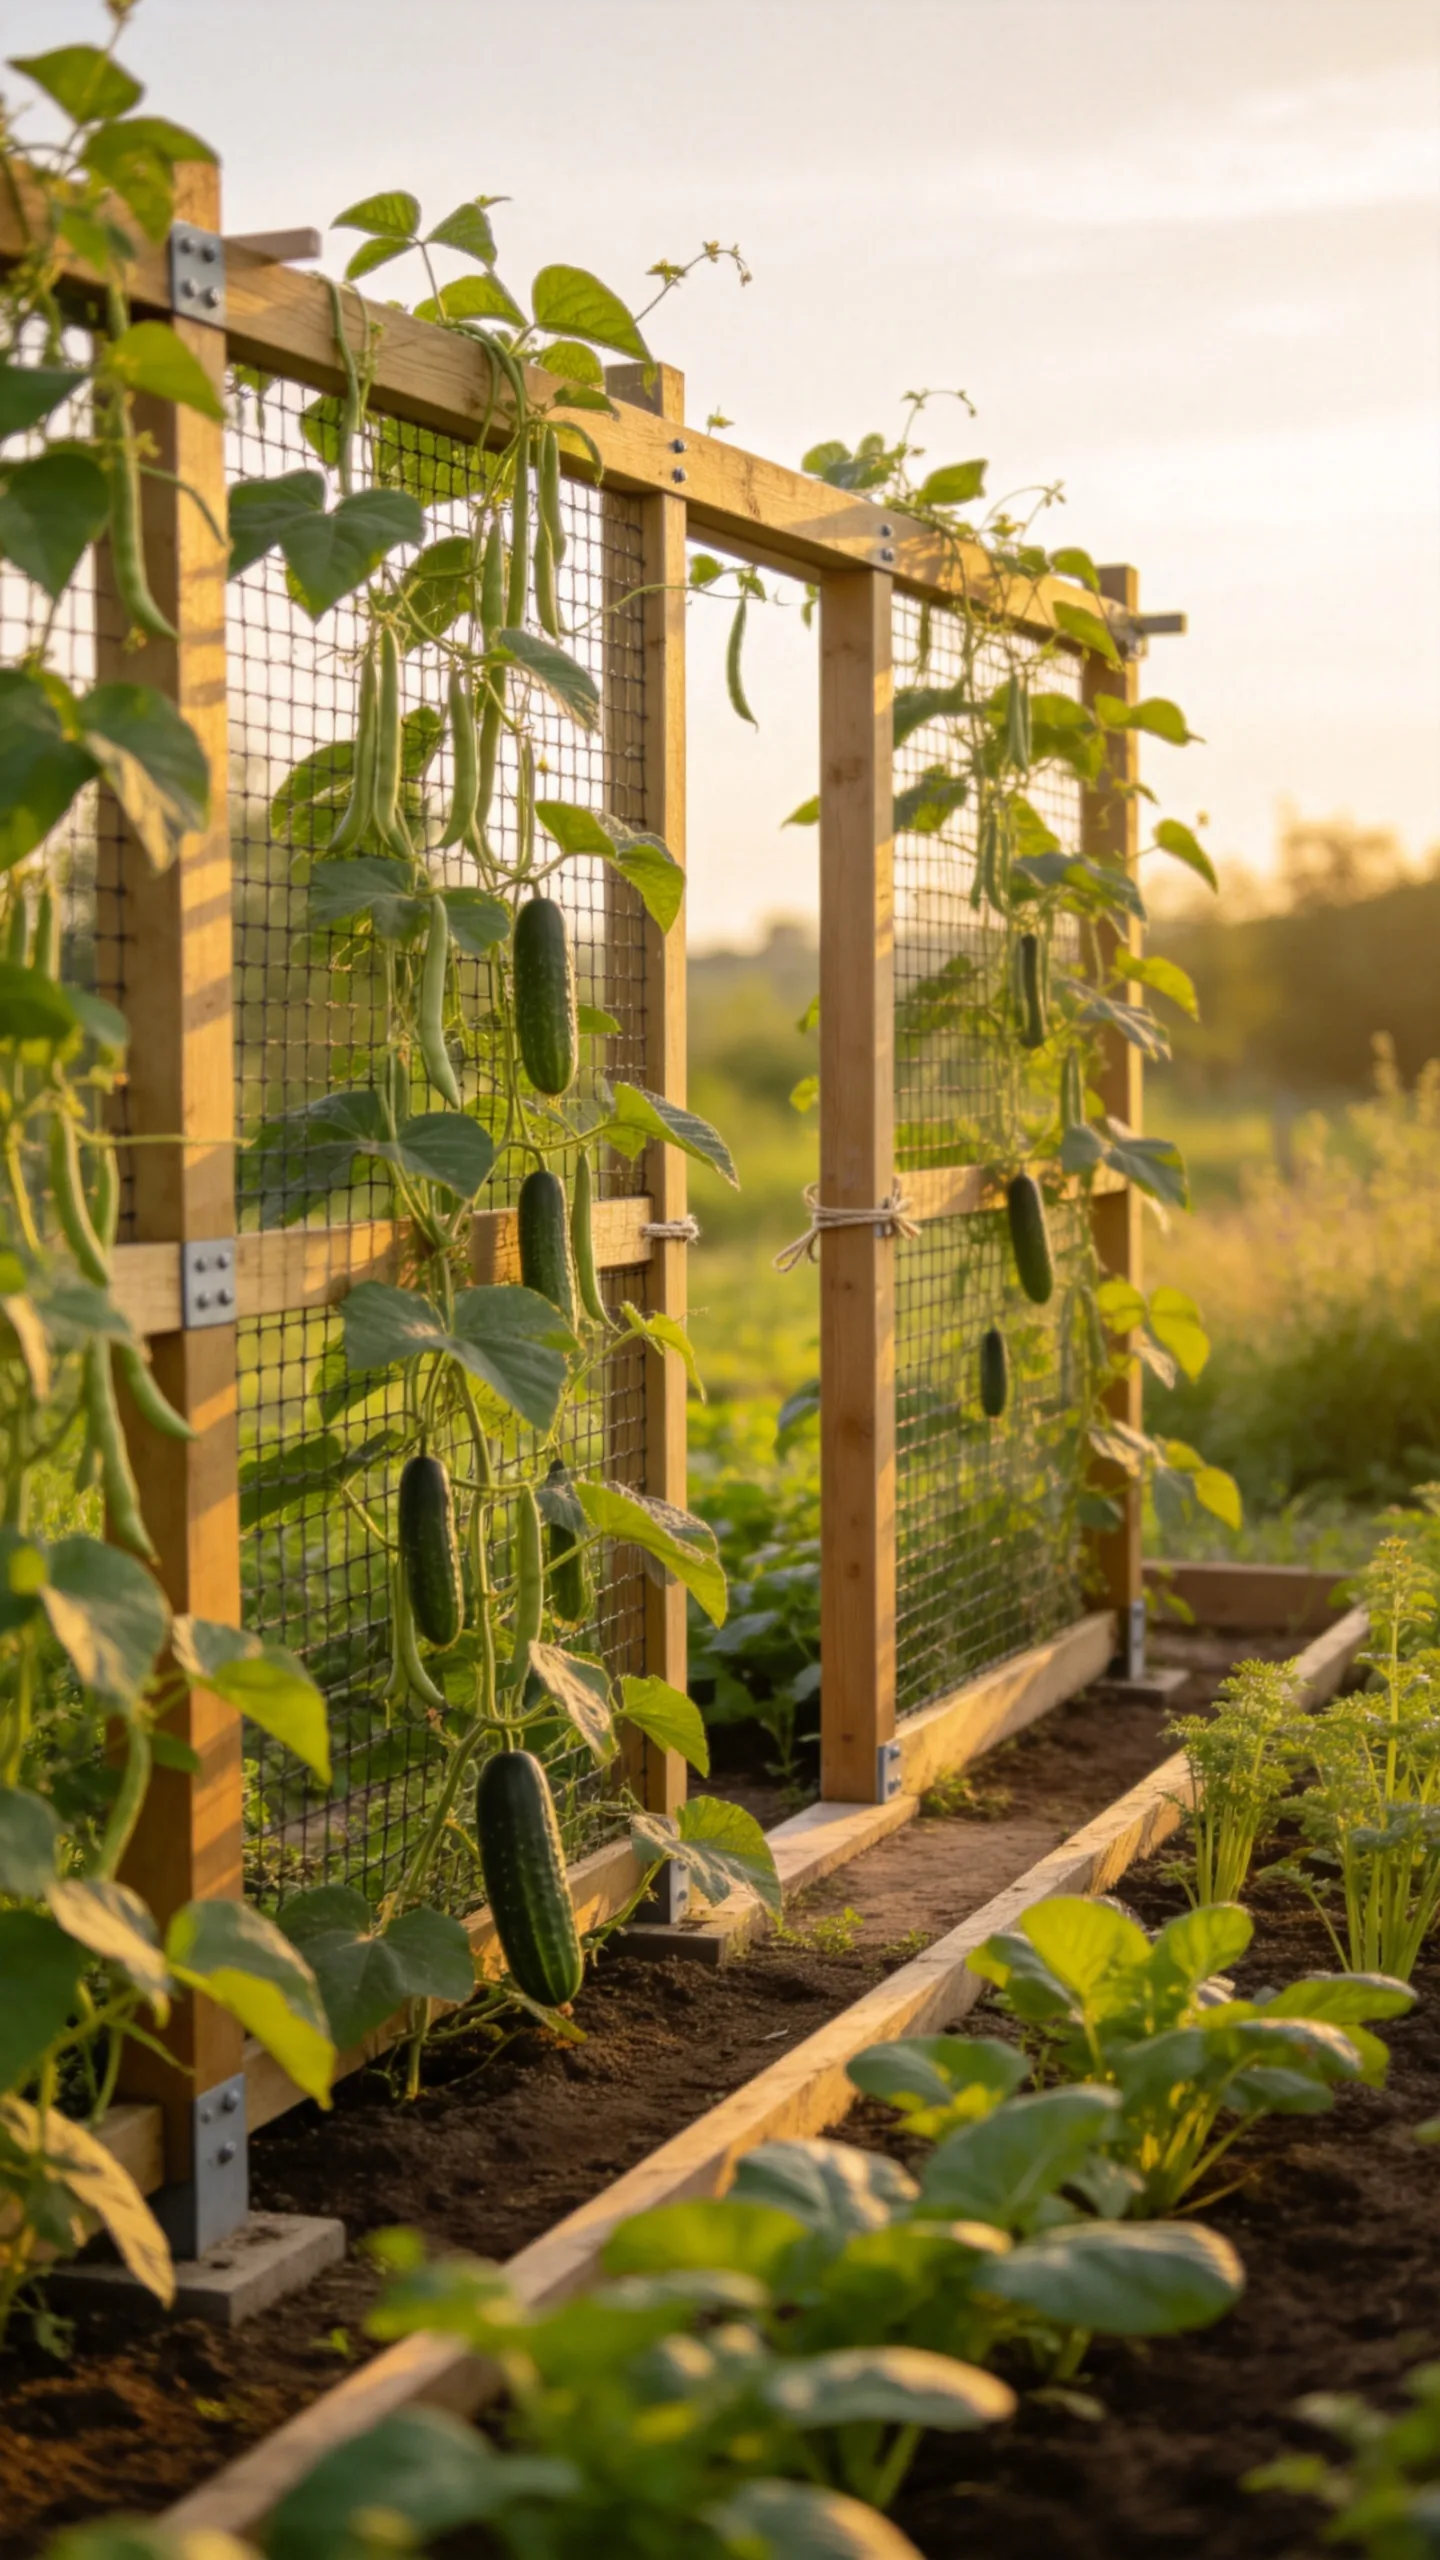
Attach a trellis to a sturdy fence or install freestanding supports for climbing beans, peas, cucumbers, and small squash varieties. Vertical growing increases planting area without widening the beds and can make harvesting easier.
Position the trellis so it does not shade low crops for most of the day. Leave a gap behind freestanding supports for tying stems, checking pests, and removing spent plants at the end of the season.
11. Design a Keyhole Bed for Easy Access
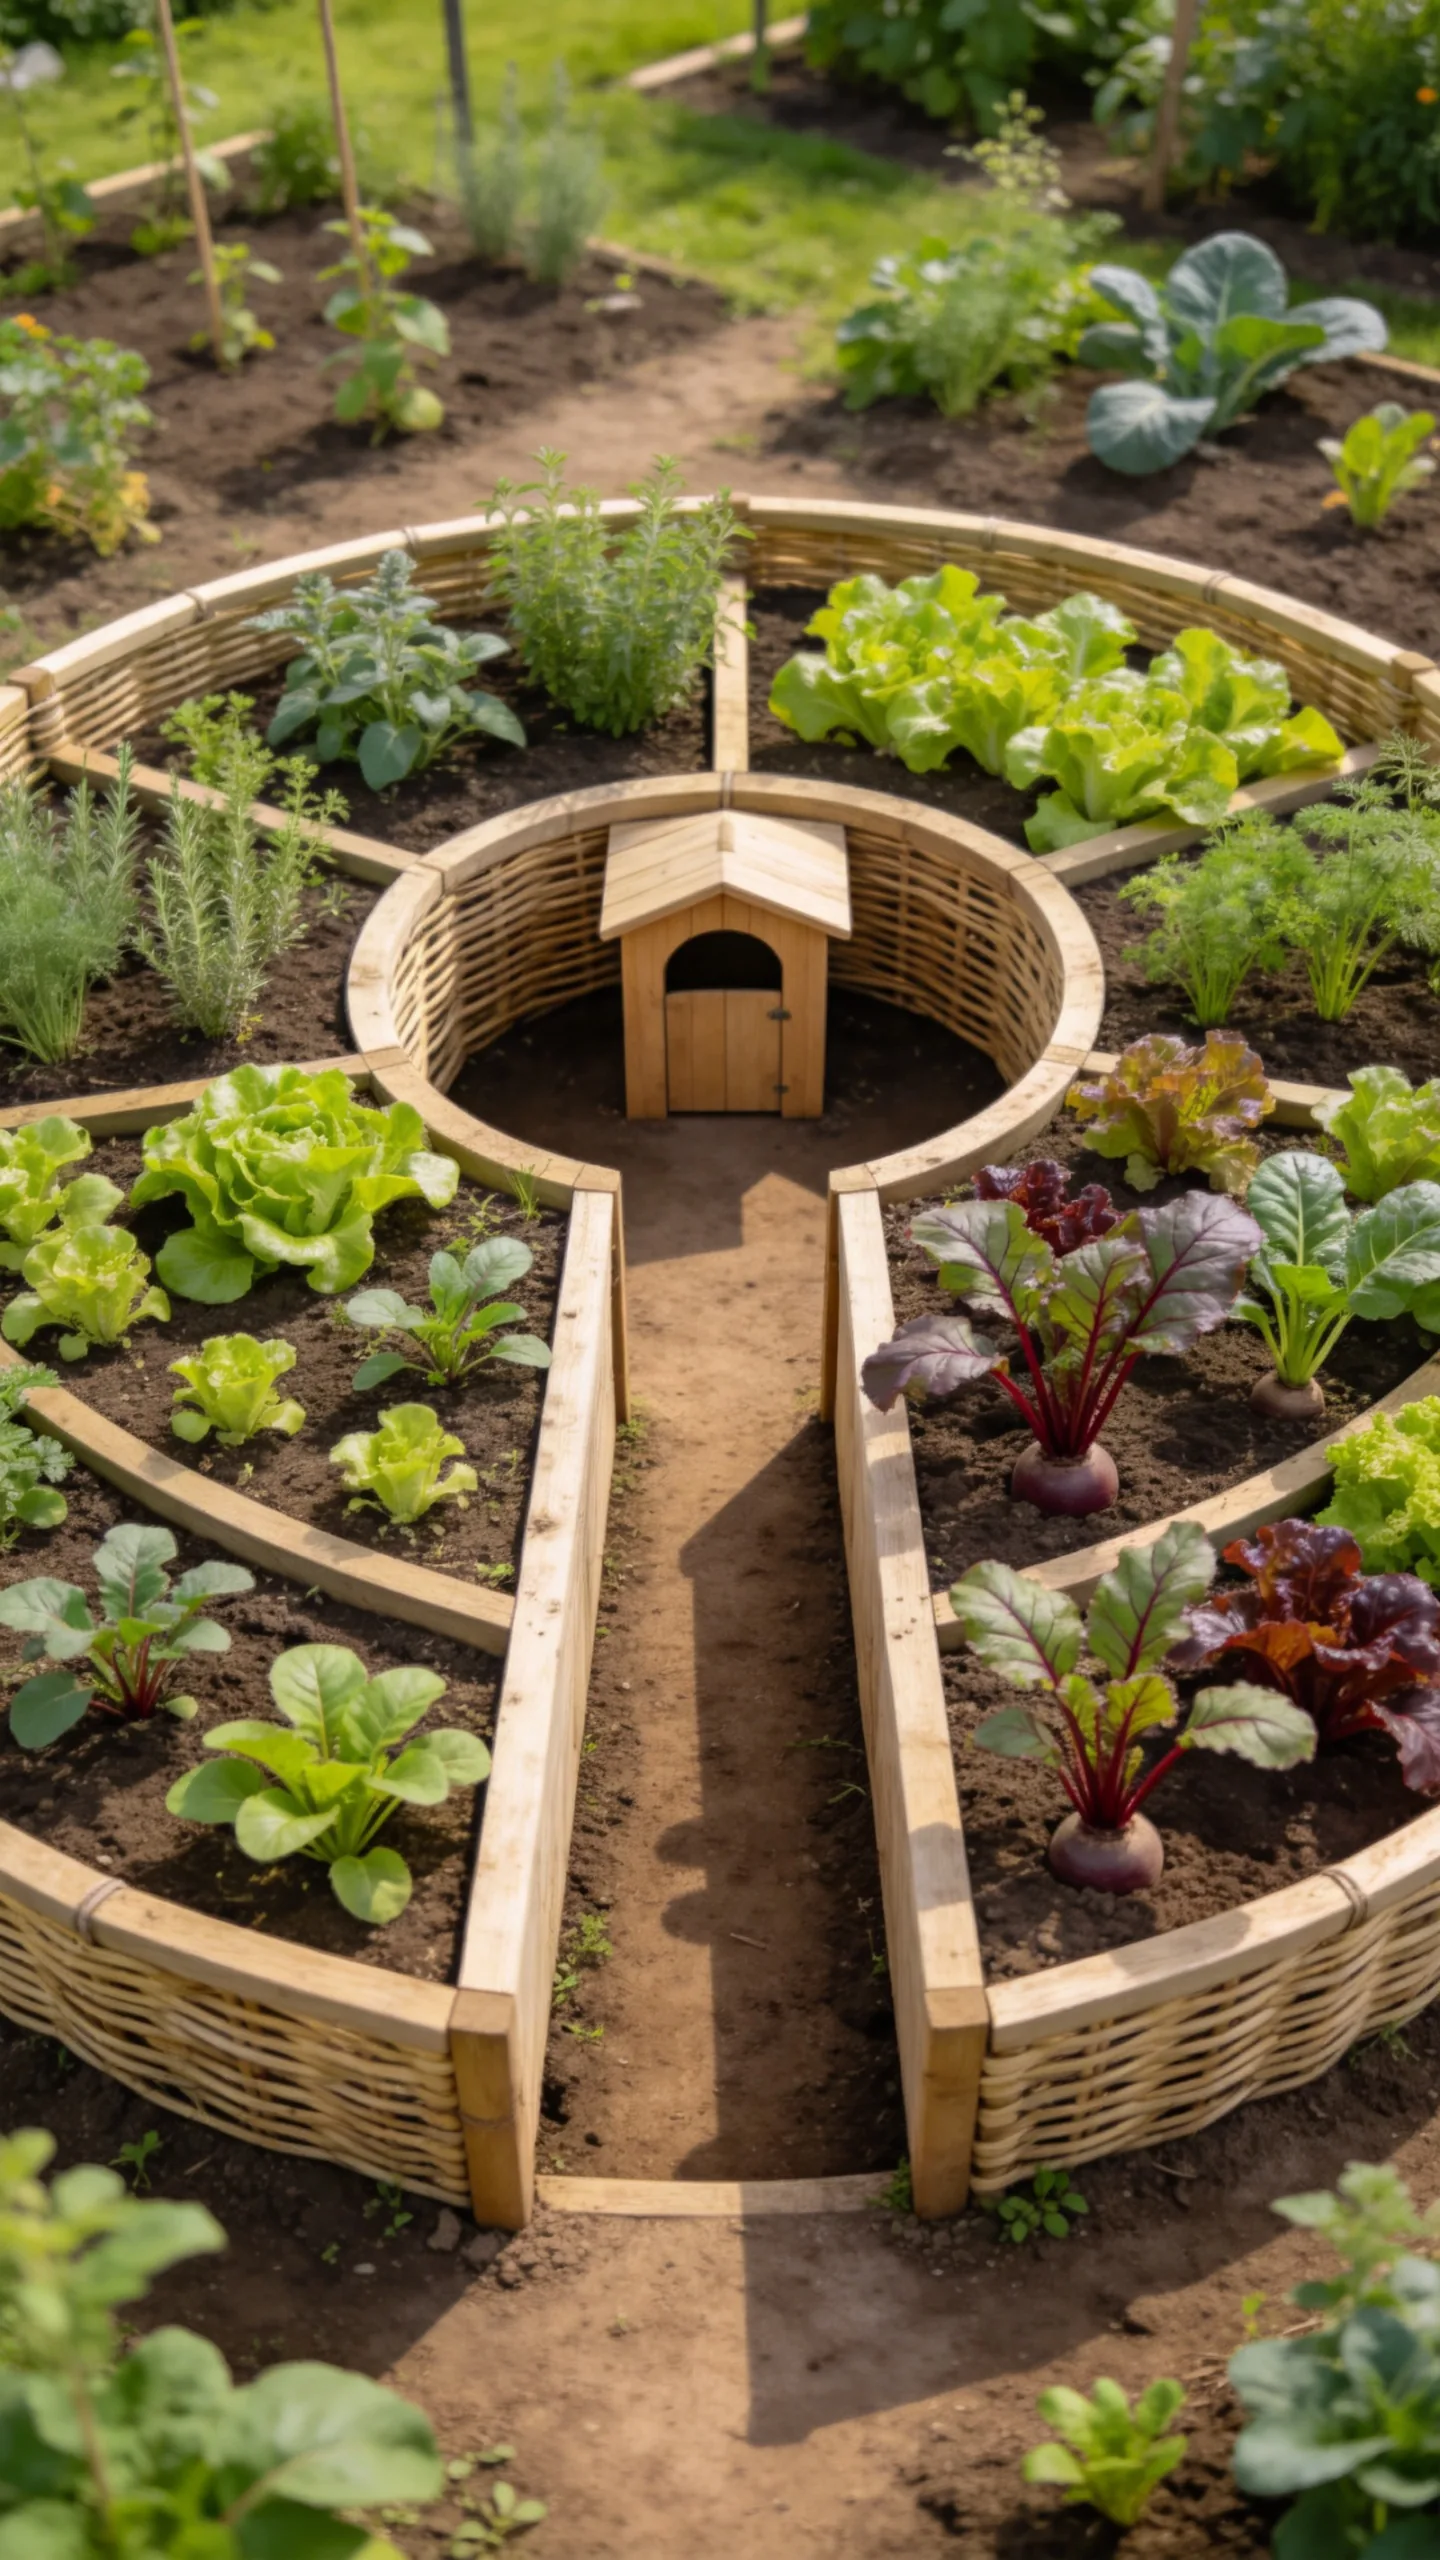
Make a roughly circular bed with a narrow access notch leading to its centre. This keyhole shape lets you reach several planting areas from one standing position while reducing the amount of path required.
Use the central area for compost, herbs, or a small stepping surface only if it stays stable and dry. Keep the bed small enough that you can reach all sections without leaning heavily across delicate plants.
12. Include a No-Dig Bed for Heavy or Weedy Soil
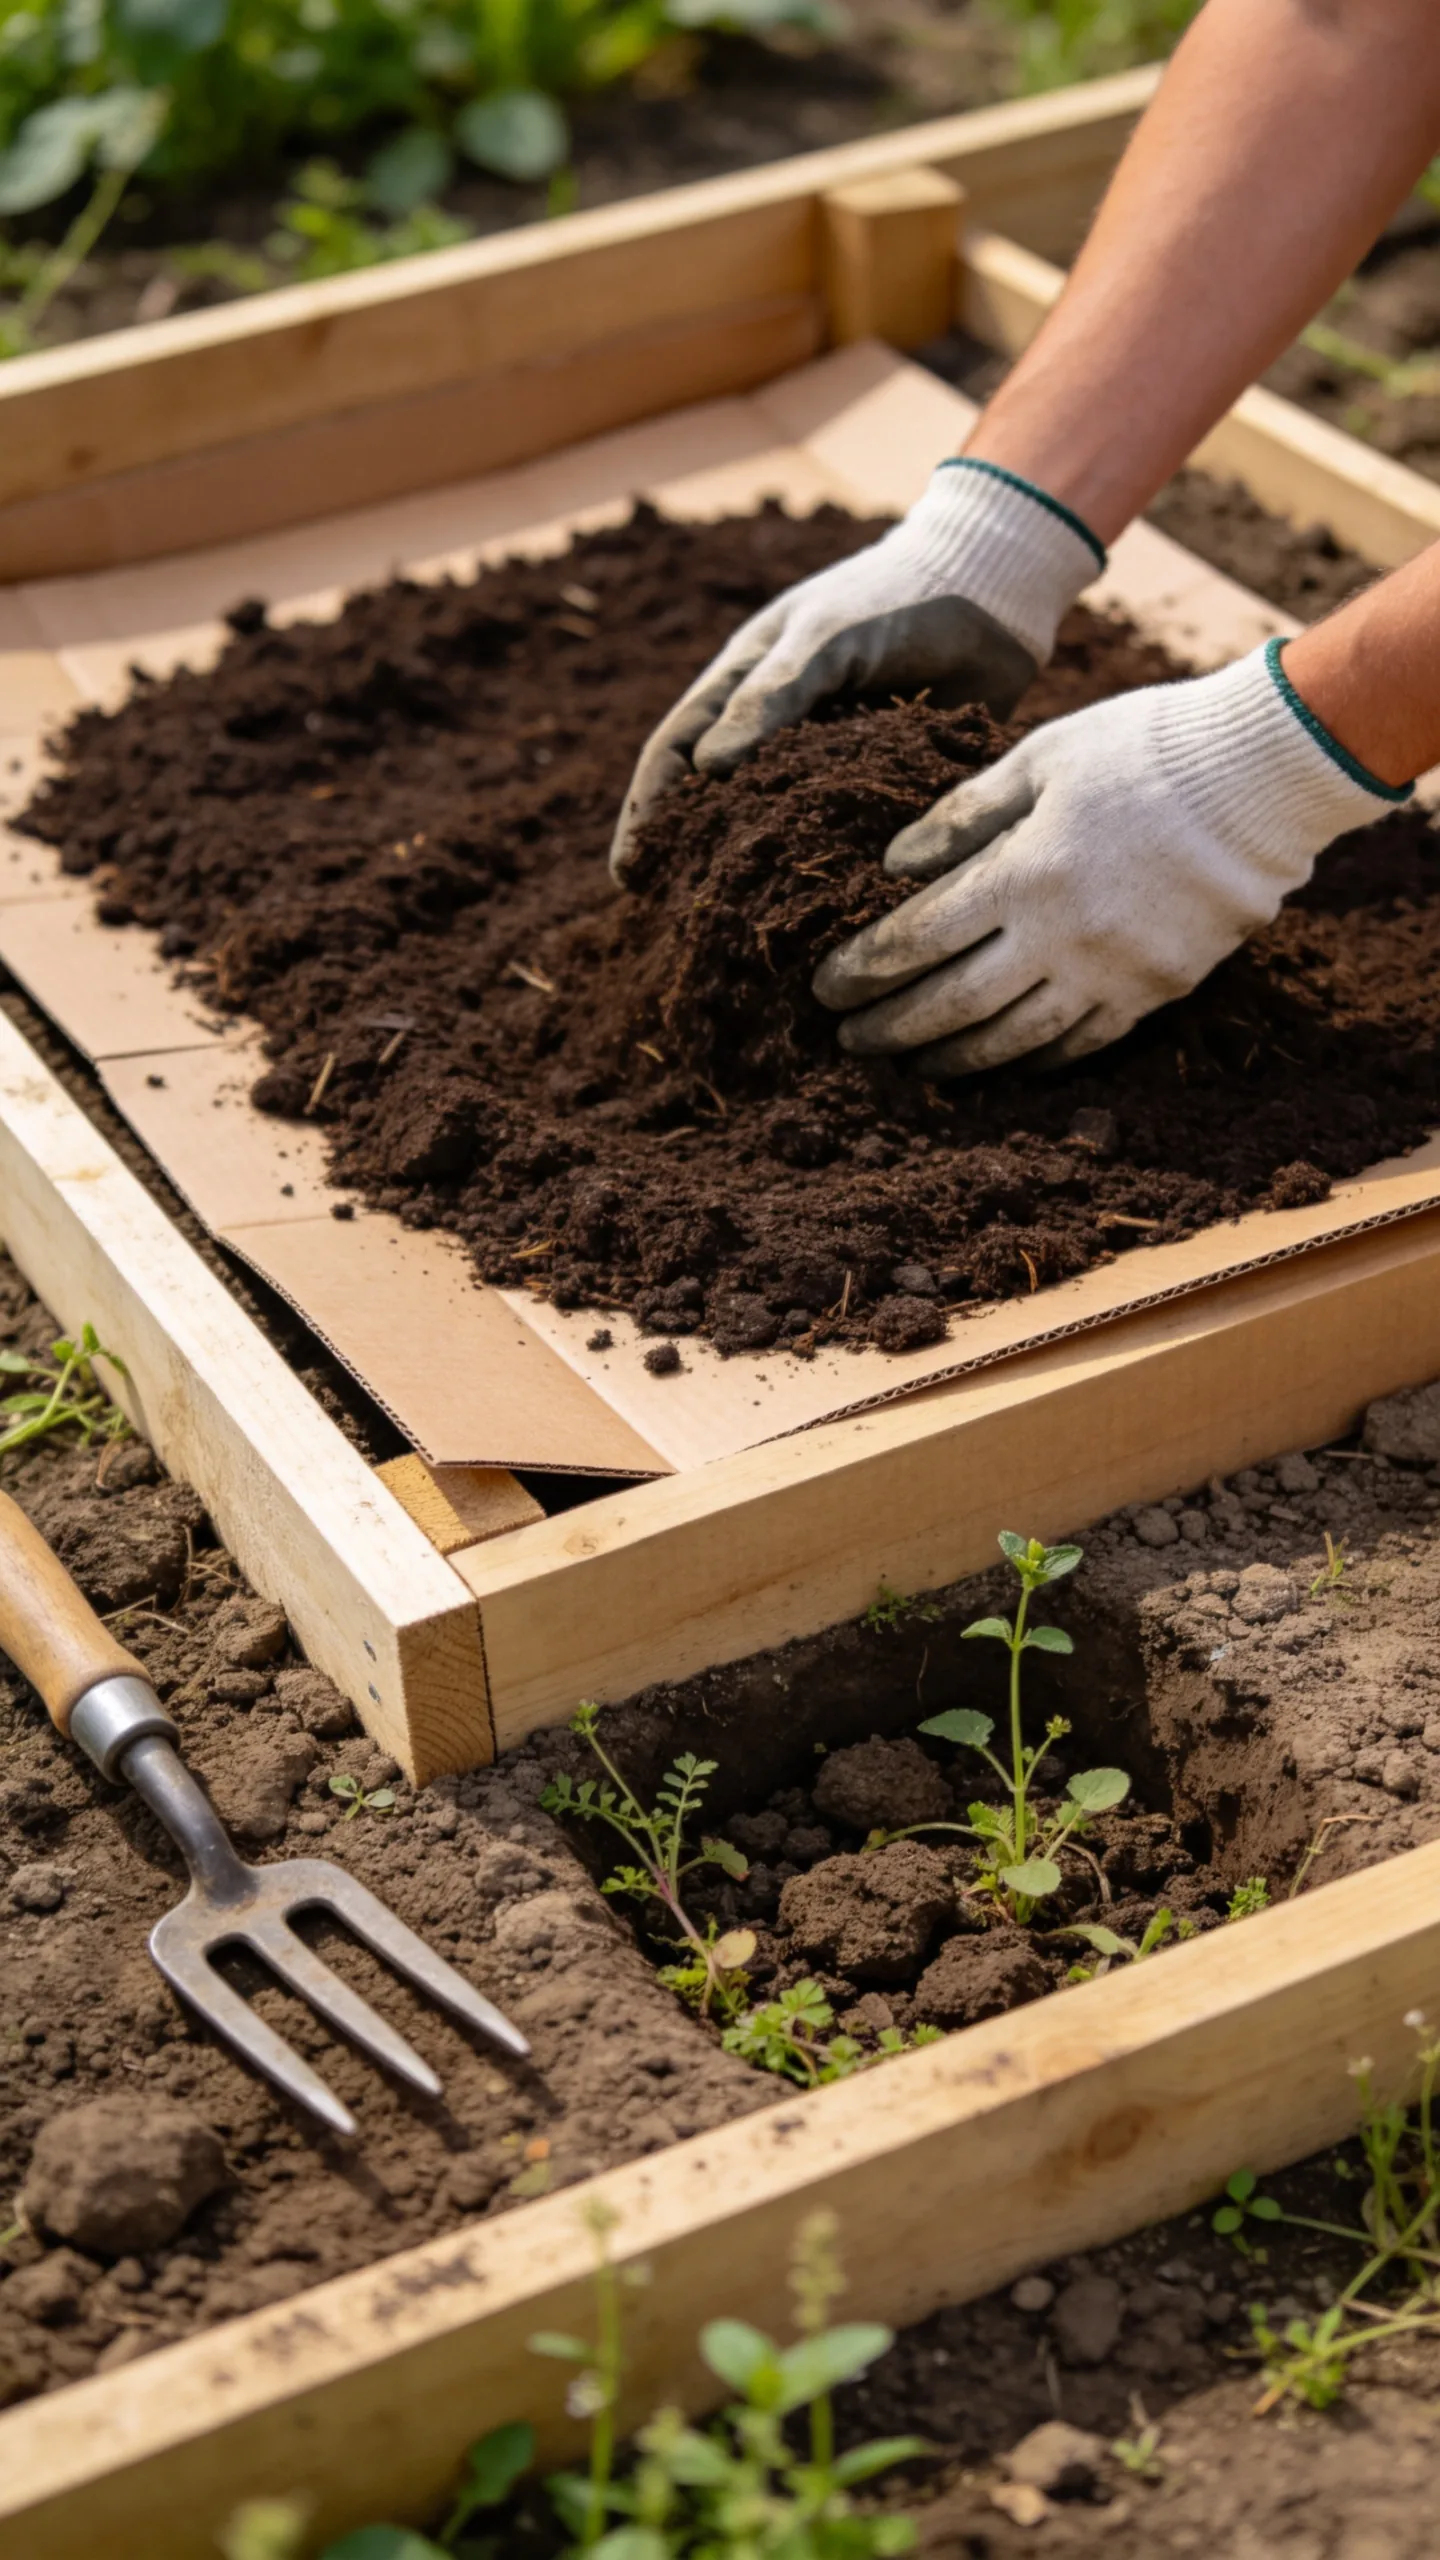
Choose one section for a no-dig bed covered with compost, well-rotted organic matter, and light-excluding cardboard where appropriate. This can be useful when the plot has compacted soil or persistent weeds and you want to start growing without turning every section immediately.
Check the allotment rules before bringing in compost or manure, and use weed-free material from a reliable source. Mark the bed edges clearly so the covering stays in place and does not spread onto paths.
13. Make a Dedicated Potato and Root-Crop Block
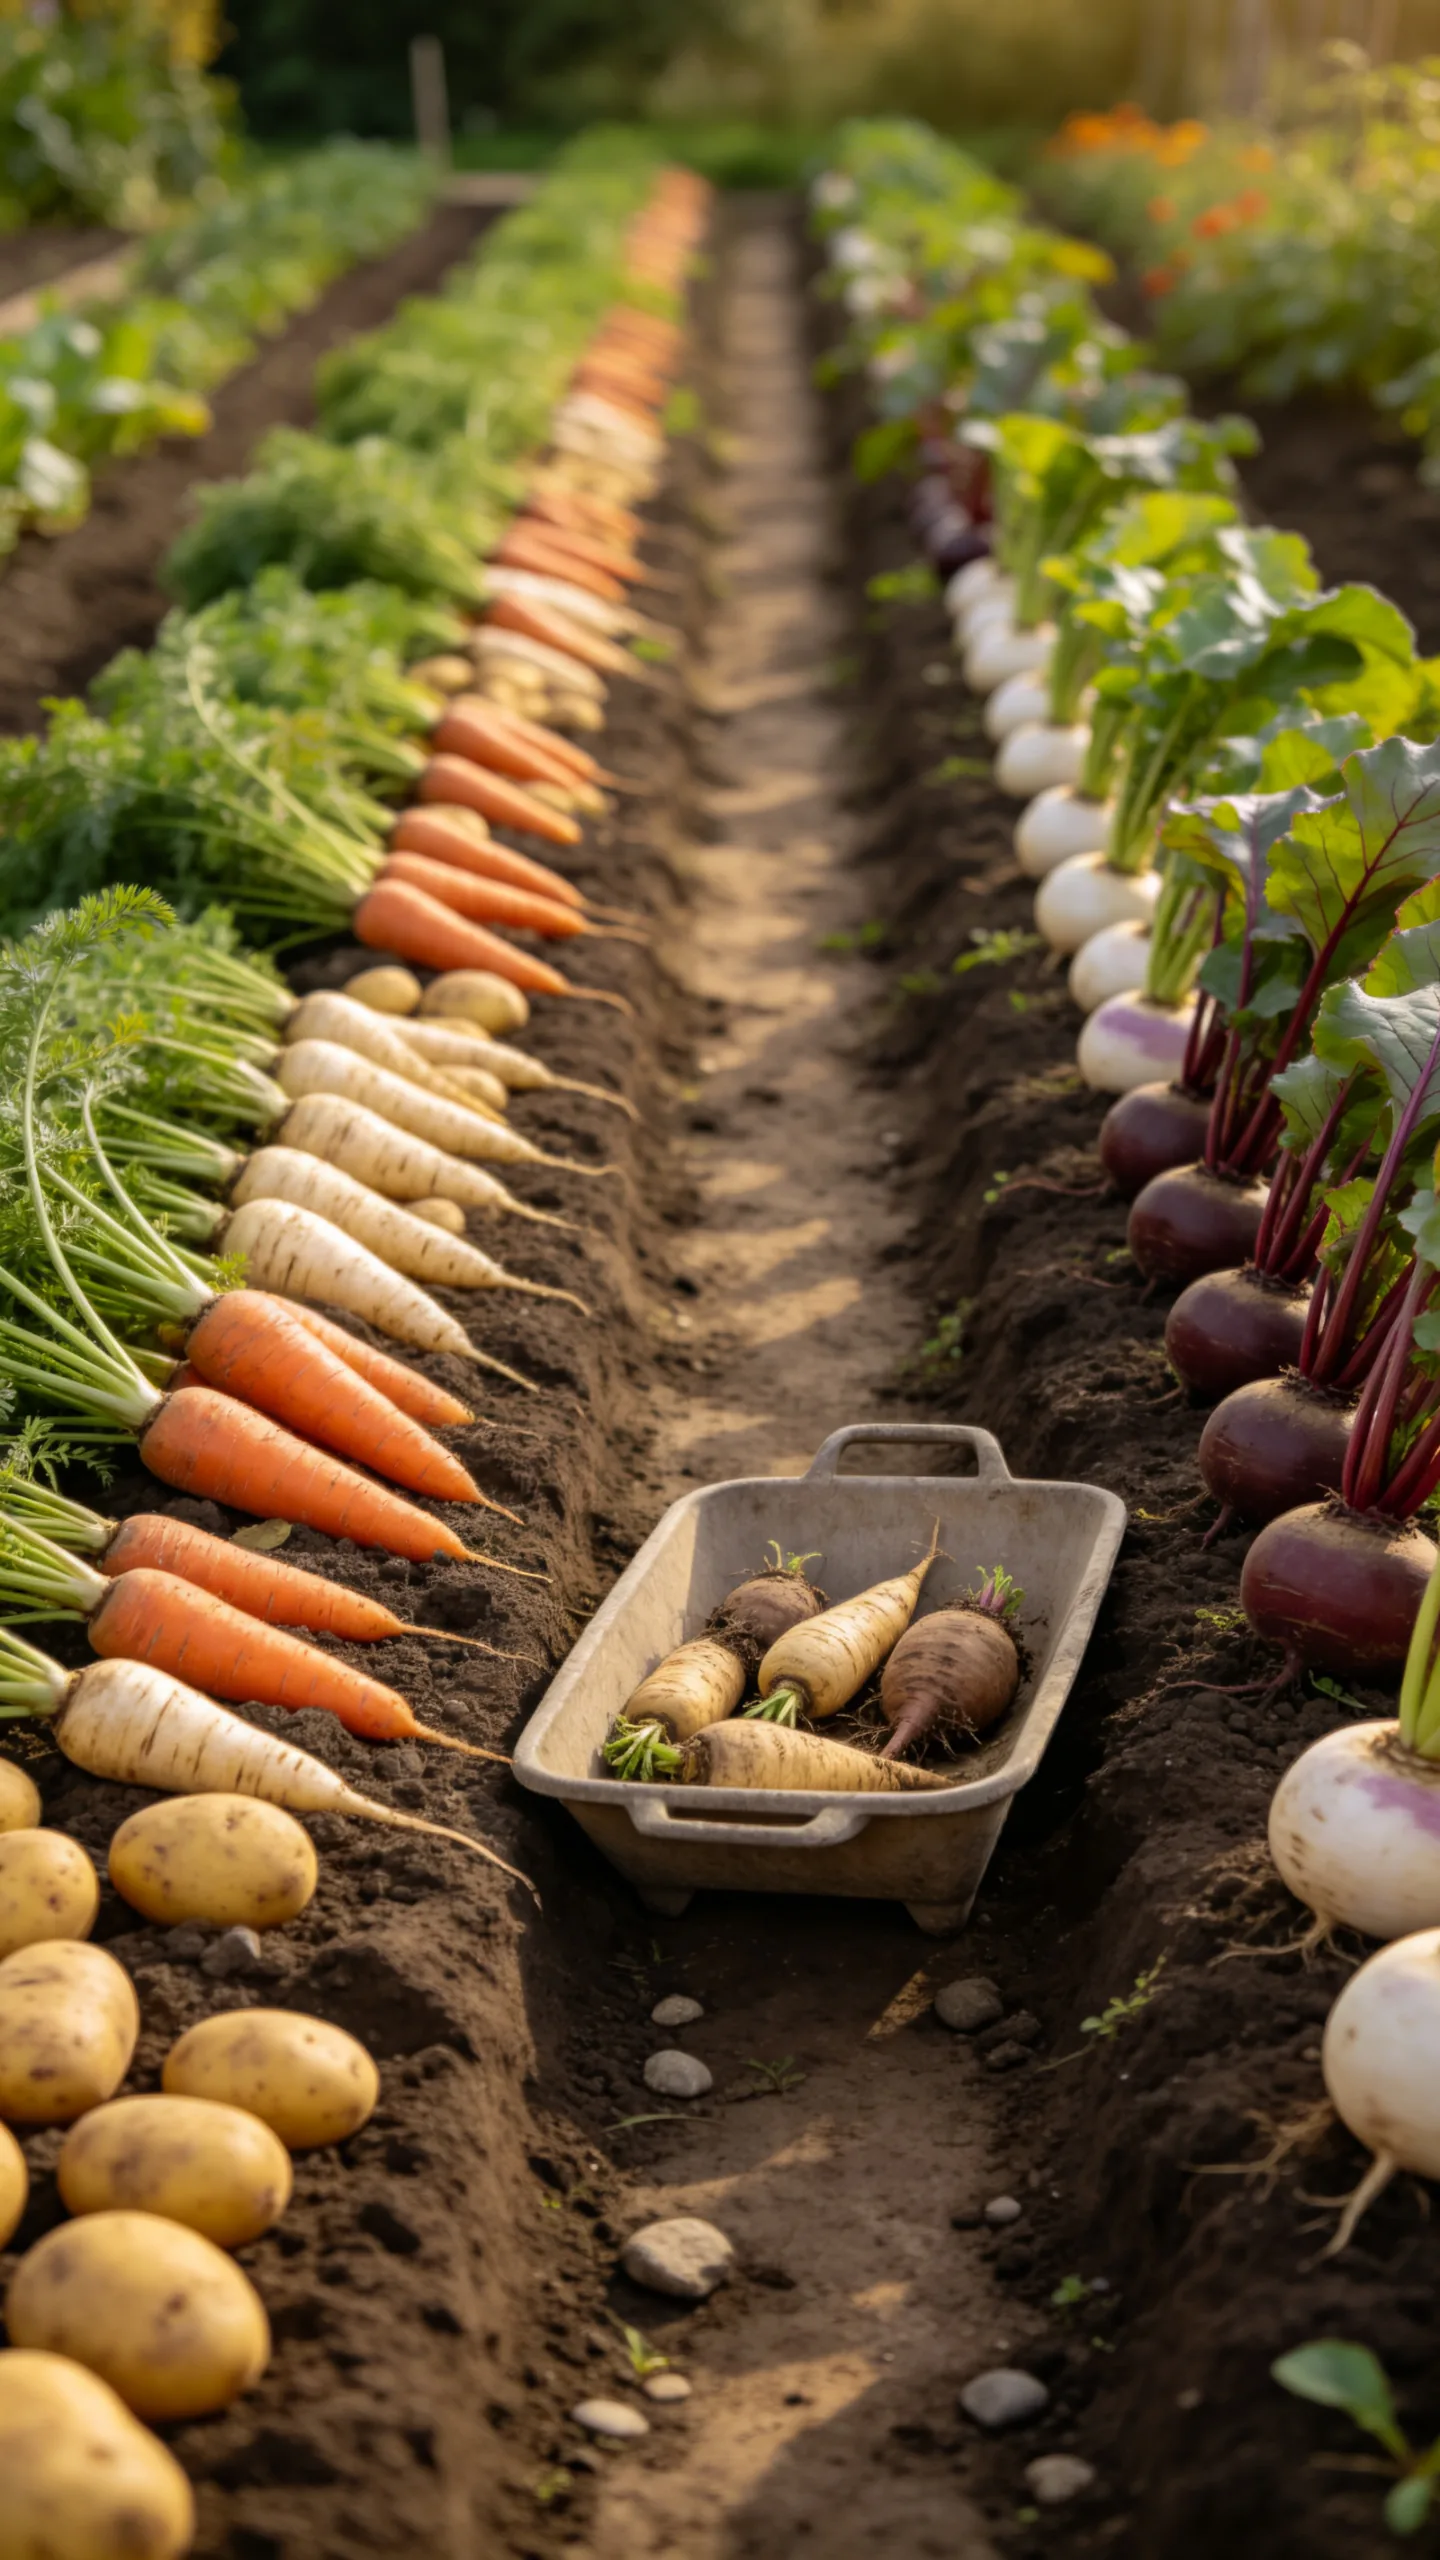
Group potatoes, carrots, parsnips, beetroot, turnips, and other root crops in a section with loose, stone-free soil. Dig or prepare this area carefully because compacted ground and large stones can cause forked or misshapen roots.
Keep the beds long enough for orderly rows but narrow enough to weed from the path. After harvesting, use the cleared space for winter salads, green manure, or a later sowing of quick crops.
14. Plan a Three-Bin Composting Area
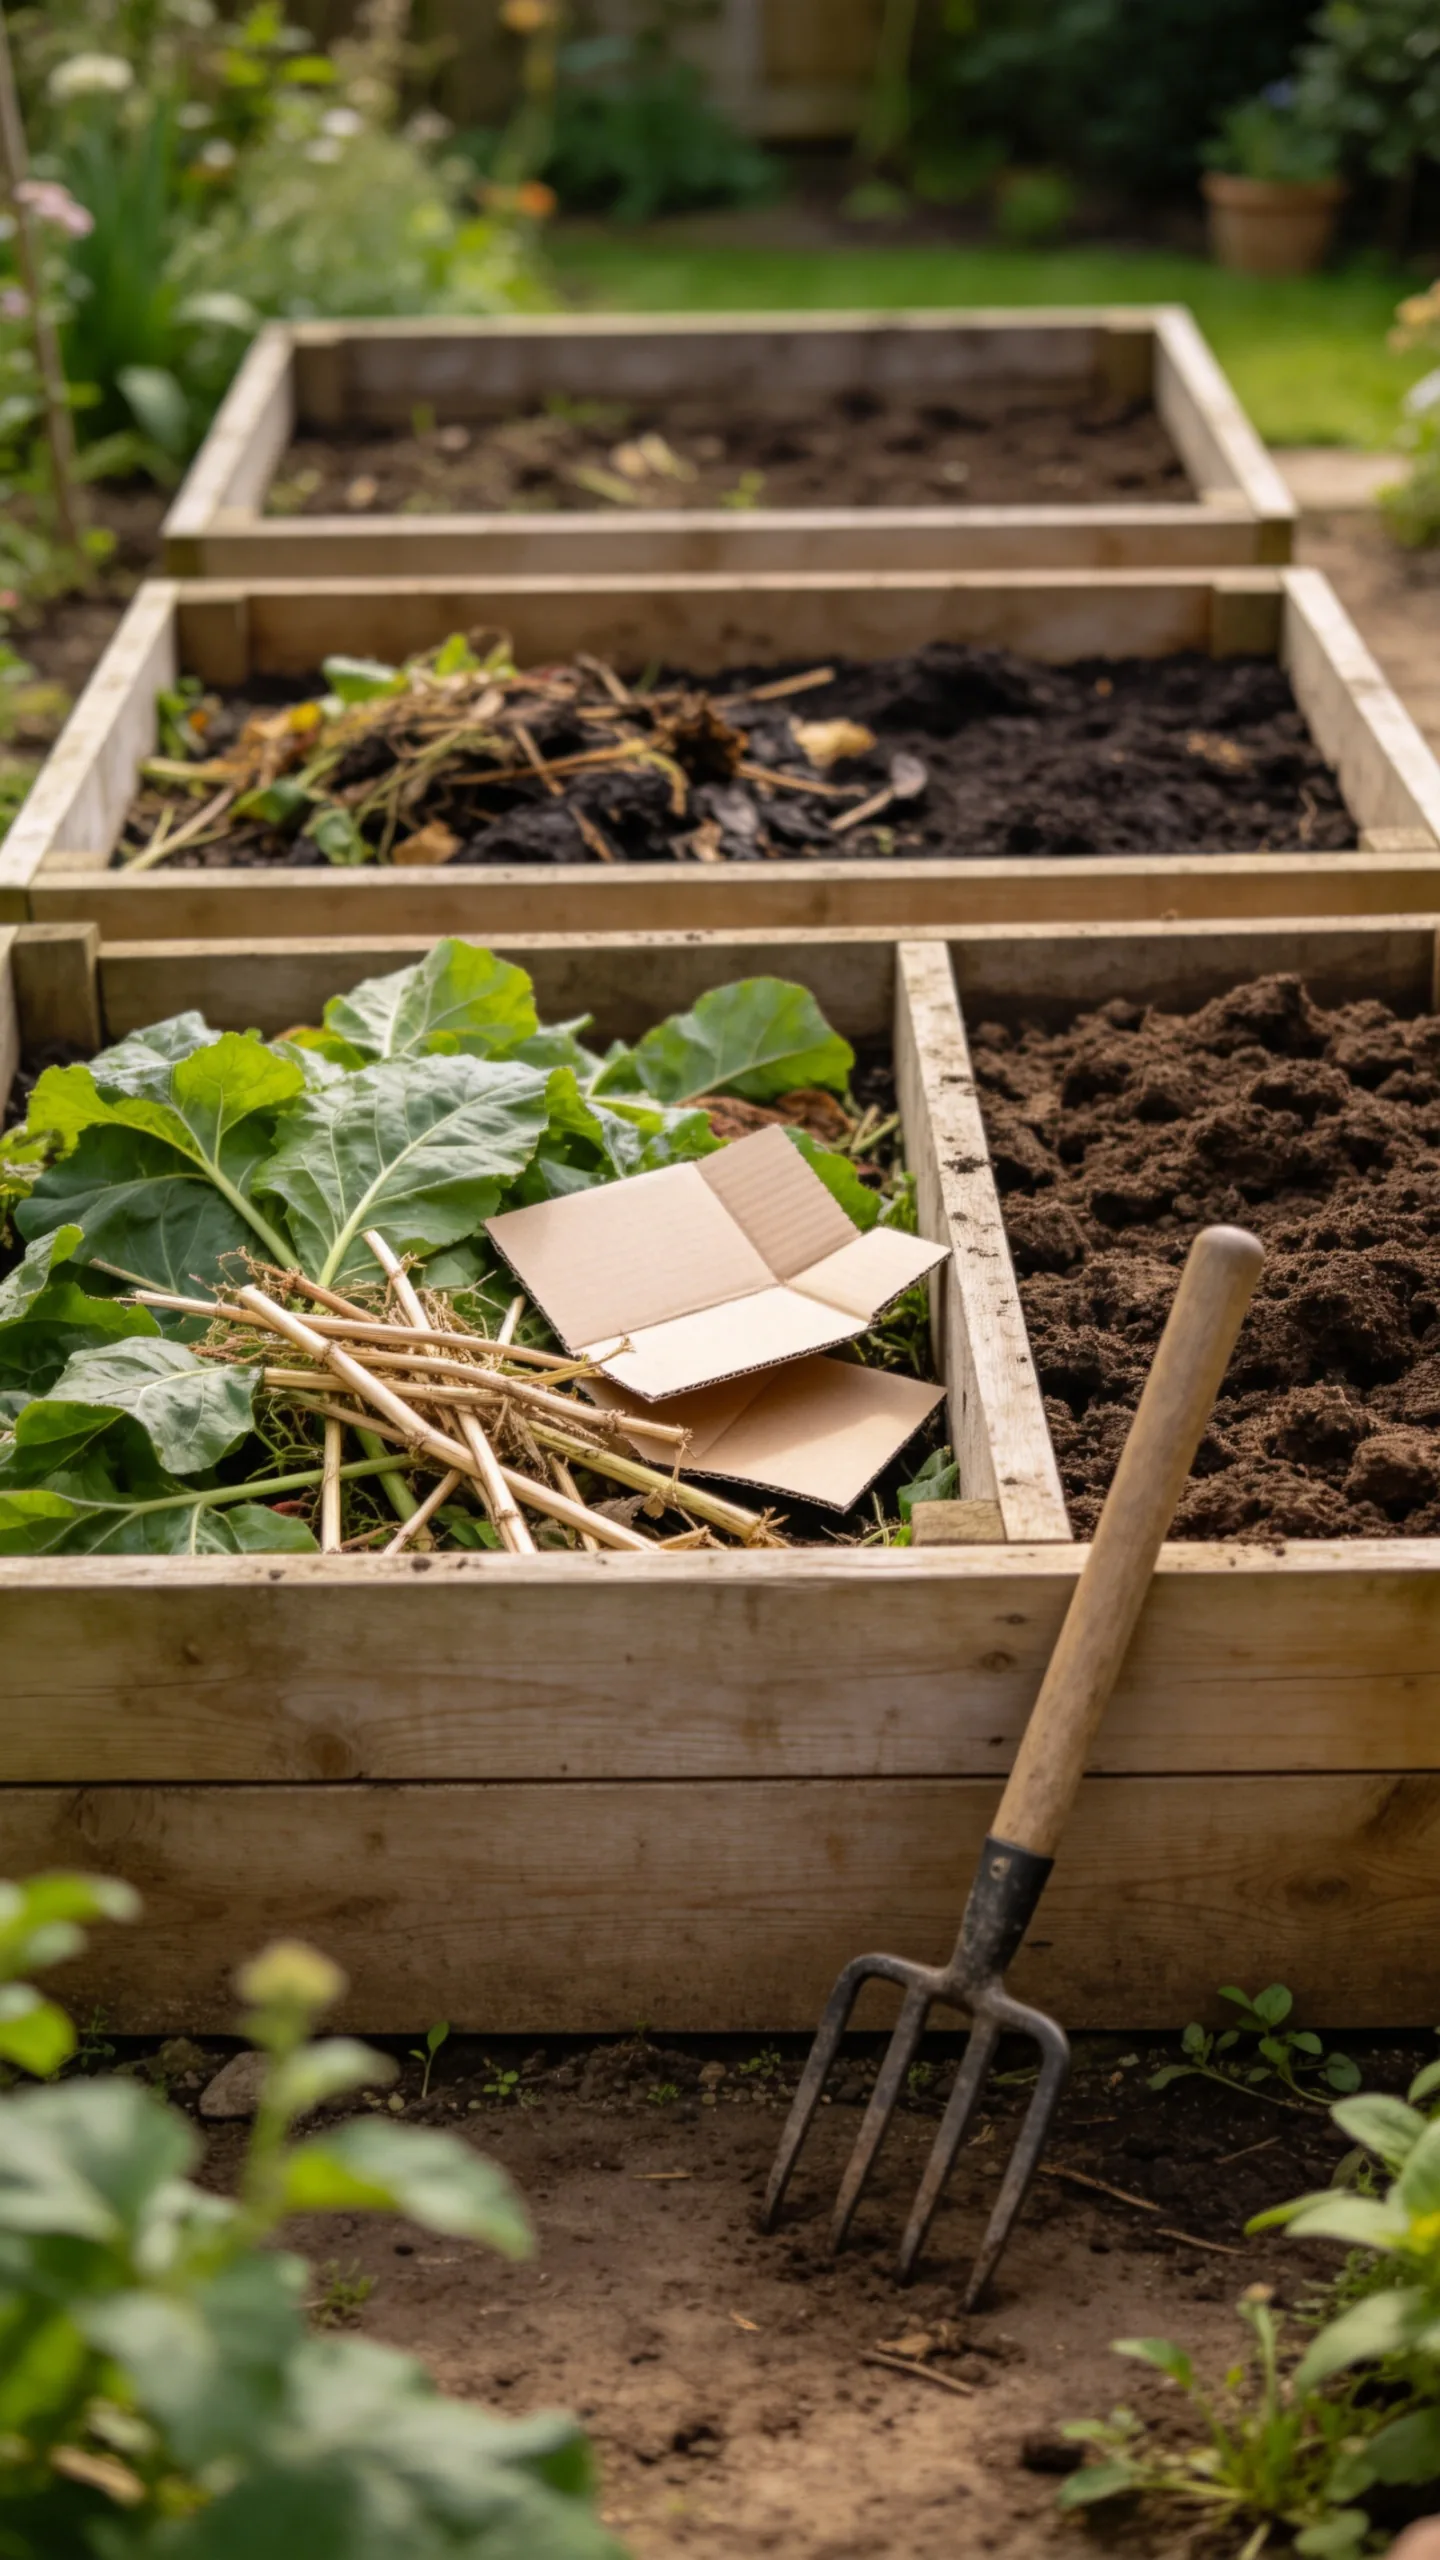
Place three compost bays near the working area but away from the main seating space. One bay can hold fresh additions, one can contain partially decomposed material, and one can provide finished compost for beds.
Use a firm, level base and leave room to turn or move material with a fork. Balance leafy green waste with dry brown material such as cardboard, stems, and shredded paper, while avoiding prohibited food waste or invasive weed roots.
15. Add a Water-Saving Service Area
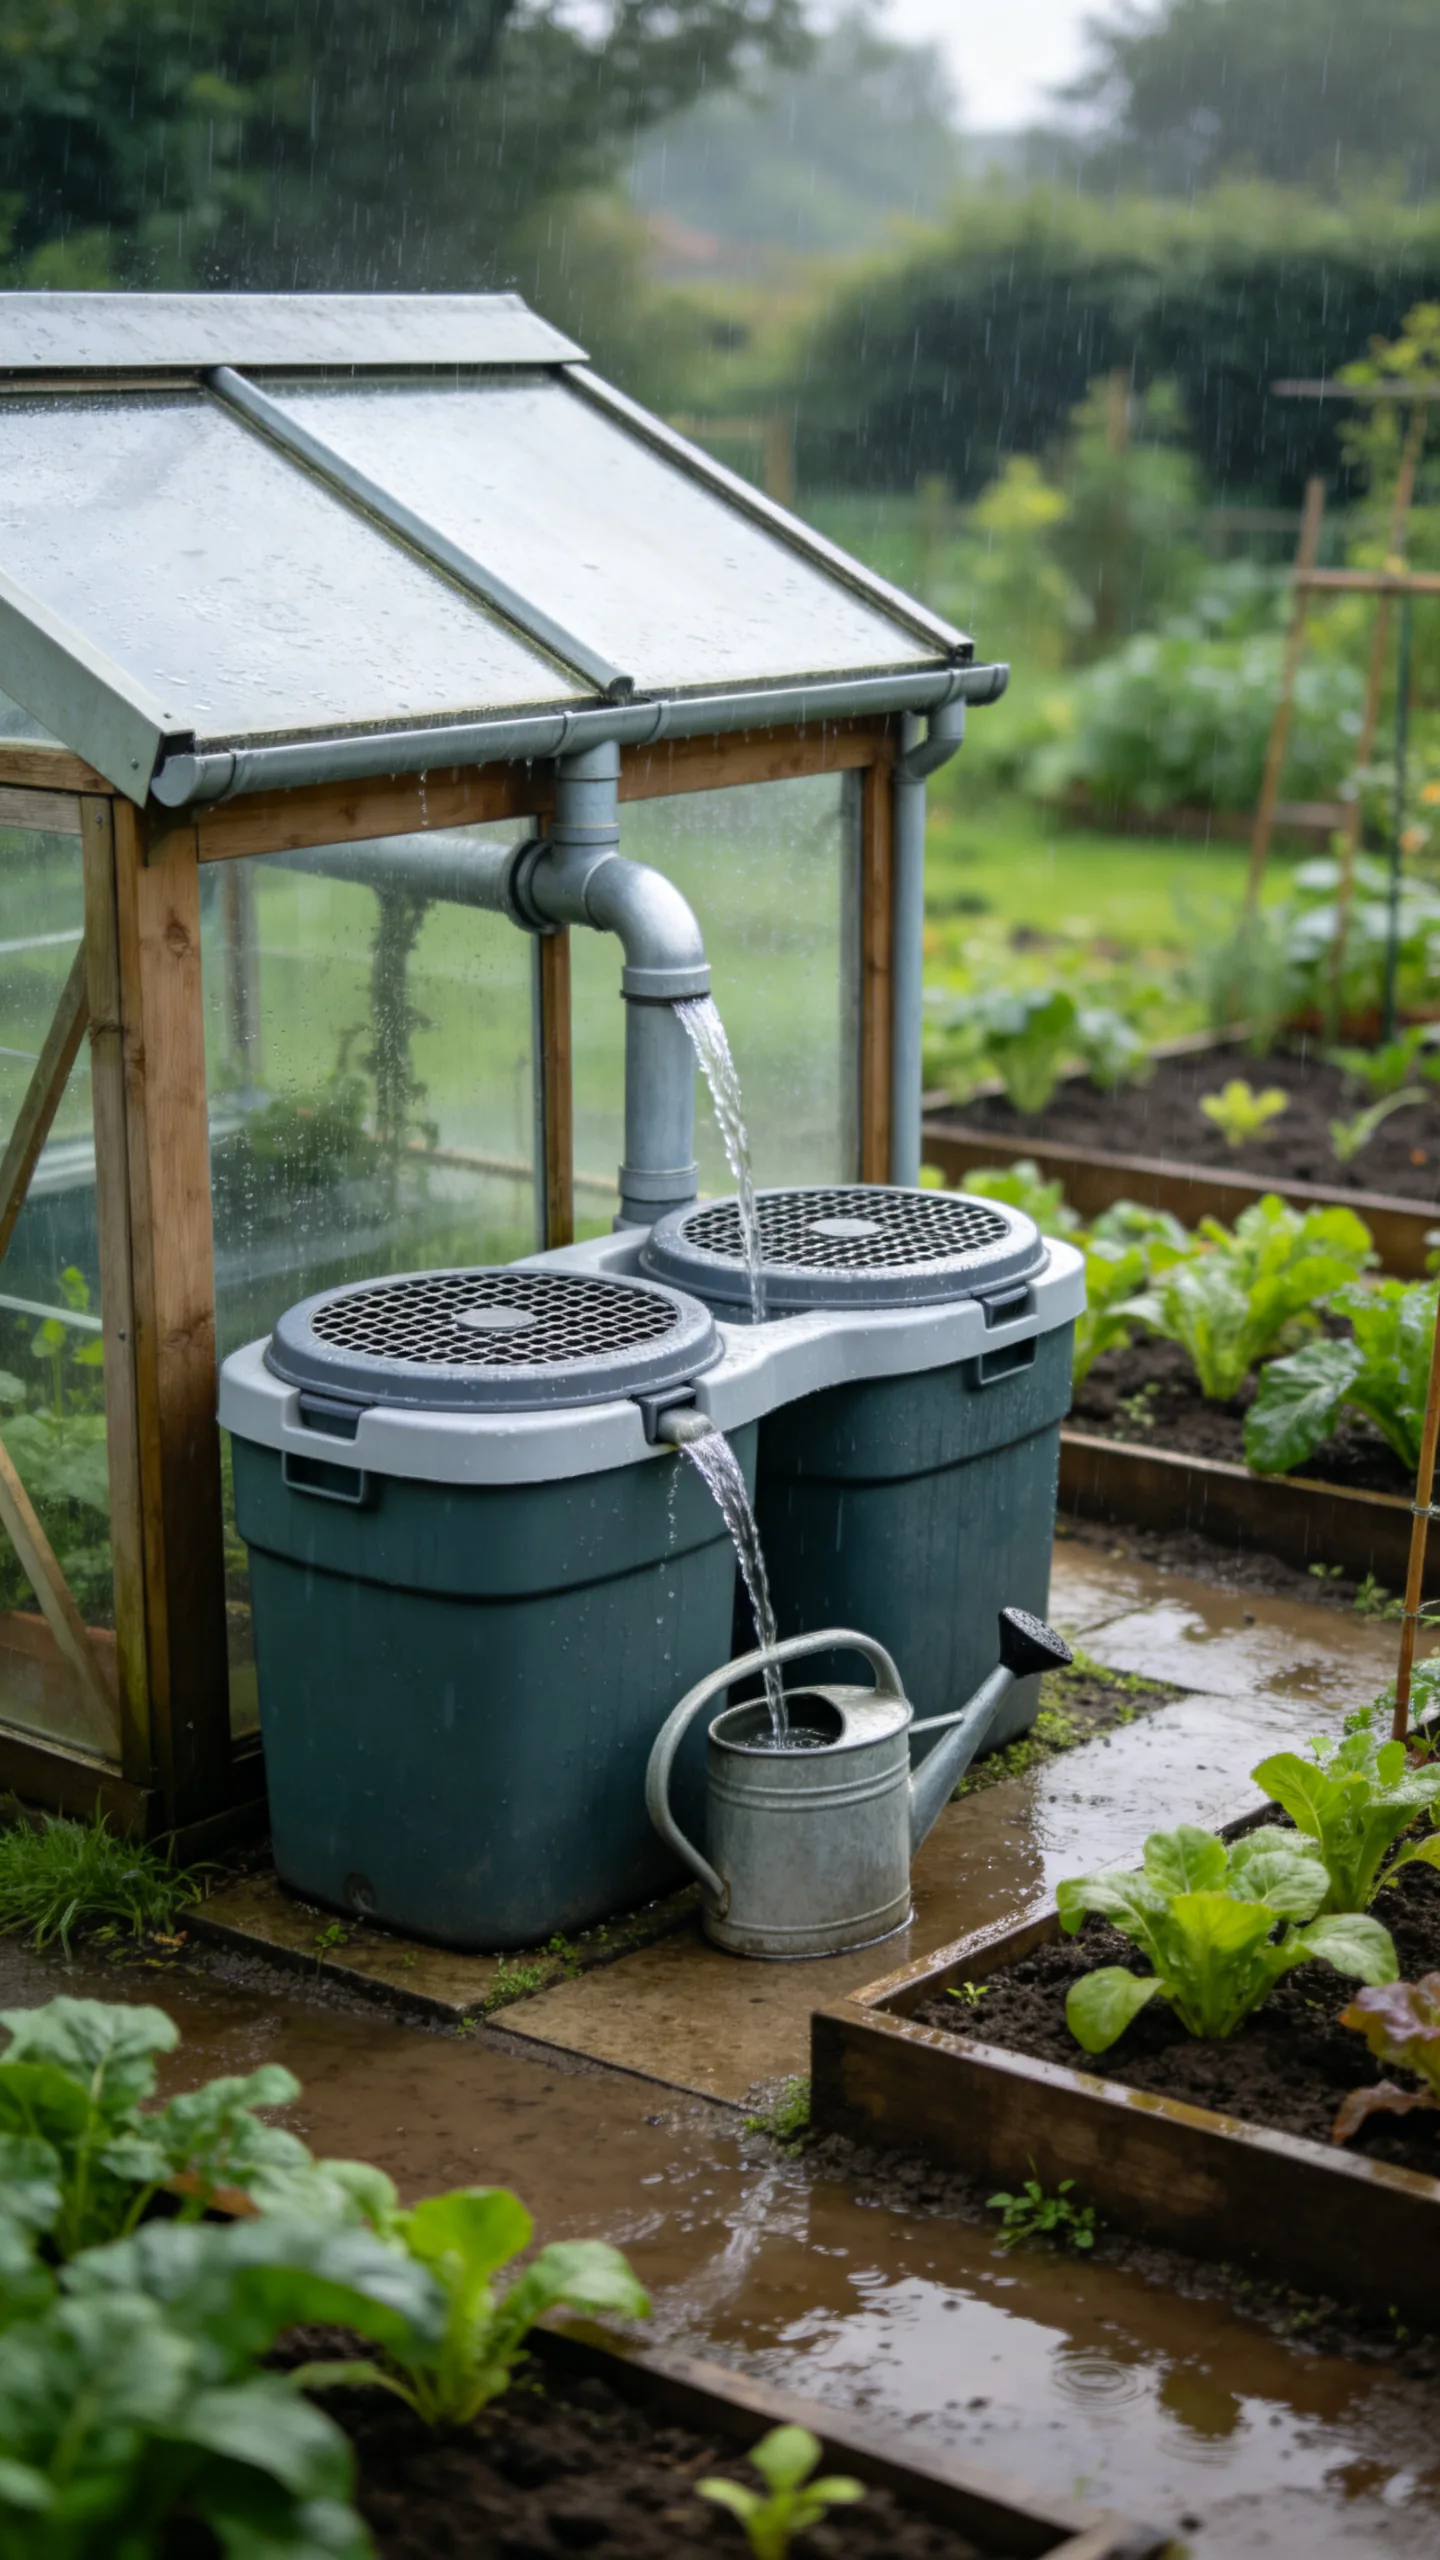
Position water butts beneath shed or greenhouse downpipes and keep them close to the beds that need frequent watering. Connecting several butts with a diverter or linking kit can increase storage, provided the site rules and equipment allow it.
Use a watering can, hose, or low-level irrigation method suited to the allotment’s water supply. Add a secure lid or mesh cover to reduce debris and prevent children or wildlife from falling into the container.
16. Use Wide Paths for Wheelbarrow and Accessibility
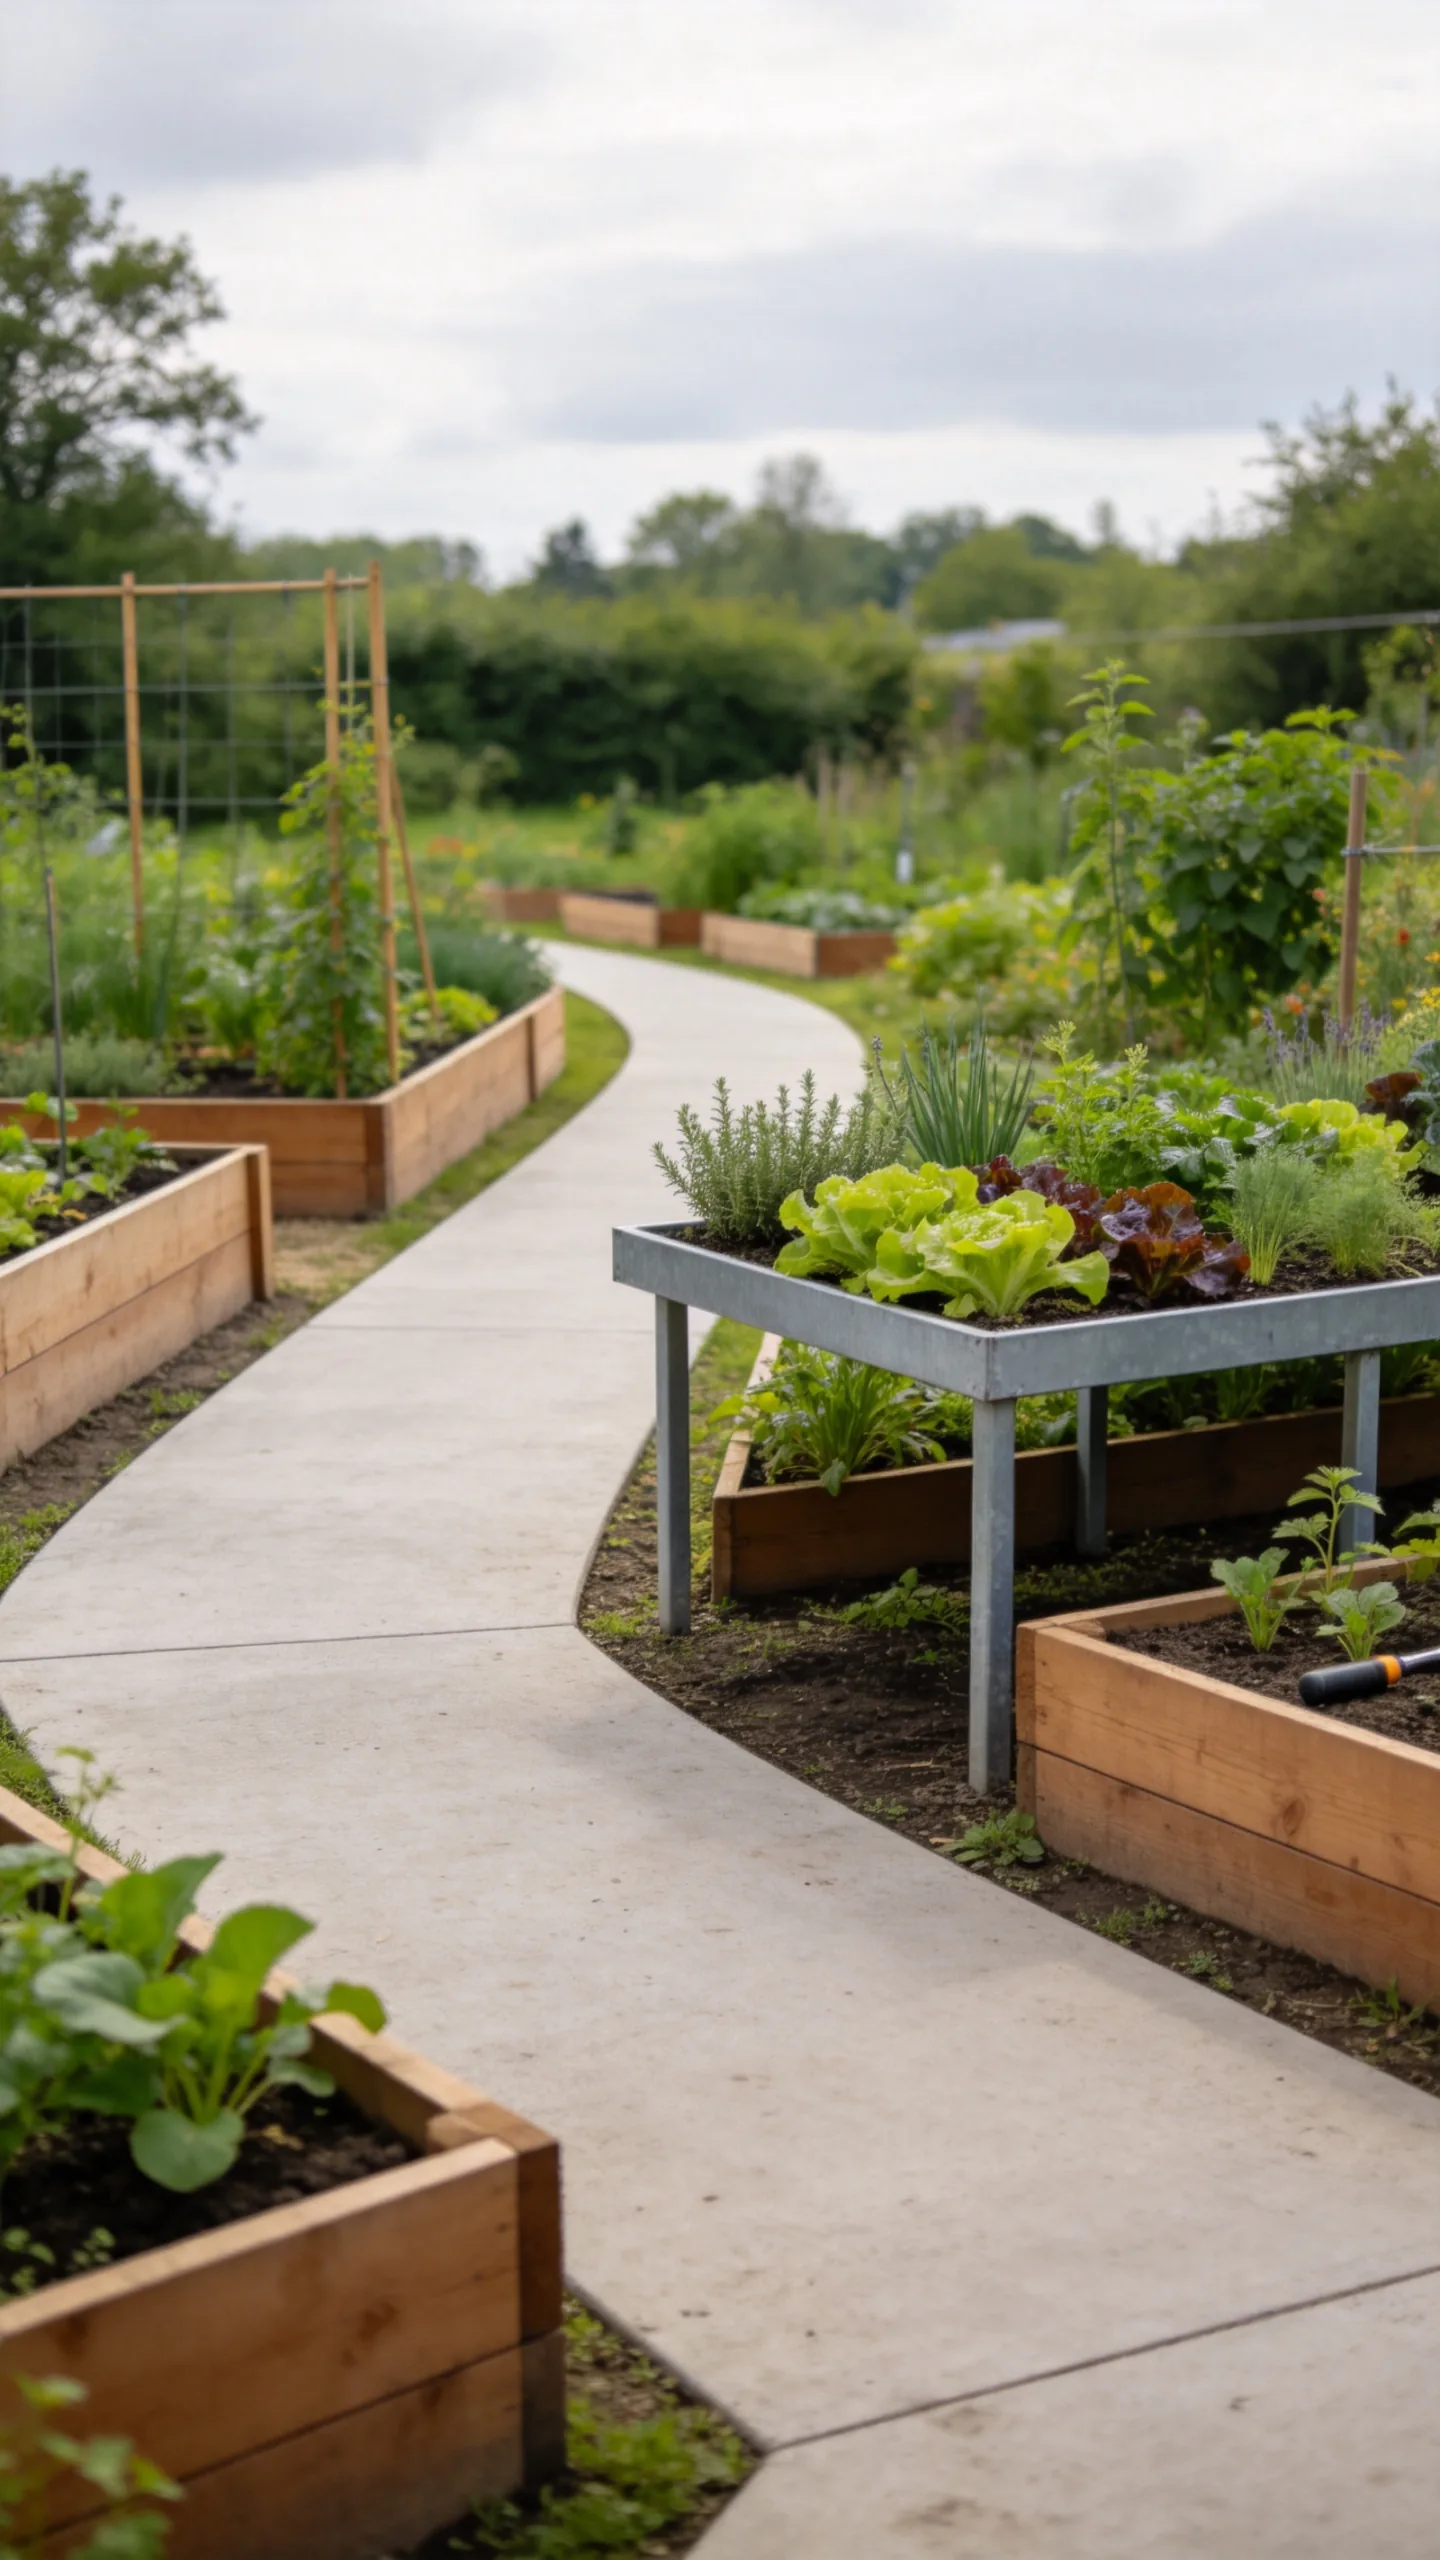
Design the main routes first, with enough width for a wheelbarrow and comfortable turning at corners. Straight, firm paths are especially helpful when moving compost, harvesting heavy crops, or working during wet weather.
If kneeling, bending, or uneven ground is difficult, include taller raised beds or a waist-height planting table near the entrance. Choose non-slip surfaces and avoid loose materials that shift under wheels or walking sticks.
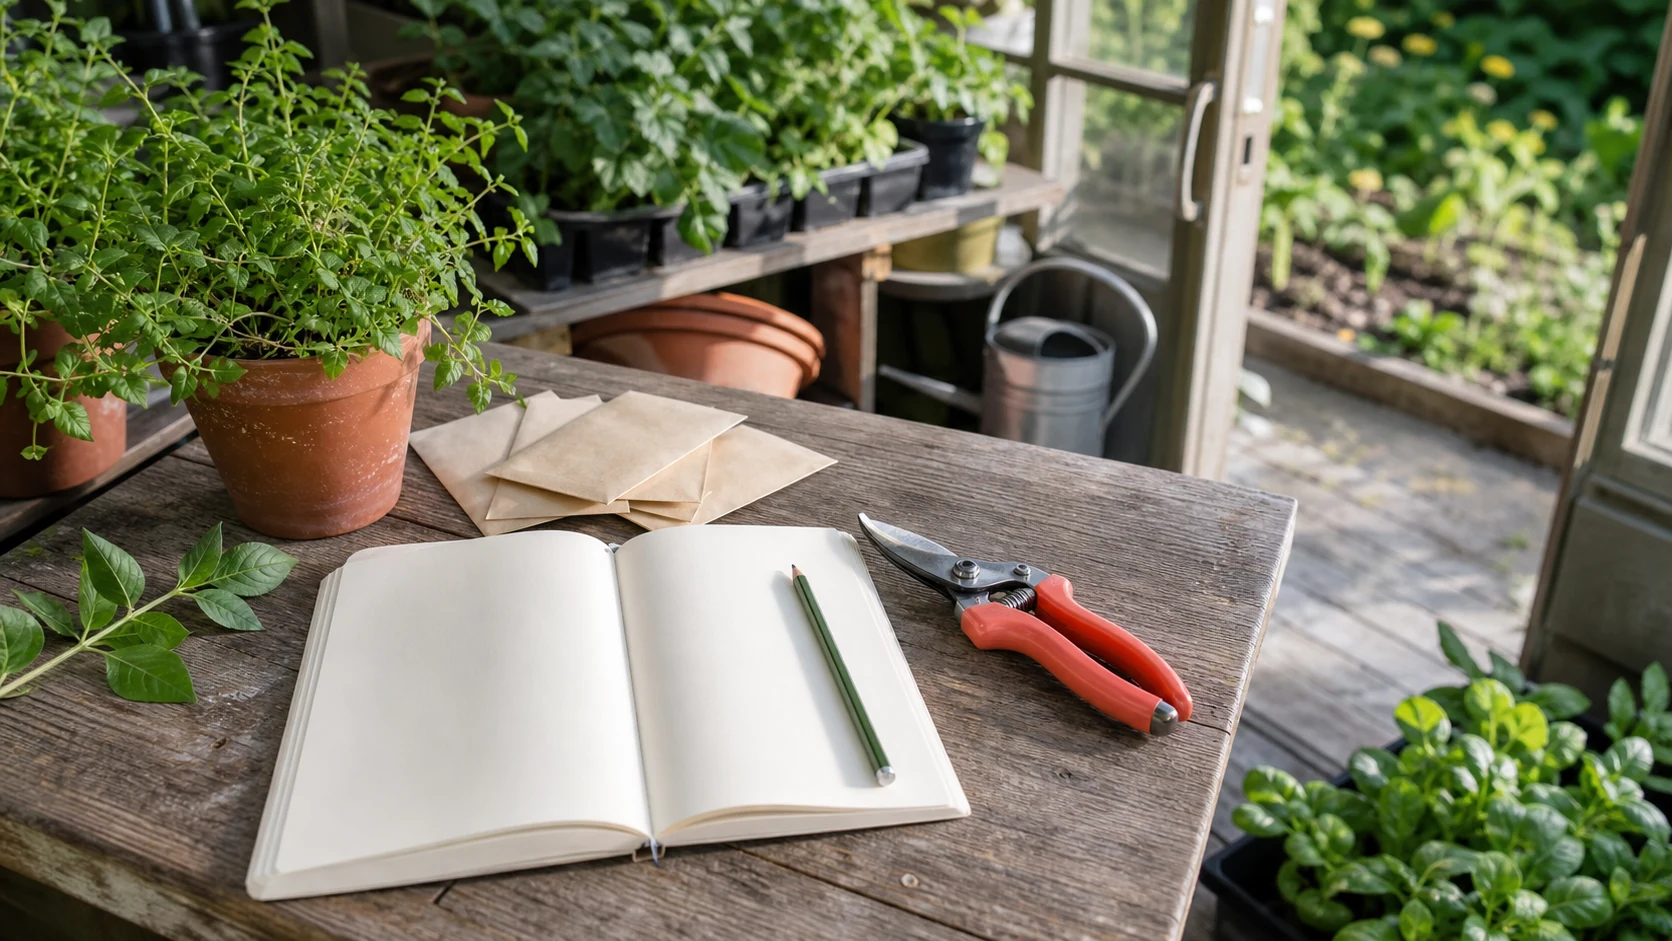
17. Create a Small Seating and Planning Nook
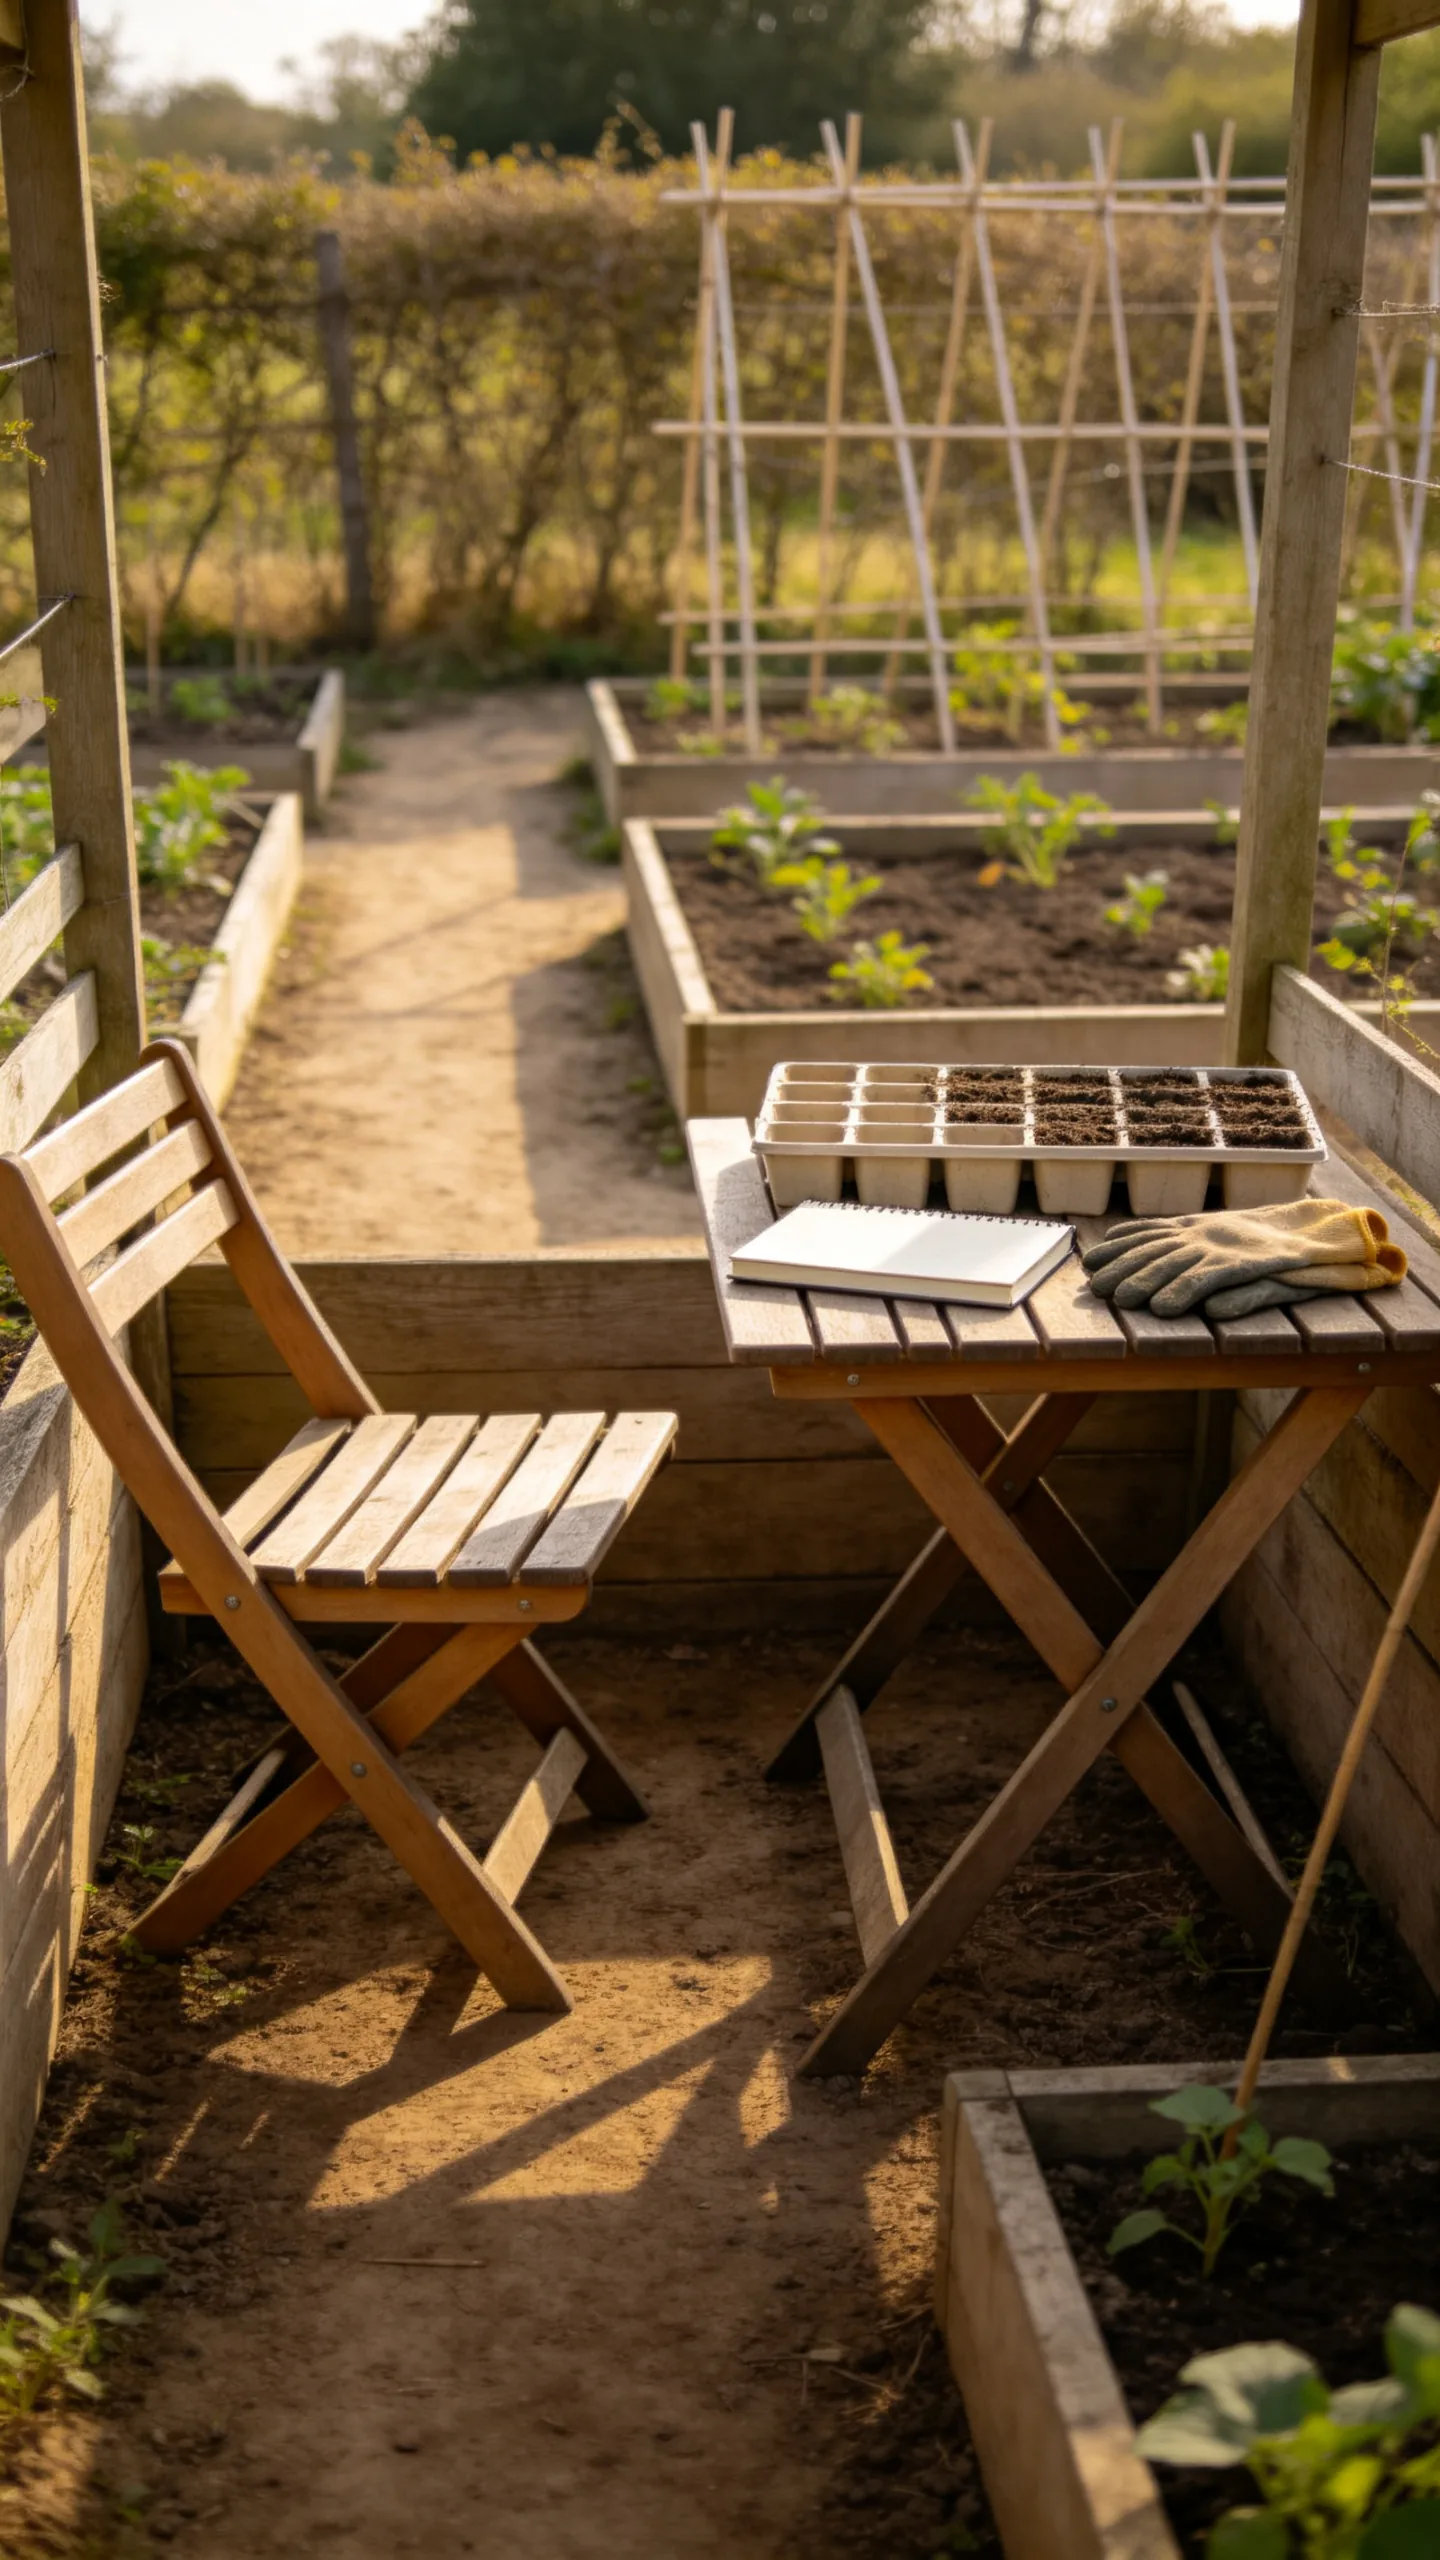
Reserve a dry corner for a bench, folding chair, or simple seating area. Place it where you can see most of the plot, making it useful for checking plant health, planning jobs, and taking breaks during long visits.
A small table can hold labels, notebooks, seed trays, or a cup of tea, but keep it away from the main path. Use a hedge, trellis, or screen only where it will not block sunlight or conflict with allotment regulations.
18. Add a Wildlife-Friendly Boundary Strip
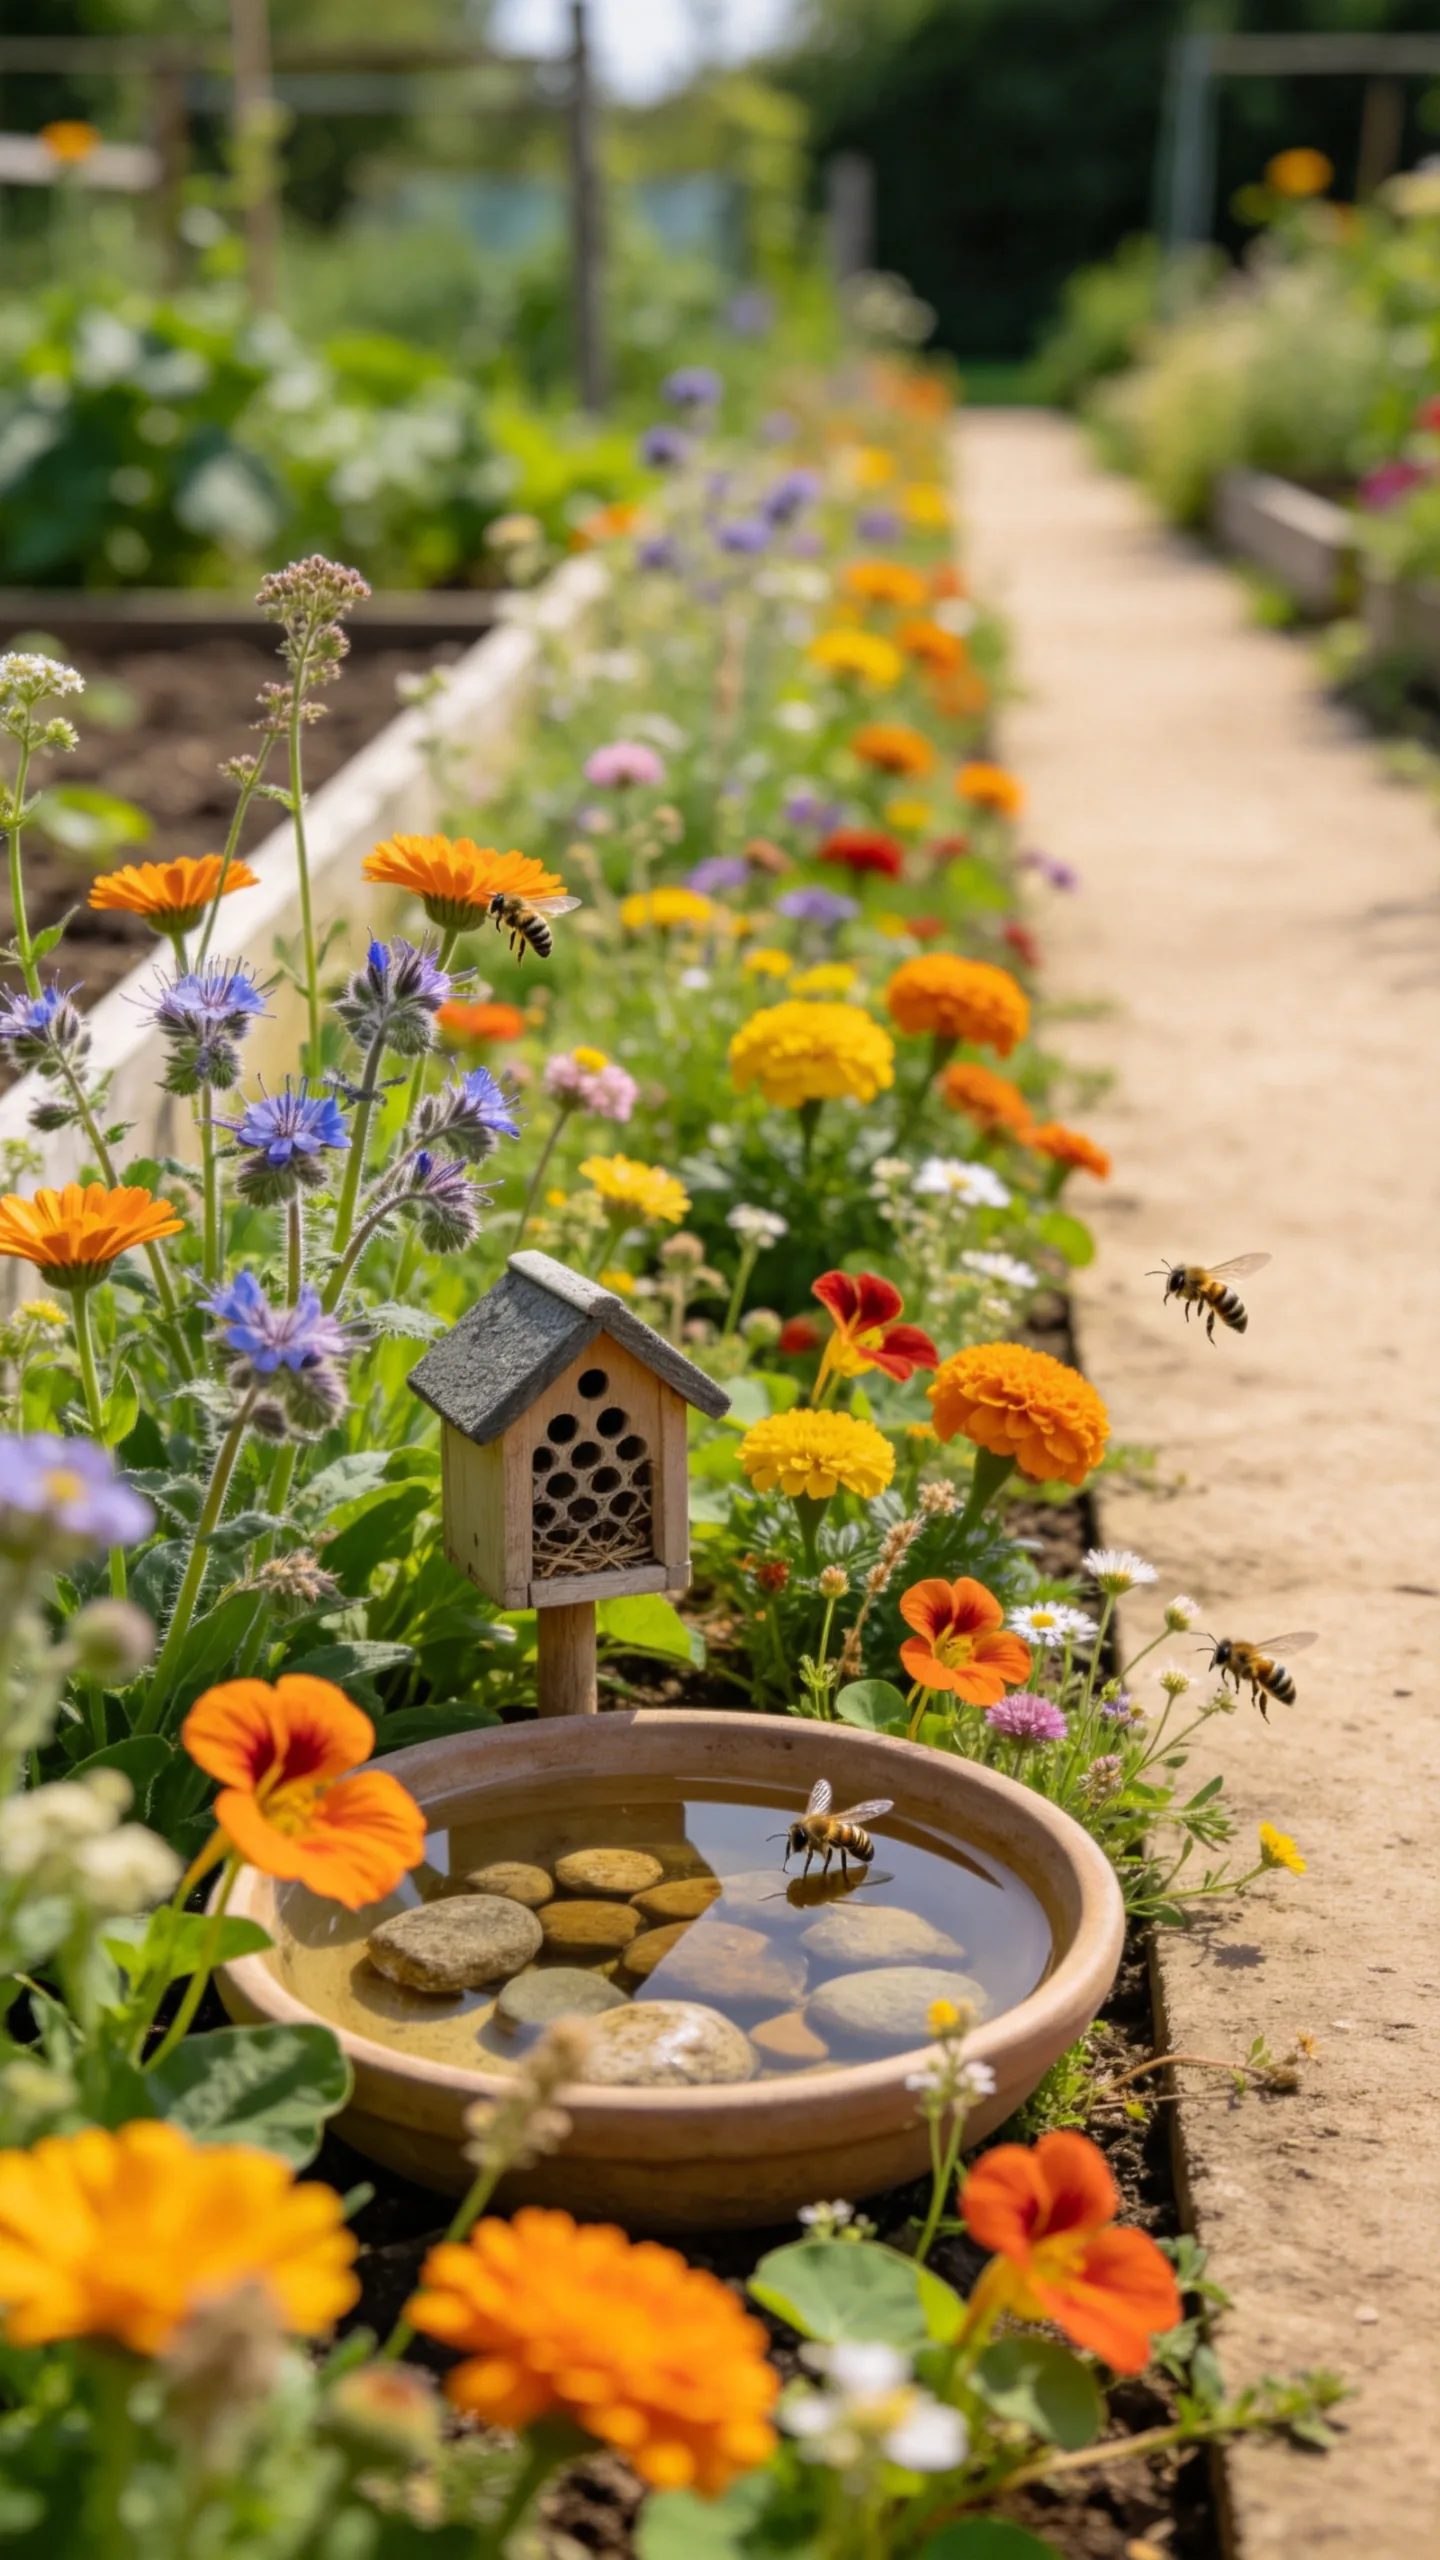
Use a narrow edge strip for nectar-rich flowers, native plants, and sheltering vegetation that fits the site rules. Marigolds, calendula, borage, nasturtiums, and suitable native wildflowers can add colour while providing habitat for insects.
Keep the strip controlled so it does not spill into paths or neighbouring plots. Include a shallow dish of water with stones, or a small insect shelter, and refresh the water regularly during dry weather.
19. Fit a Tool Store Beside the Entrance
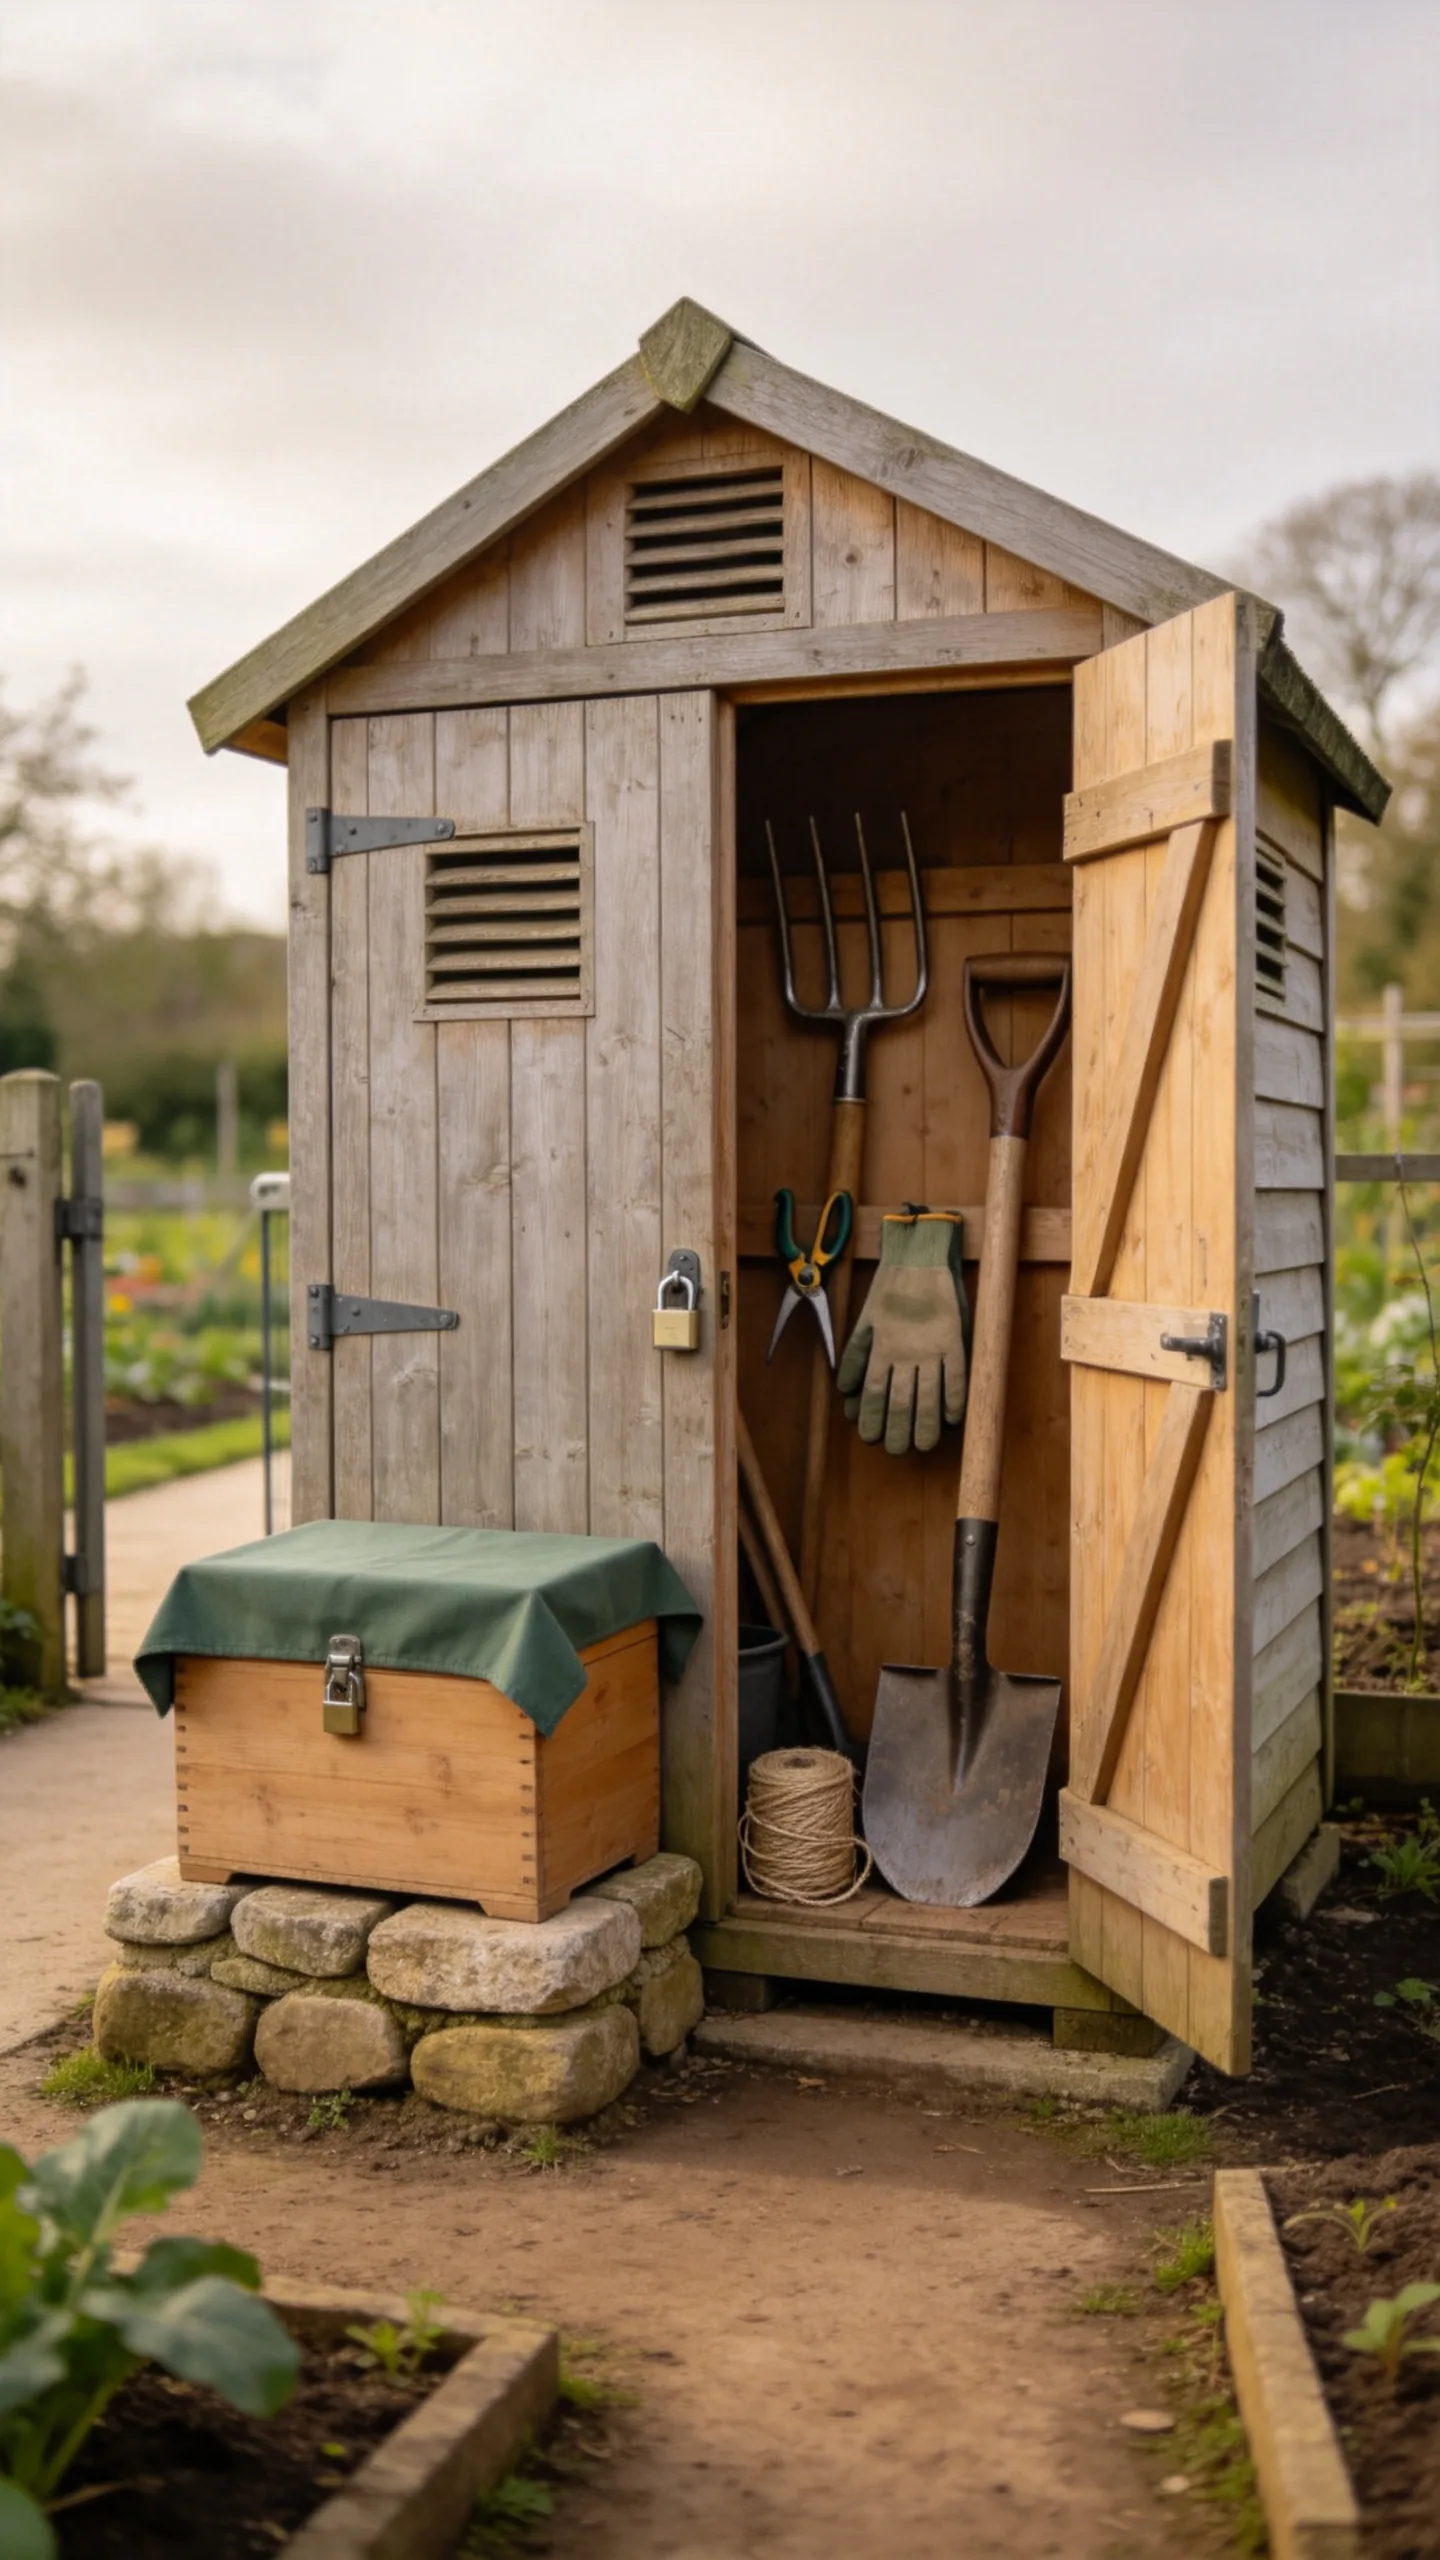
Place a lockable shed, tool chest, or covered storage box close to the gate so tools can be put away without crossing the entire plot. Store frequently used items such as a hand fork, secateurs, gloves, string, and labels near the entrance.
Raise wooden storage slightly from wet ground and provide ventilation to reduce dampness. Keep sharp tools secure, and check whether the allotment association limits the size, colour, or position of sheds and storage structures.
20. Design a Low-Maintenance Perennial Corner
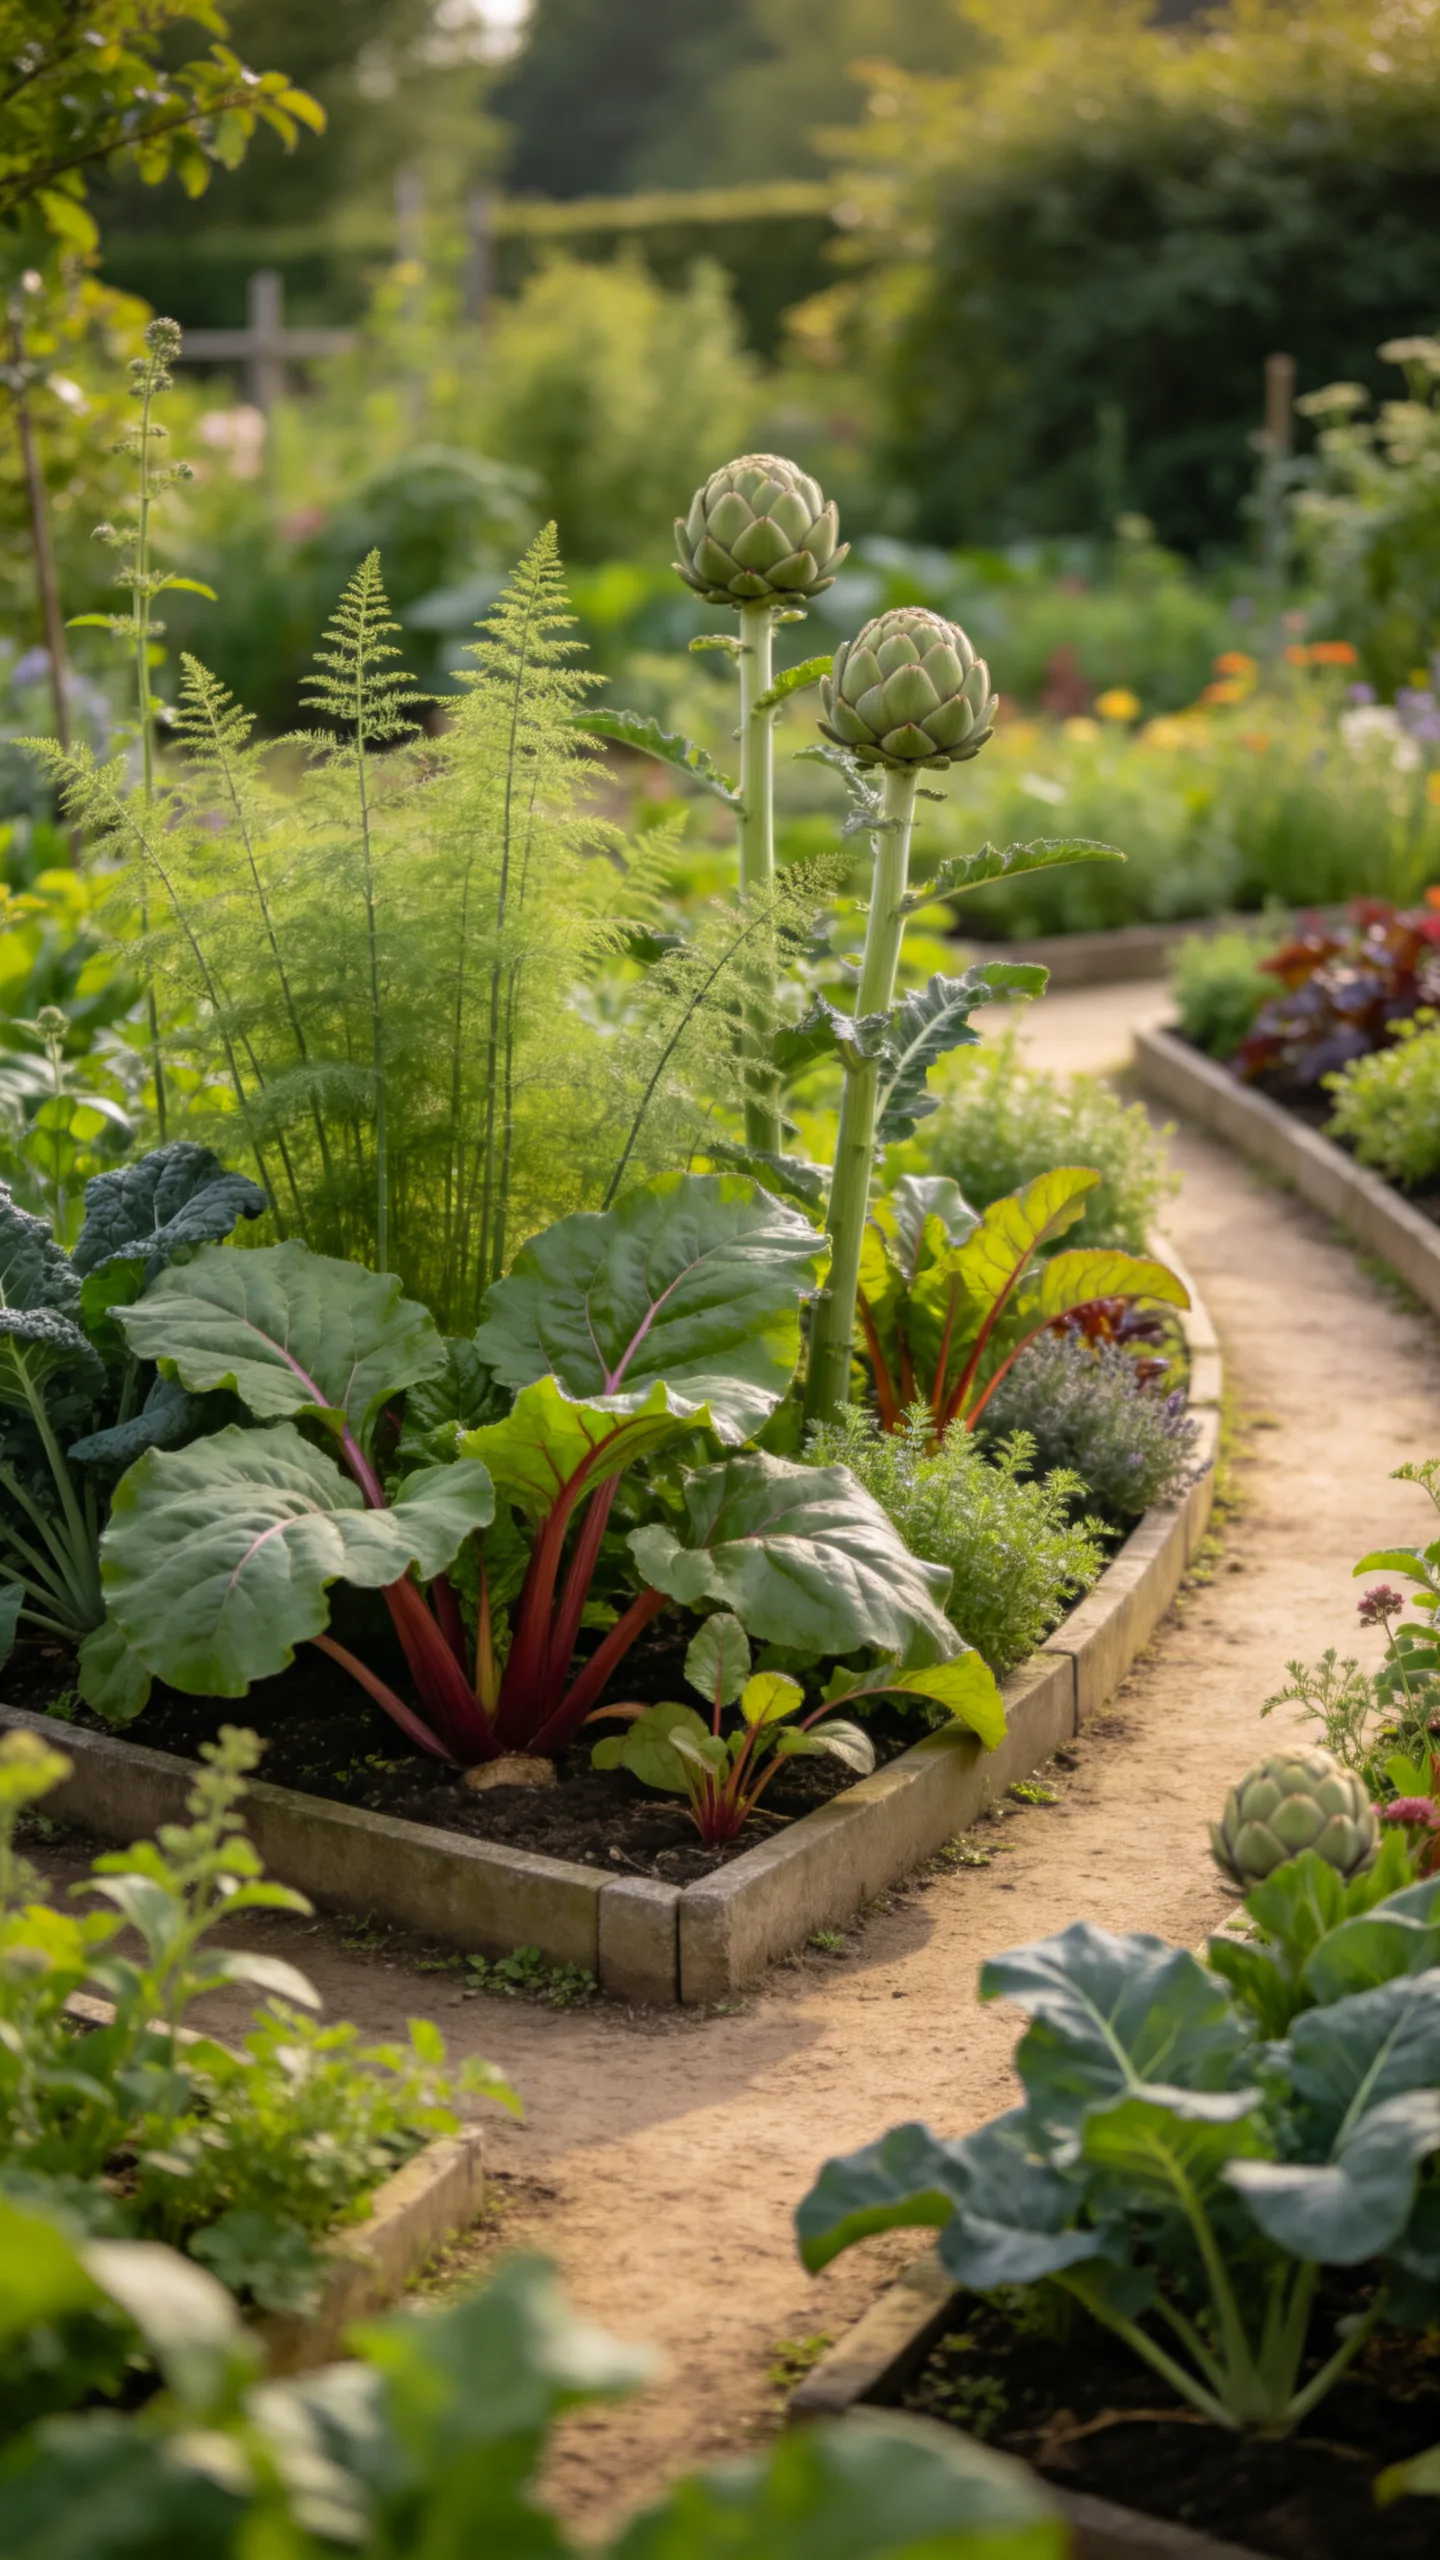
Set aside one section for crops that return each year, such as rhubarb, asparagus, globe artichokes, perennial kale, sorrel, and hardy herbs. This reduces the amount of annual sowing required and gives a first-time gardener reliable long-term features.
Mark the boundaries with edging or permanent labels because these plants should not be dug over during yearly bed preparation. Leave access around the plants for feeding, harvesting, dividing, and removing weeds.
21. Leave Flexible Space for Succession Cropping
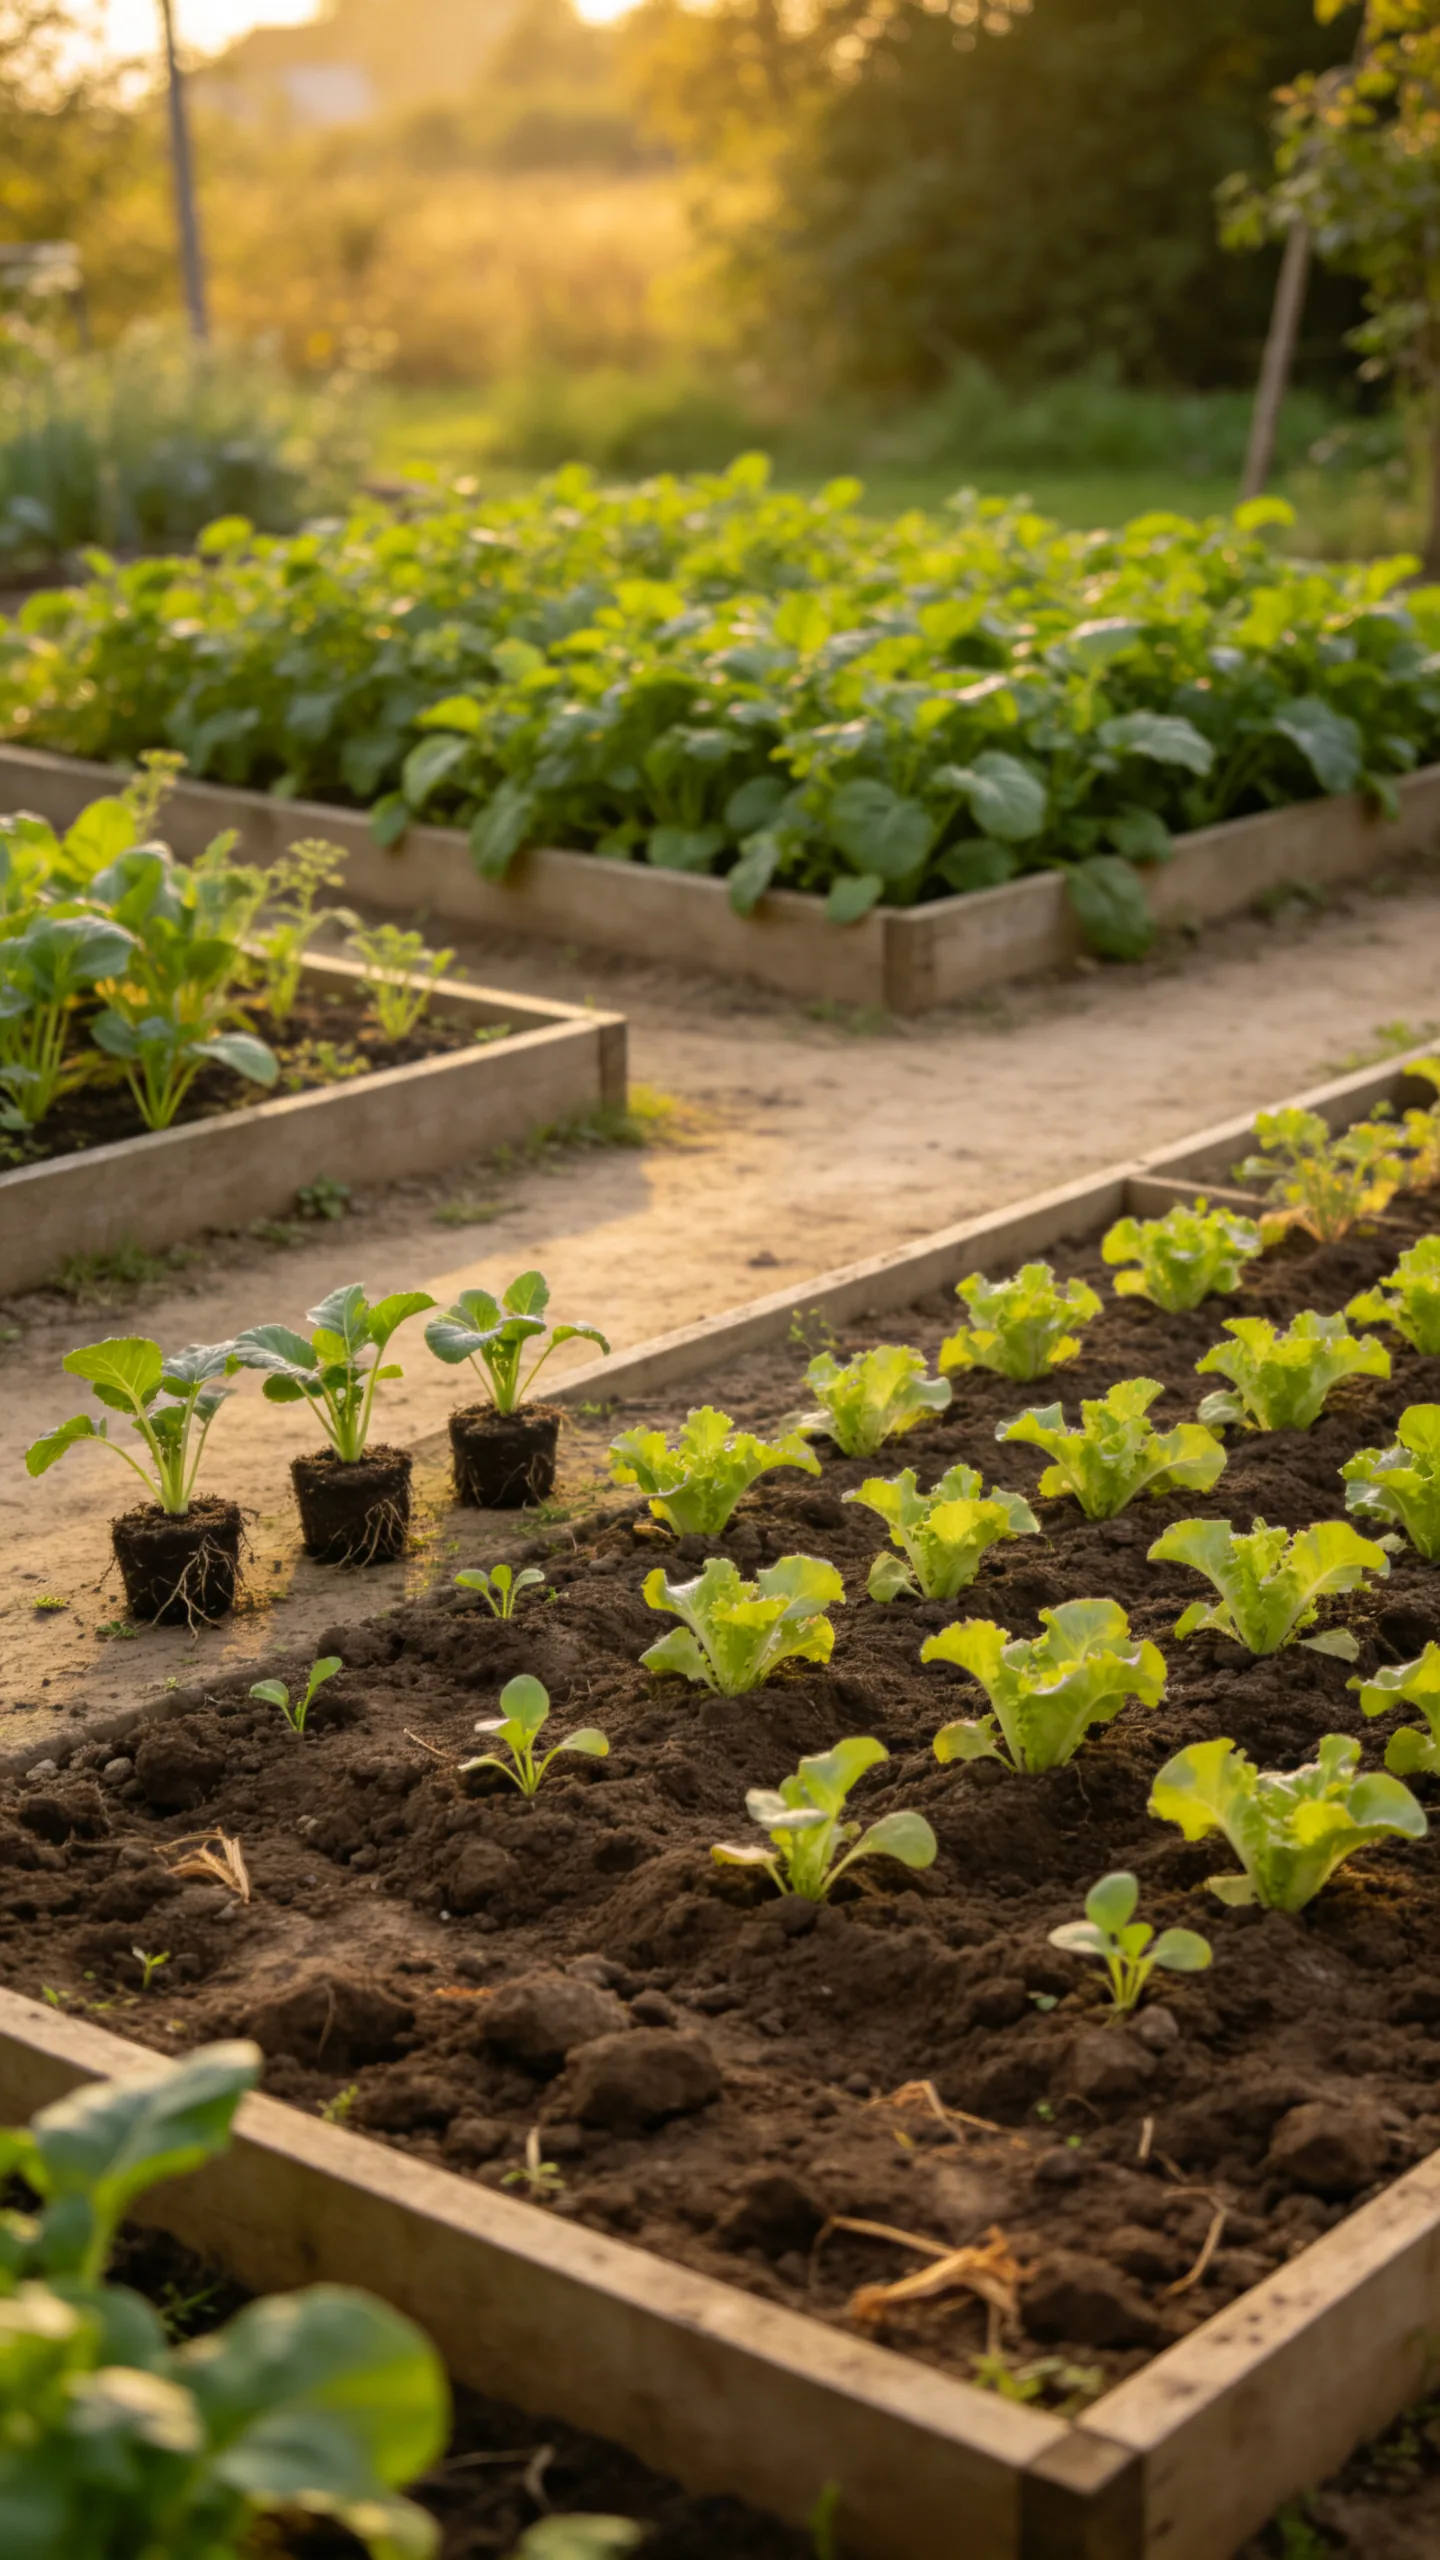
Keep one or two small beds unassigned rather than filling every area with permanent structures. Flexible space allows you to sow fast crops after early peas, plant out spare seedlings, grow green manure, or test varieties before expanding them.
Review the layout after the first season by noting which paths became muddy, which beds were difficult to reach, and which crops needed more room. Adjusting one bed or path each year is often more practical than trying to create a perfect allotment design layout immediately.