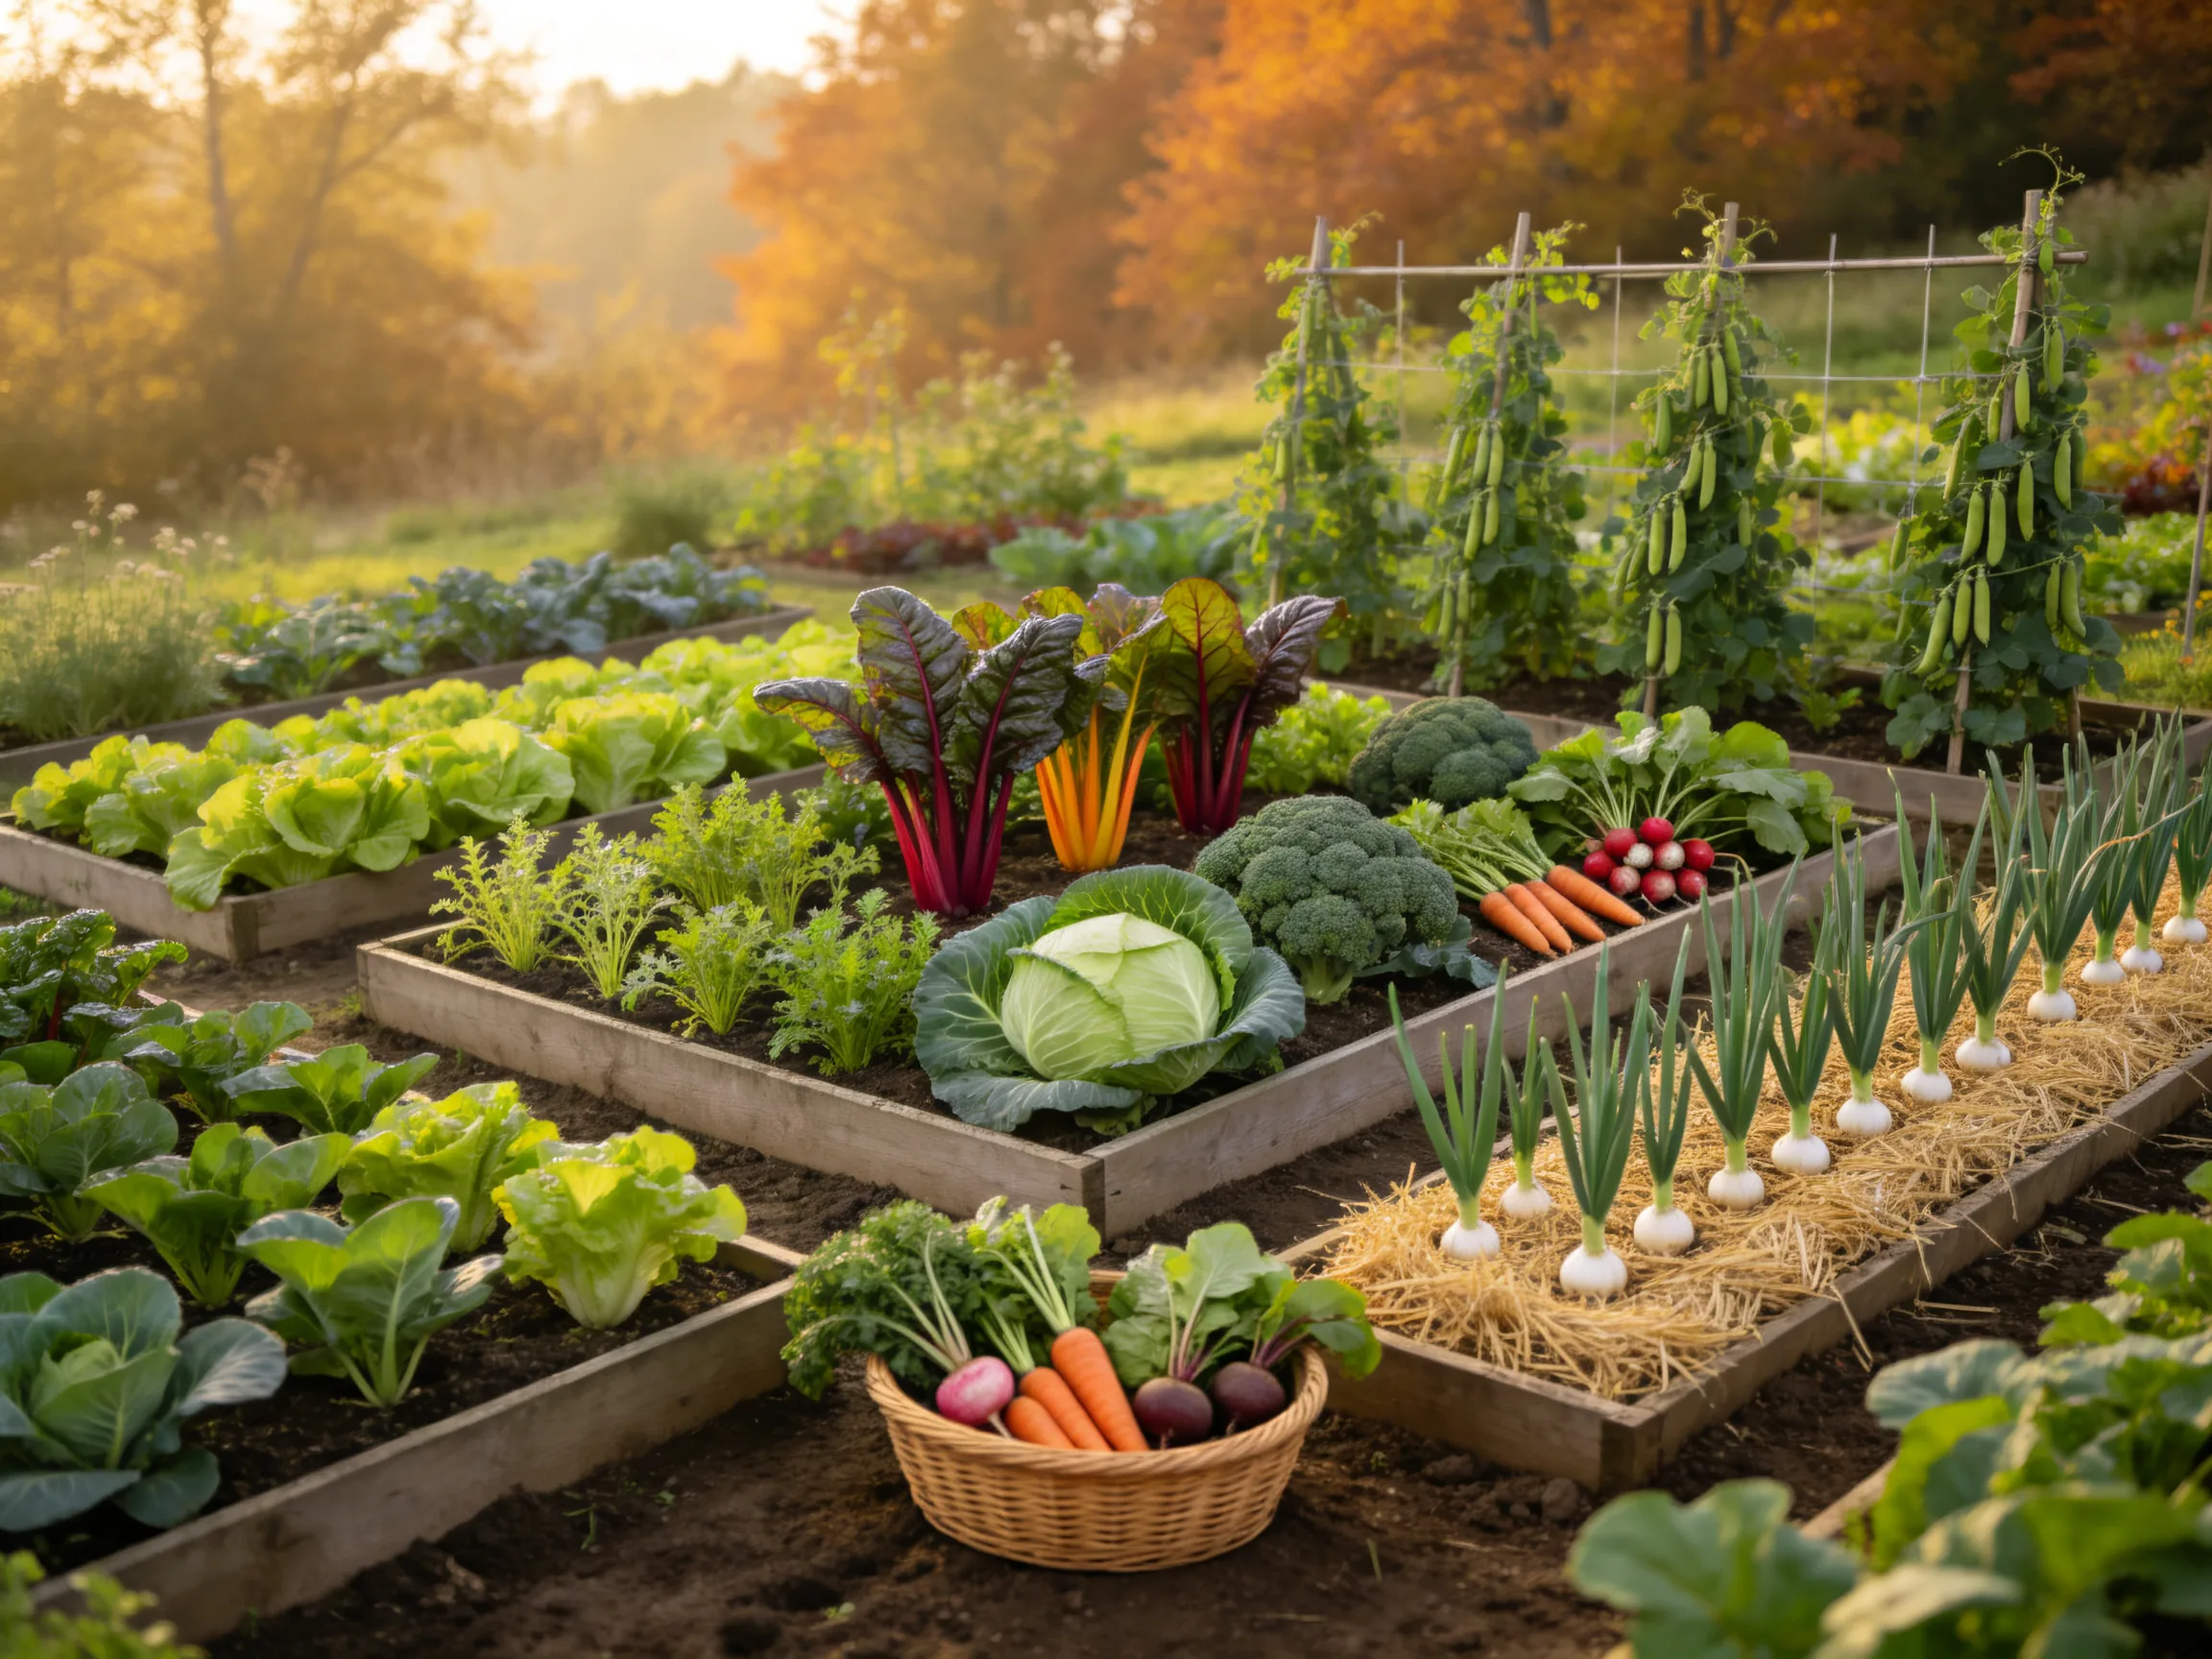
Fall is an excellent time to grow crisp greens, quick roots, and hardy vegetables without the intense heat and pest pressure of midsummer. Use your average first-frost date as a planning guide, checking each seed packet for its “days to maturity” and adding about two extra weeks to account for shorter autumn days. In cold climates, many fall crops should be started in late summer, while gardeners in mild-winter regions can often continue planting throughout autumn.
1. Cold-Hardy Spinach
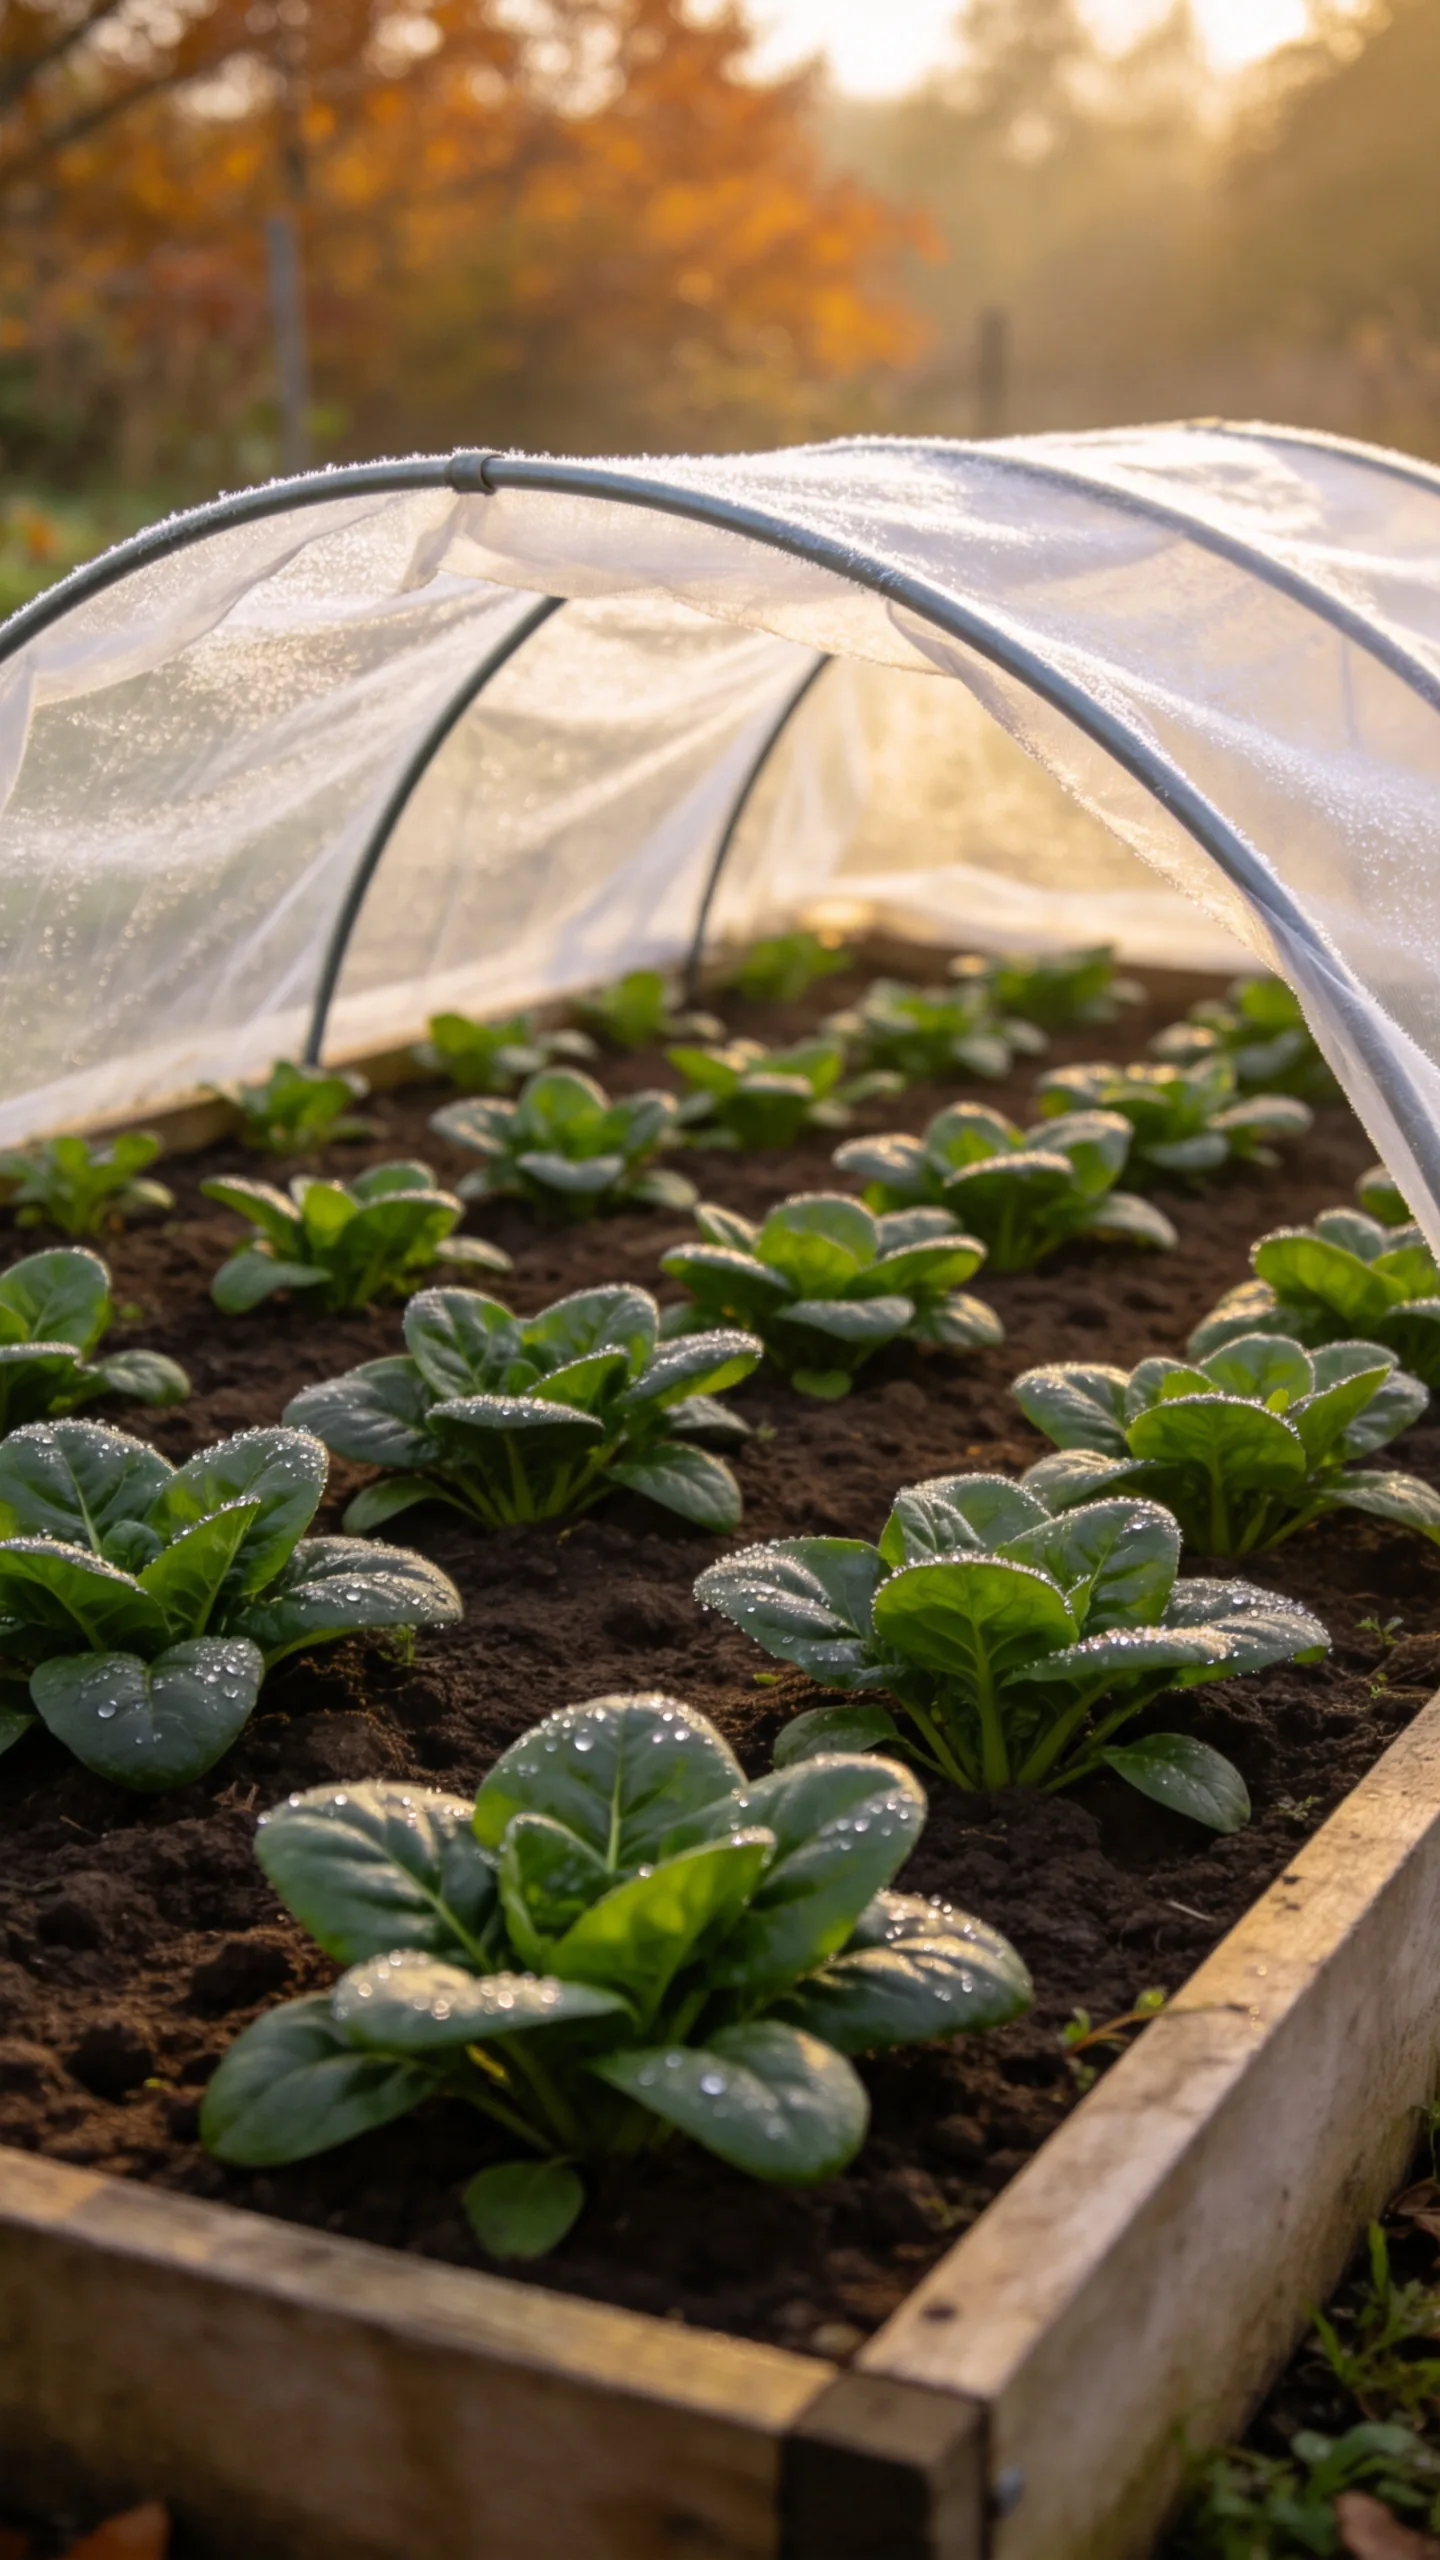
Spinach grows best in cool soil and can tolerate light frost, making it one of the most dependable vegetables to plant in fall. Direct-sow seeds about 1/2 inch deep in rows or wide bands, leaving 2 to 4 inches between plants. Choose a bed or container that receives at least four hours of sunlight, and keep the soil evenly moist while seeds germinate.
Baby leaves may be ready in roughly a month, depending on the variety and weather. Harvest the outer leaves first so the center can continue producing. In colder areas, cover plants with a low tunnel or frost cloth to extend the harvest; in mild climates, spinach may grow through much of winter.
2. Cut-and-Come-Again Leaf Lettuce
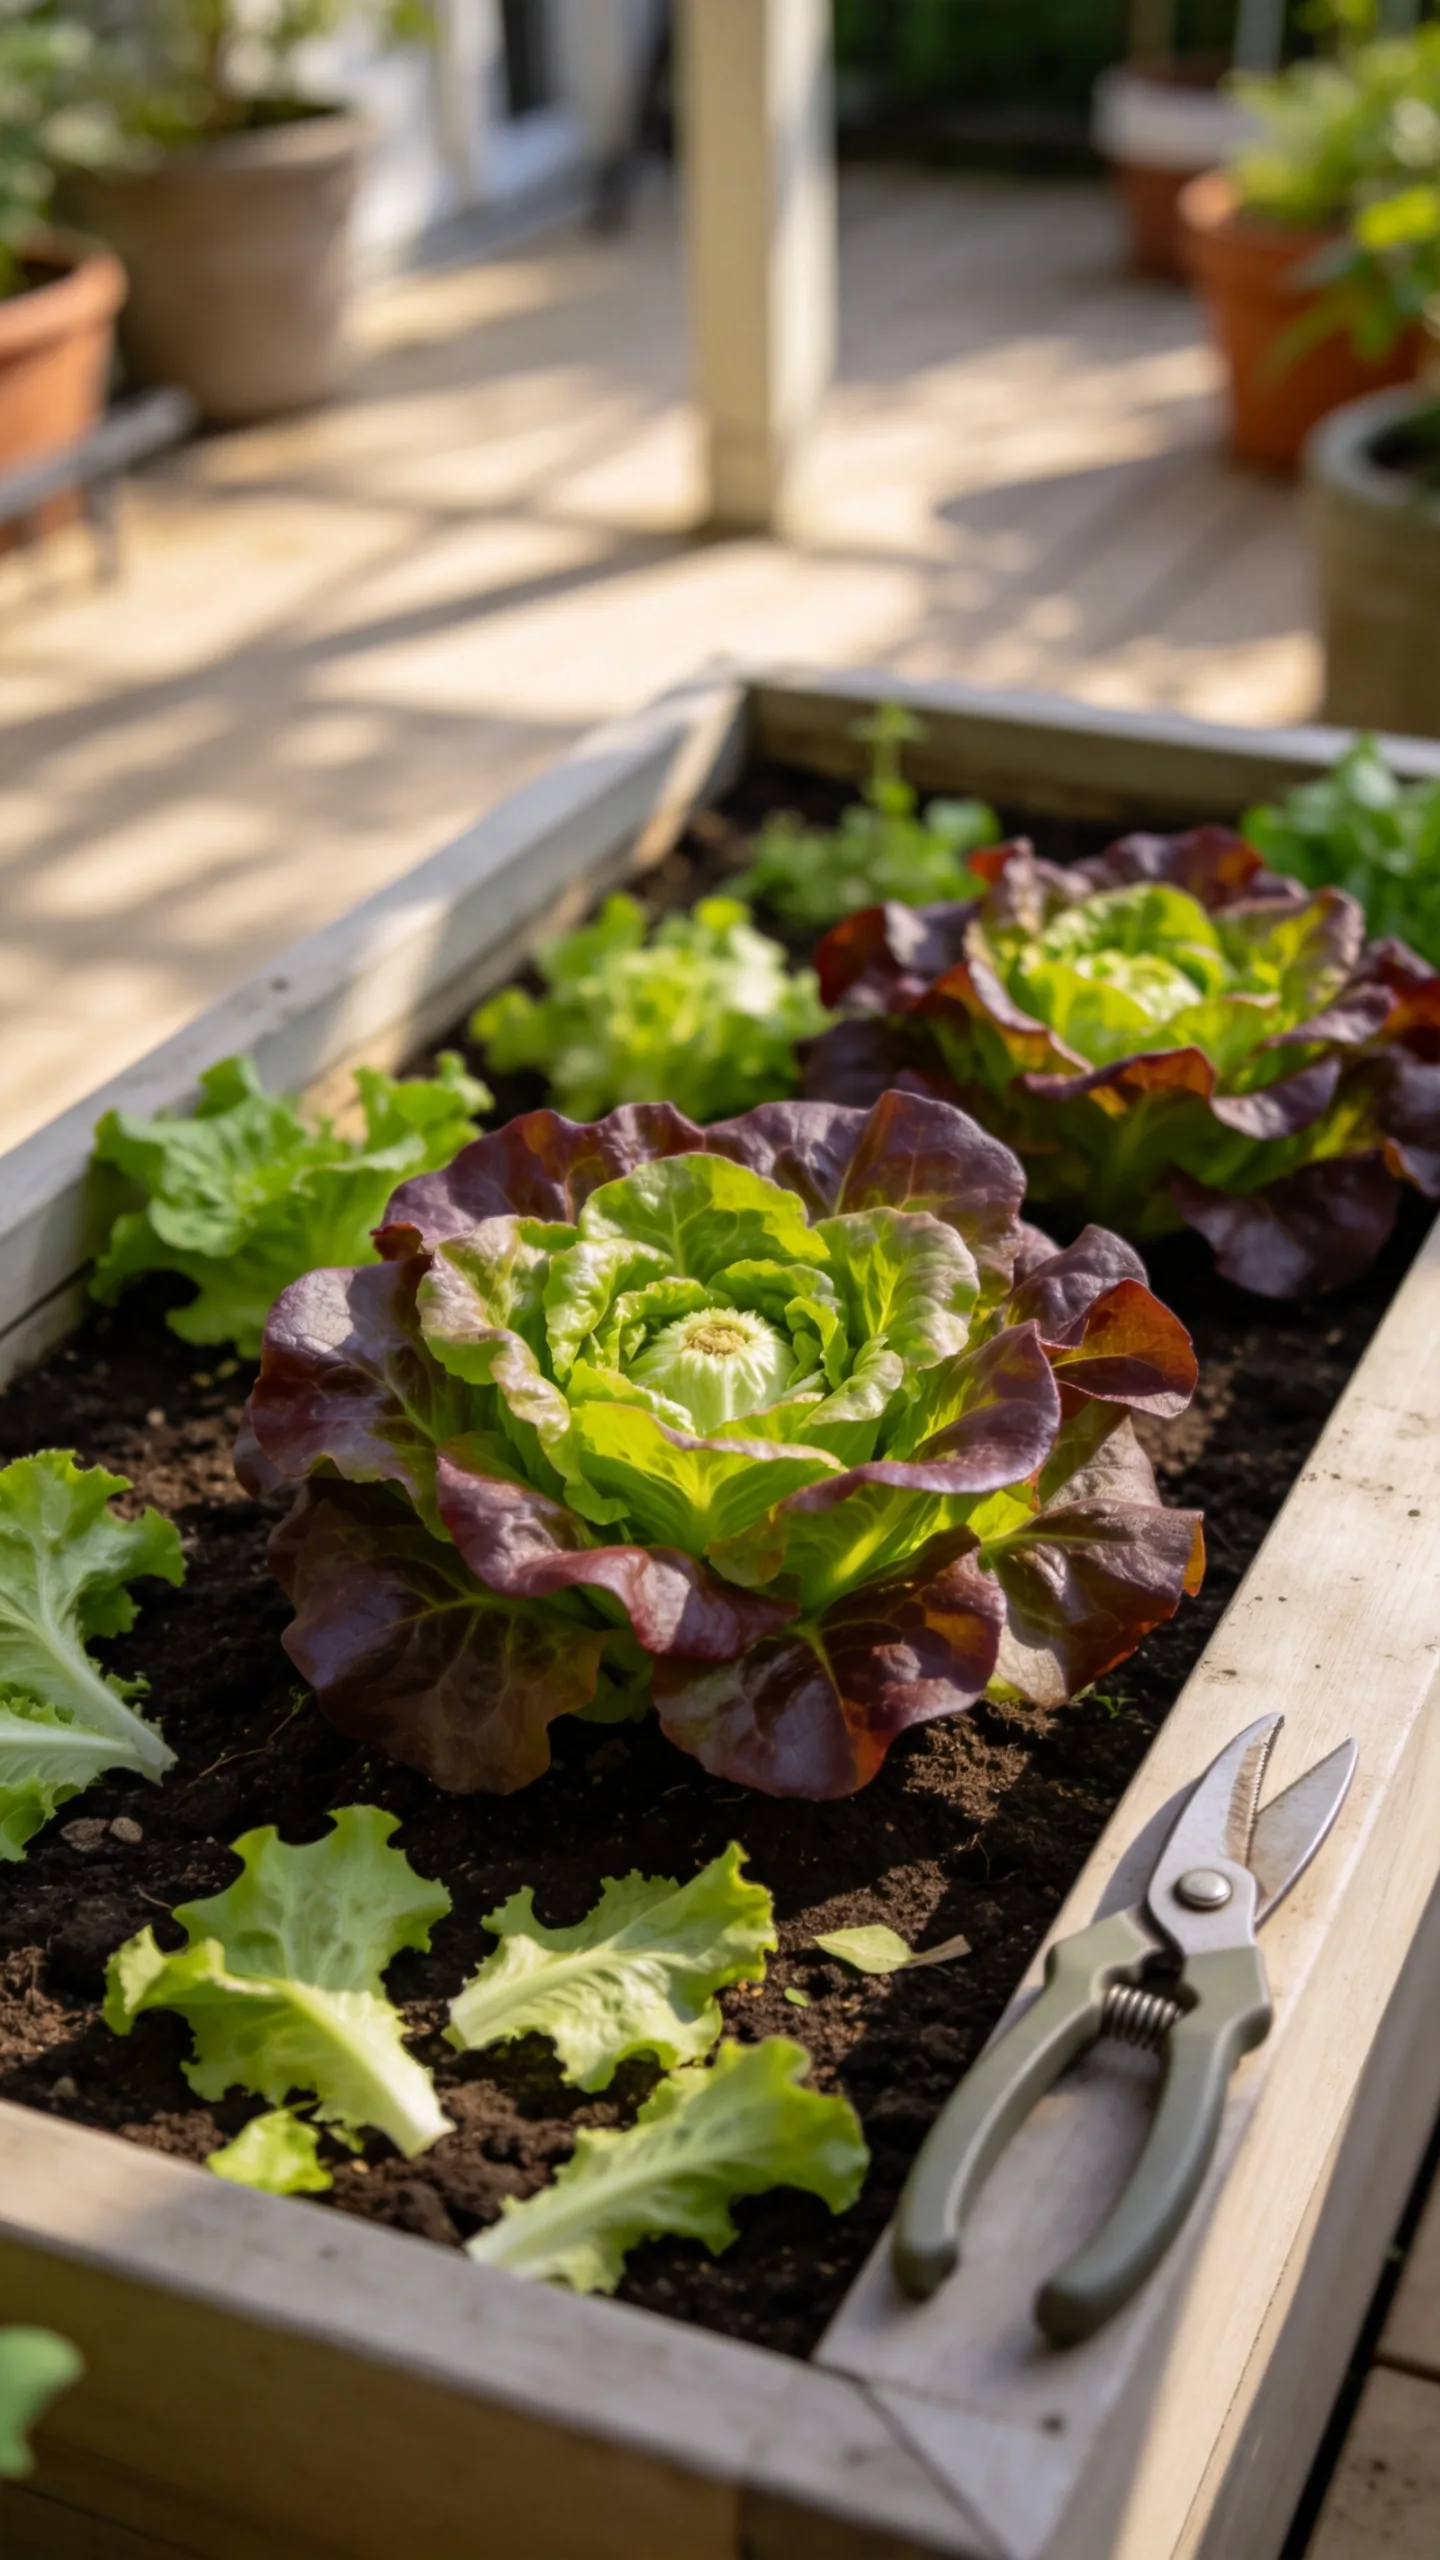
Loose-leaf lettuce is easier and faster to grow than full-size head lettuce. Sow seeds thinly in a shallow drill, then thin seedlings to 4 to 6 inches apart. It also performs well in window boxes, railing planters, and containers at least 6 inches deep, making it practical for patios and small gardens.
Plant a short row every two weeks for a steady supply rather than one large crop all at once. Snip leaves about an inch above the soil when they reach a usable size, leaving the growing point intact for another harvest. Afternoon shade can help early fall plantings when daytime temperatures are still warm.
3. Fast-Growing Arugula
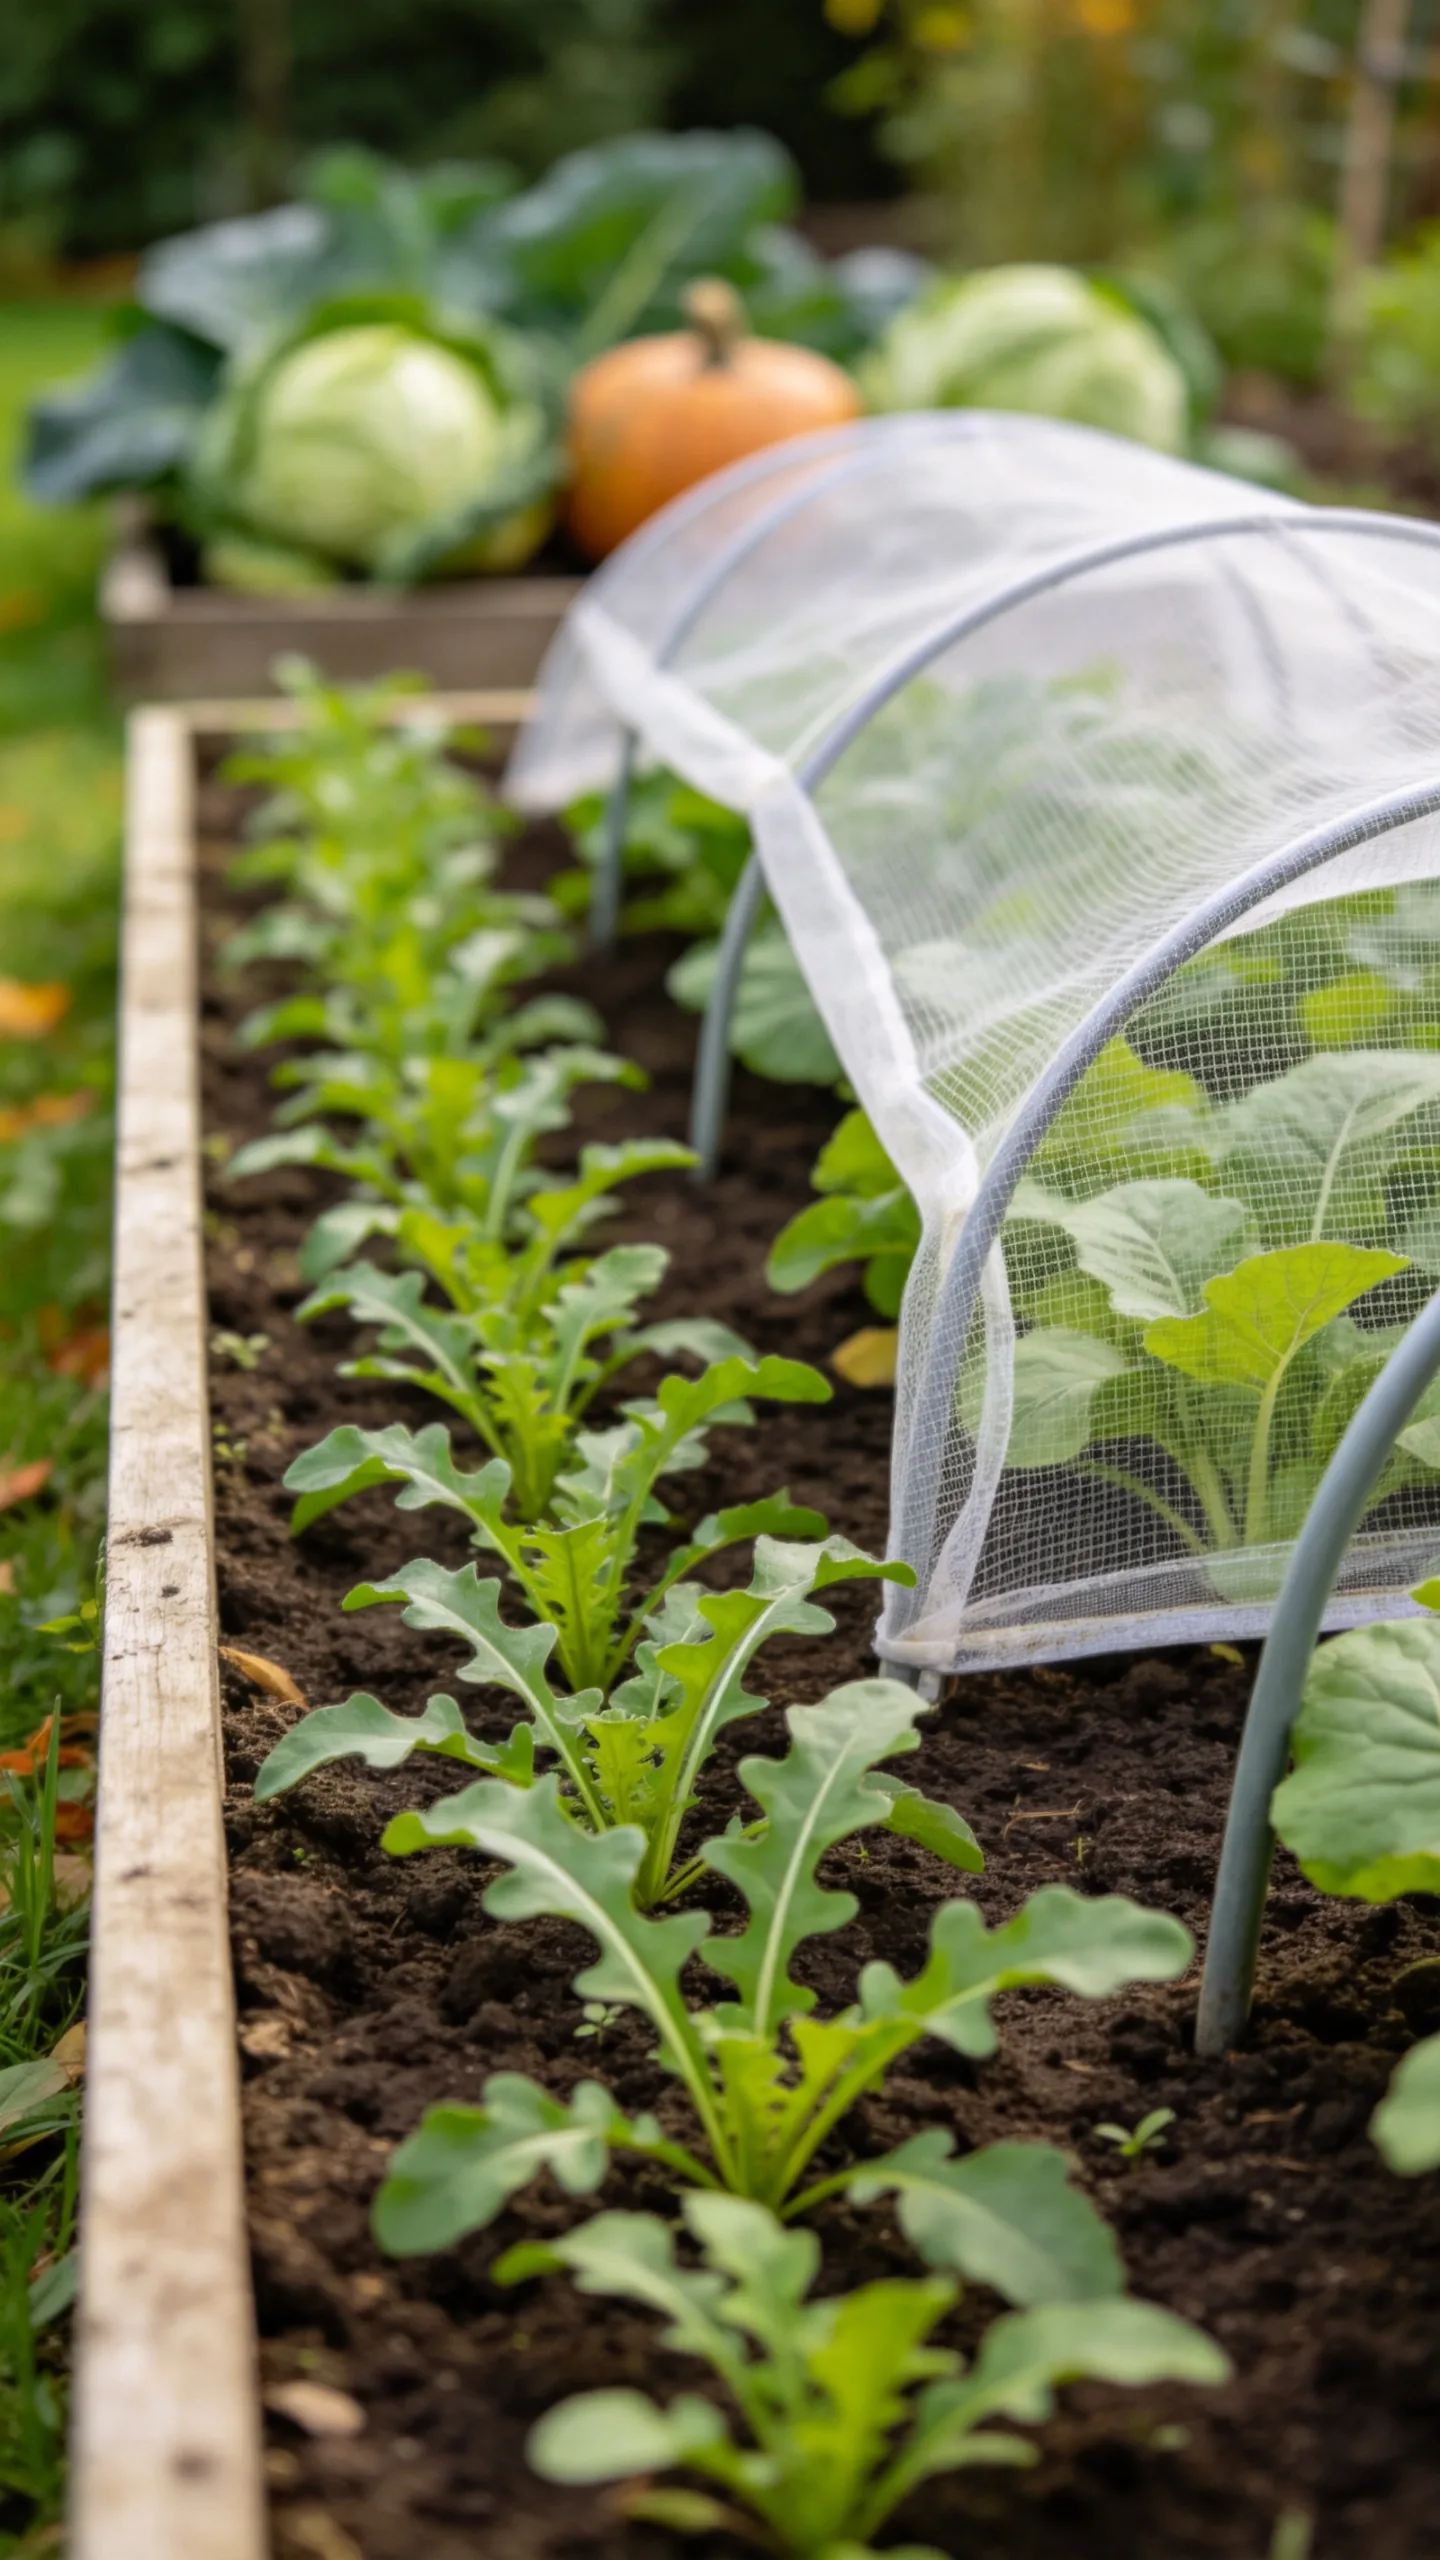
Arugula develops its best peppery flavor during cool weather and matures quickly enough to fit into gaps between slower vegetables. Direct-sow the seeds about 1/4 inch deep and thin seedlings to 4 inches apart. A narrow border along a path or the front edge of a raised bed provides enough room for a useful crop.
Begin harvesting individual leaves when they are 2 to 3 inches long. For a continuous supply, sow small batches every two or three weeks until cold weather slows growth. Row cover can protect the leaves from flea beetles and also provide a little insulation during chilly nights.
4. Quick-Harvest Radishes
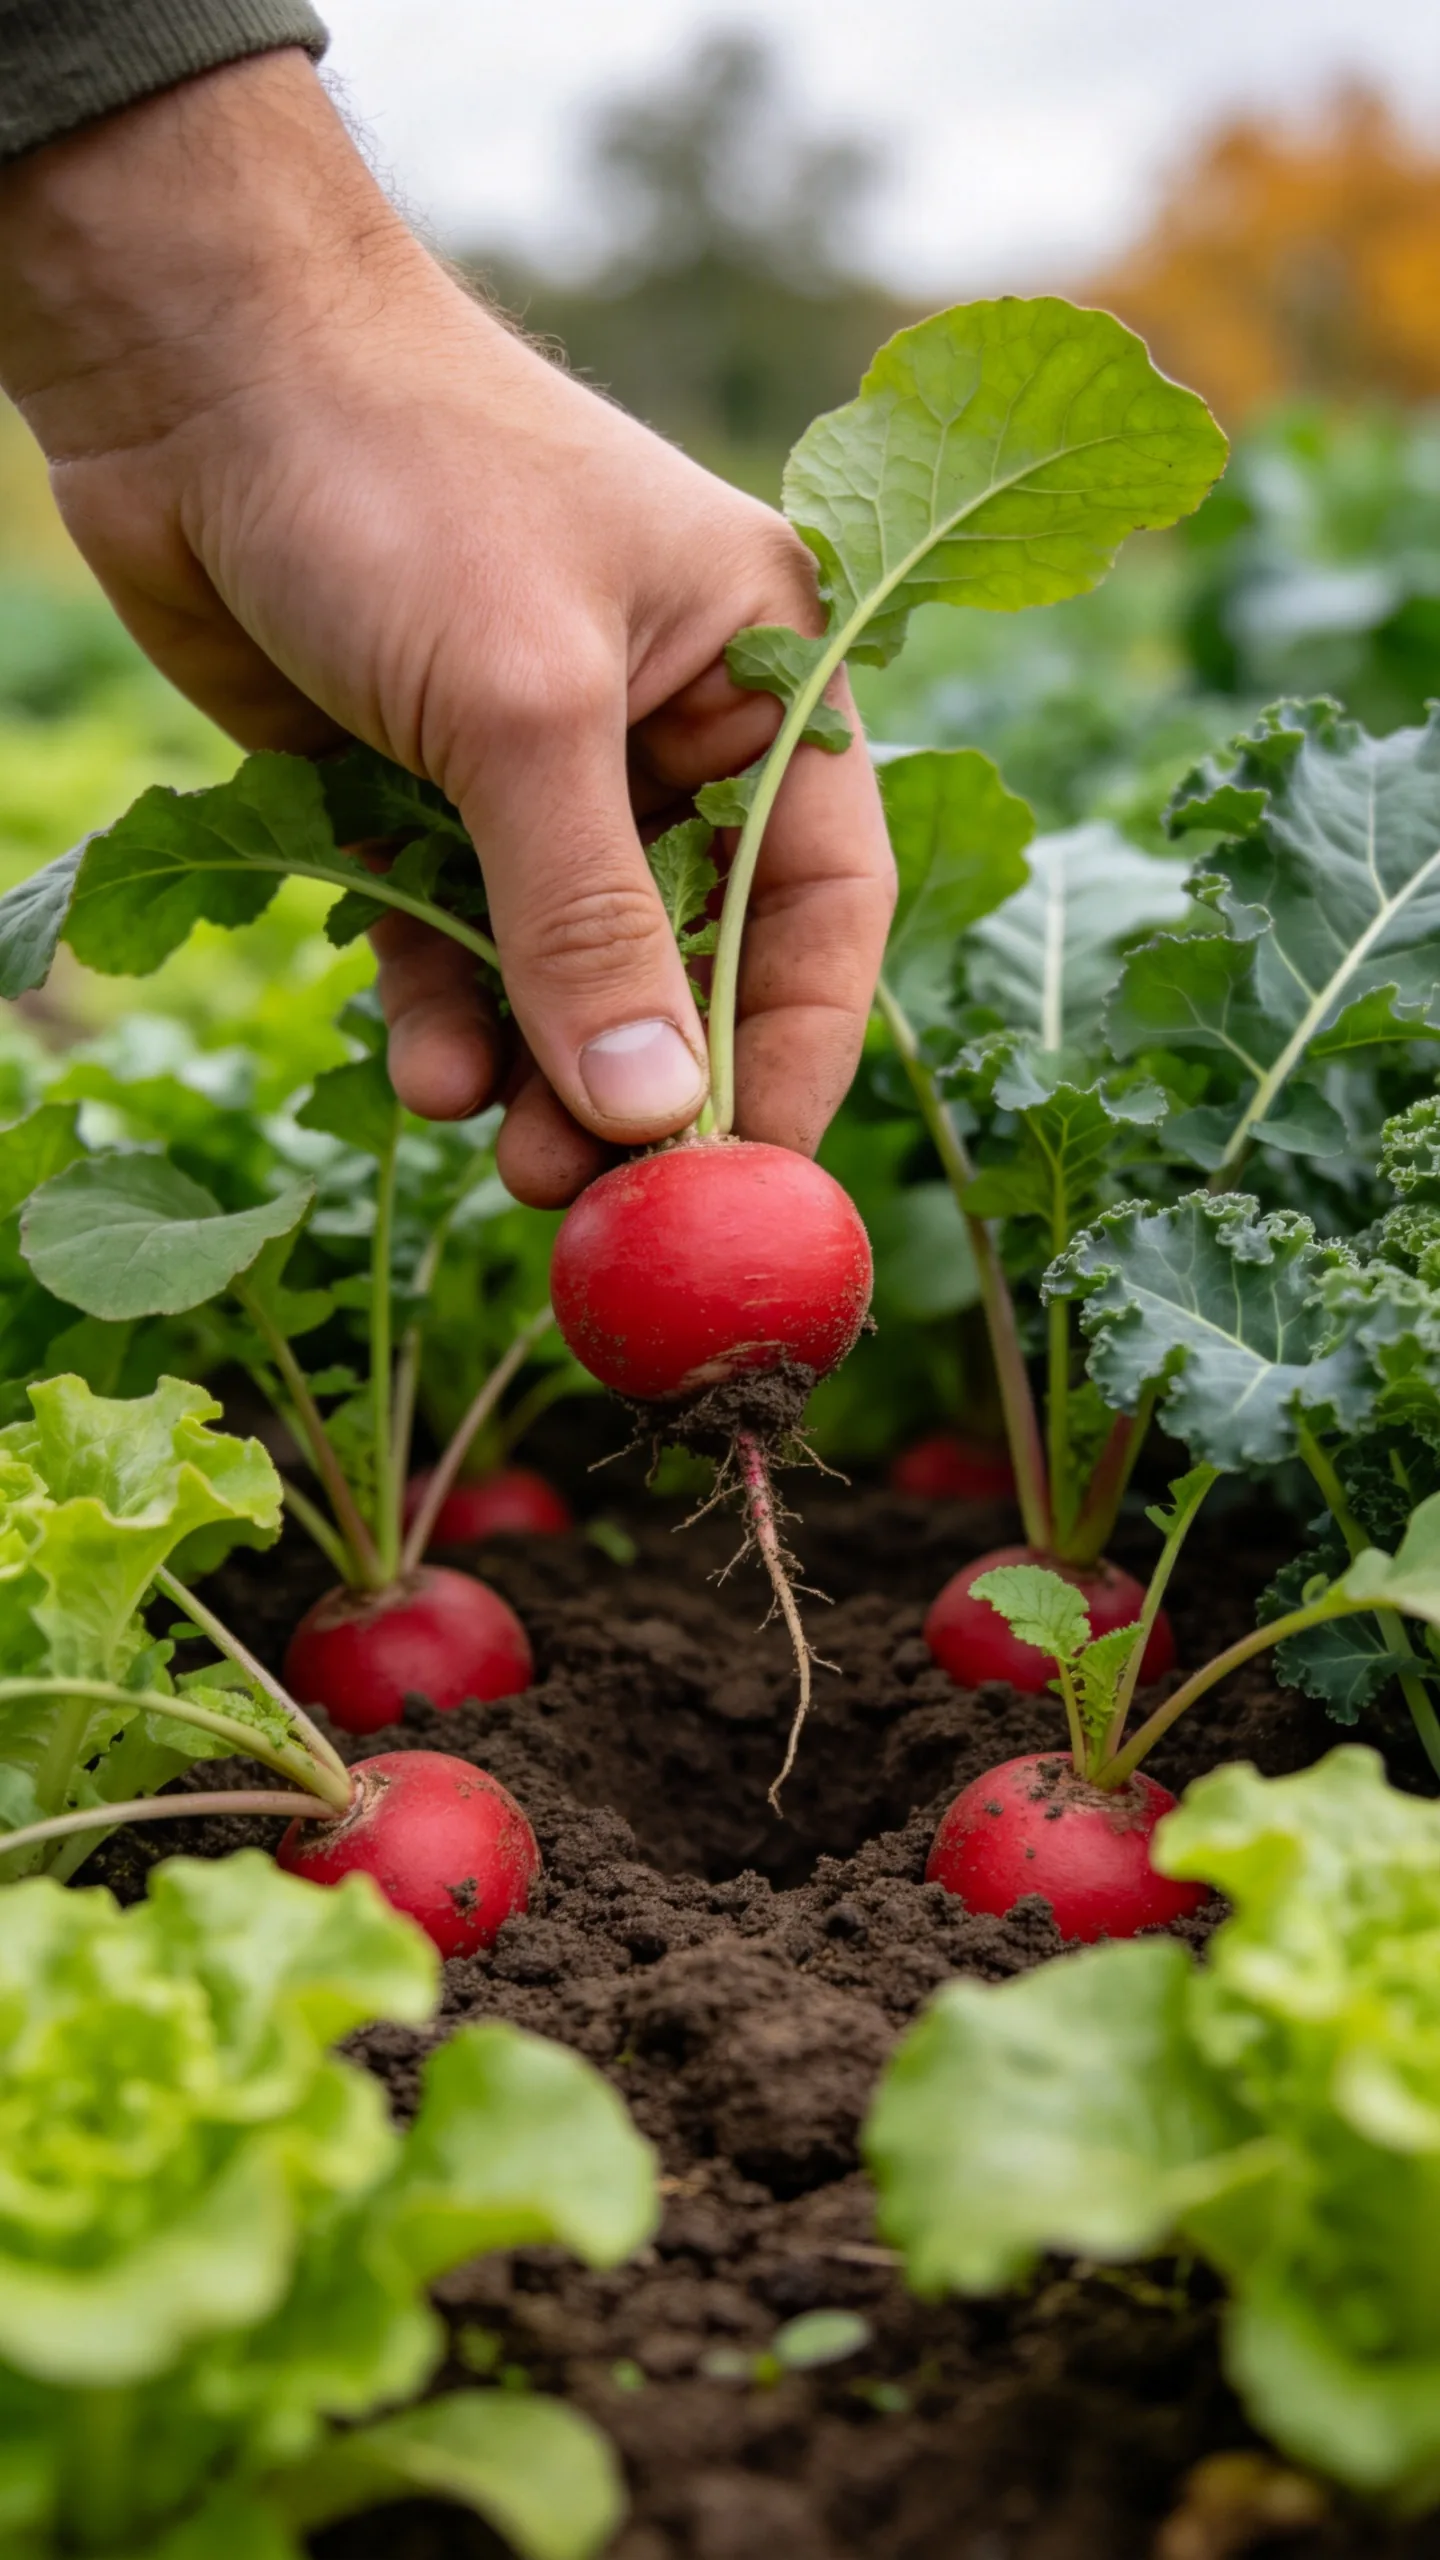
Radishes are a beginner-friendly choice because many varieties are ready within three to five weeks. Sow seeds directly in loose soil about 1/2 inch deep and 1 inch apart, then thin seedlings to roughly 2 inches apart. They are ideal for filling empty spaces around lettuce, kale, or other crops that take longer to mature.
Consistent moisture helps roots grow evenly and keeps their flavor milder. Check them as soon as the shoulders become visible above the soil, since oversized roots can turn woody or pithy. Round spring-type radishes suit shallow containers, while long daikon varieties need deeper, stone-free soil and a longer growing period.
5. Sweet Fall Carrots
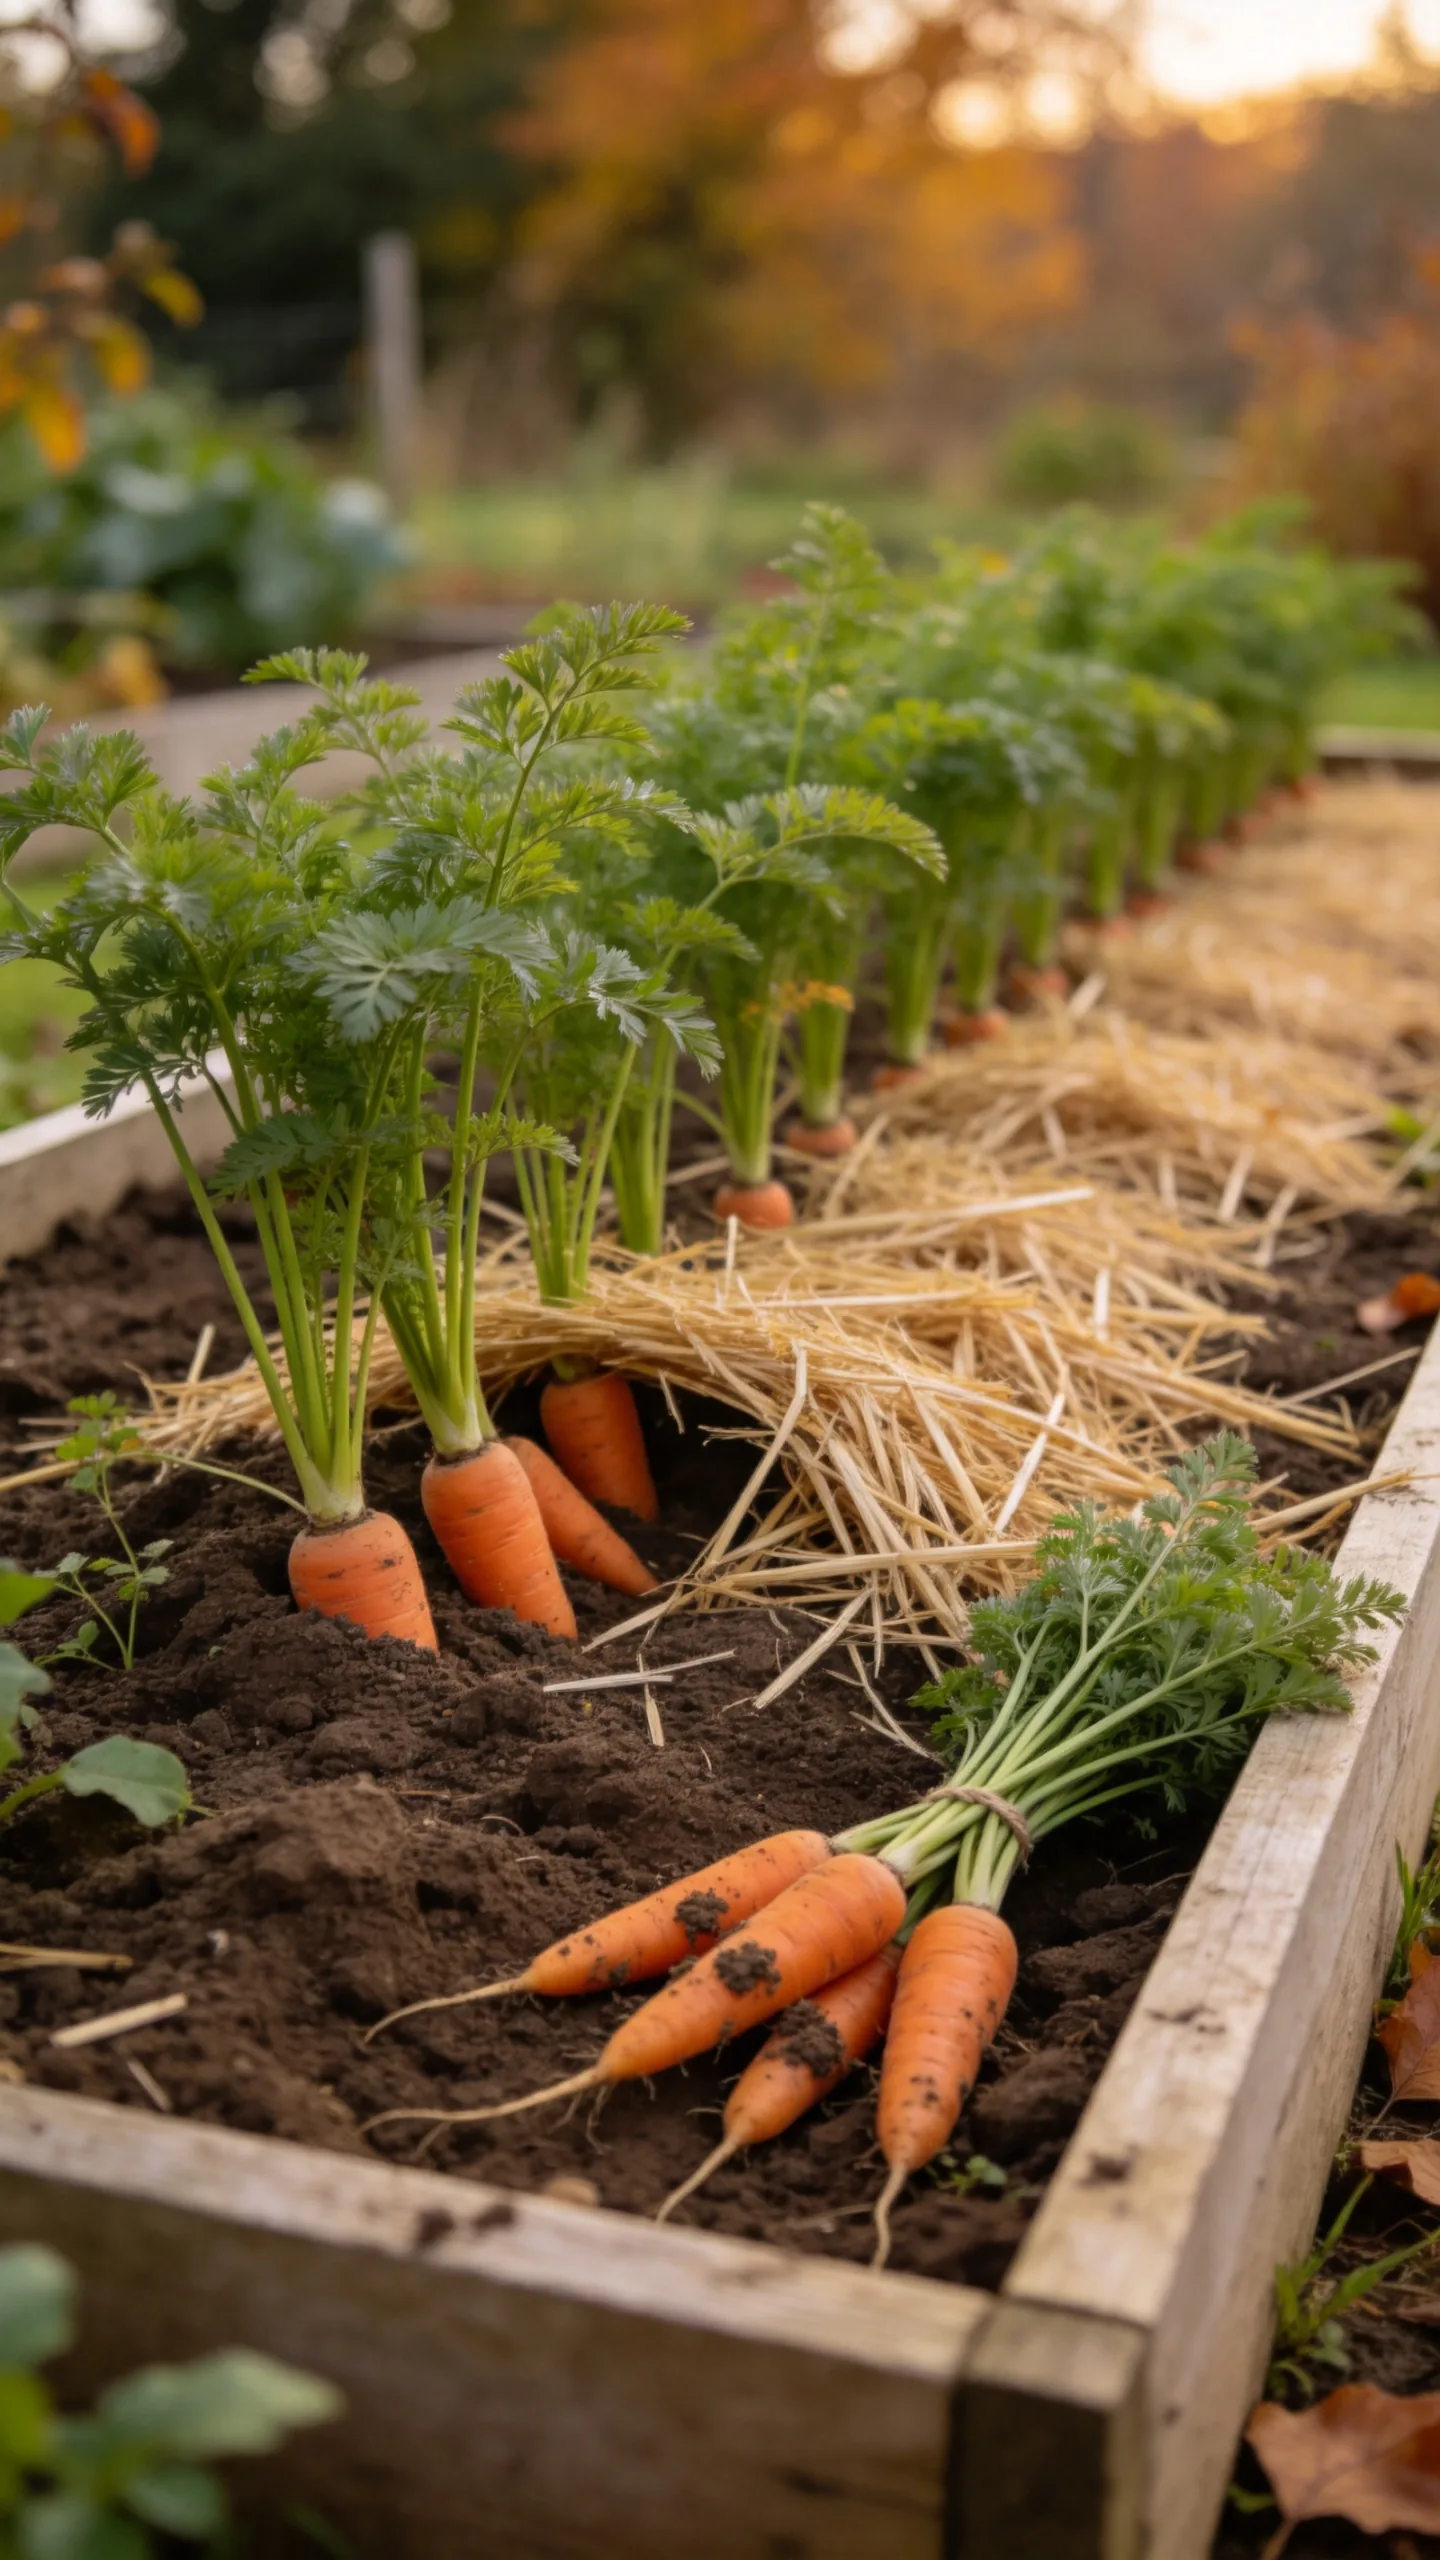
Carrots exposed to cool temperatures often develop a pleasantly sweet flavor, but they need enough time to size up before growth slows. Direct-sow seeds 1/4 inch deep in loose, finely textured soil, ideally 10 to 12 weeks before the first expected frost. Keep the seedbed consistently damp until the slow-germinating seedlings emerge.
Thin plants to 2 or 3 inches apart so the roots do not compete for space. Short varieties such as ‘Parisian’ or ‘Little Finger’ work well in raised beds and containers, while longer carrots require deeper soil without rocks or compacted clumps. A layer of straw mulch can help protect mature roots for later harvesting in climates where the ground does not freeze solid.
6. Dual-Purpose Beets
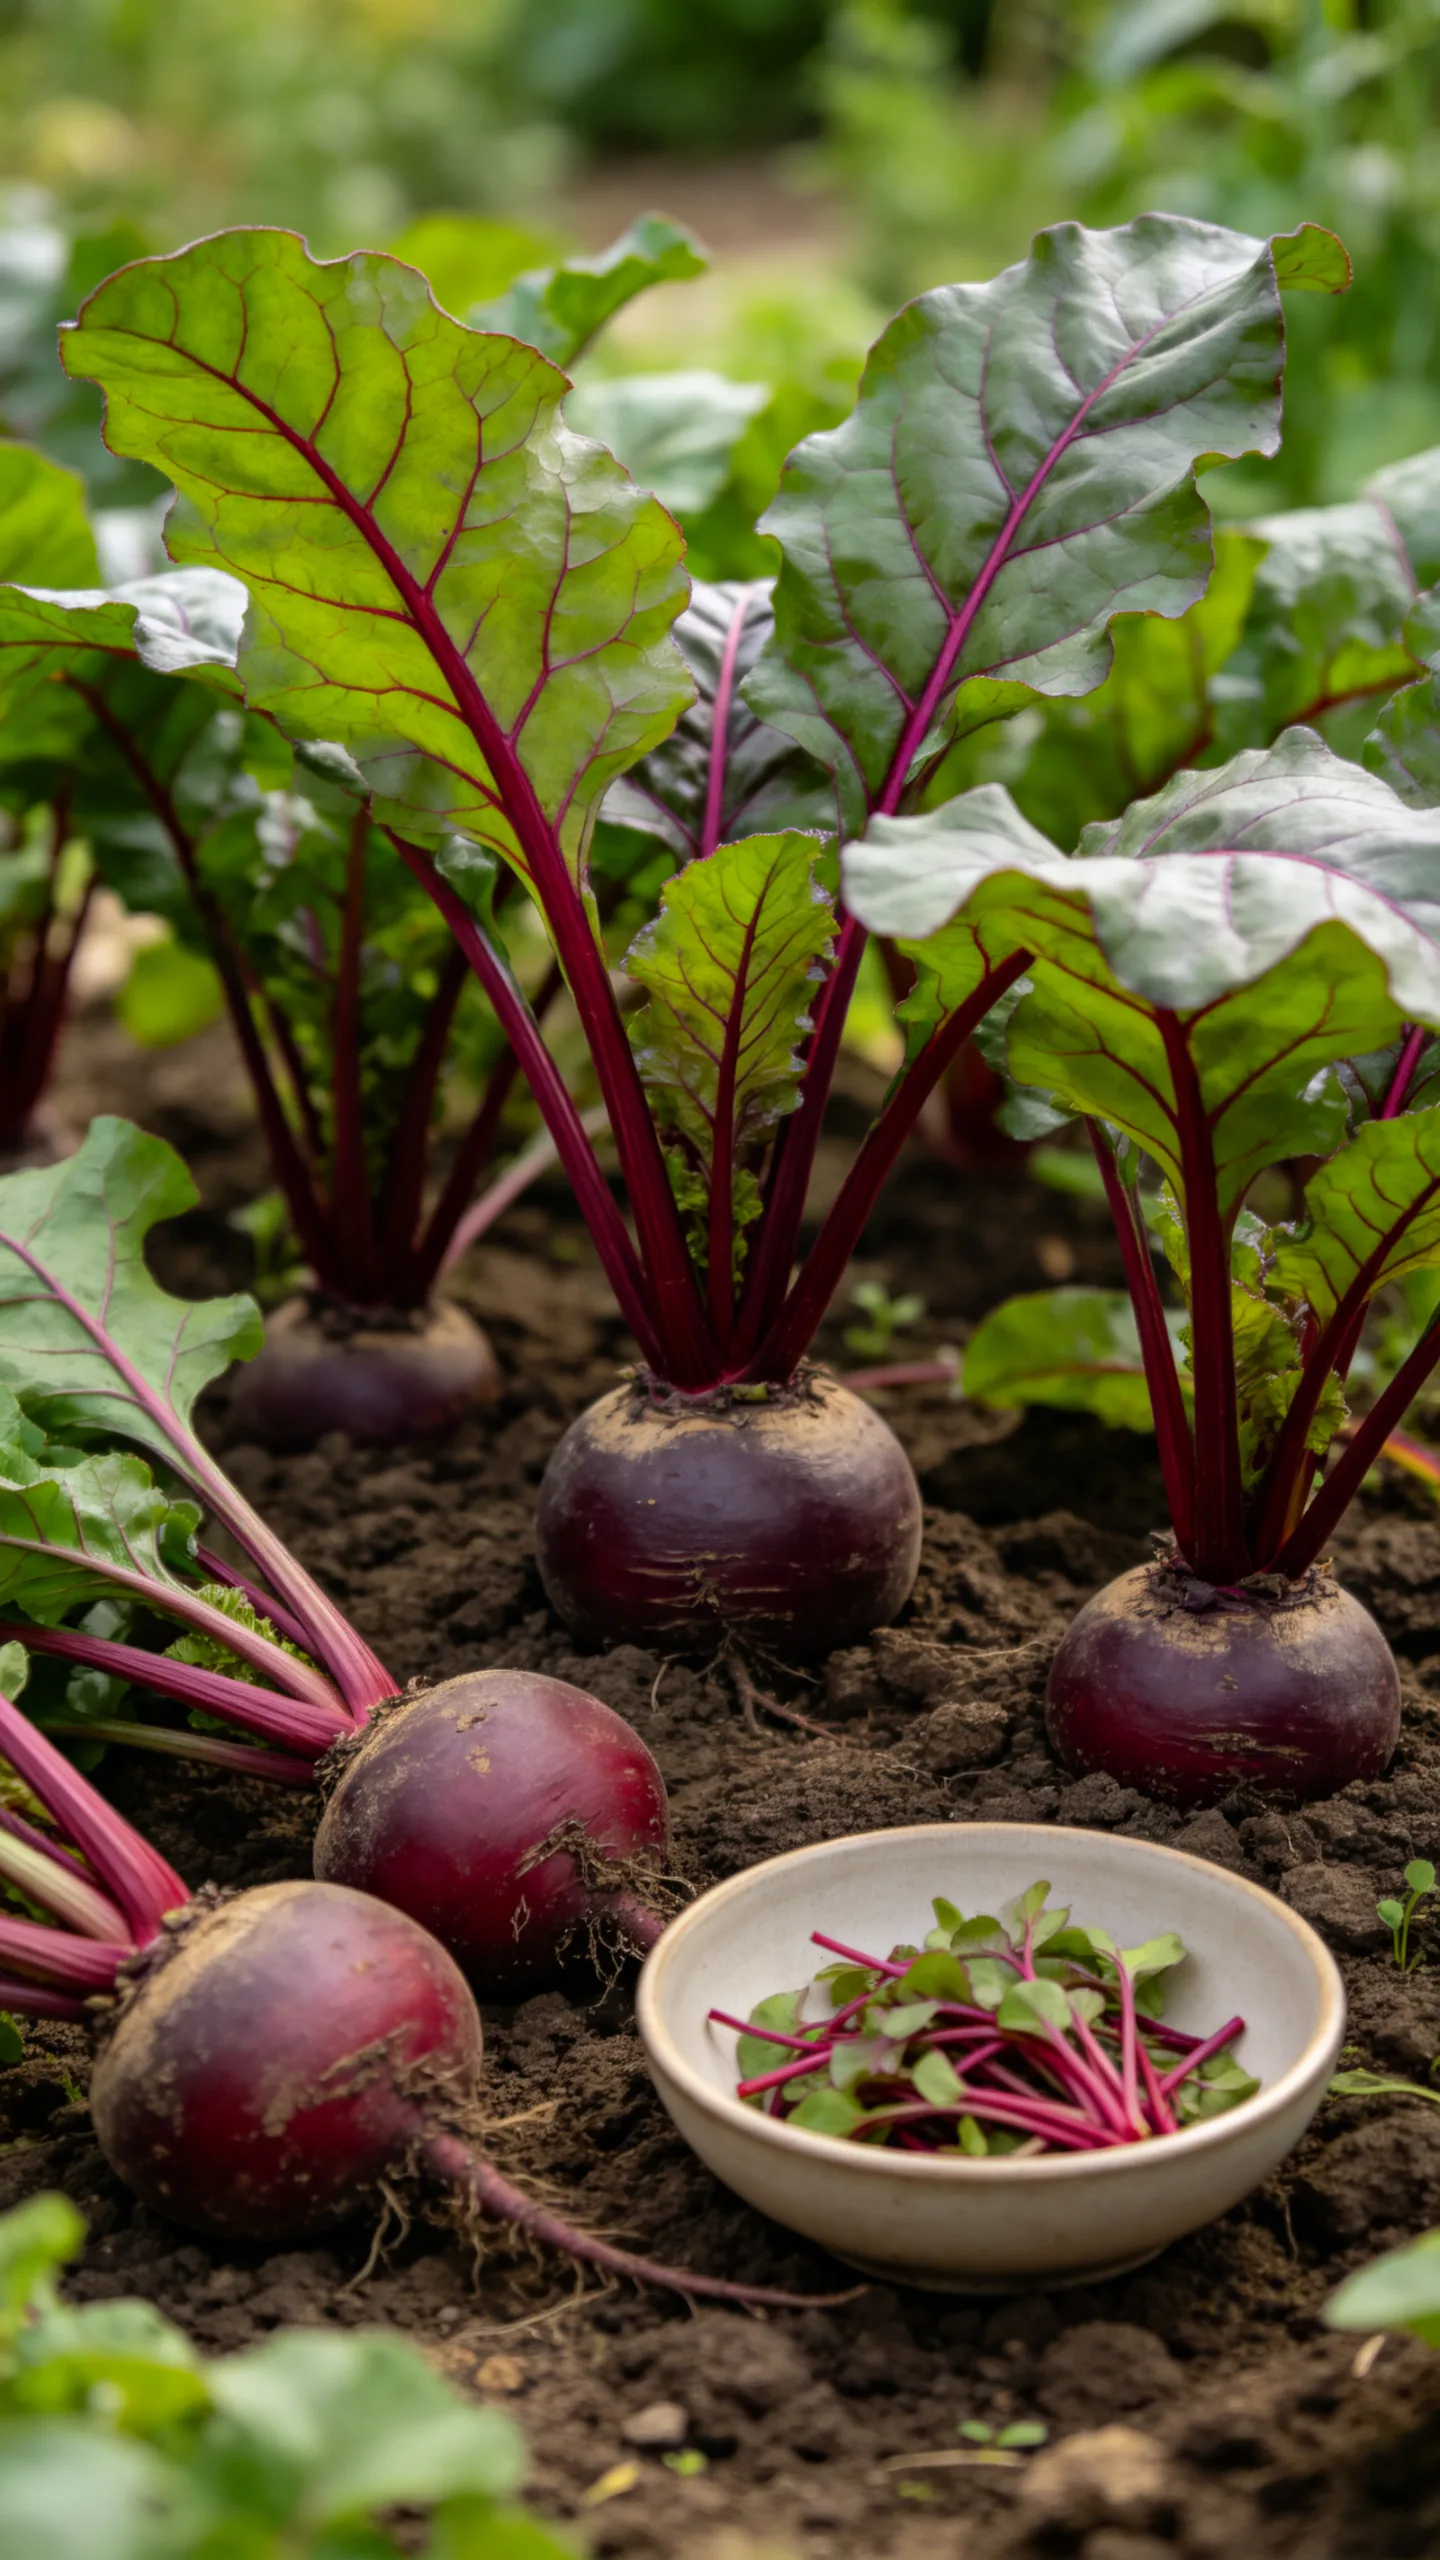
Beets provide two crops from one small space: tender leaves and colorful roots. Sow seeds directly about 1/2 inch deep, then thin the seedlings to 3 or 4 inches apart. Each beet “seed” can produce several seedlings, so thinning is especially important if you want well-shaped roots.
Use the thinnings as baby greens in salads, leaving the strongest plants to mature. Beets prefer loose, well-drained soil and steady moisture; alternating dry and wet conditions can lead to uneven growth. Most roots can handle light frost, but harvest them before a hard freeze damages exposed shoulders.
7. Frost-Tolerant Kale
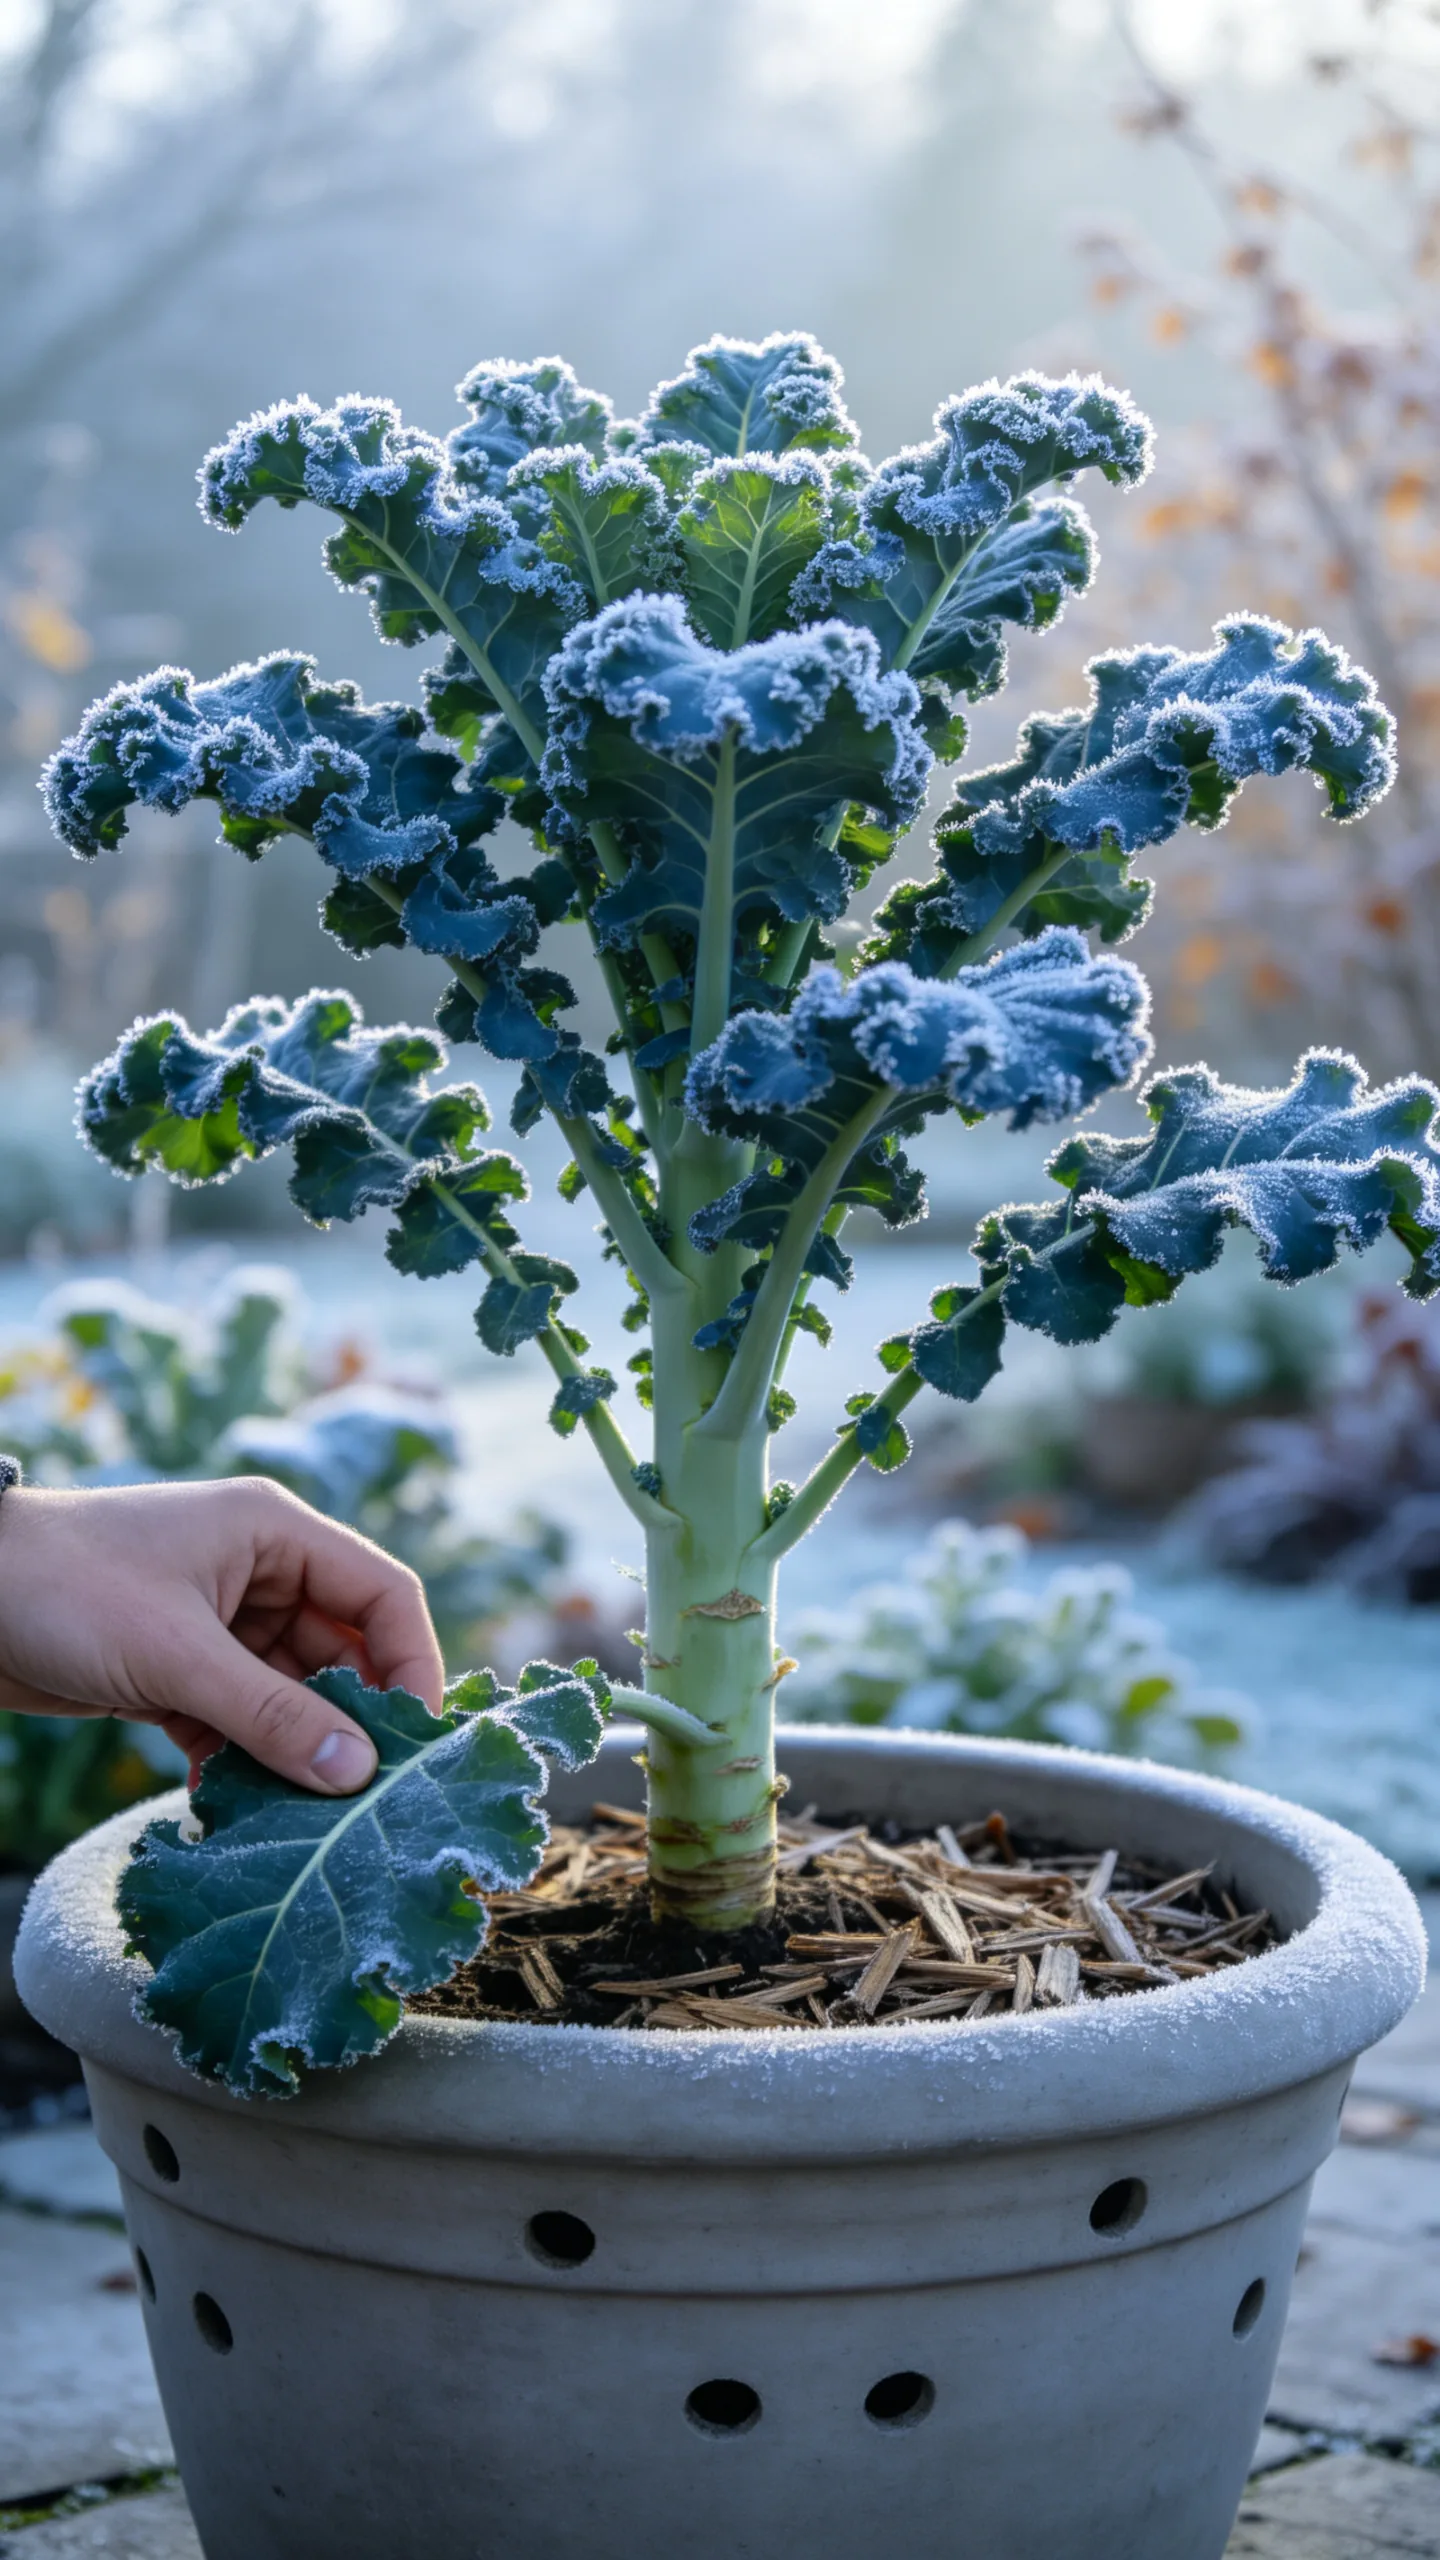
Kale is a reliable fall vegetable that can remain productive after many tender crops have finished. Start with nursery transplants for the simplest approach, spacing compact varieties about 12 inches apart and larger types 18 inches apart. It can also grow in a 5-gallon container with drainage holes and nutrient-rich potting mix.
Harvest the lowest outer leaves first once they reach about hand size. Leave the central growing point untouched so the plant continues forming new foliage. In regions with cold winters, add mulch around the base and use frost cloth during severe freezes; gardeners in mild climates may be able to pick kale throughout winter.
8. Colorful Swiss Chard
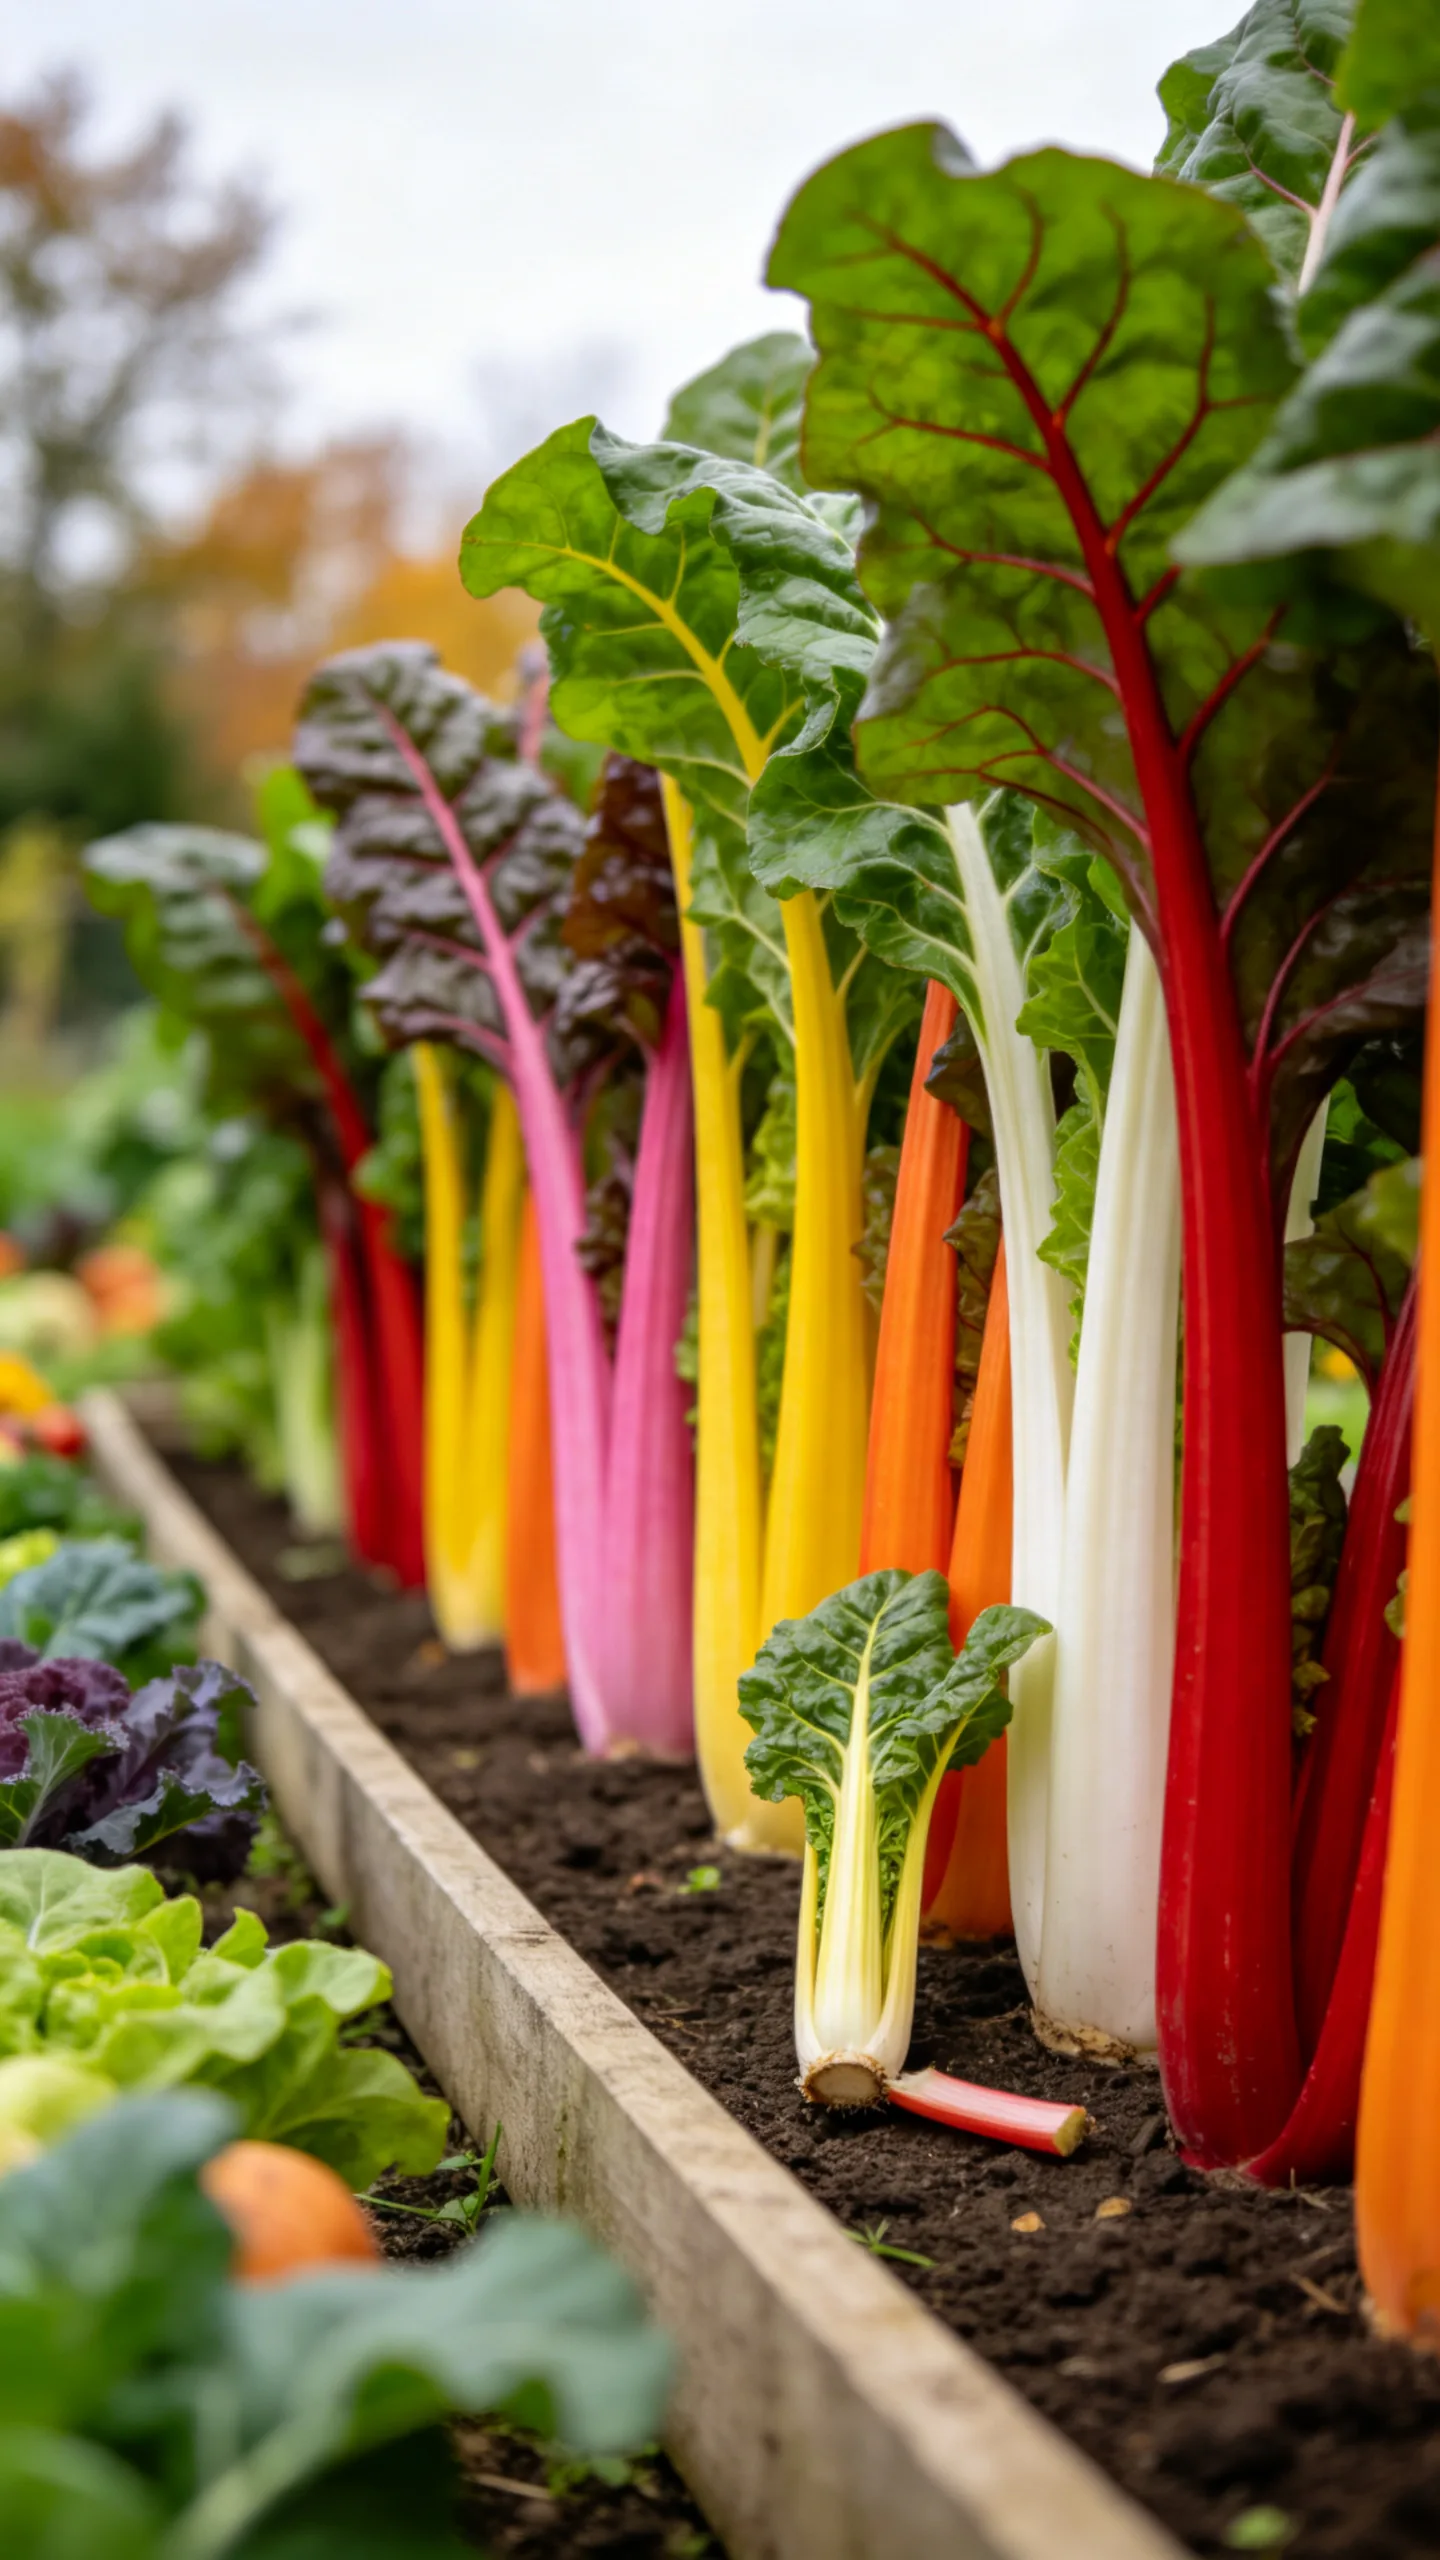
Swiss chard handles cool conditions while adding bright stems and large leaves to edible borders. Direct-sow it in early fall or use transplants if the growing season is short. Space plants 8 to 12 inches apart in a sunny bed, or place one plant in a container at least 10 to 12 inches wide.
Pick the outer stalks at the base and allow the smaller center leaves to keep growing. Chard tolerates light frost, although repeated hard freezes may damage the foliage. Because one plant can produce multiple harvests, it is a useful option for small raised beds where every square foot needs to work efficiently.
9. Compact Bok Choy
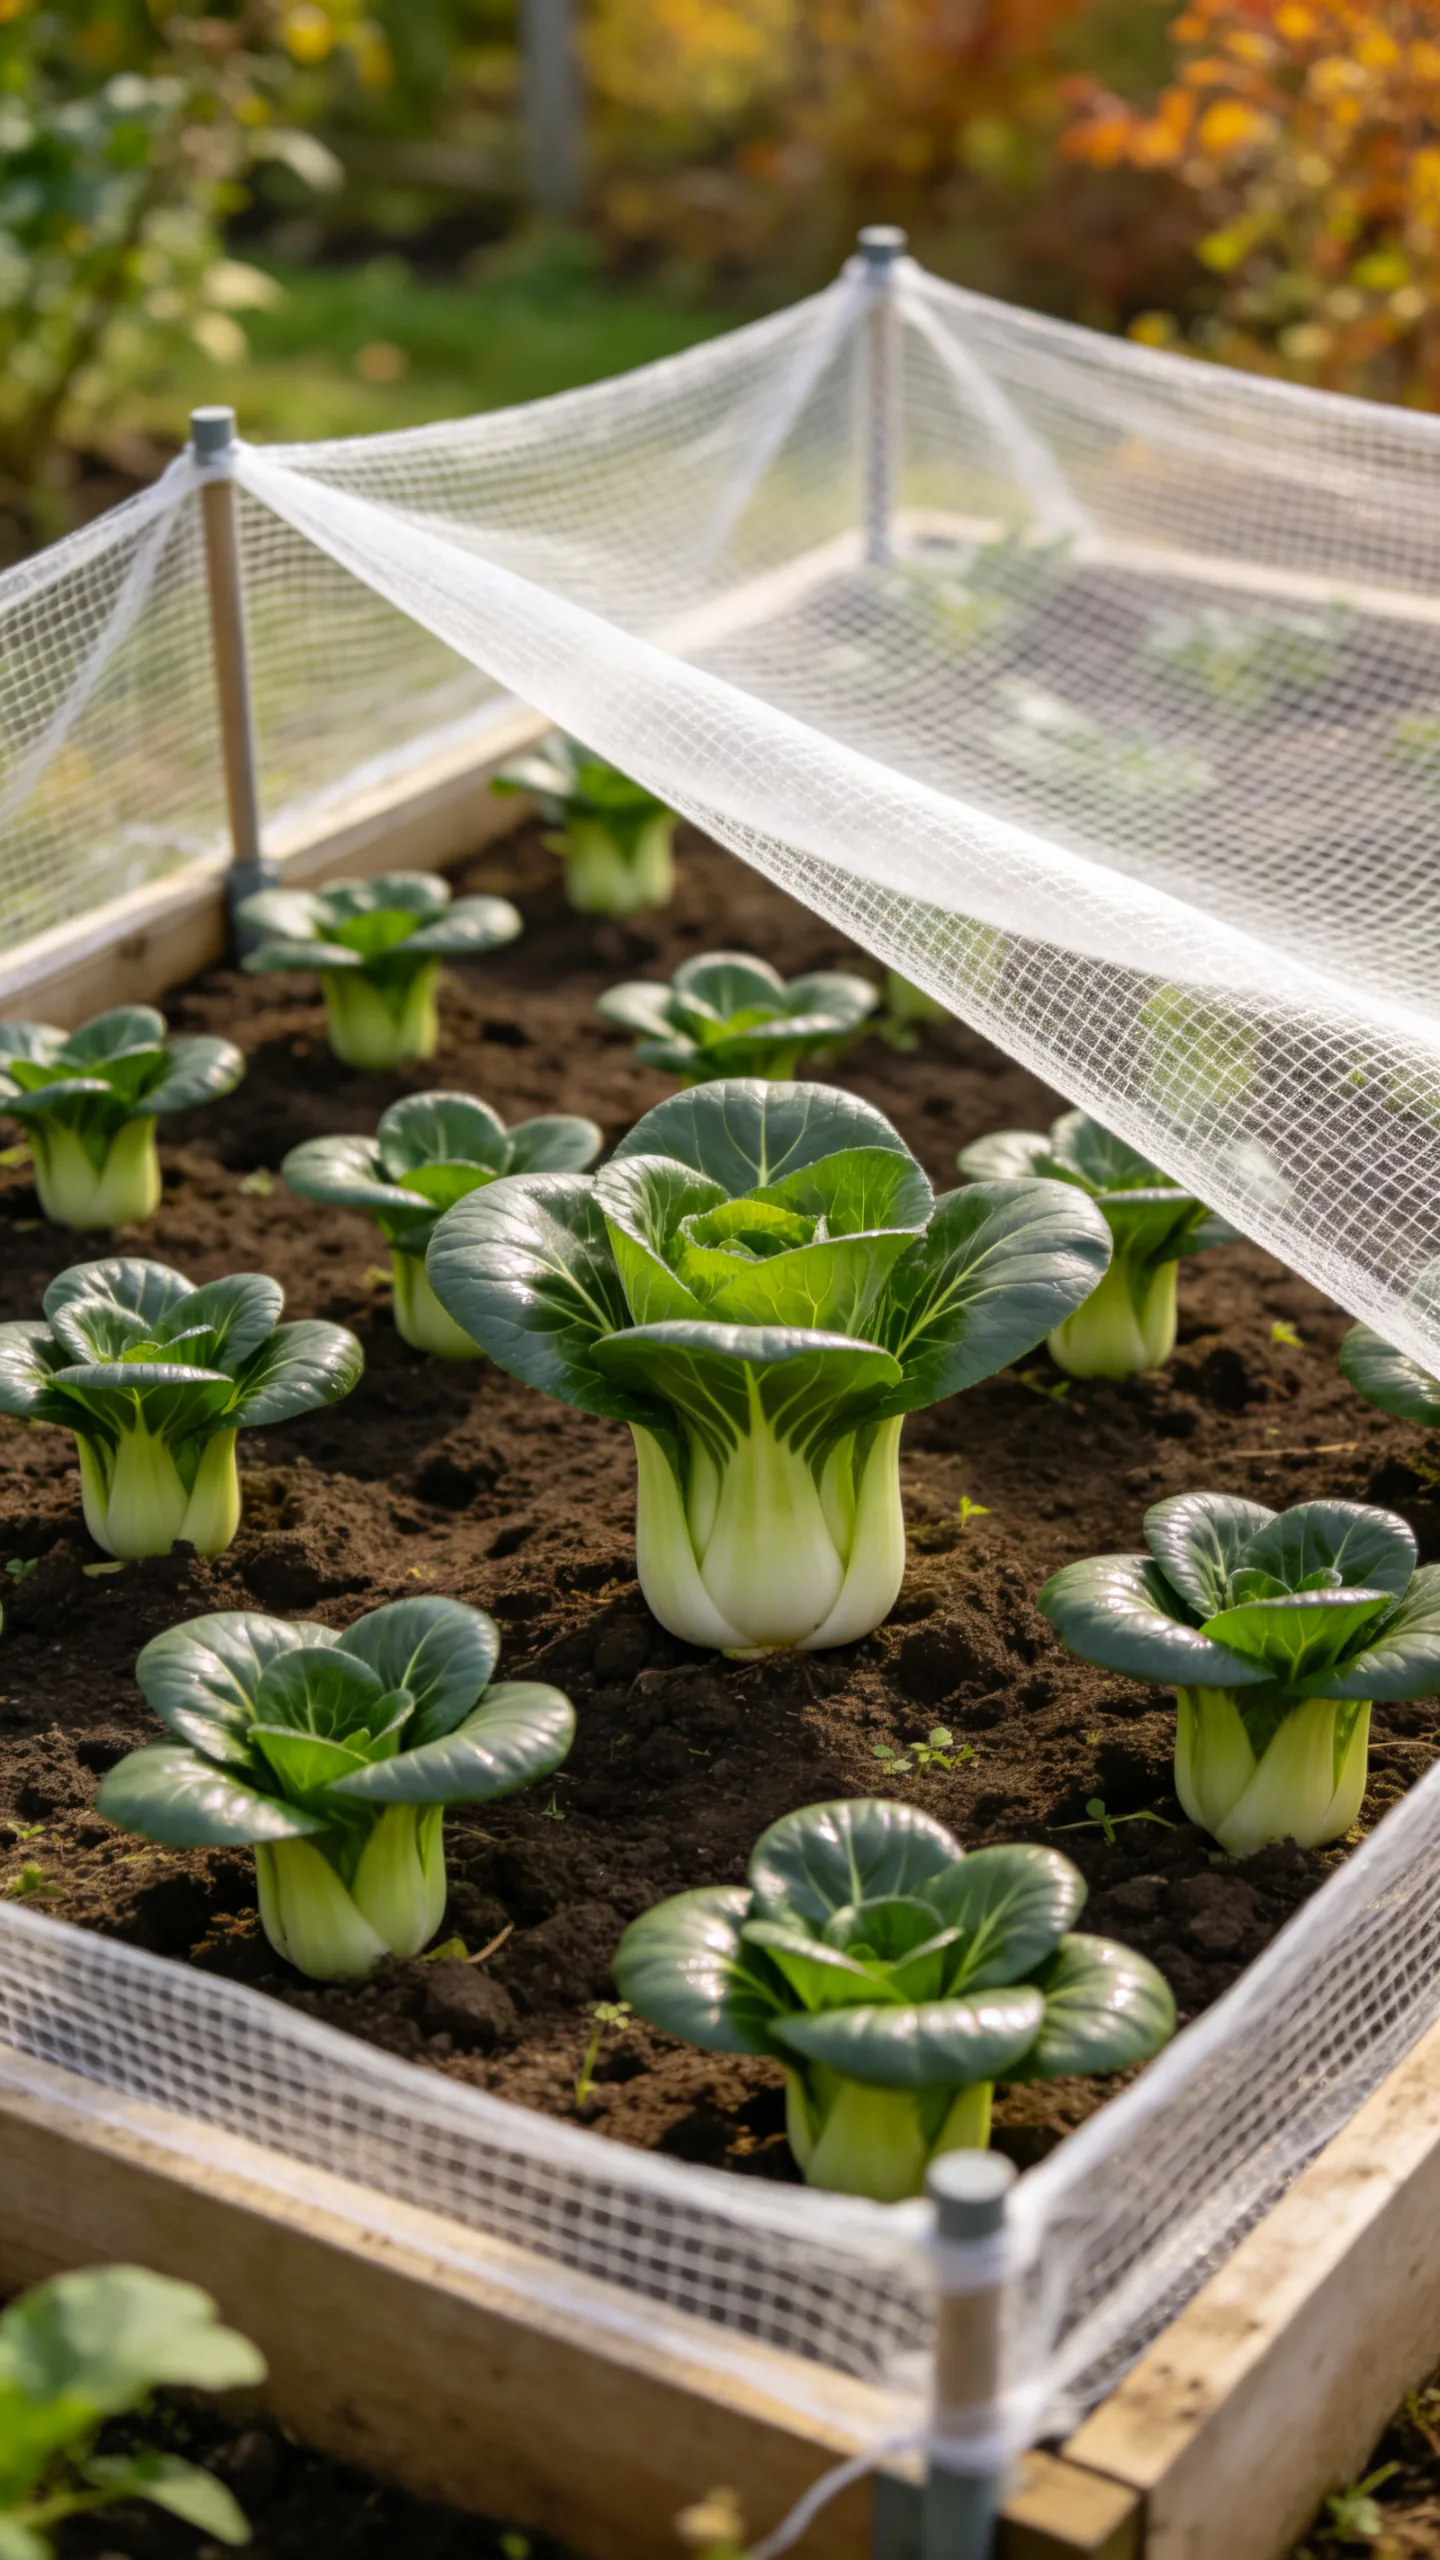
Bok choy grows quickly in fall and fits neatly into containers, square-foot beds, and spaces between larger brassicas. Sow baby varieties 4 to 6 inches apart and full-size types 8 to 12 inches apart. Planting after summer heat begins to fade reduces the risk of premature bolting.
Harvest individual outer leaves for an ongoing supply or cut the entire head at soil level once it reaches the desired size. Keep the soil evenly moist to encourage tender stems. Fine insect netting or lightweight row cover can exclude cabbage worms and flea beetles, but secure the edges so pests cannot crawl underneath.
10. Space-Saving Turnips
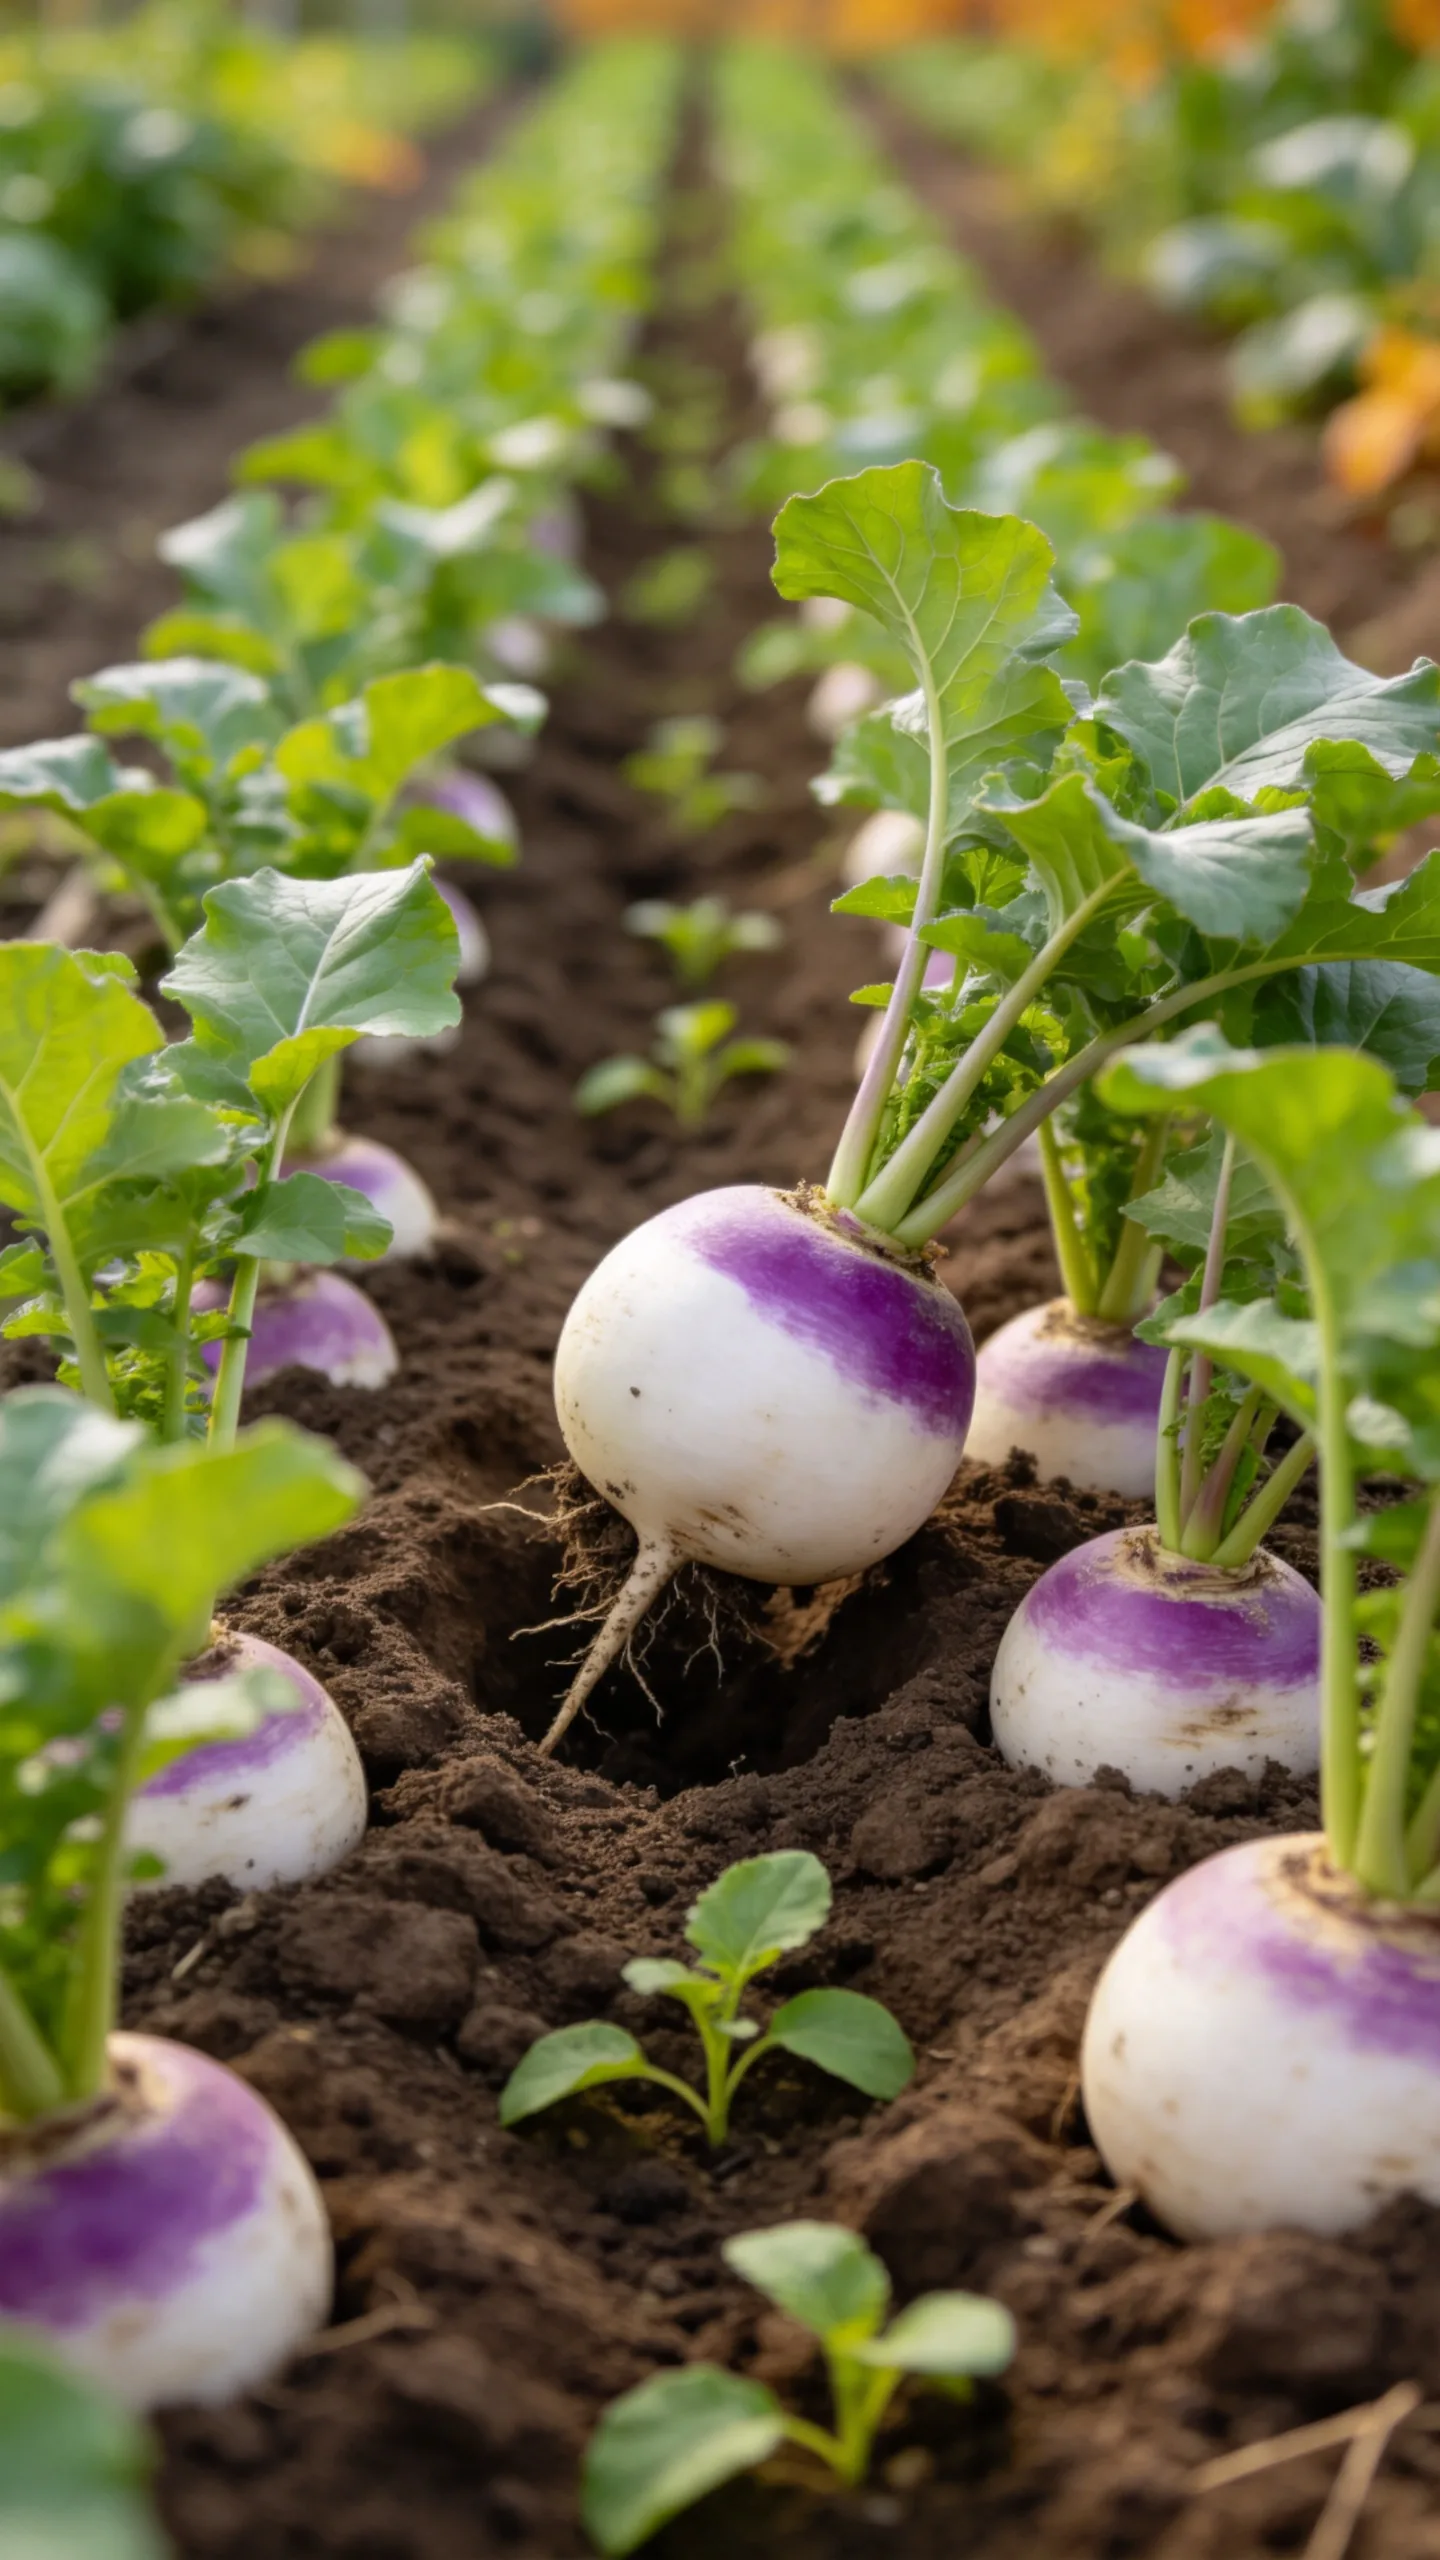
Turnips mature quickly and offer both edible roots and leafy tops. Direct-sow seeds about 1/2 inch deep, then thin plants to 3 to 6 inches apart, depending on the variety. Small salad turnips are particularly useful for succession planting because they take up little room and can be harvested young.
Pull the roots when they are 2 to 3 inches across for the most tender texture. You can also snip a few young leaves from each plant, but avoid removing all the foliage if you want the root to continue developing. Loose soil, regular watering, and full sun or light afternoon shade support steady growth.
11. Trellised Fall Peas
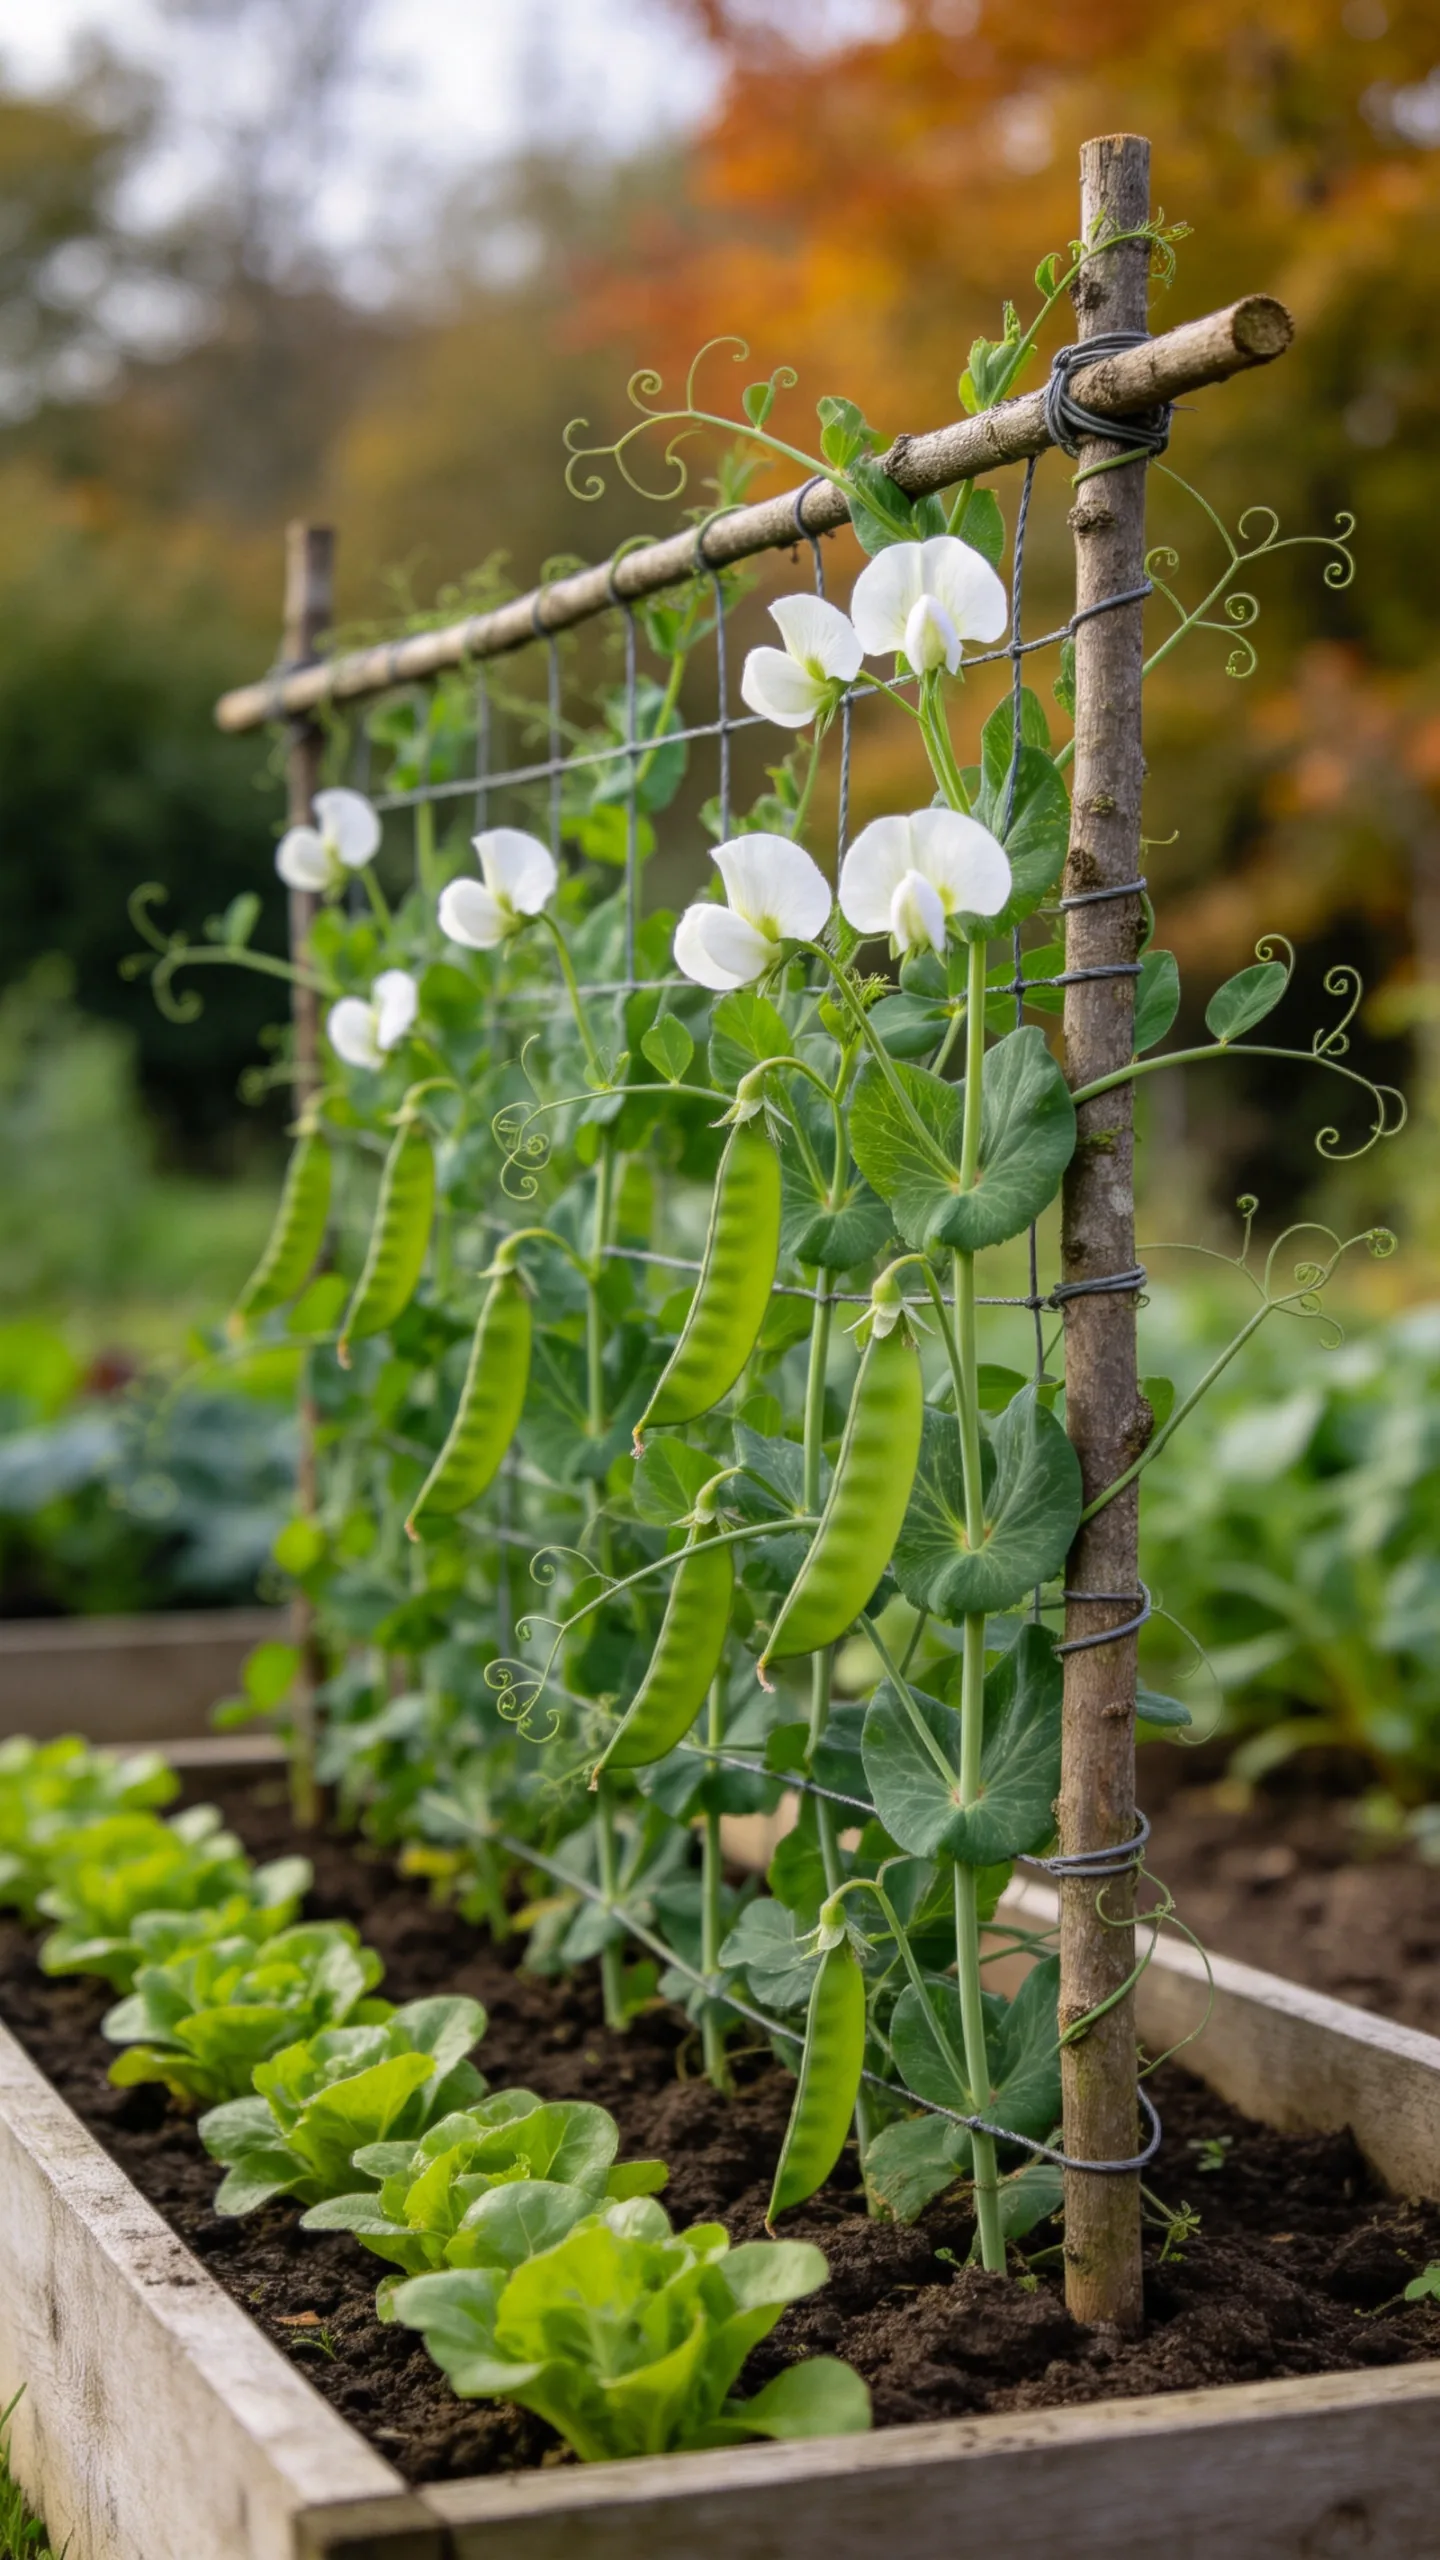
Peas appreciate cool temperatures, but they need to be planted early enough to flower and form pods before repeated hard freezes. Choose a fast-maturing dwarf or bush variety for a fall crop, and direct-sow seeds beside a short trellis, wire panel, or twig support. Vertical growth saves bed space and keeps pods easy to spot.
Plant peas roughly 1 inch deep and 2 inches apart in well-drained soil. Avoid waterlogged beds, especially as autumn rainfall increases. Fall peas are most dependable where autumn stays mild for several weeks; in colder climates, pea shoots can be grown as a quicker alternative and harvested when they are several inches tall.
12. Beginner-Friendly Broccoli Transplants
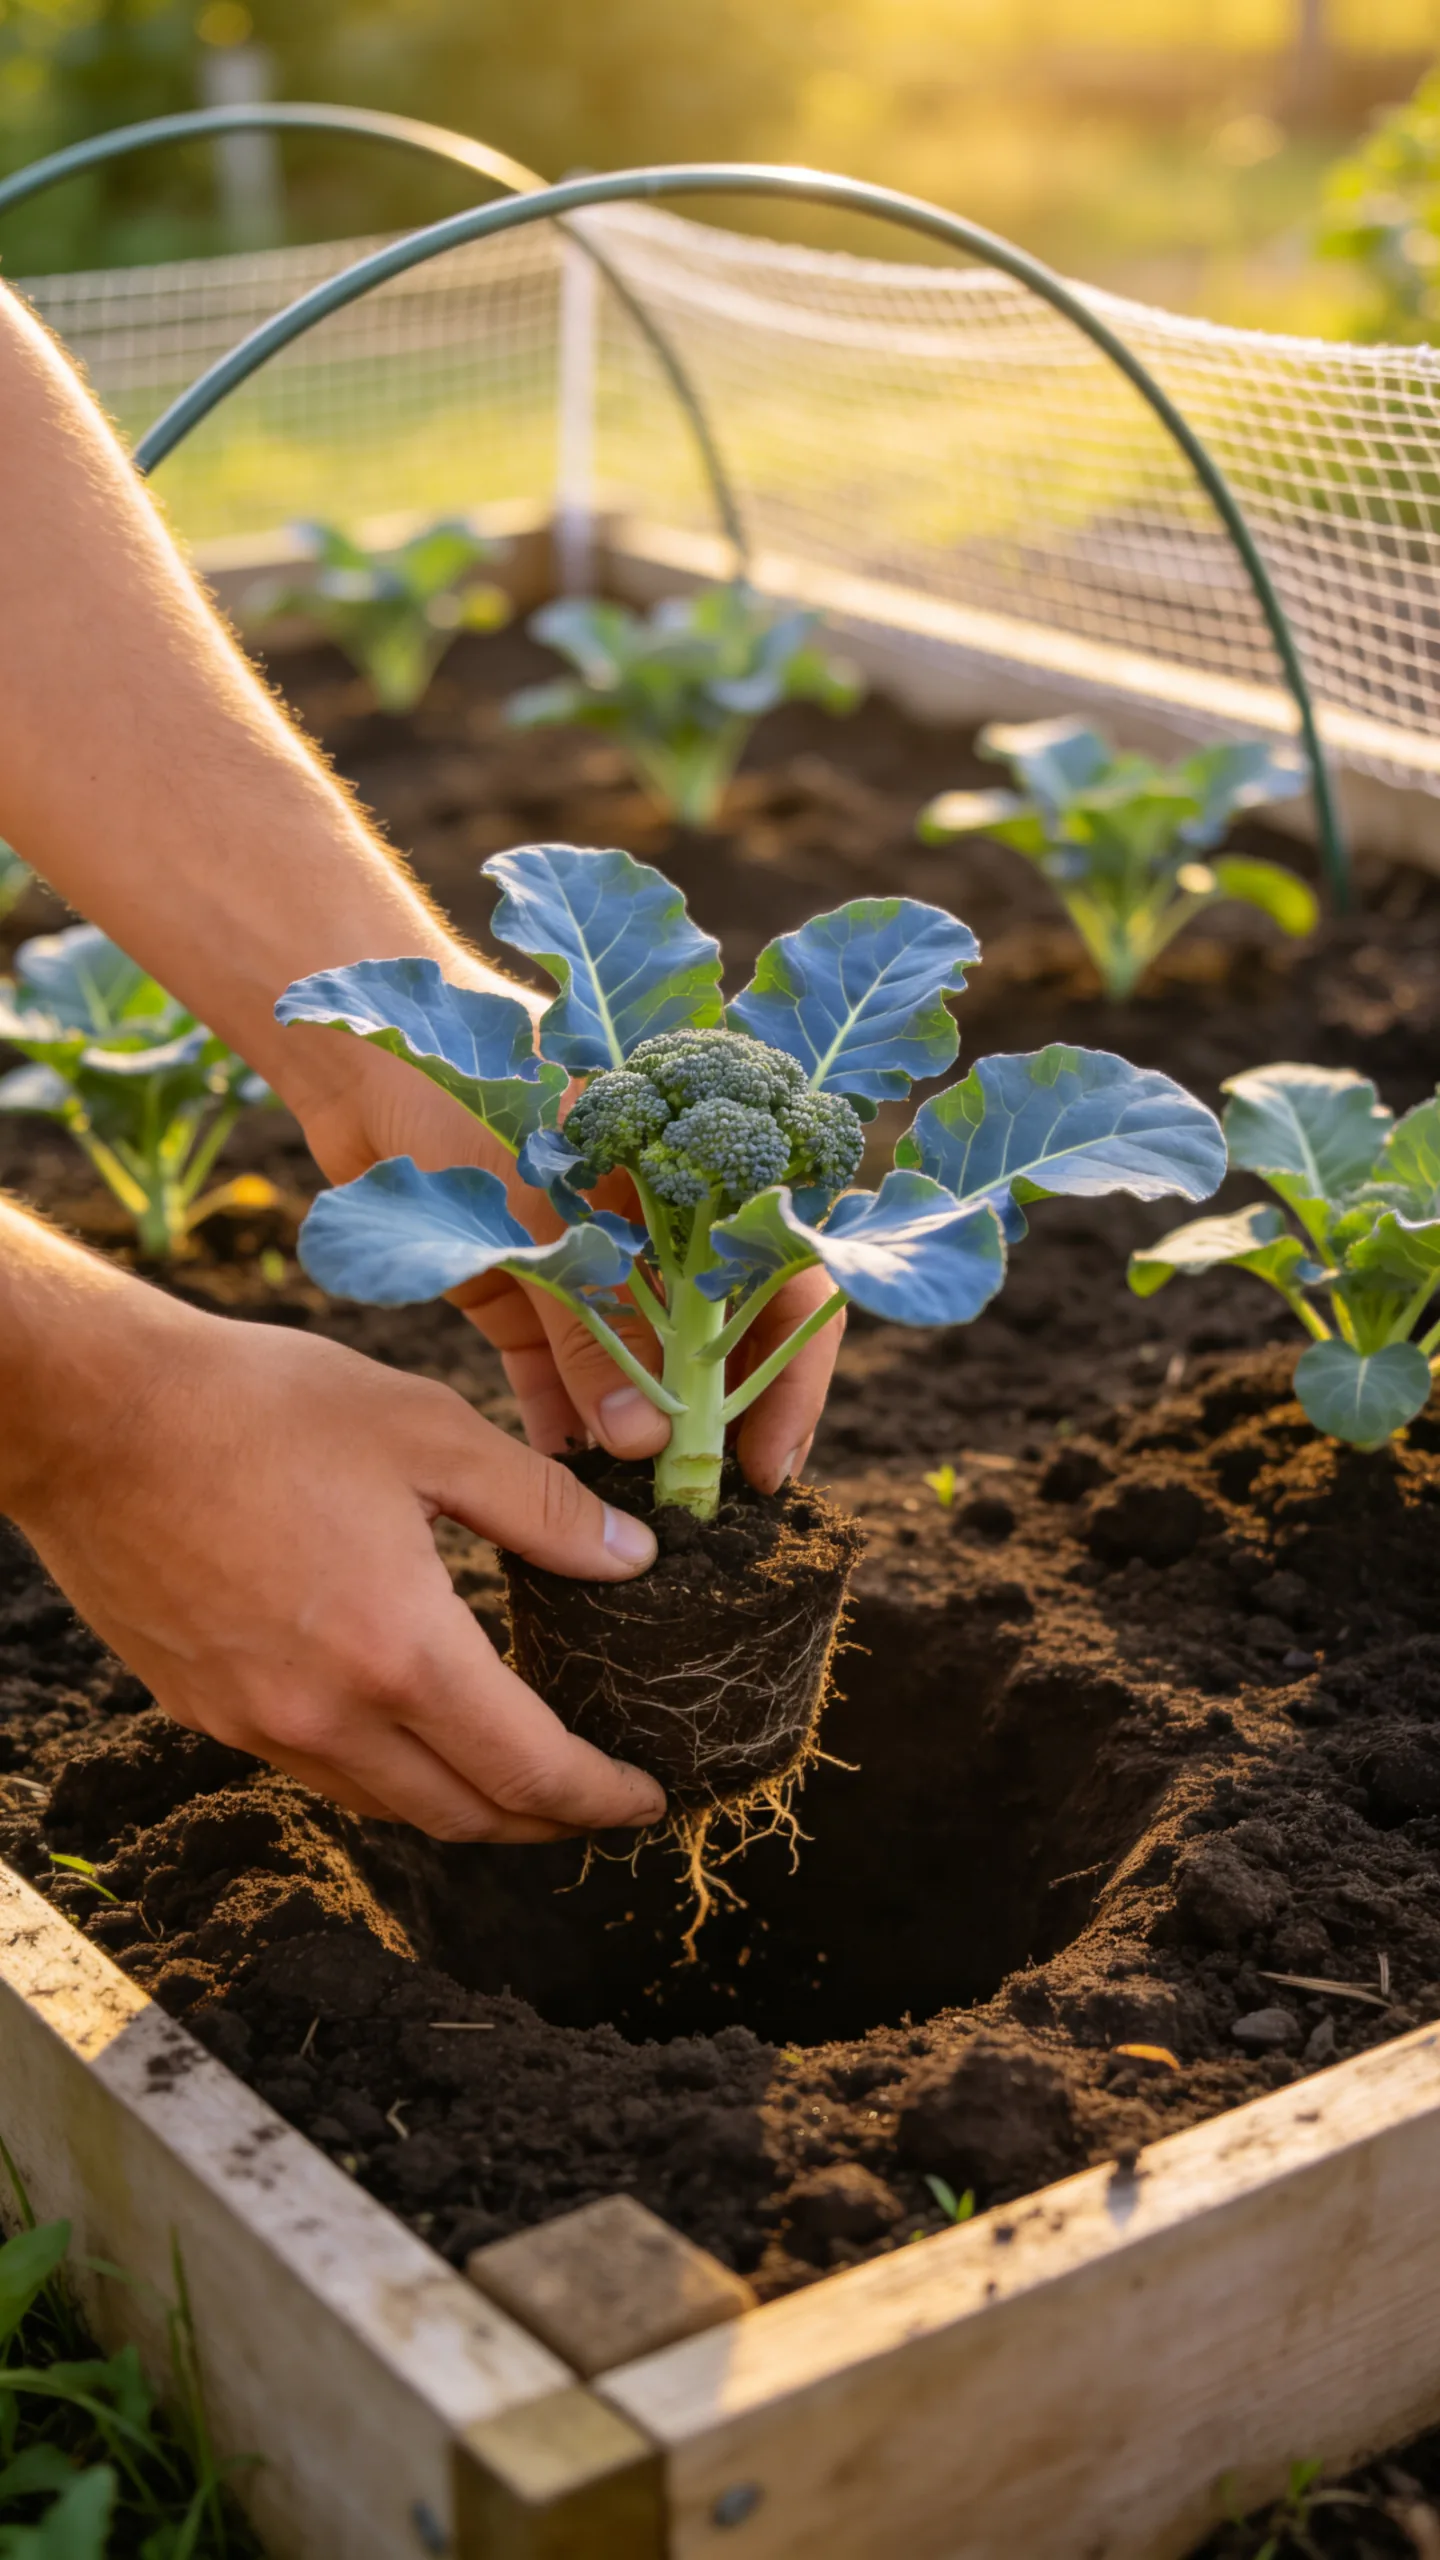
Broccoli performs well in cool weather, but starting with sturdy transplants is easier than direct-sowing it for a fall harvest. Set plants out about 8 to 12 weeks before the first expected frost, allowing extra time if days are already becoming short. Space them 18 inches apart in fertile soil with at least six hours of sun.
Water deeply when the top inch of soil begins to dry, and add compost or a balanced vegetable fertilizer according to its label. Cut the central head while the buds are tight, leaving the plant in place so some varieties can produce smaller side shoots. Cover young plants with insect netting to prevent cabbage moths from laying eggs on the leaves.
13. Compact Fall Cabbage
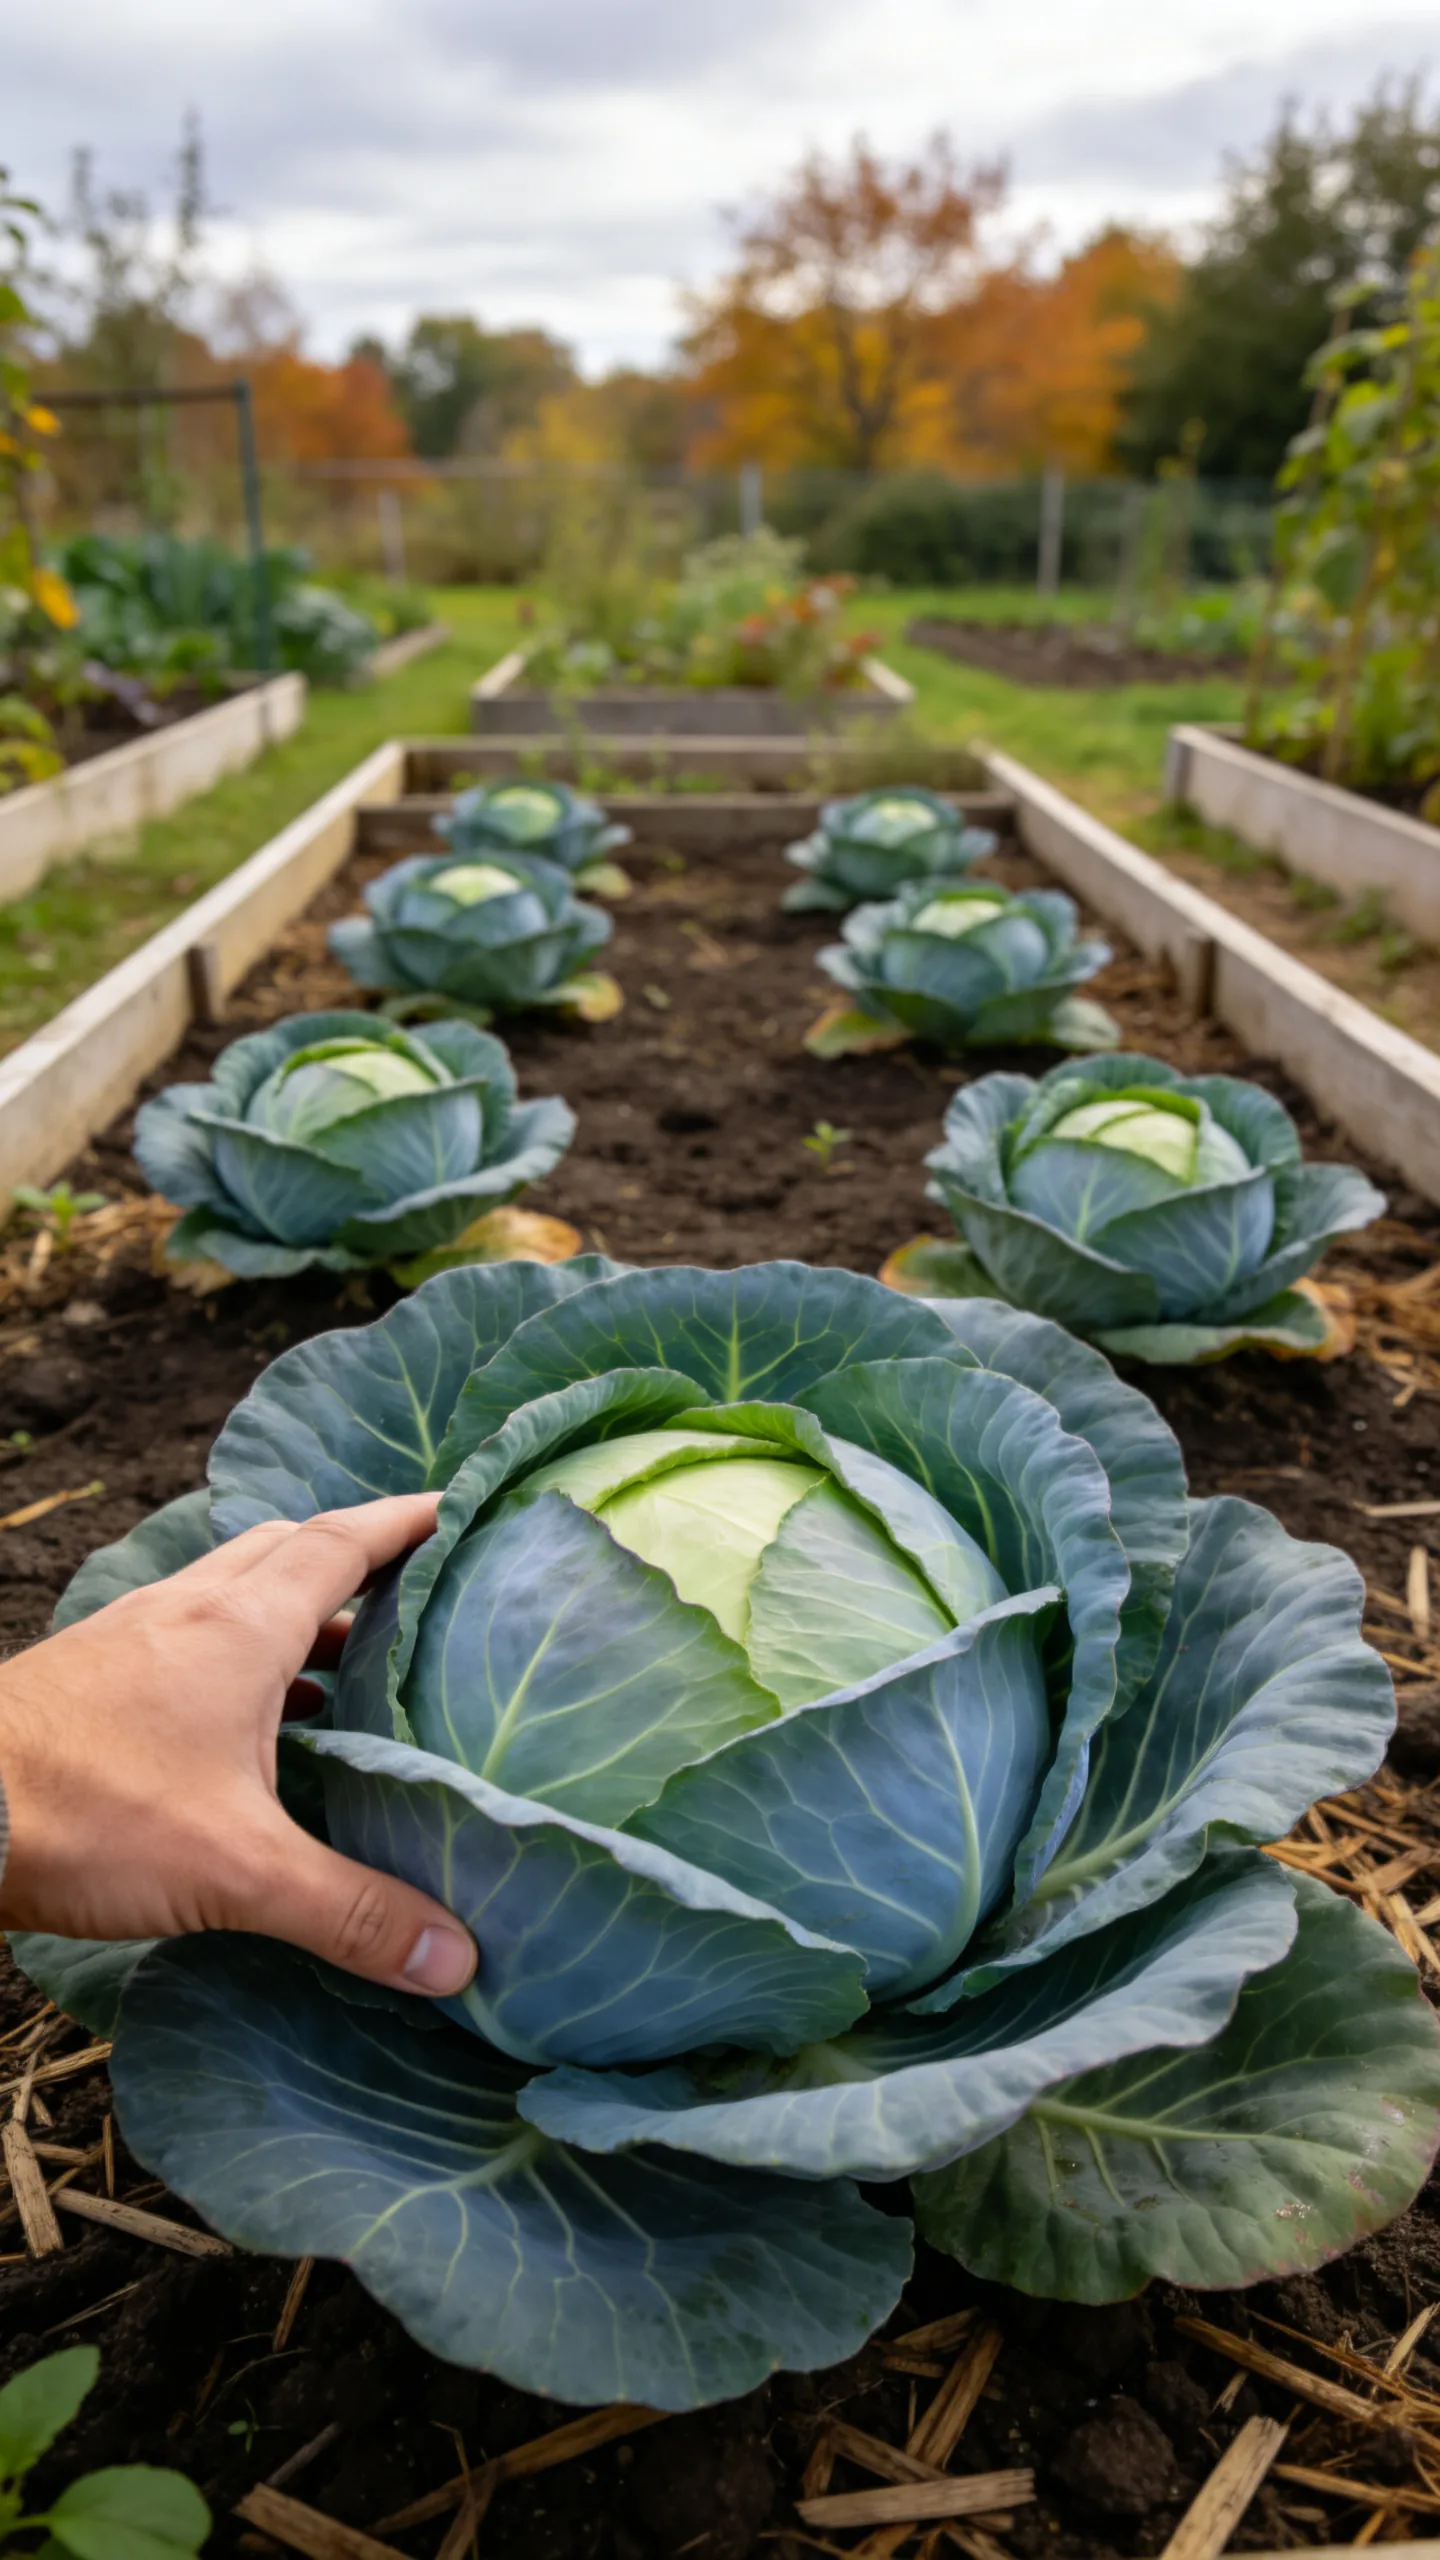
Cabbage is a practical fall crop for gardeners who want dense harvests from a limited number of plants. Select compact or early-maturing varieties and use transplants rather than seeds when the cool season is short. Space smaller cabbages about 12 to 15 inches apart, giving larger varieties additional room.
Consistent moisture helps prevent growth setbacks and splitting, while mulch keeps the root zone cool and reduces weeds. Harvest when the head feels firm when gently squeezed. Cabbage tolerates light frost, but mature heads should be cut before severe freezing weather unless the chosen variety is rated for winter conditions in your region.
14. Bunching Onions and Scallions
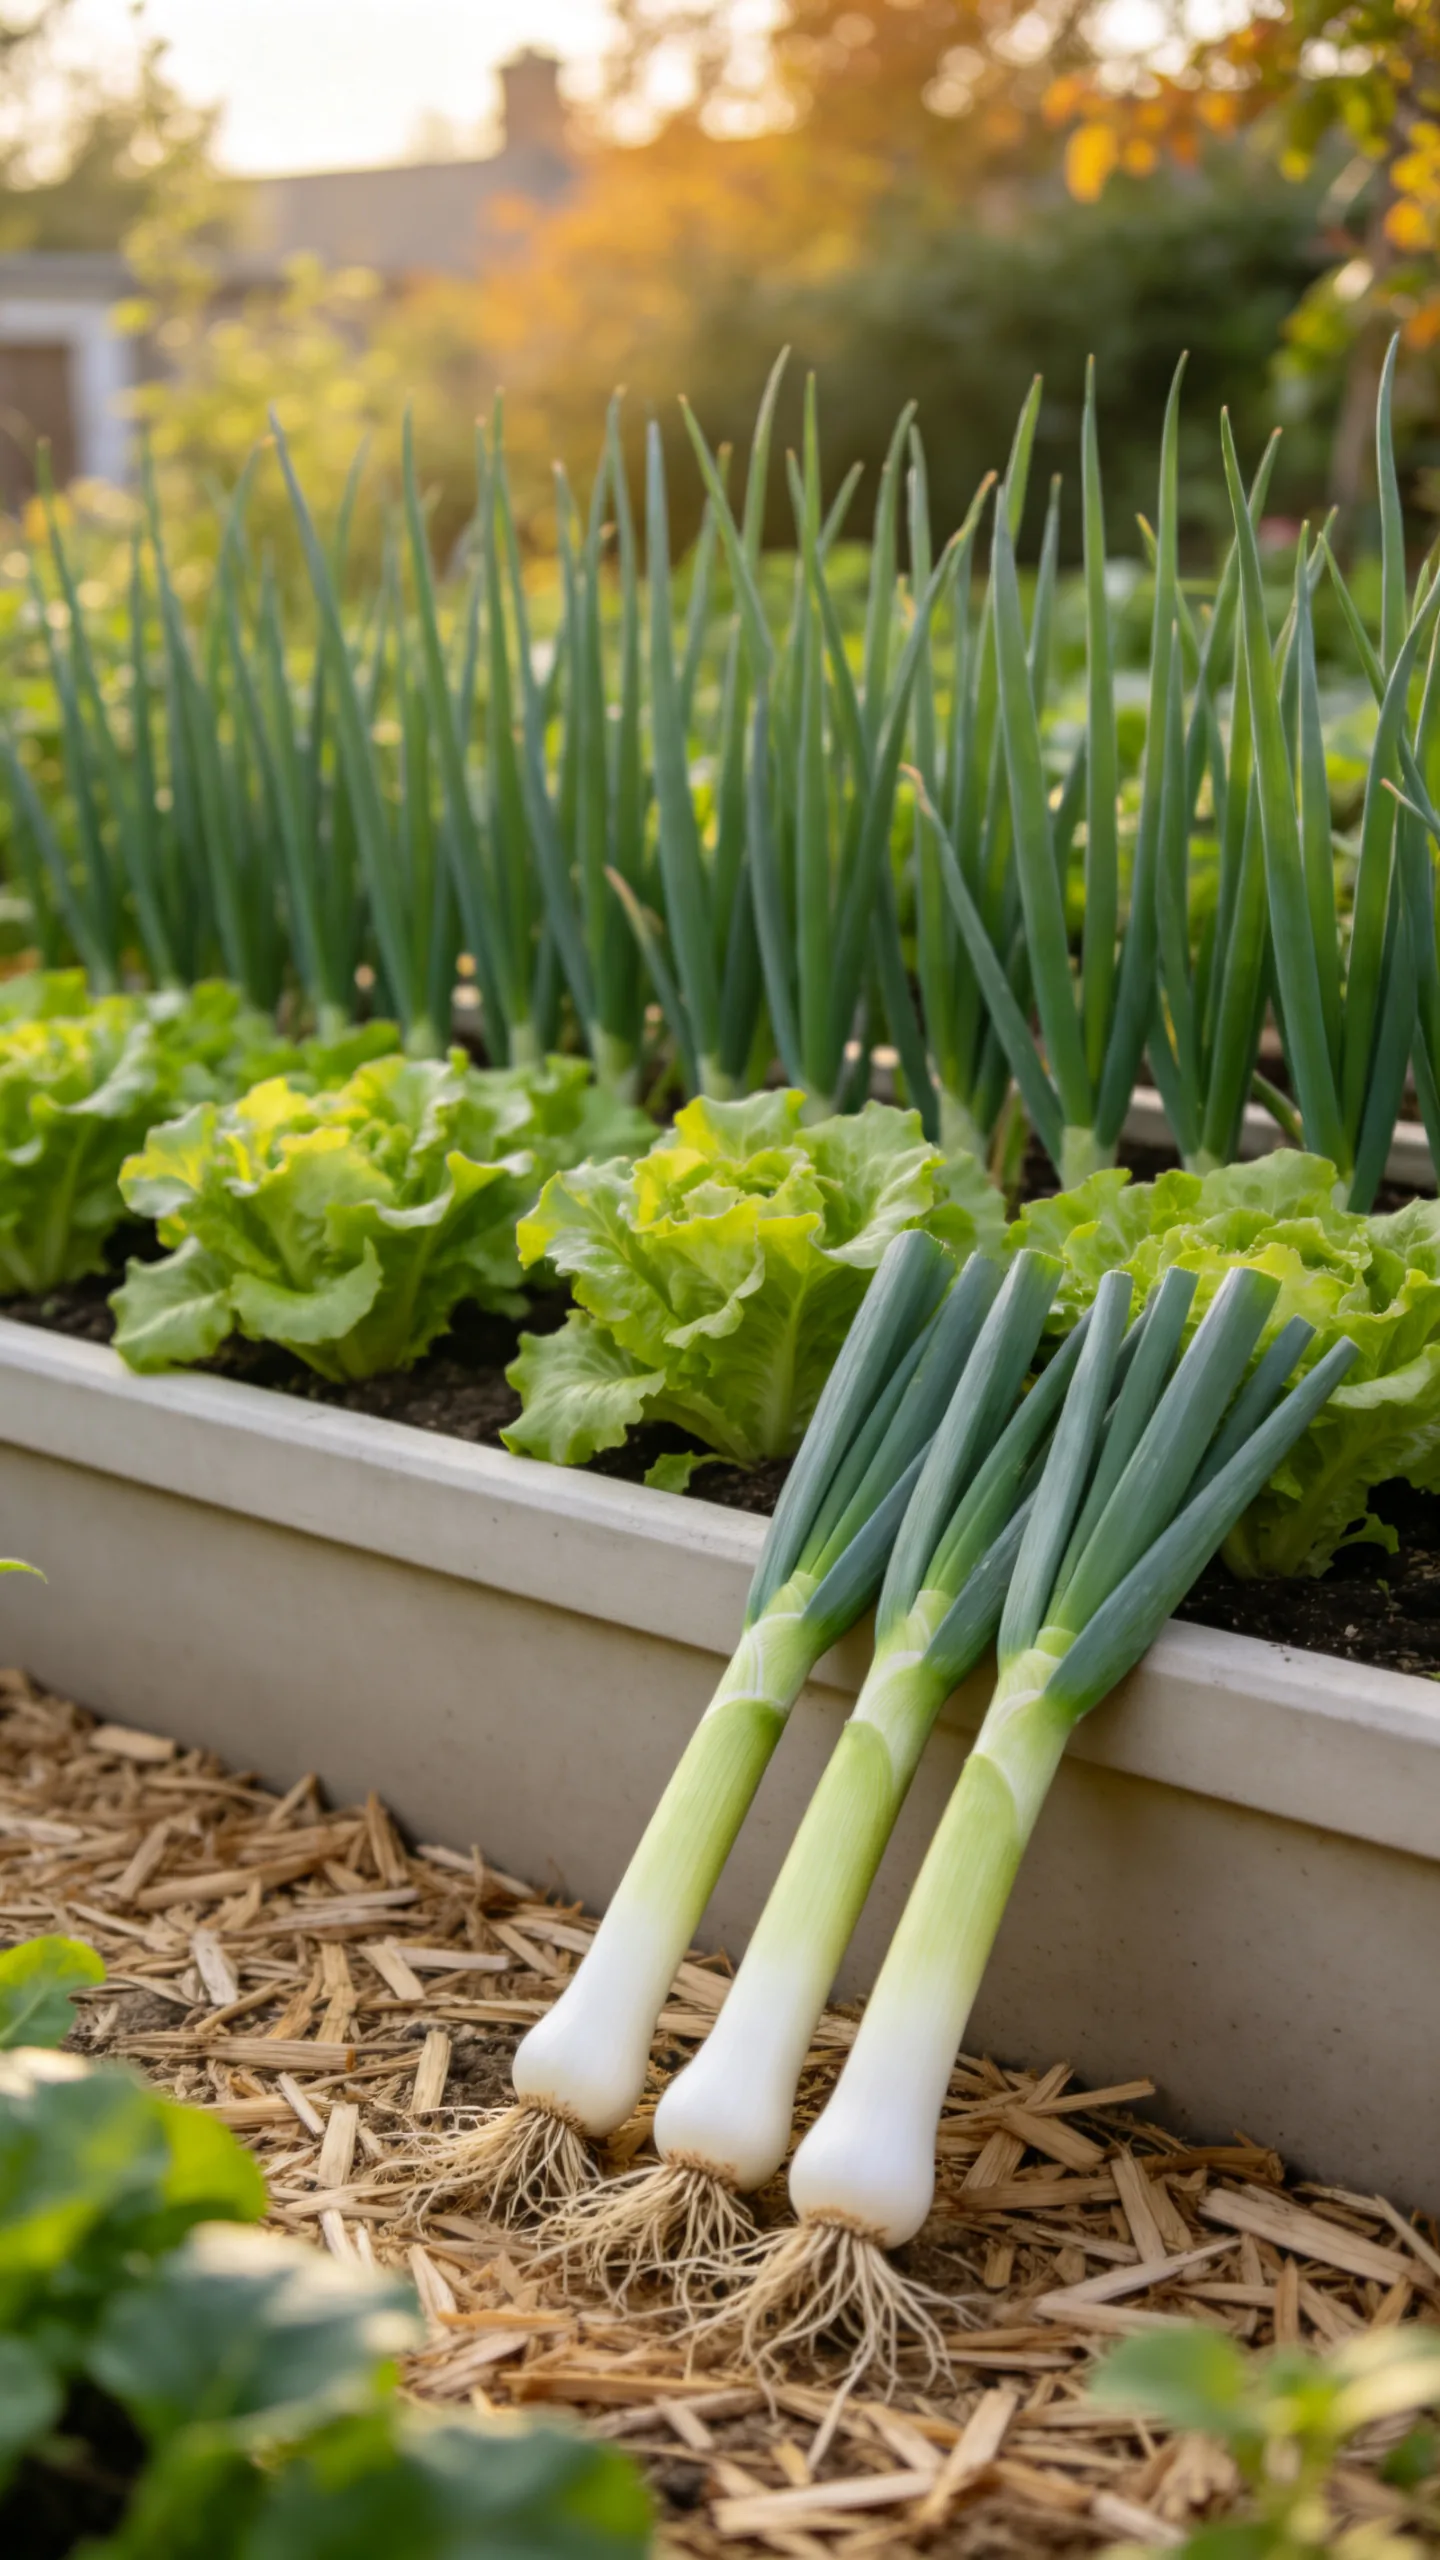
Scallions have narrow, upright leaves, so they fit into bed edges and tight spaces where broad vegetables would crowd one another. Direct-sow bunching onion seeds about 1/4 inch deep, or plant small starts 1 inch apart. They grow well in containers at least 6 inches deep and can share a planter with shallow-rooted lettuce.
Harvest individual green tops as needed or pull entire plants once the stems reach pencil thickness. In cold climates, plant early enough to establish roots before the soil freezes; in mild regions, scallions can often remain in the garden through winter. A light mulch helps stabilize soil temperature and reduces splashing during fall rain.
15. Overwintering Garlic
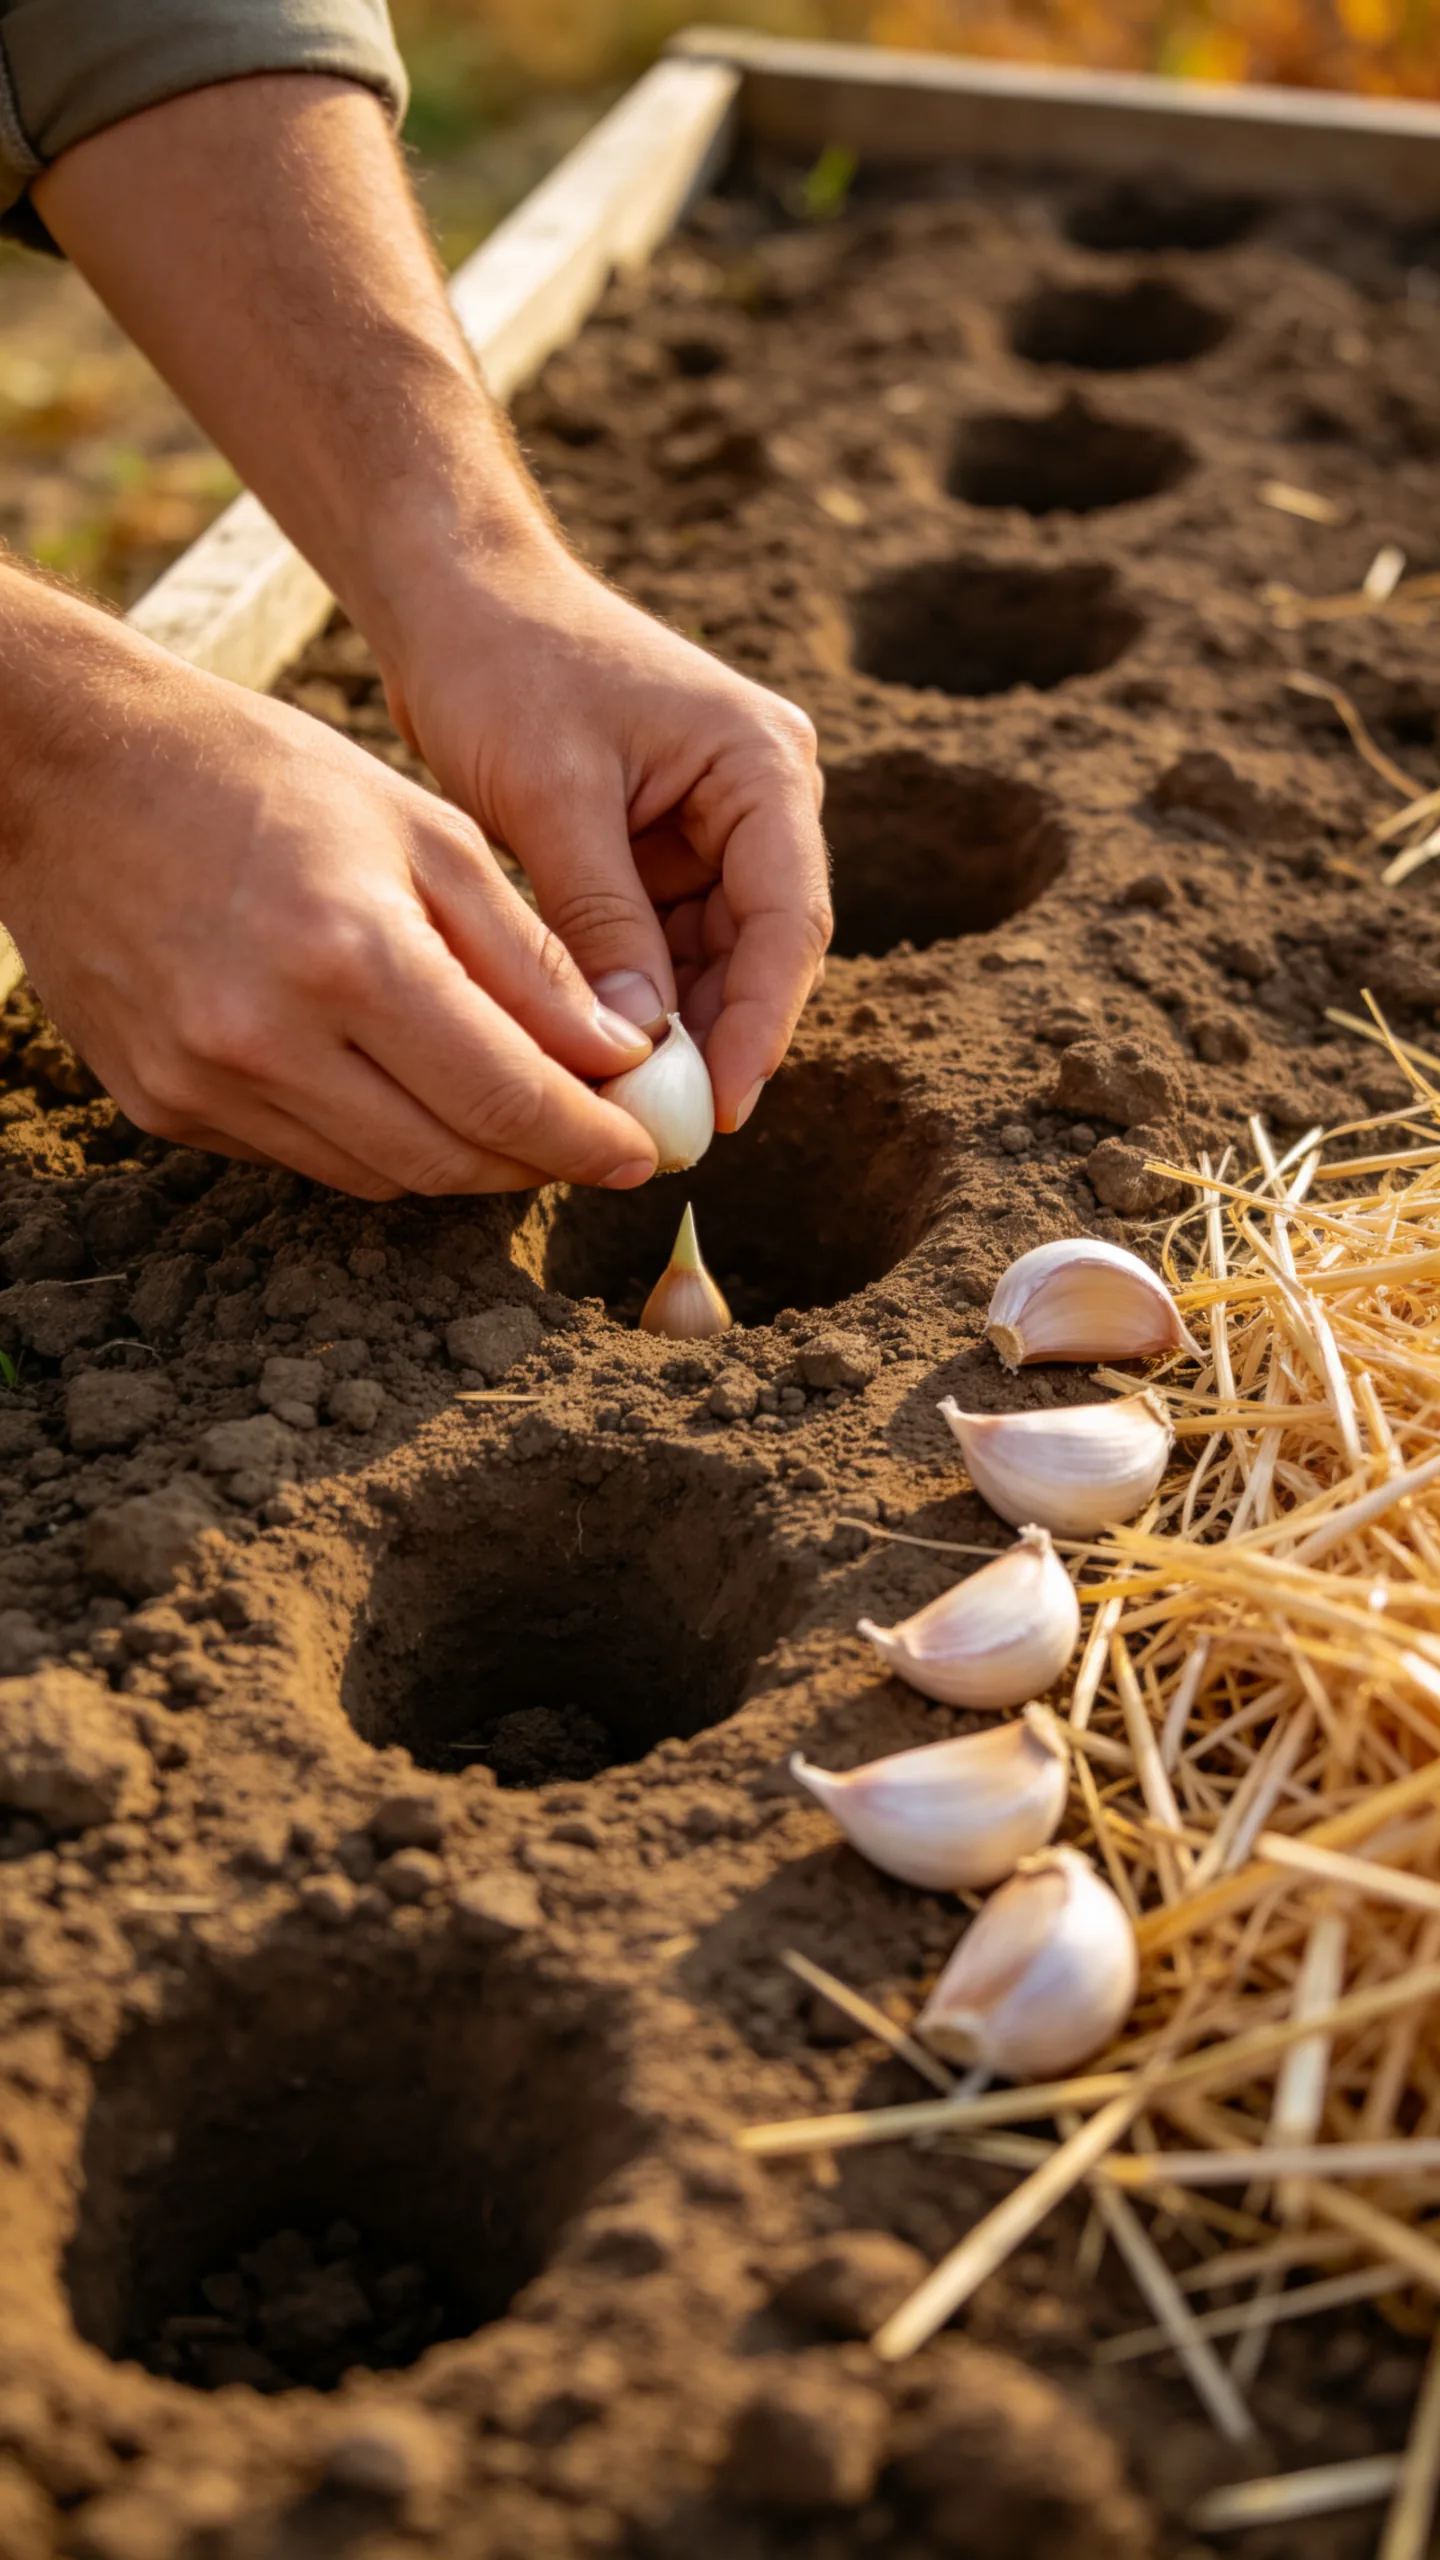
Garlic is planted in fall for a harvest the following summer, making it a simple way to keep part of the garden productive across seasons. Separate a locally suitable seed-garlic bulb into cloves just before planting. Place each clove pointed end up, about 2 inches deep and 6 inches apart, in a sunny bed with well-drained soil.
Cover the planted area with 3 to 4 inches of clean straw or shredded leaves after the ground cools, particularly where winters are cold. The mulch limits weeds and protects cloves from repeated freeze-and-thaw cycles. Remove or thin heavy mulch in spring if it blocks emerging shoots, then keep the bed watered until the lower leaves begin to yellow near harvest time.