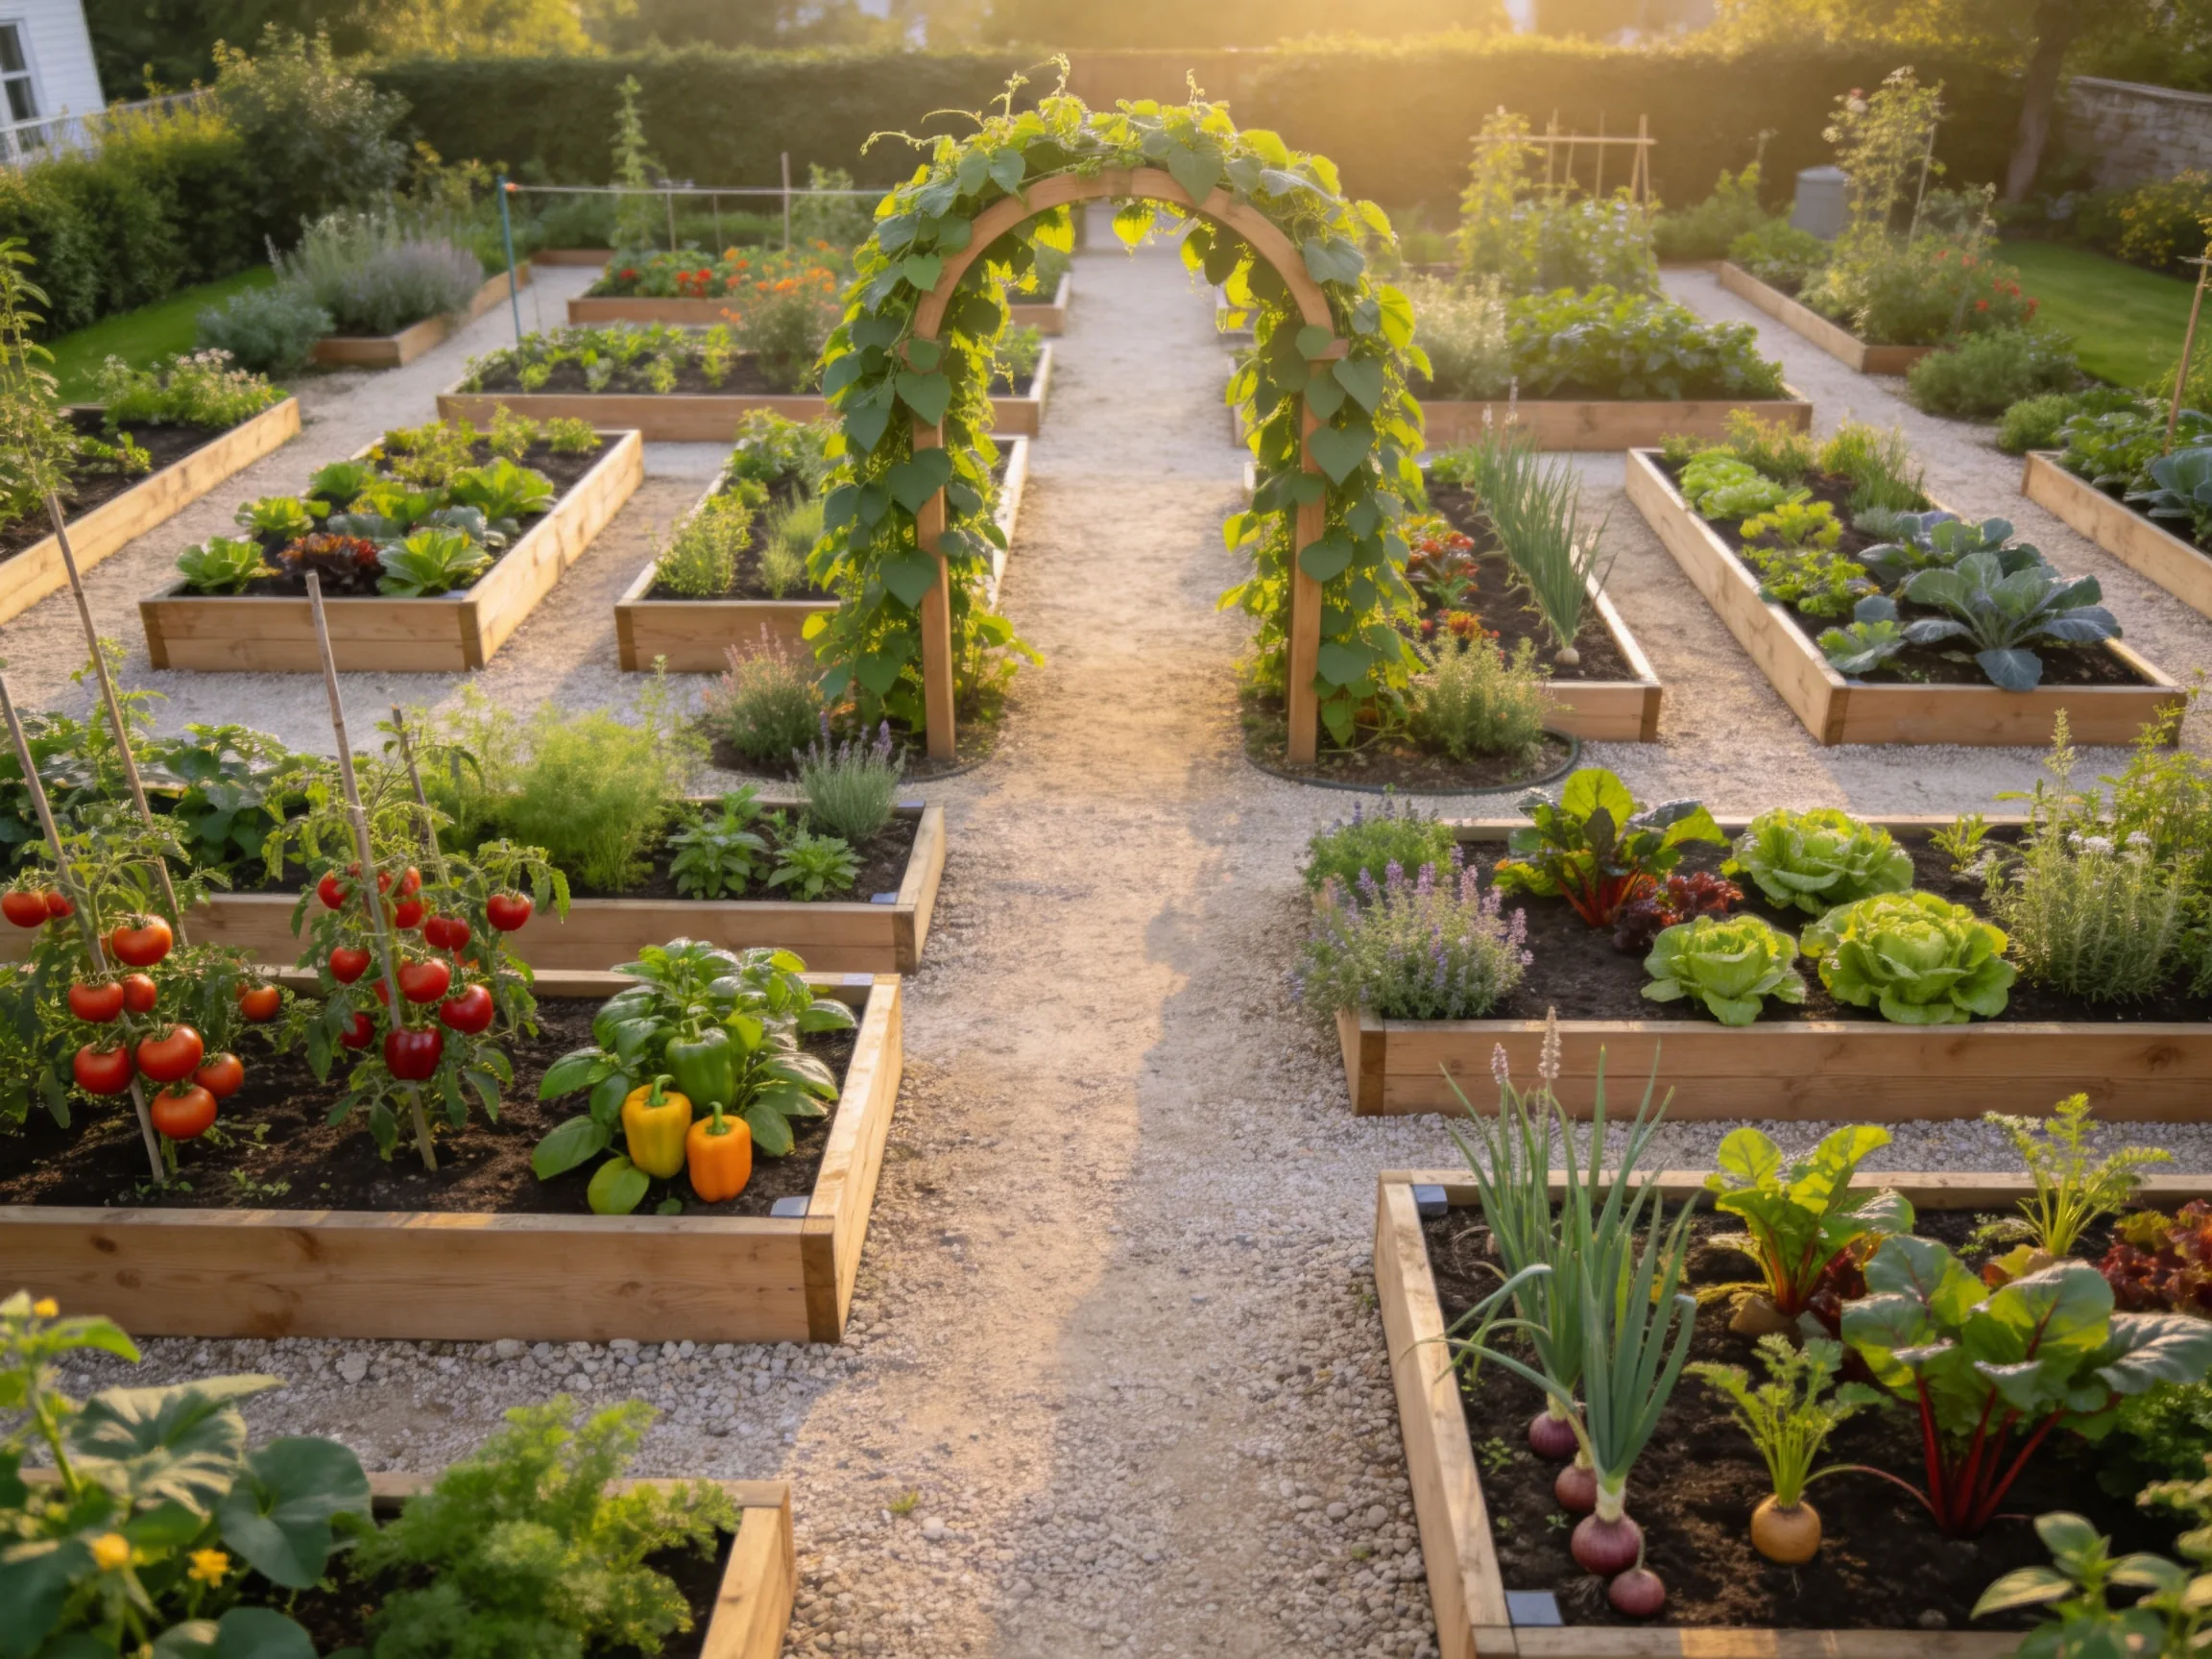
A well-planned raised bed vegetable patch can make planting, watering, harvesting, and crop rotation much easier. Whether you have a narrow side yard, a compact patio, or a large open garden, these practical layouts use clear paths, defined edges, vertical supports, and purposeful bed shapes to keep the space tidy and productive.
1. Four-Bed Garden Grid
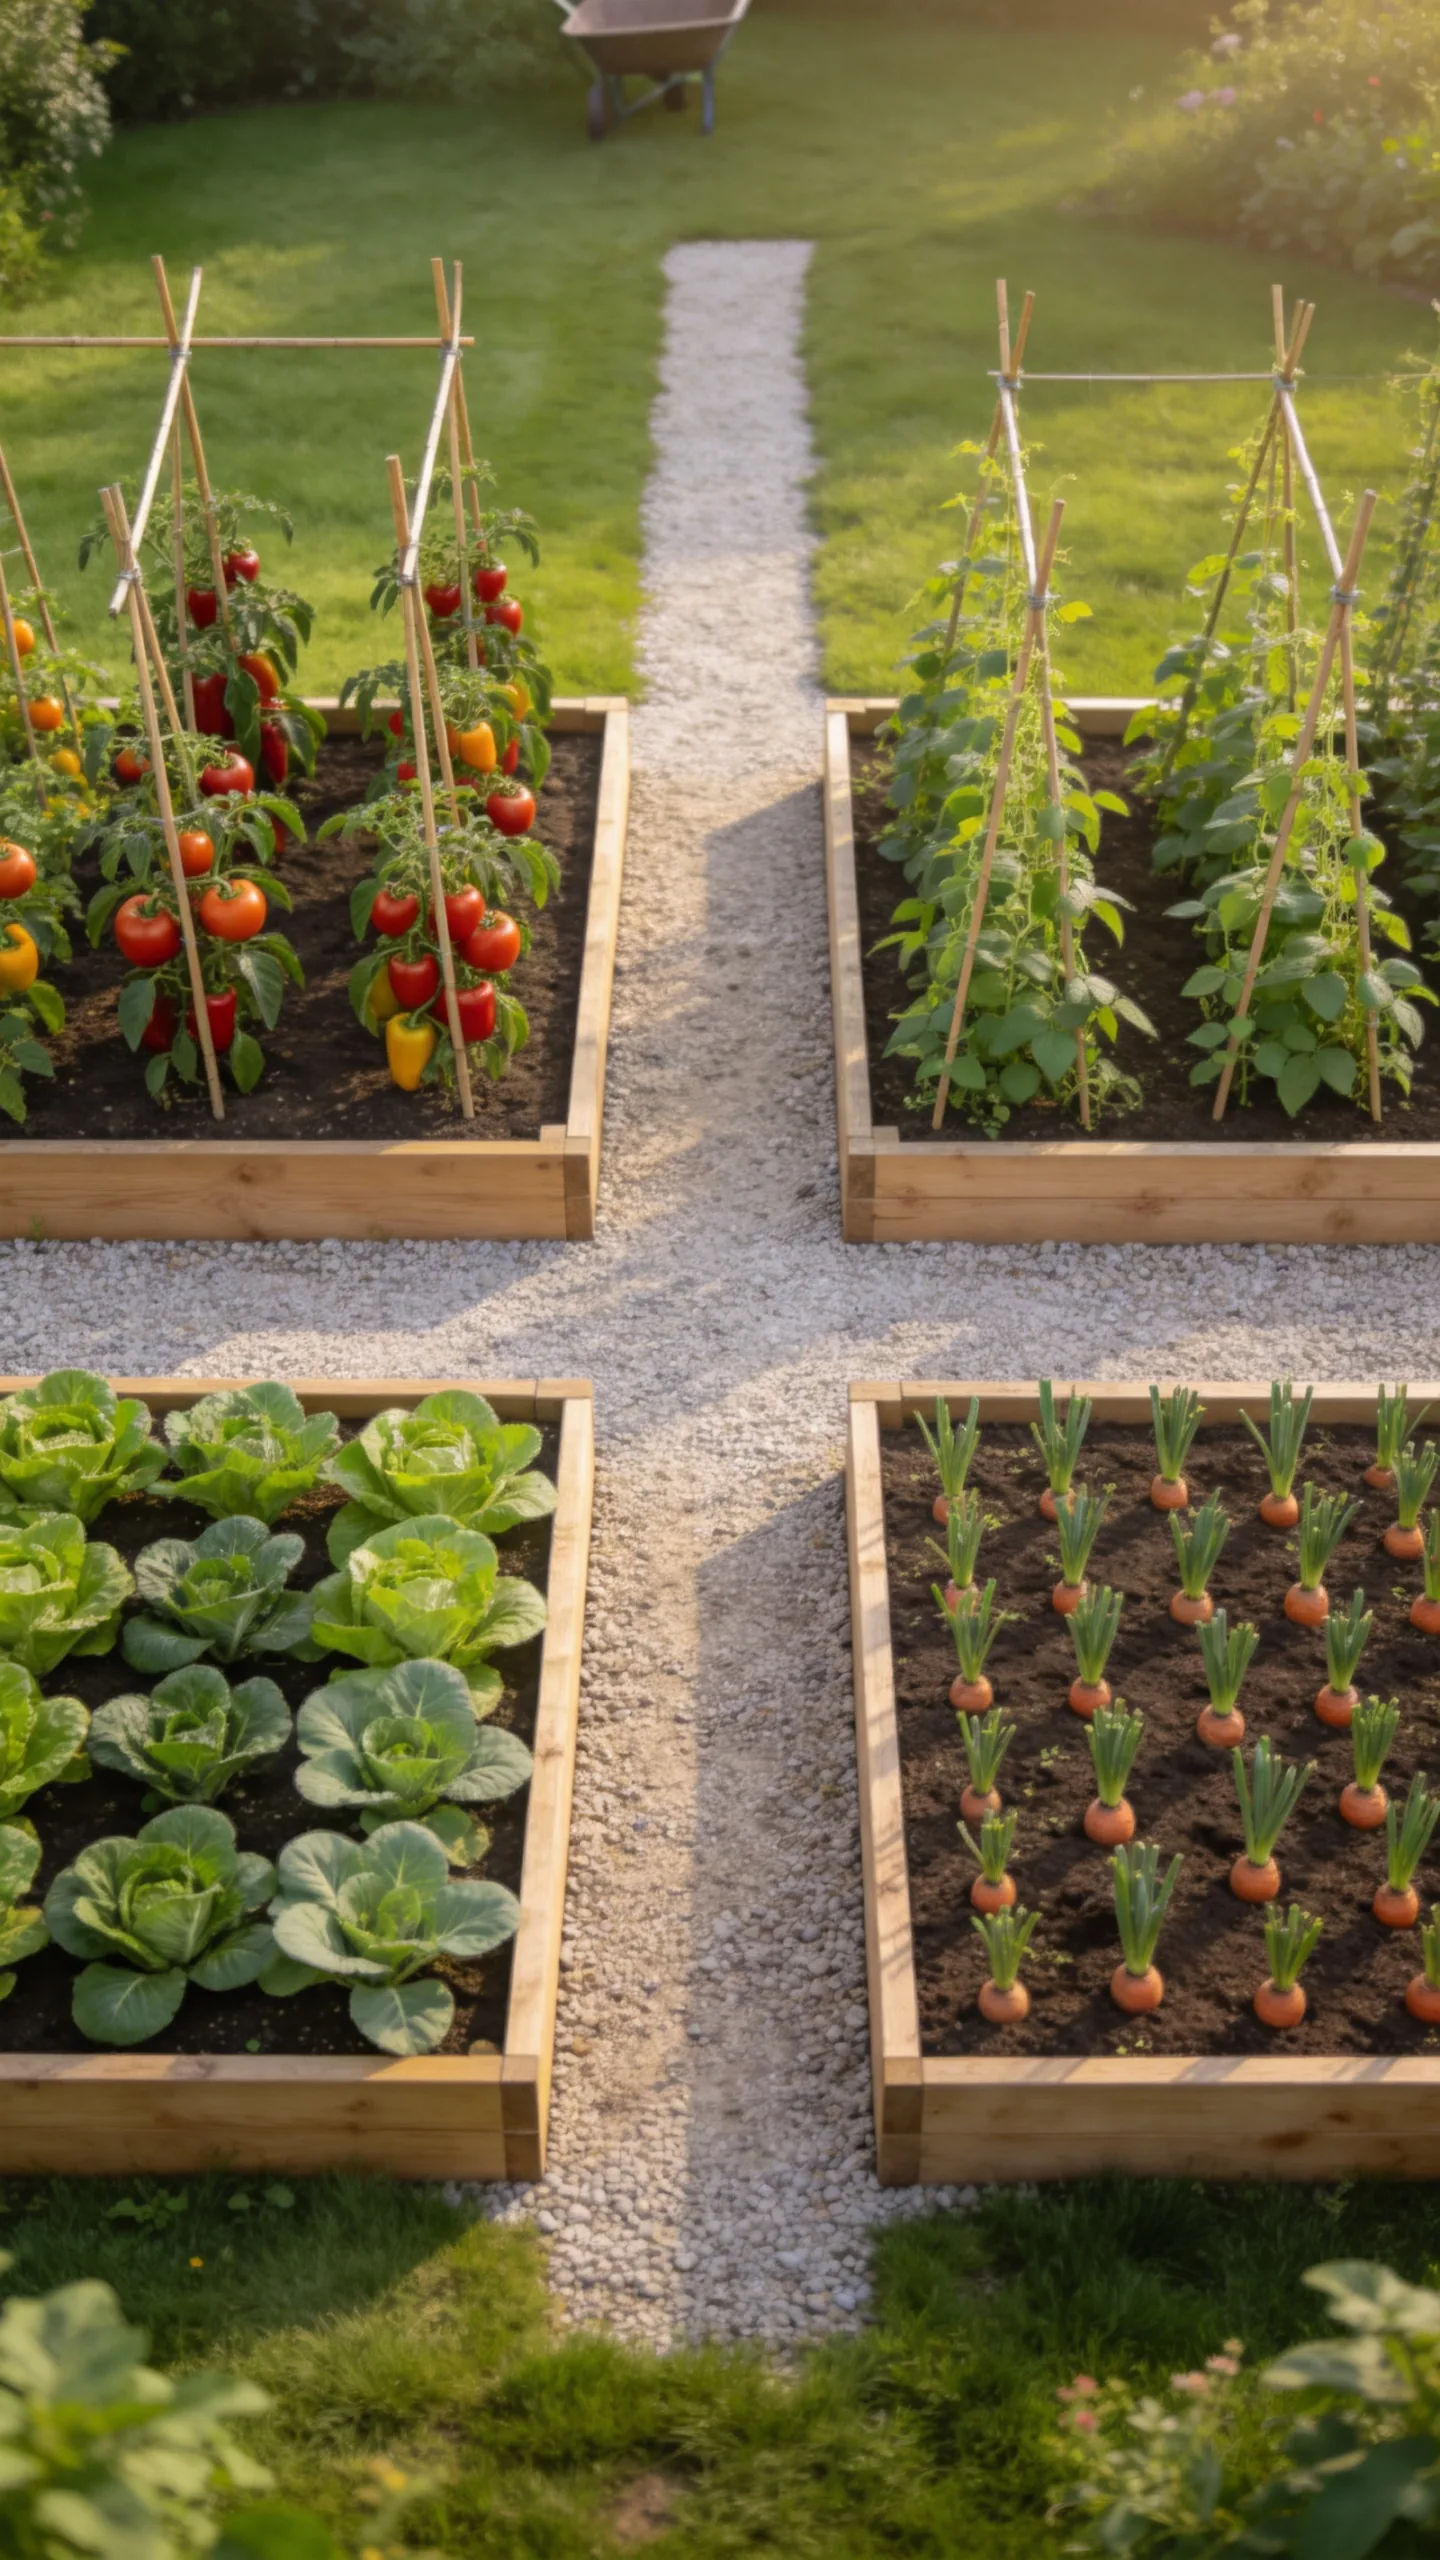
Arrange four square or rectangular raised beds in a simple two-by-two grid. Leave a central cross-shaped path at least 2 to 3 feet wide so you can reach each bed with a watering can, basket, or wheelbarrow.
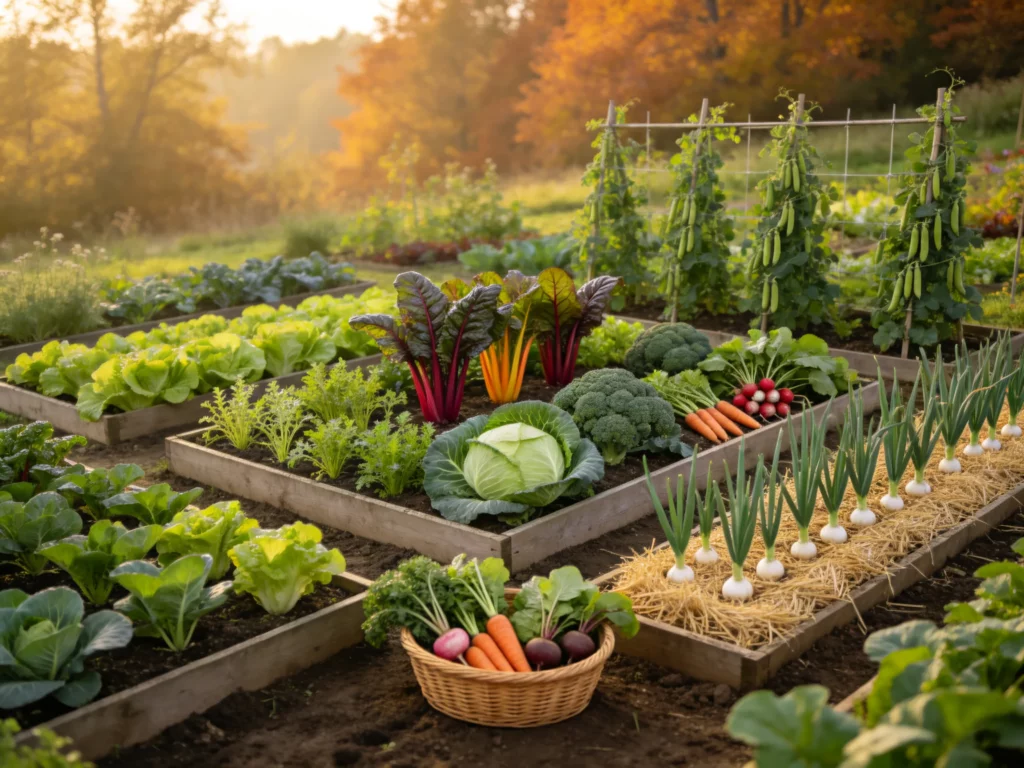
Use each bed for a different crop group, such as tomatoes and peppers, beans and peas, leafy greens, and root vegetables. Keeping plant families in separate beds makes seasonal crop rotation easier and gives the vegetable patch a balanced, orderly appearance.
2. U-Shaped Raised Bed Layout
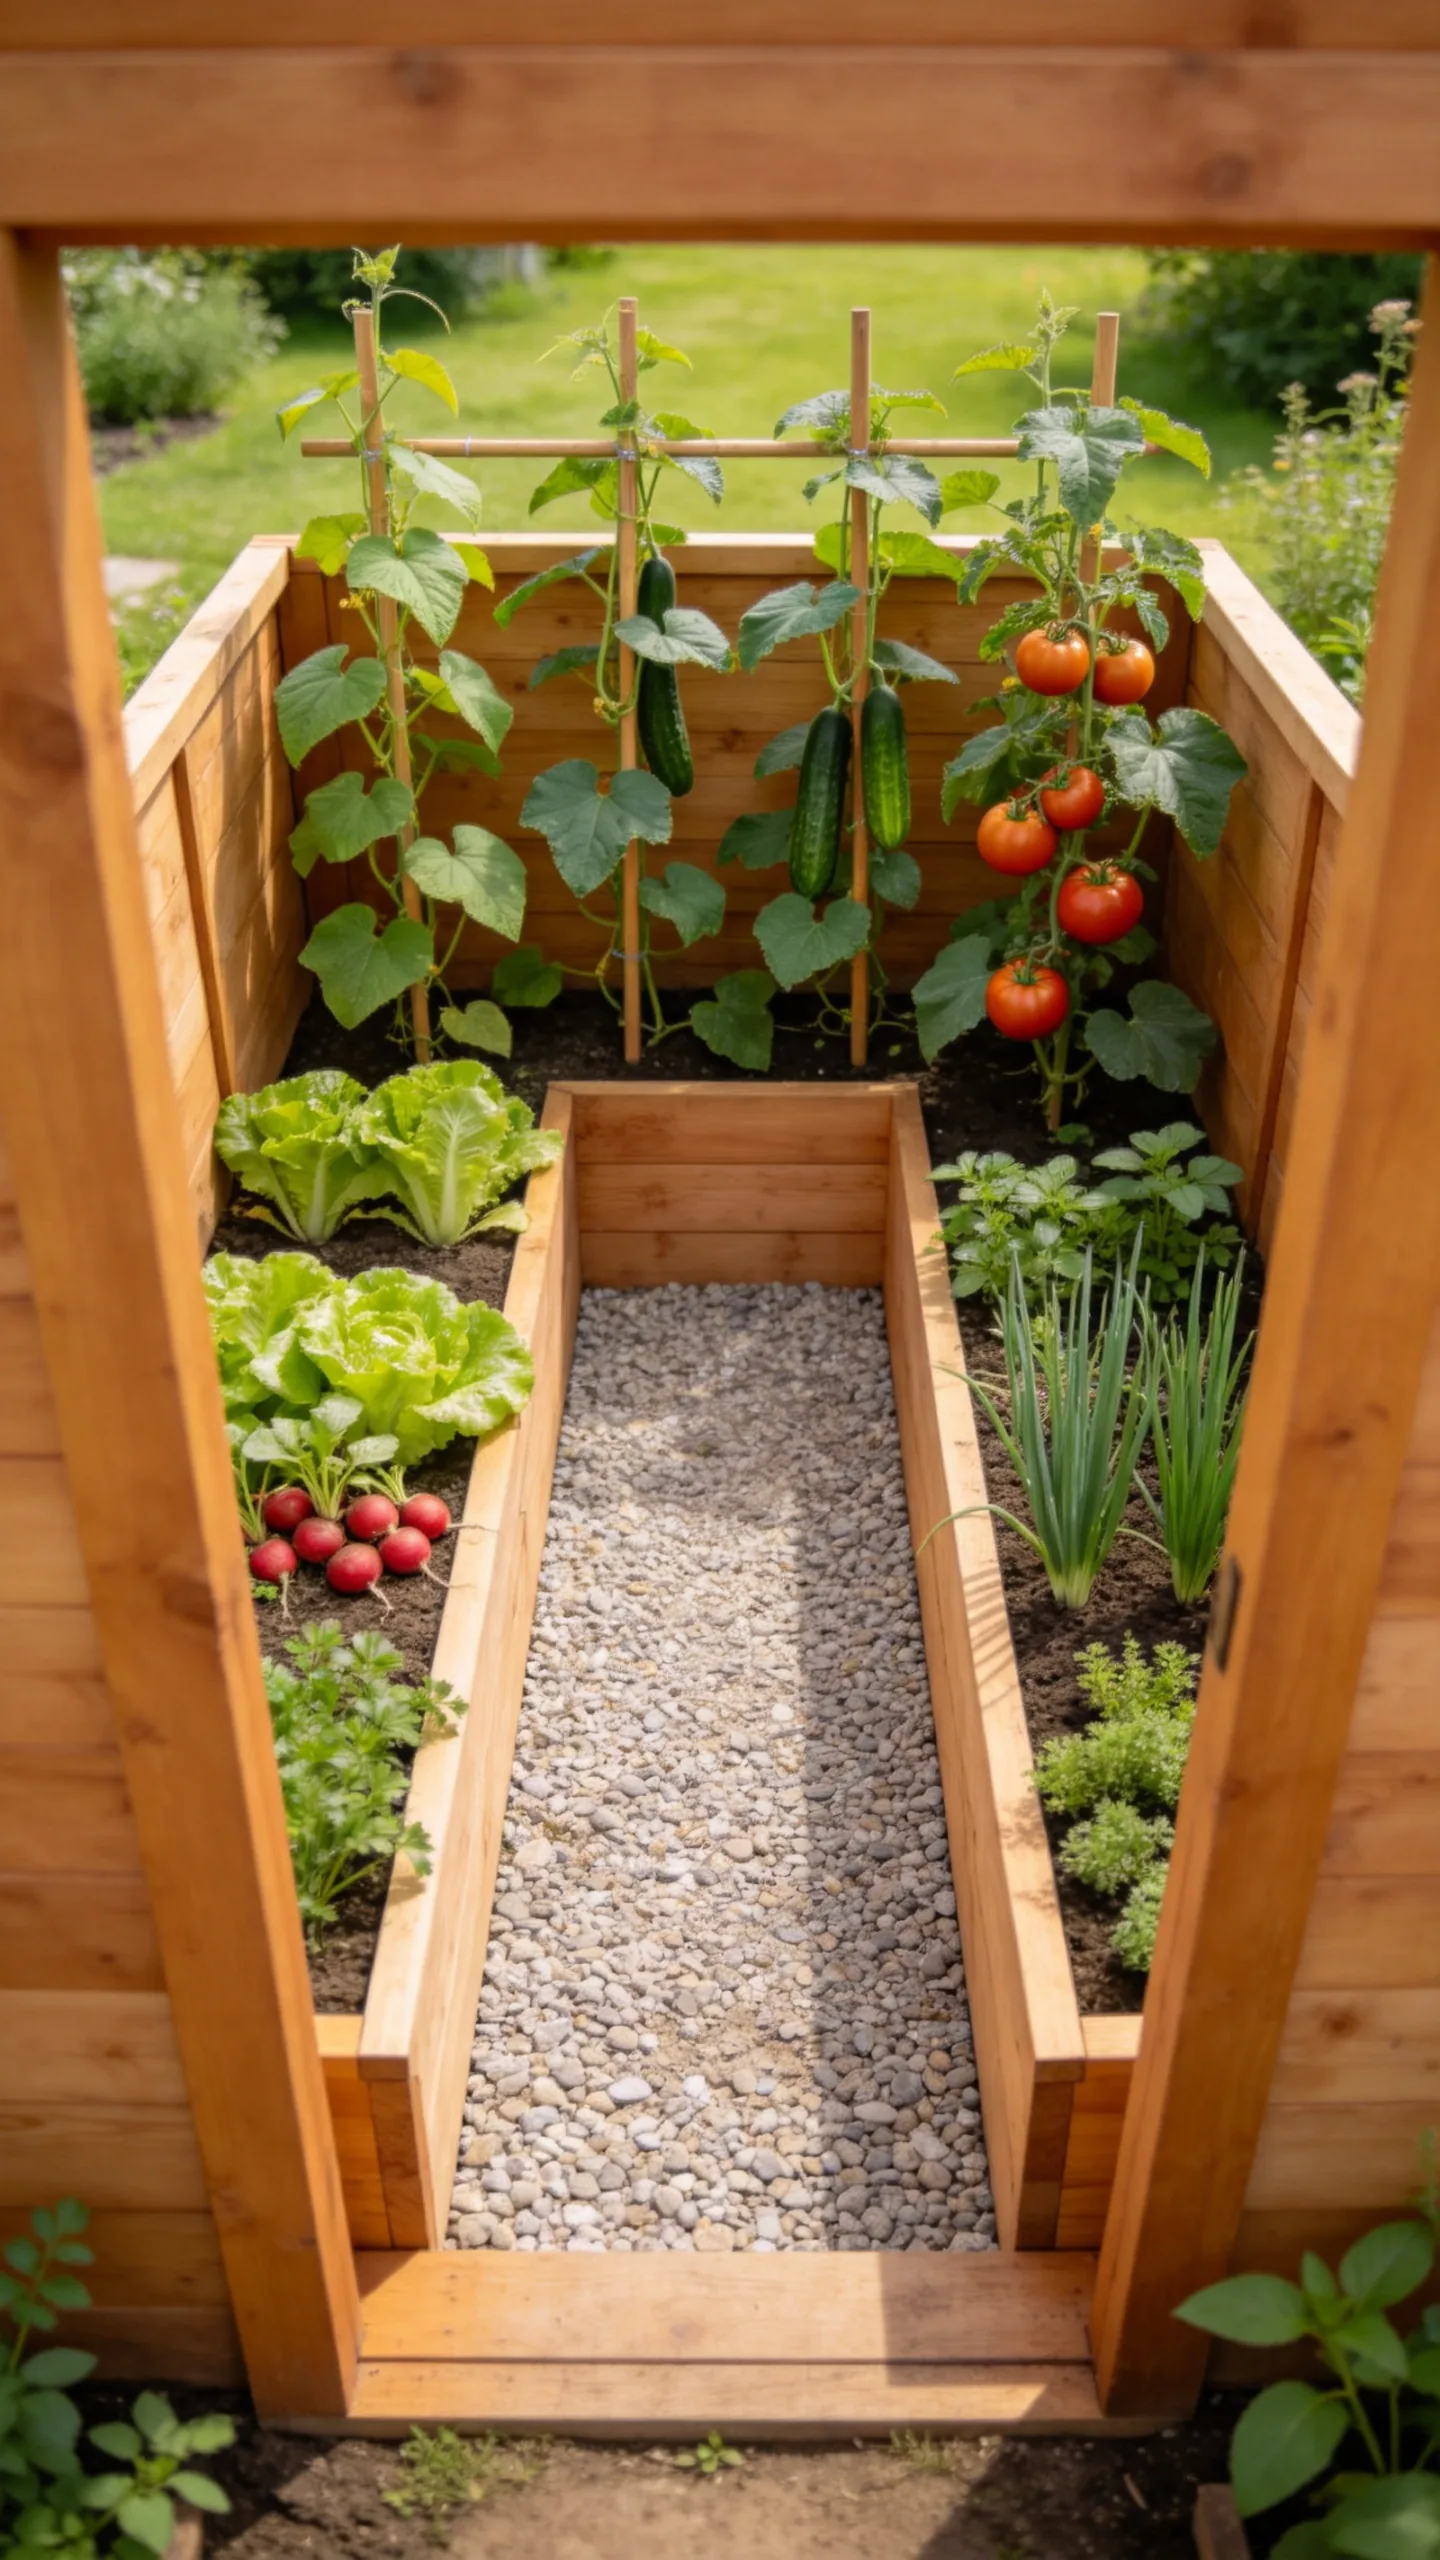
Build three narrow beds around the edges of a square area to create a U shape, leaving the center open for access. Keep each planting section no more than 3 to 4 feet deep so you can reach the soil without stepping into it.
Place taller crops such as pole beans, cucumbers, or indeterminate tomatoes along the back of the U. Grow shorter vegetables and herbs along the inner edges, where they are easy to harvest from the central path.
3. Long Parallel Beds With Gravel Paths
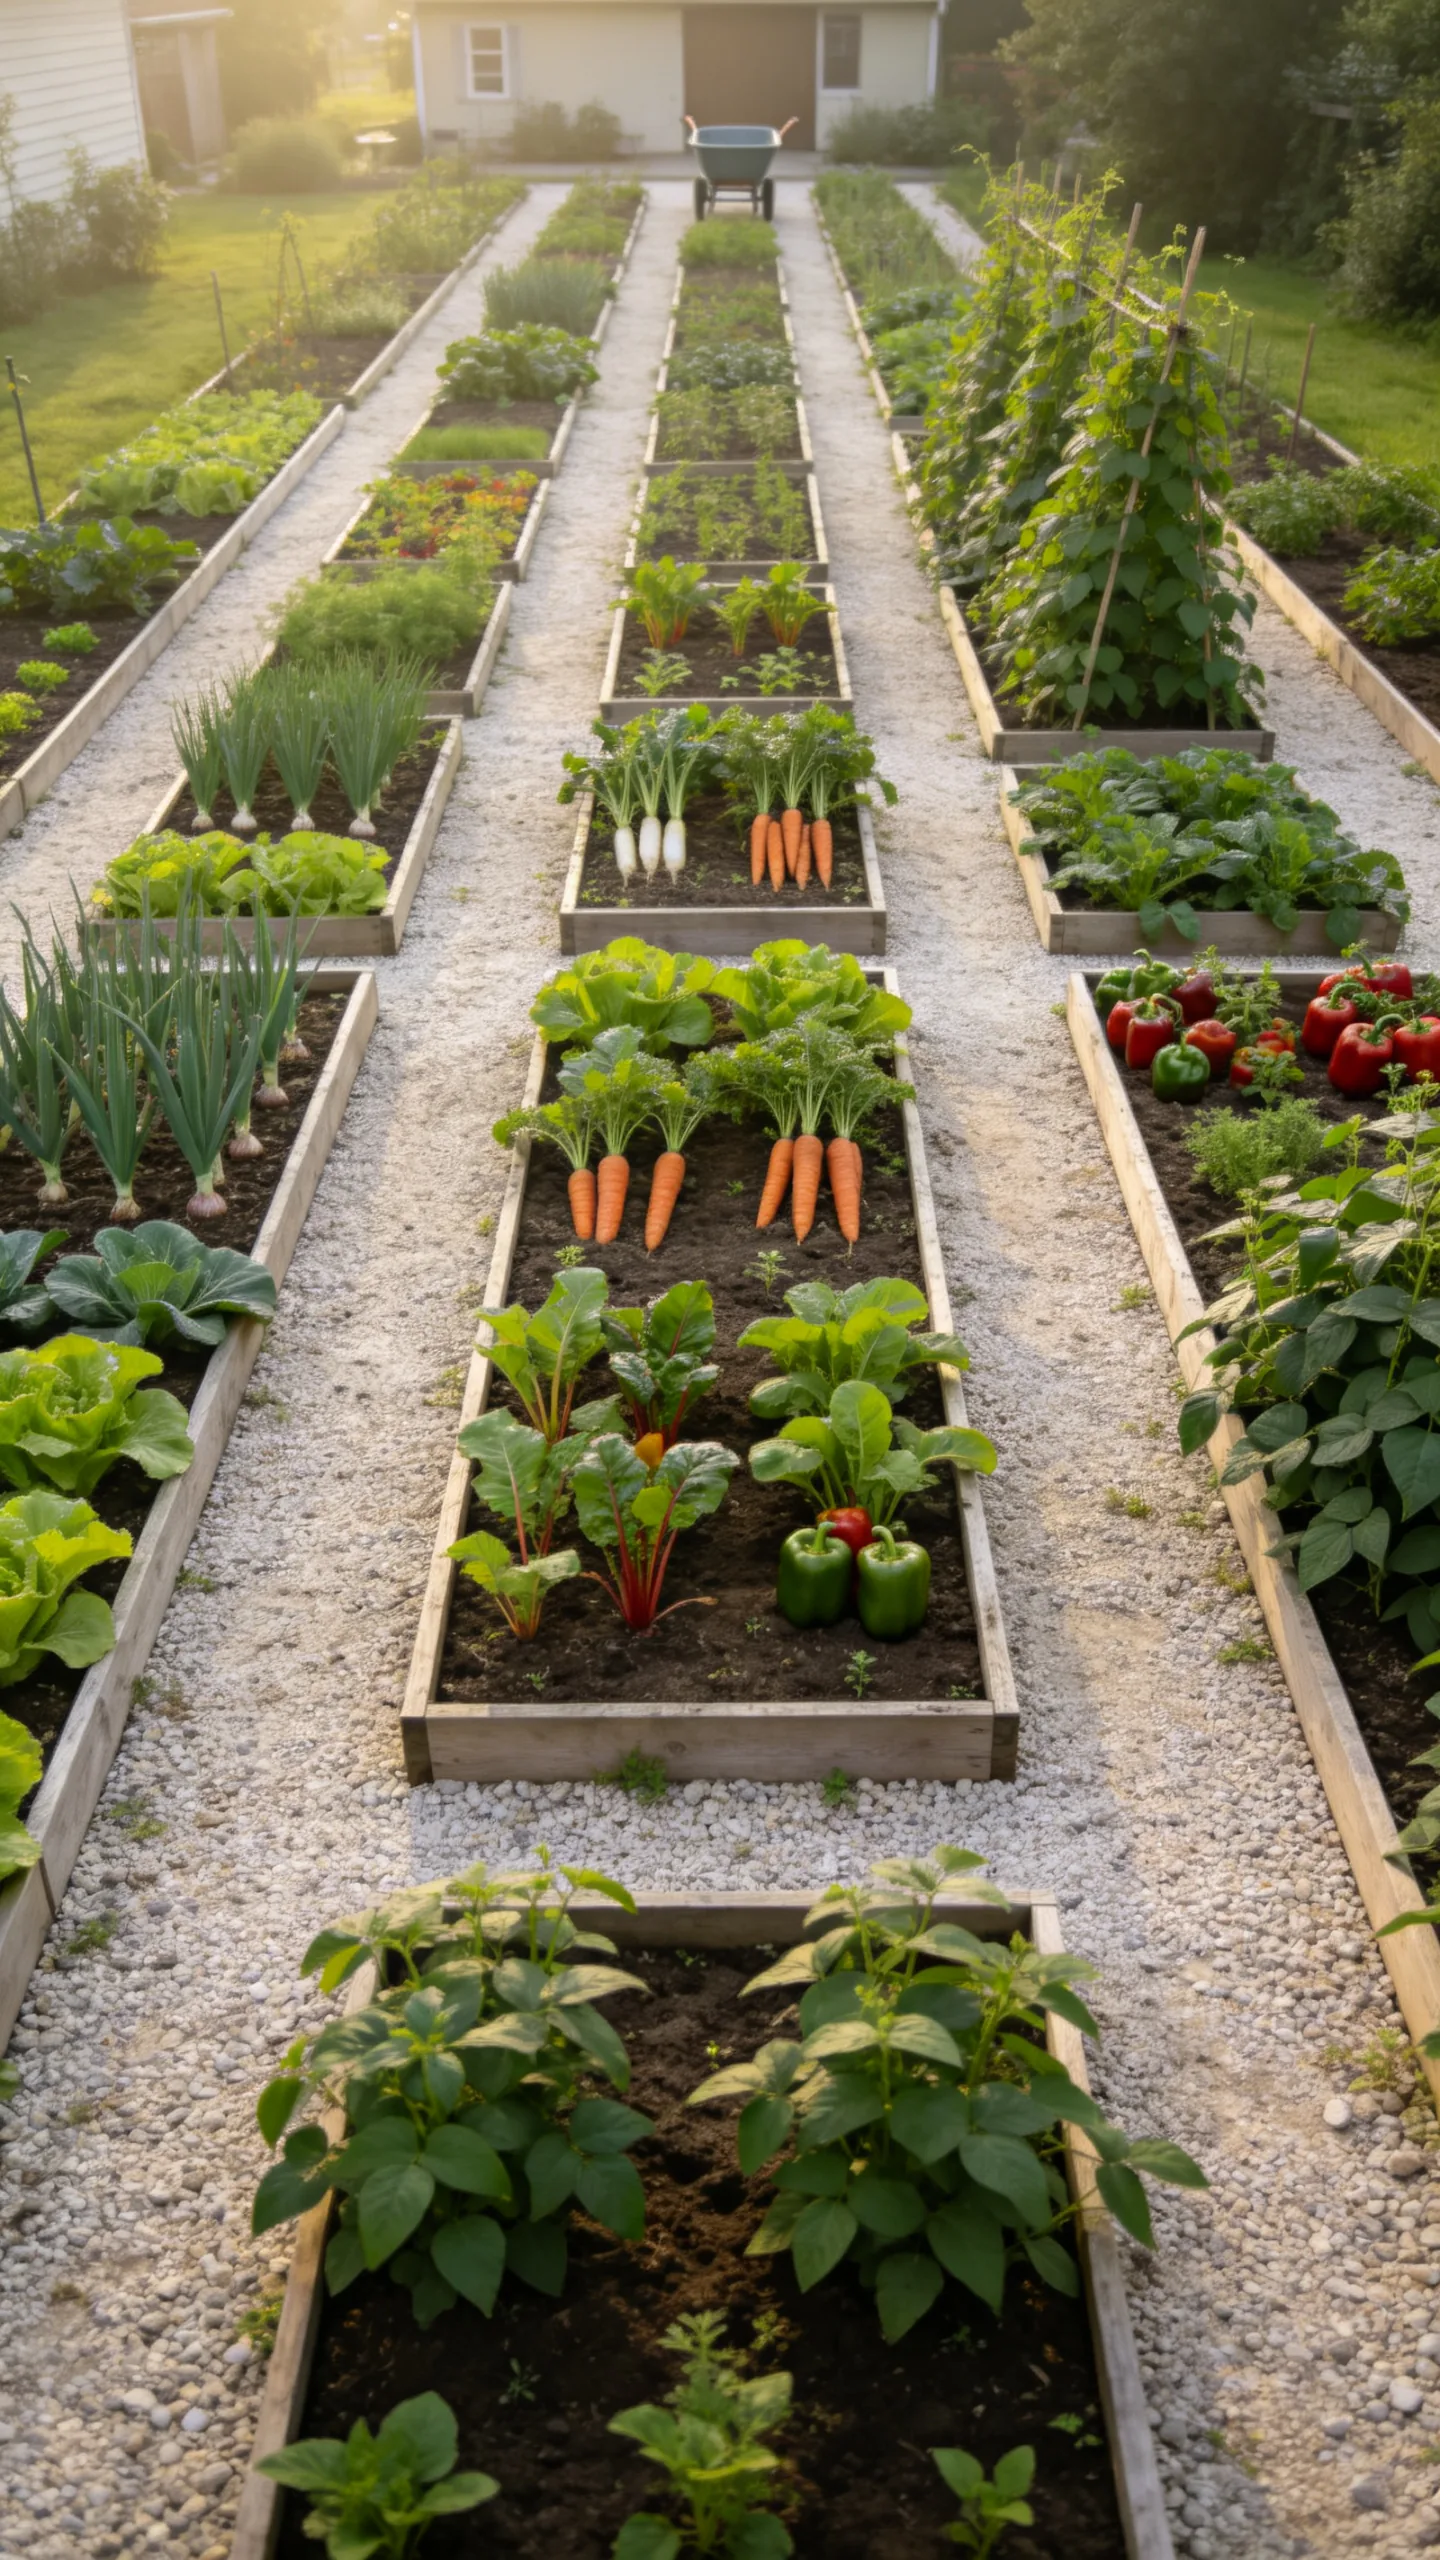
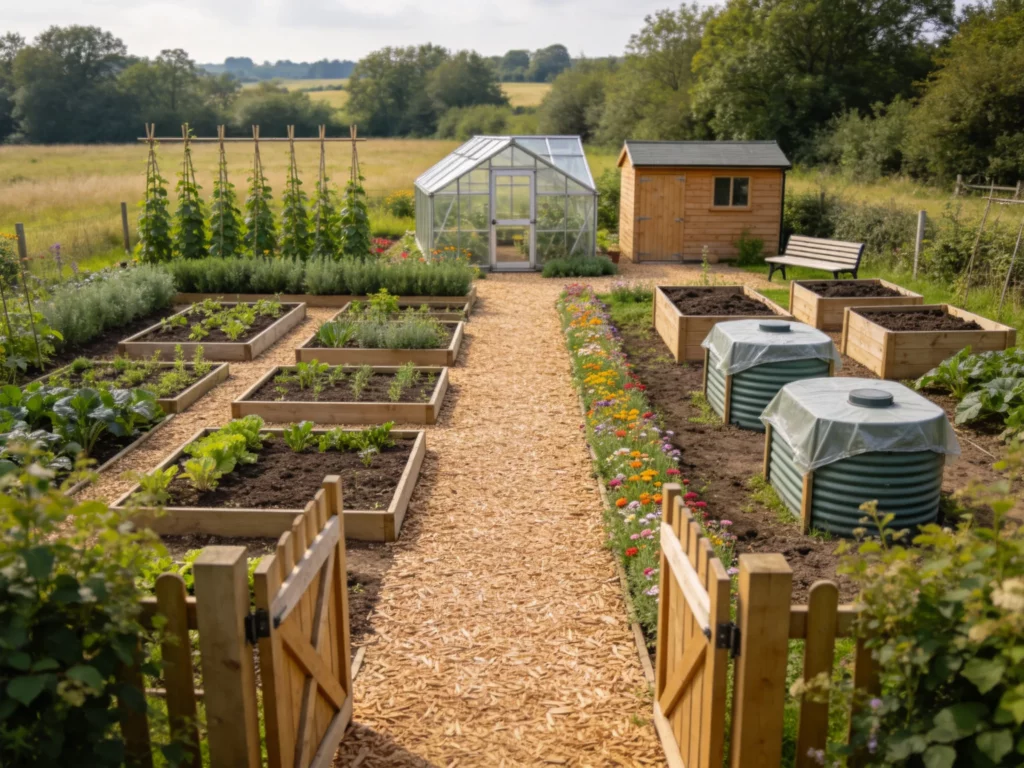
Install several long, rectangular raised beds in parallel rows for a traditional market-garden look. Straight lines create a visually neat layout, while uniform bed widths simplify irrigation and crop planning.
Cover the paths with landscape fabric topped by compacted gravel to reduce mud and weeds. Beds about 3 to 4 feet wide work well for vegetables, and 2- to 3-foot paths provide comfortable access between rows.
4. L-Shaped Corner Vegetable Patch
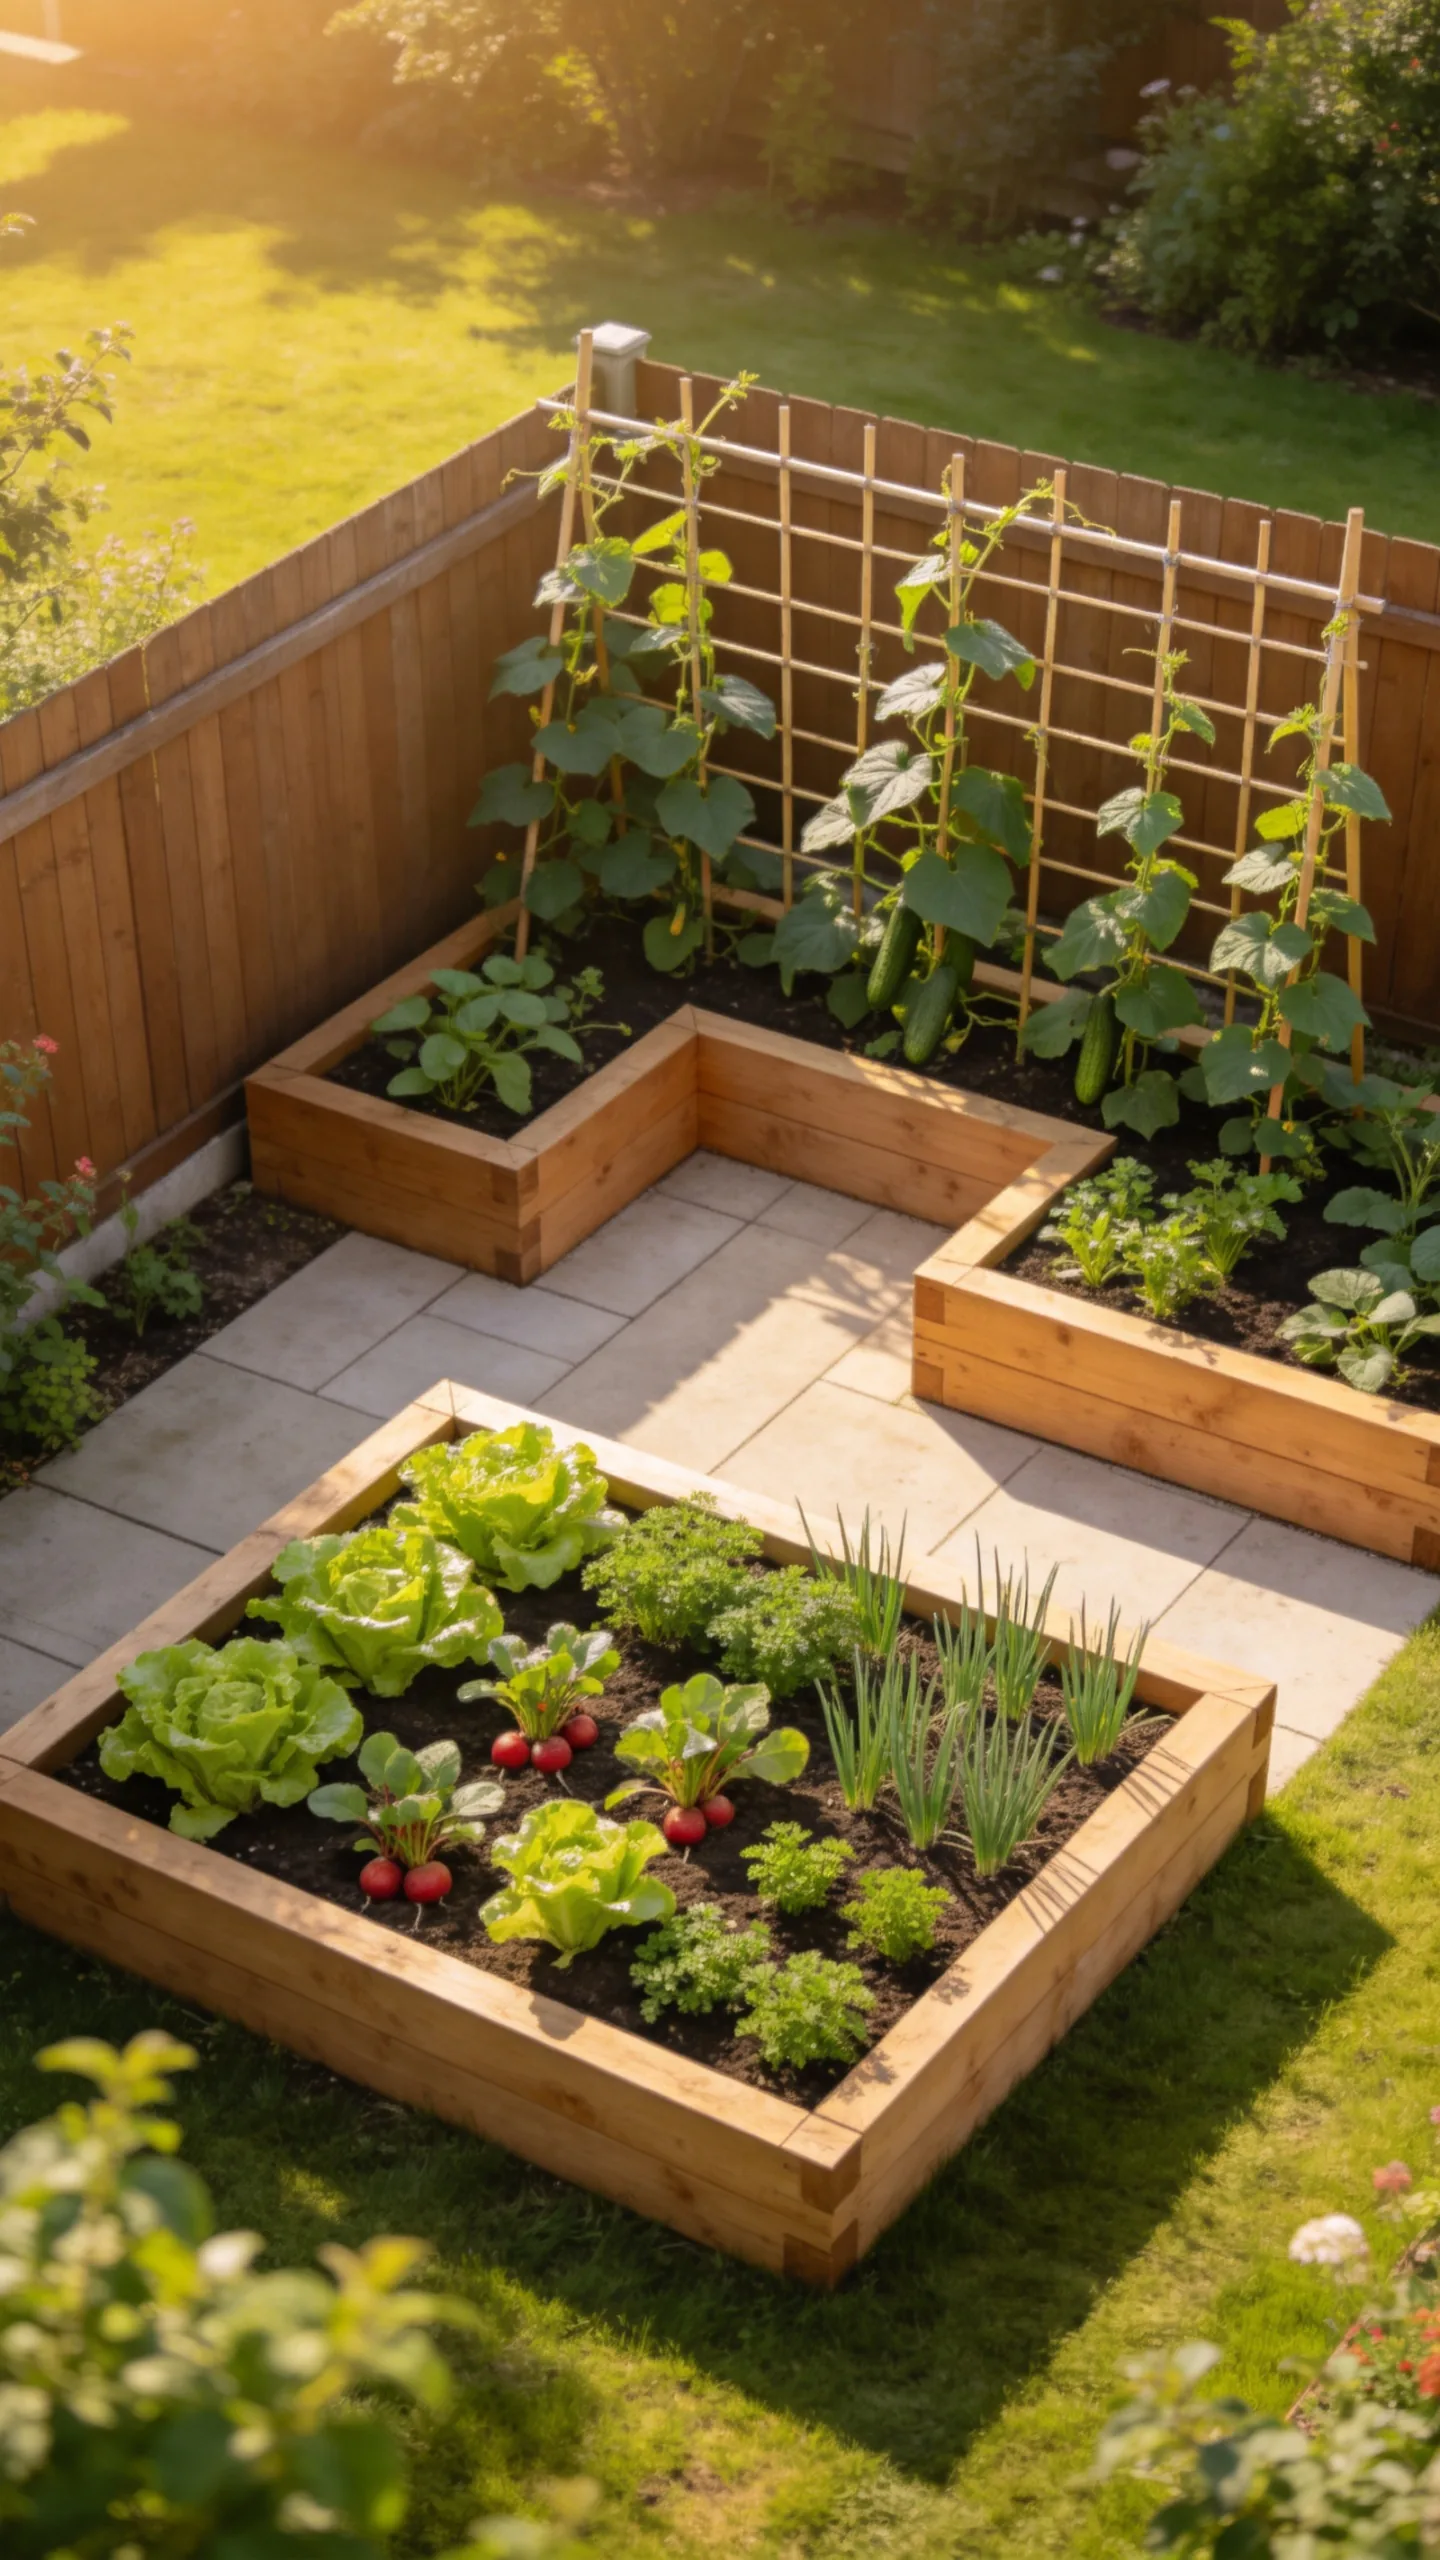
Use two connected raised beds to form an L shape in an unused garden corner. This layout can define the edge of a patio, lawn, or seating area without taking over the entire yard.
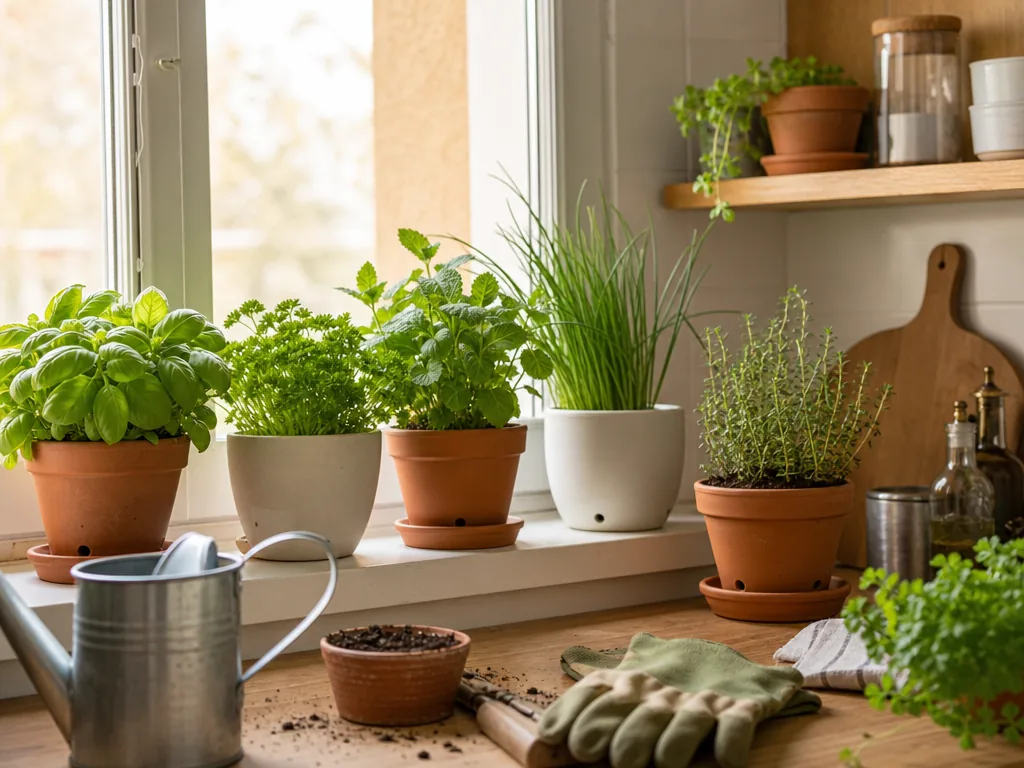
Plant climbing vegetables against the fence or outer boundary, using a wall-mounted trellis where appropriate. Reserve the shorter, more accessible sides for cut-and-come-again lettuce, radishes, chives, and other crops harvested frequently.
5. Central Keyhole Bed
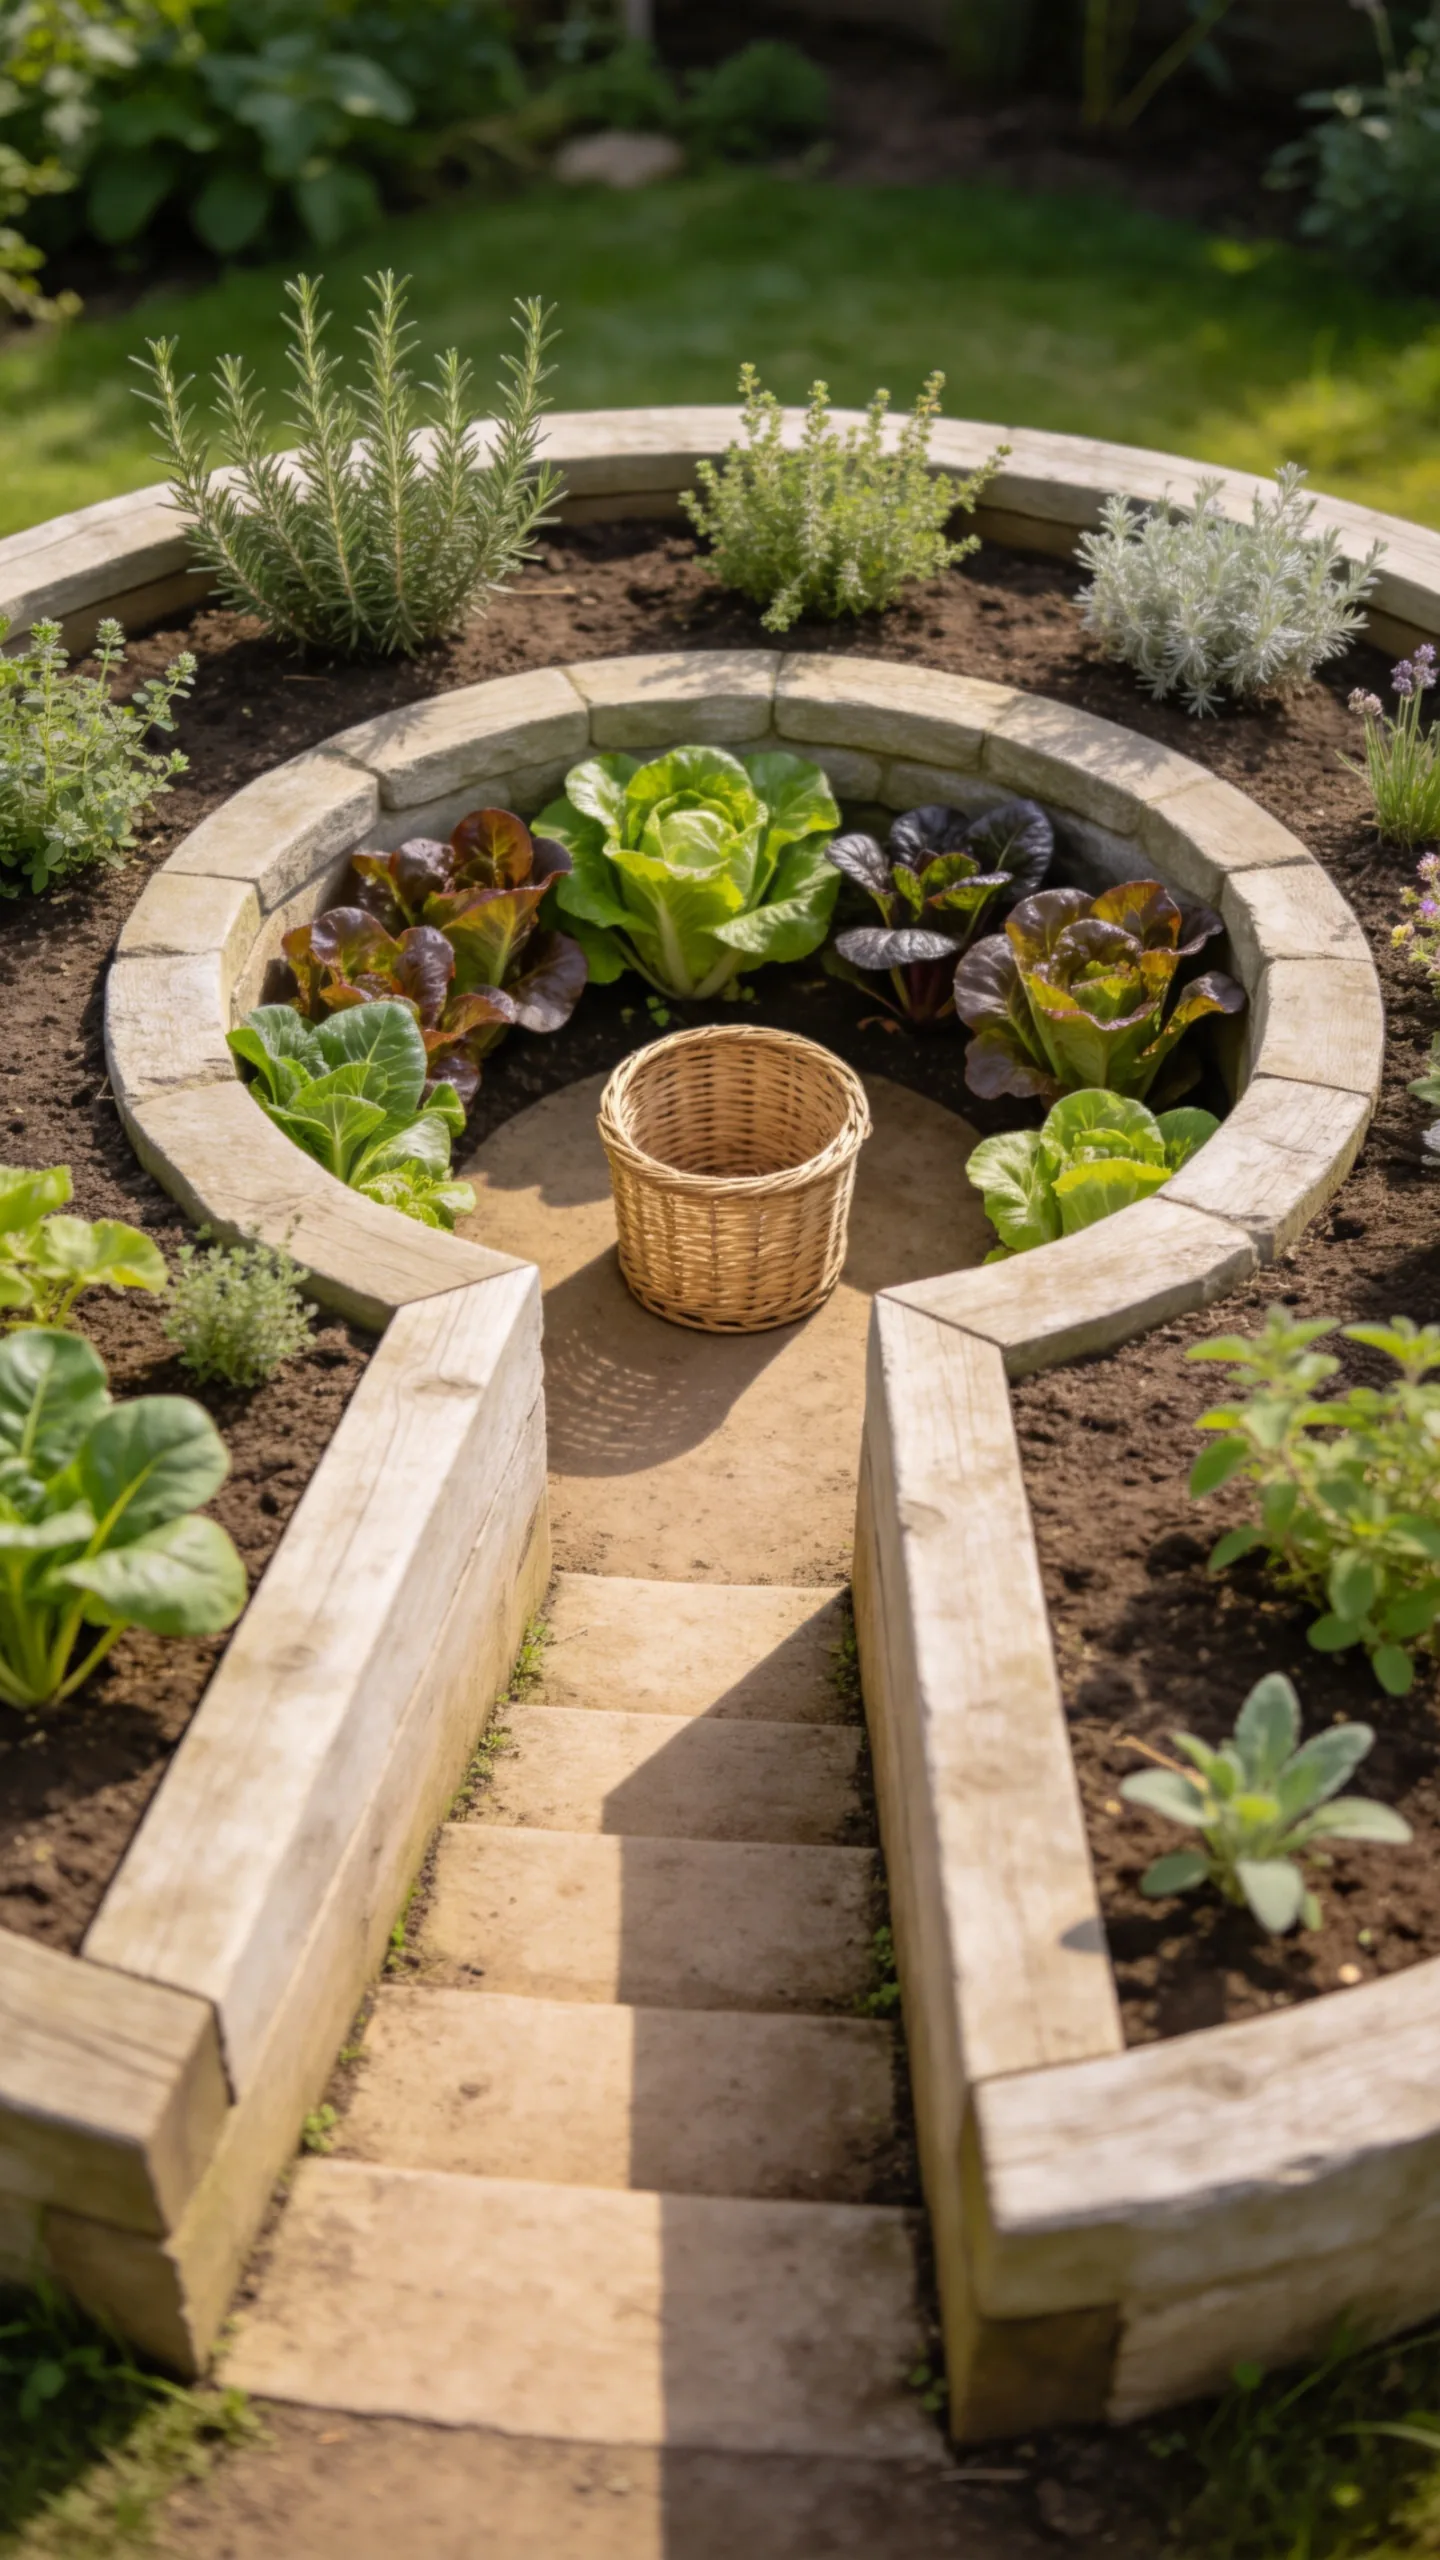
Create a circular or hexagonal raised bed with a narrow access path leading into the center. The keyhole shape allows you to reach a large planting area from one standing position, making it useful where space is limited.
Add a small compost basket in the middle if you want to combine planting and composting. Position thirsty crops closer to the center and drought-tolerant herbs near the outer edge, adjusting choices to local rainfall and irrigation needs.
6. Raised Beds Around a Central Arch
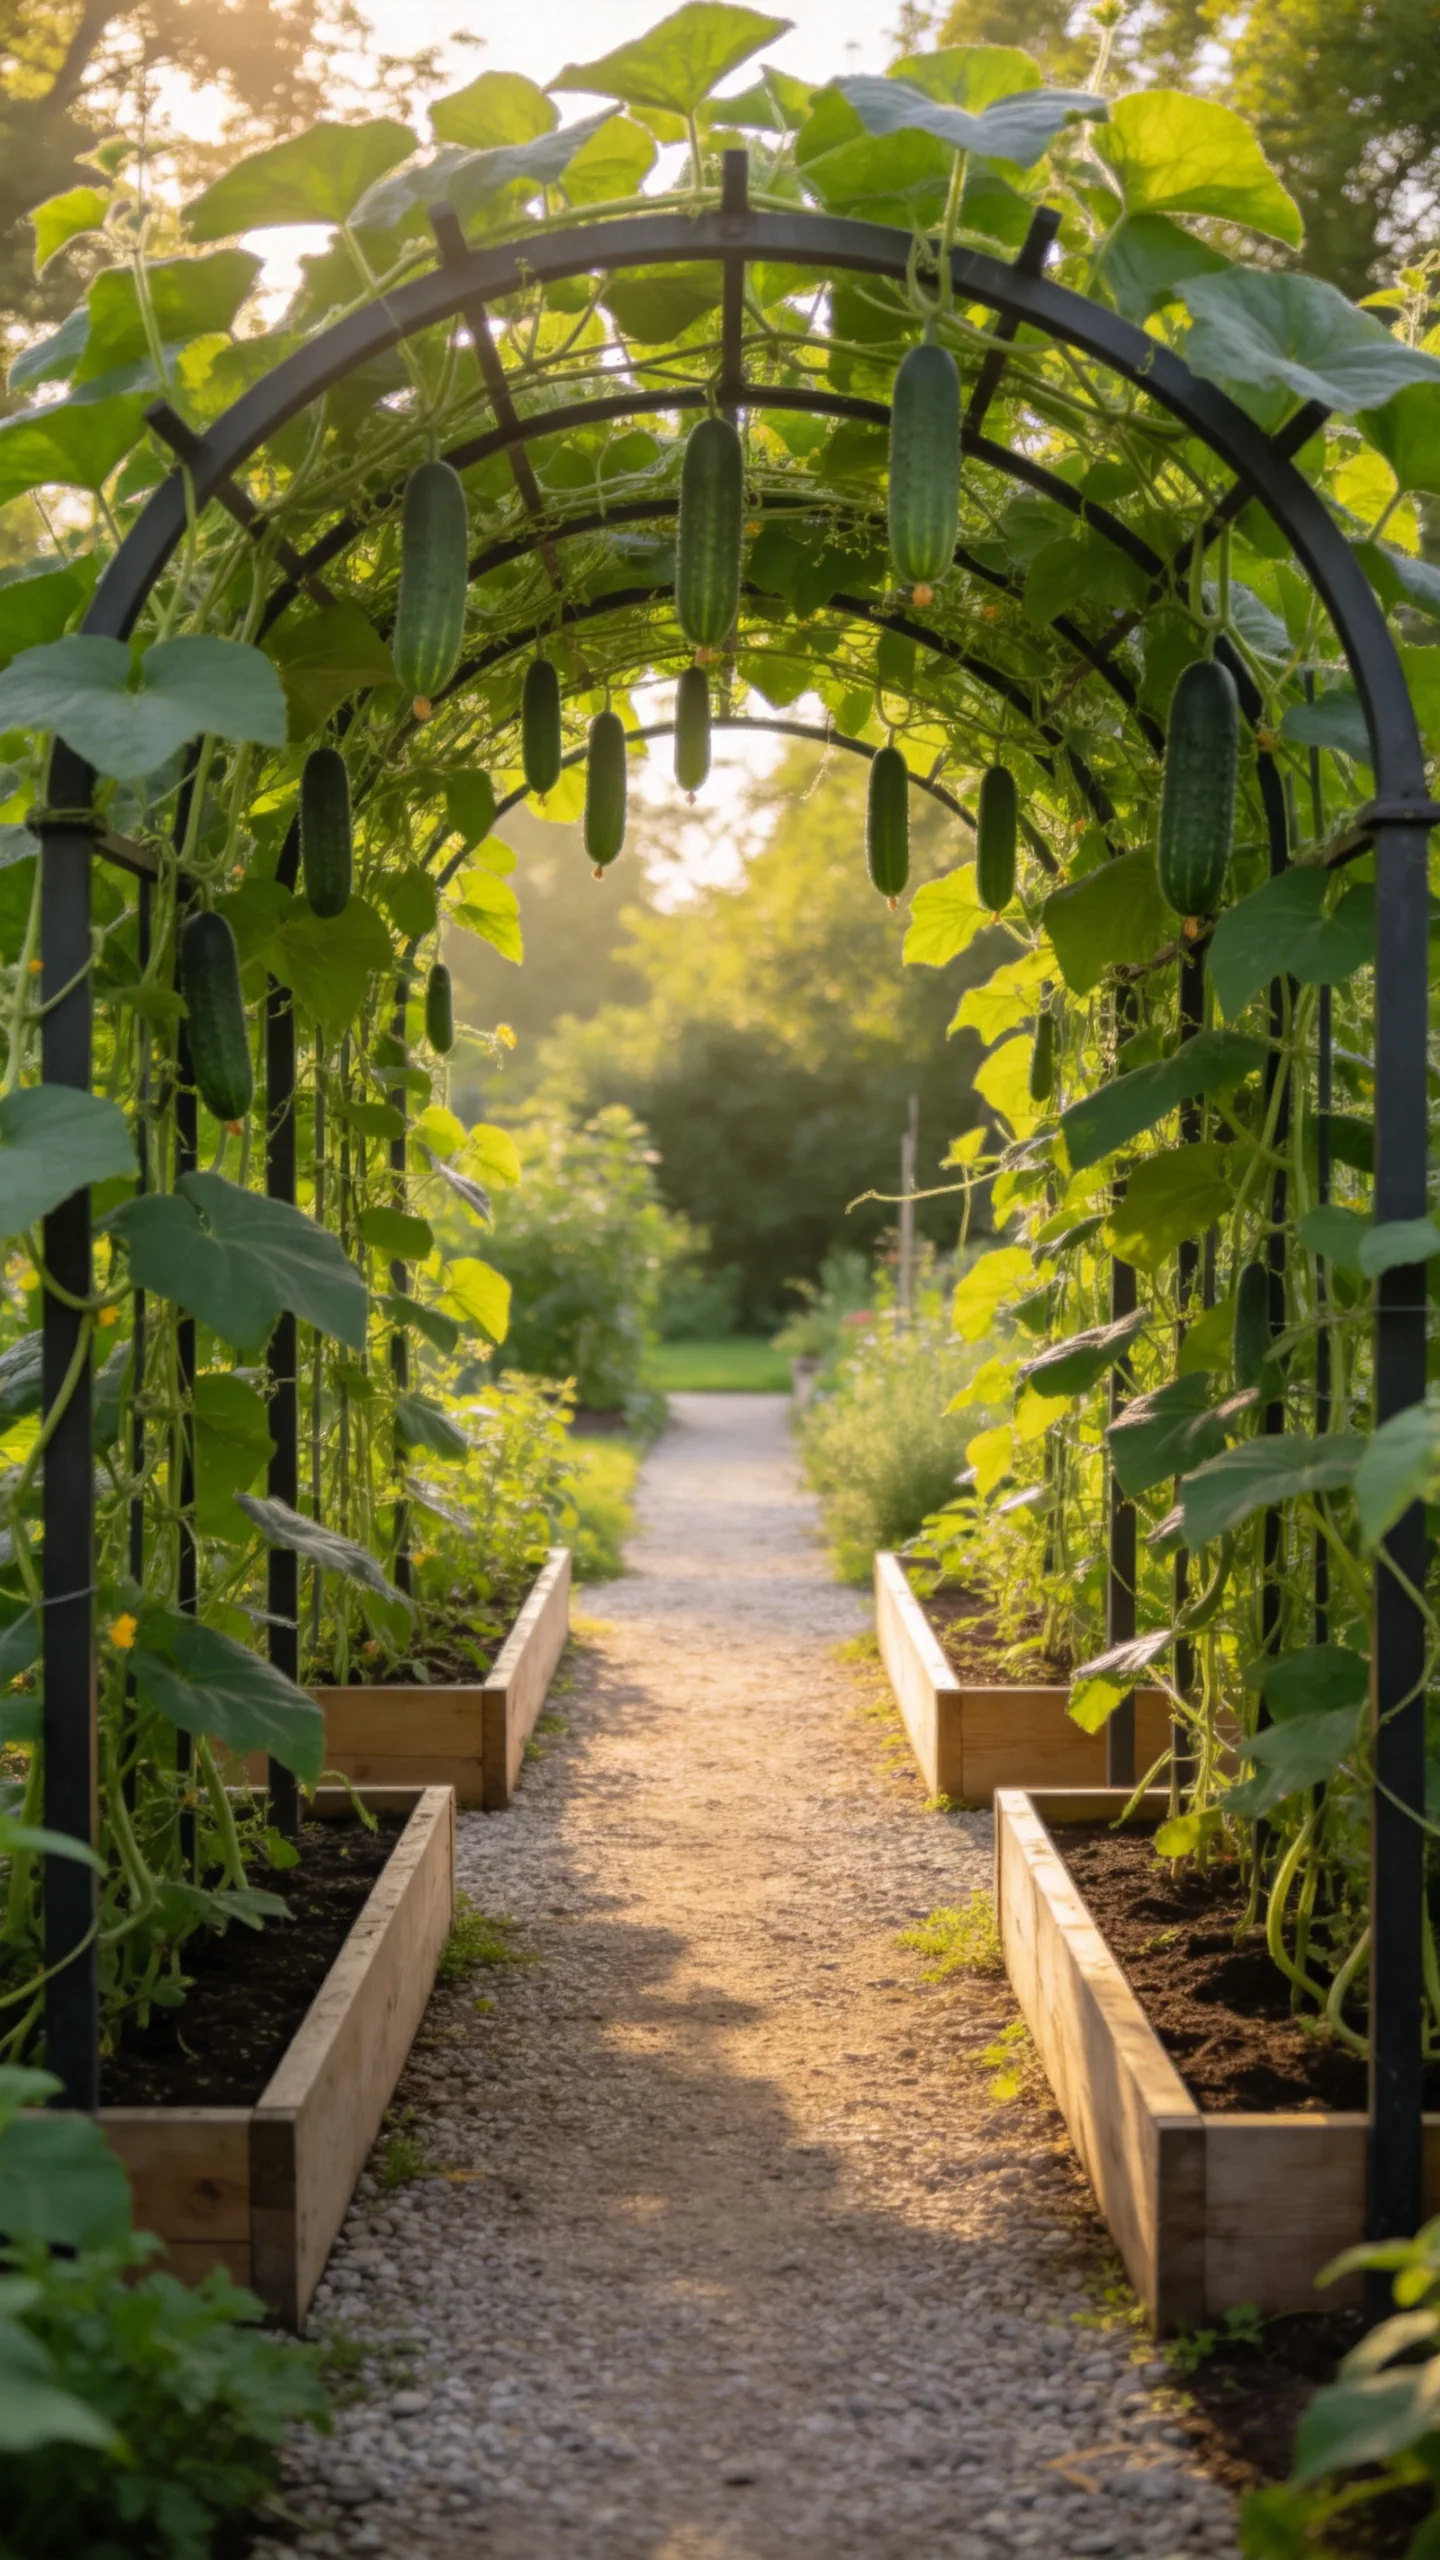
Place two rectangular beds opposite each other and connect them with a sturdy metal or timber arch. Train pole beans, cucumbers, small squash varieties, or climbing peas over the structure to turn unused overhead space into a productive growing area.
Keep the arch over a main path so vegetables can hang within easy reach. Check the mature weight of each crop before planting, because vigorous squash and gourds may require stronger supports than peas or beans.
7. Narrow Beds Along a Fence
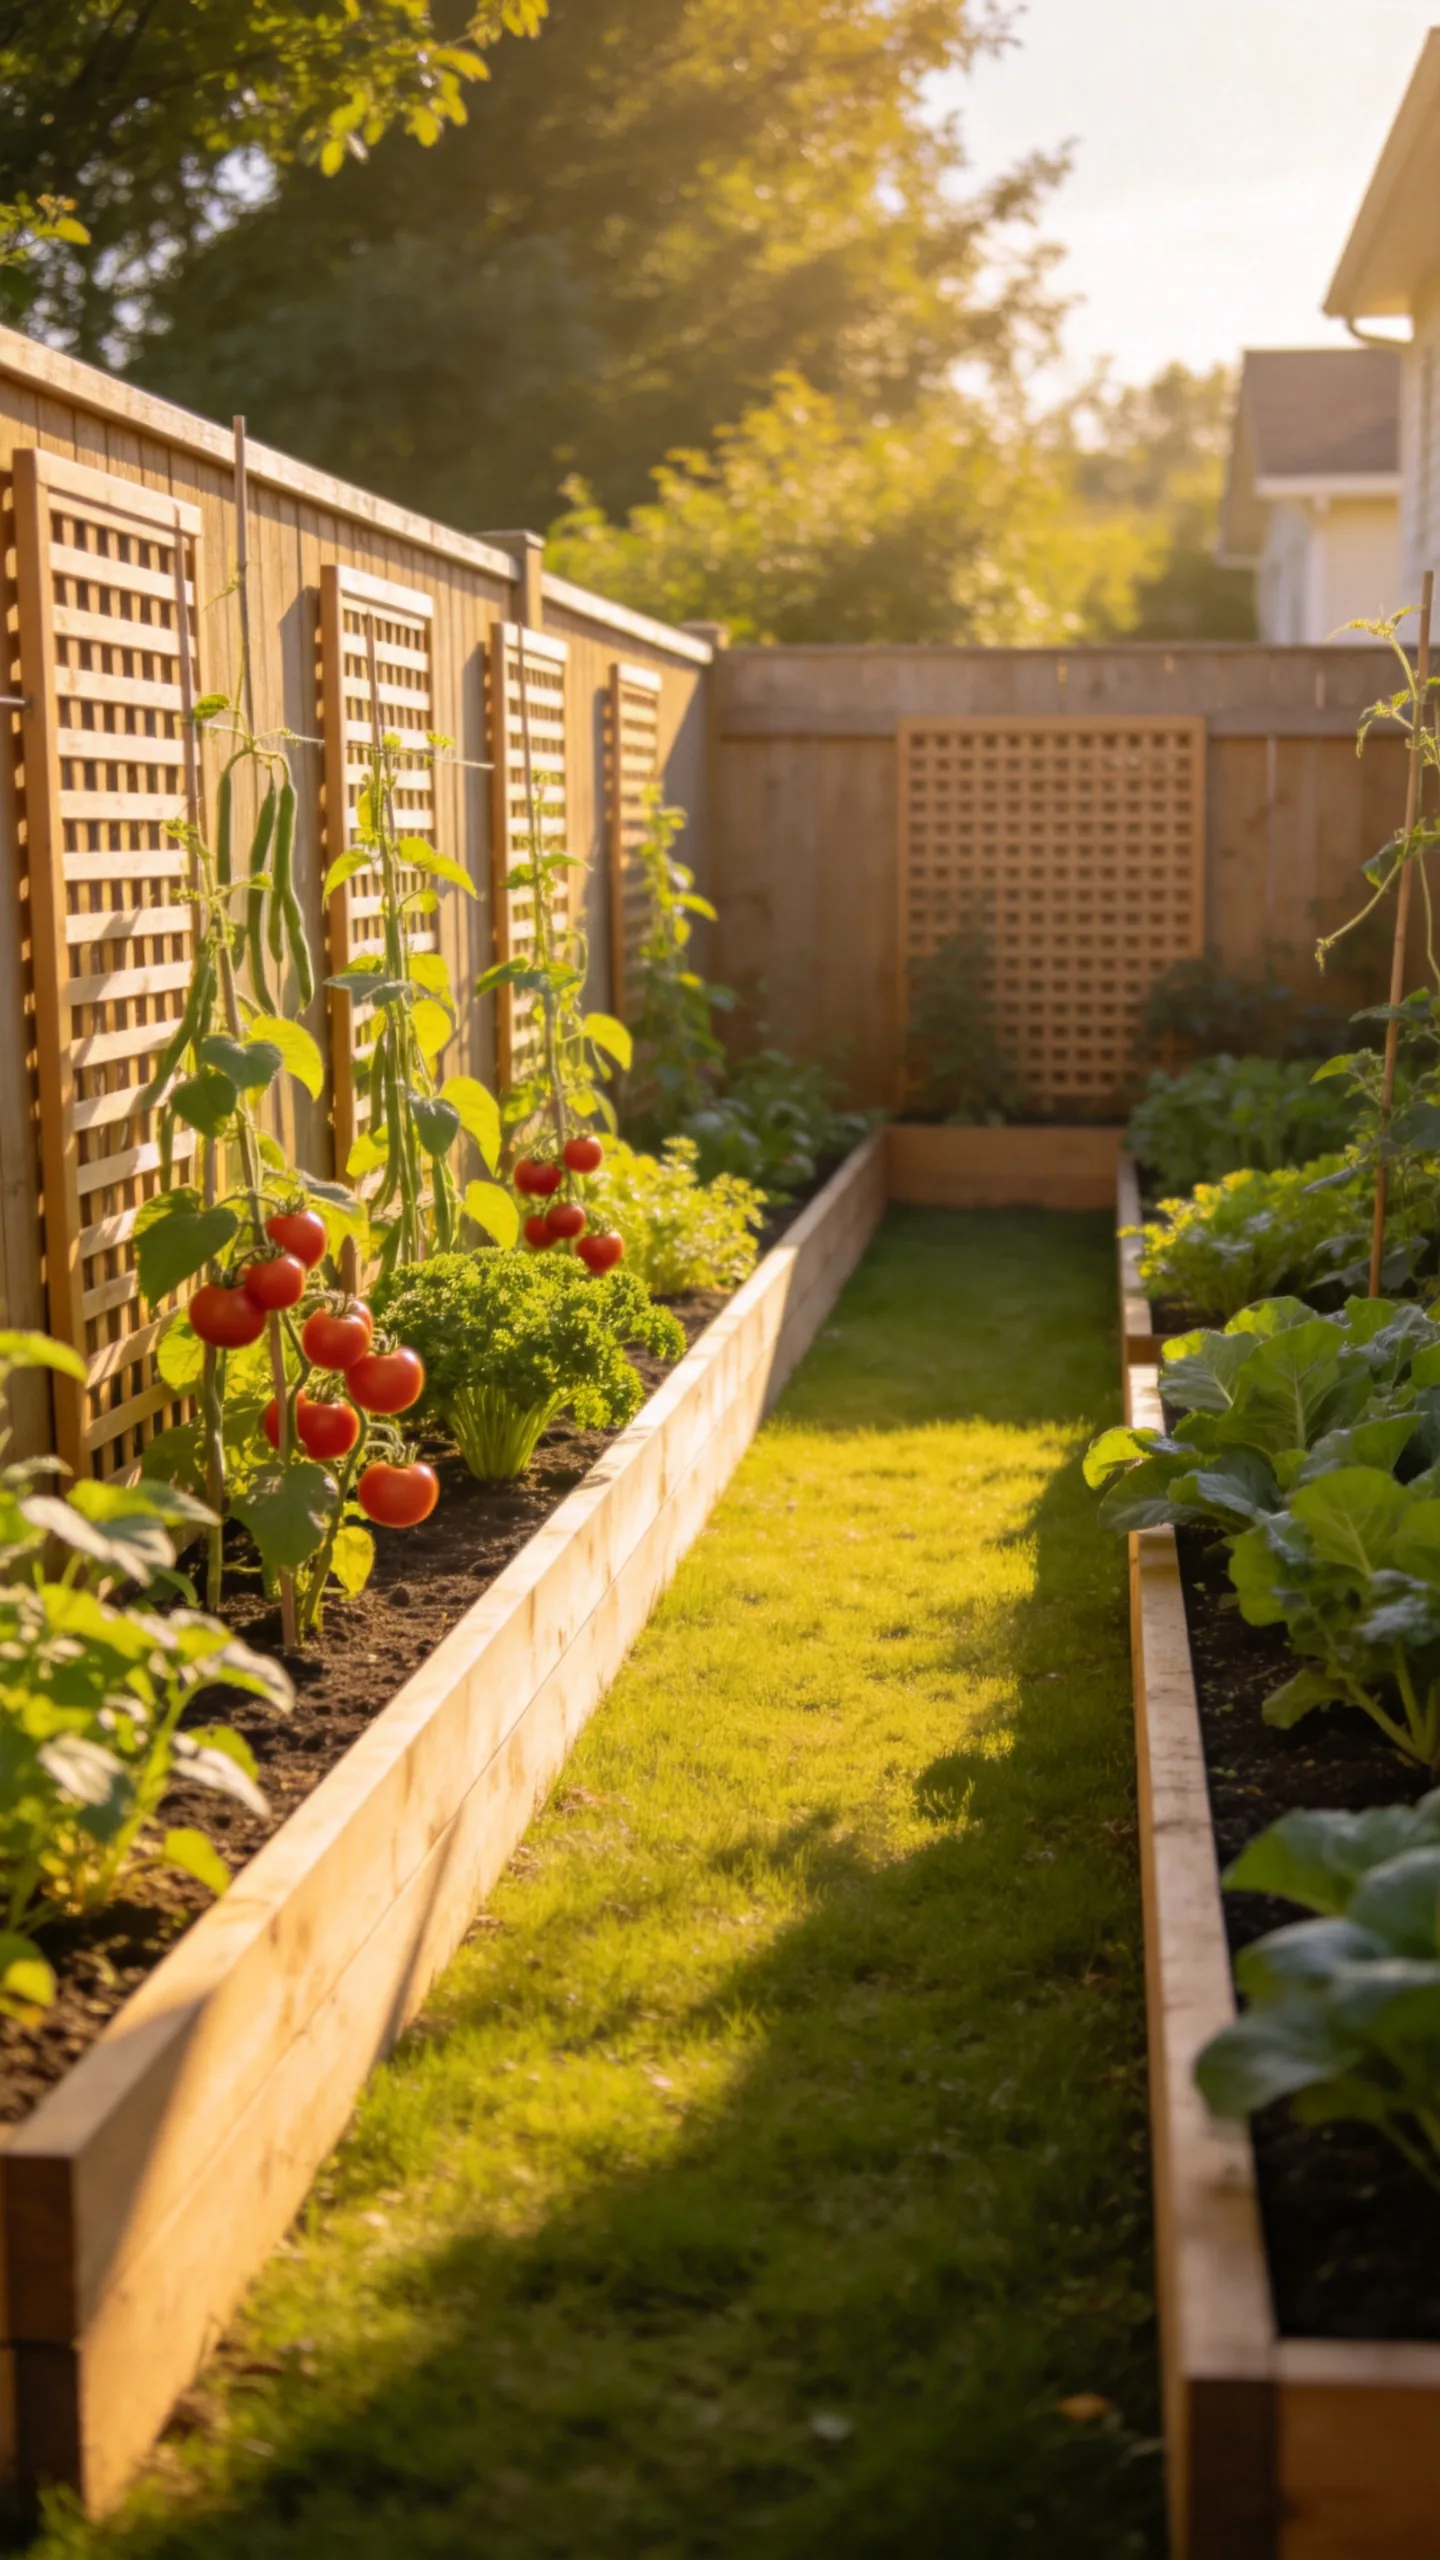
Build a continuous raised bed 18 to 30 inches deep along a sunny fence. This design uses the garden perimeter efficiently and preserves the center of the yard for a path, lawn, dining area, or children’s play space.
Attach trellis panels to the fence for climbing crops, leaving a small gap for airflow. If the fence casts shade, place leafy greens and parsley in the less sunny sections and reserve the brightest areas for tomatoes, peppers, and beans.
8. Potager-Style Symmetrical Beds
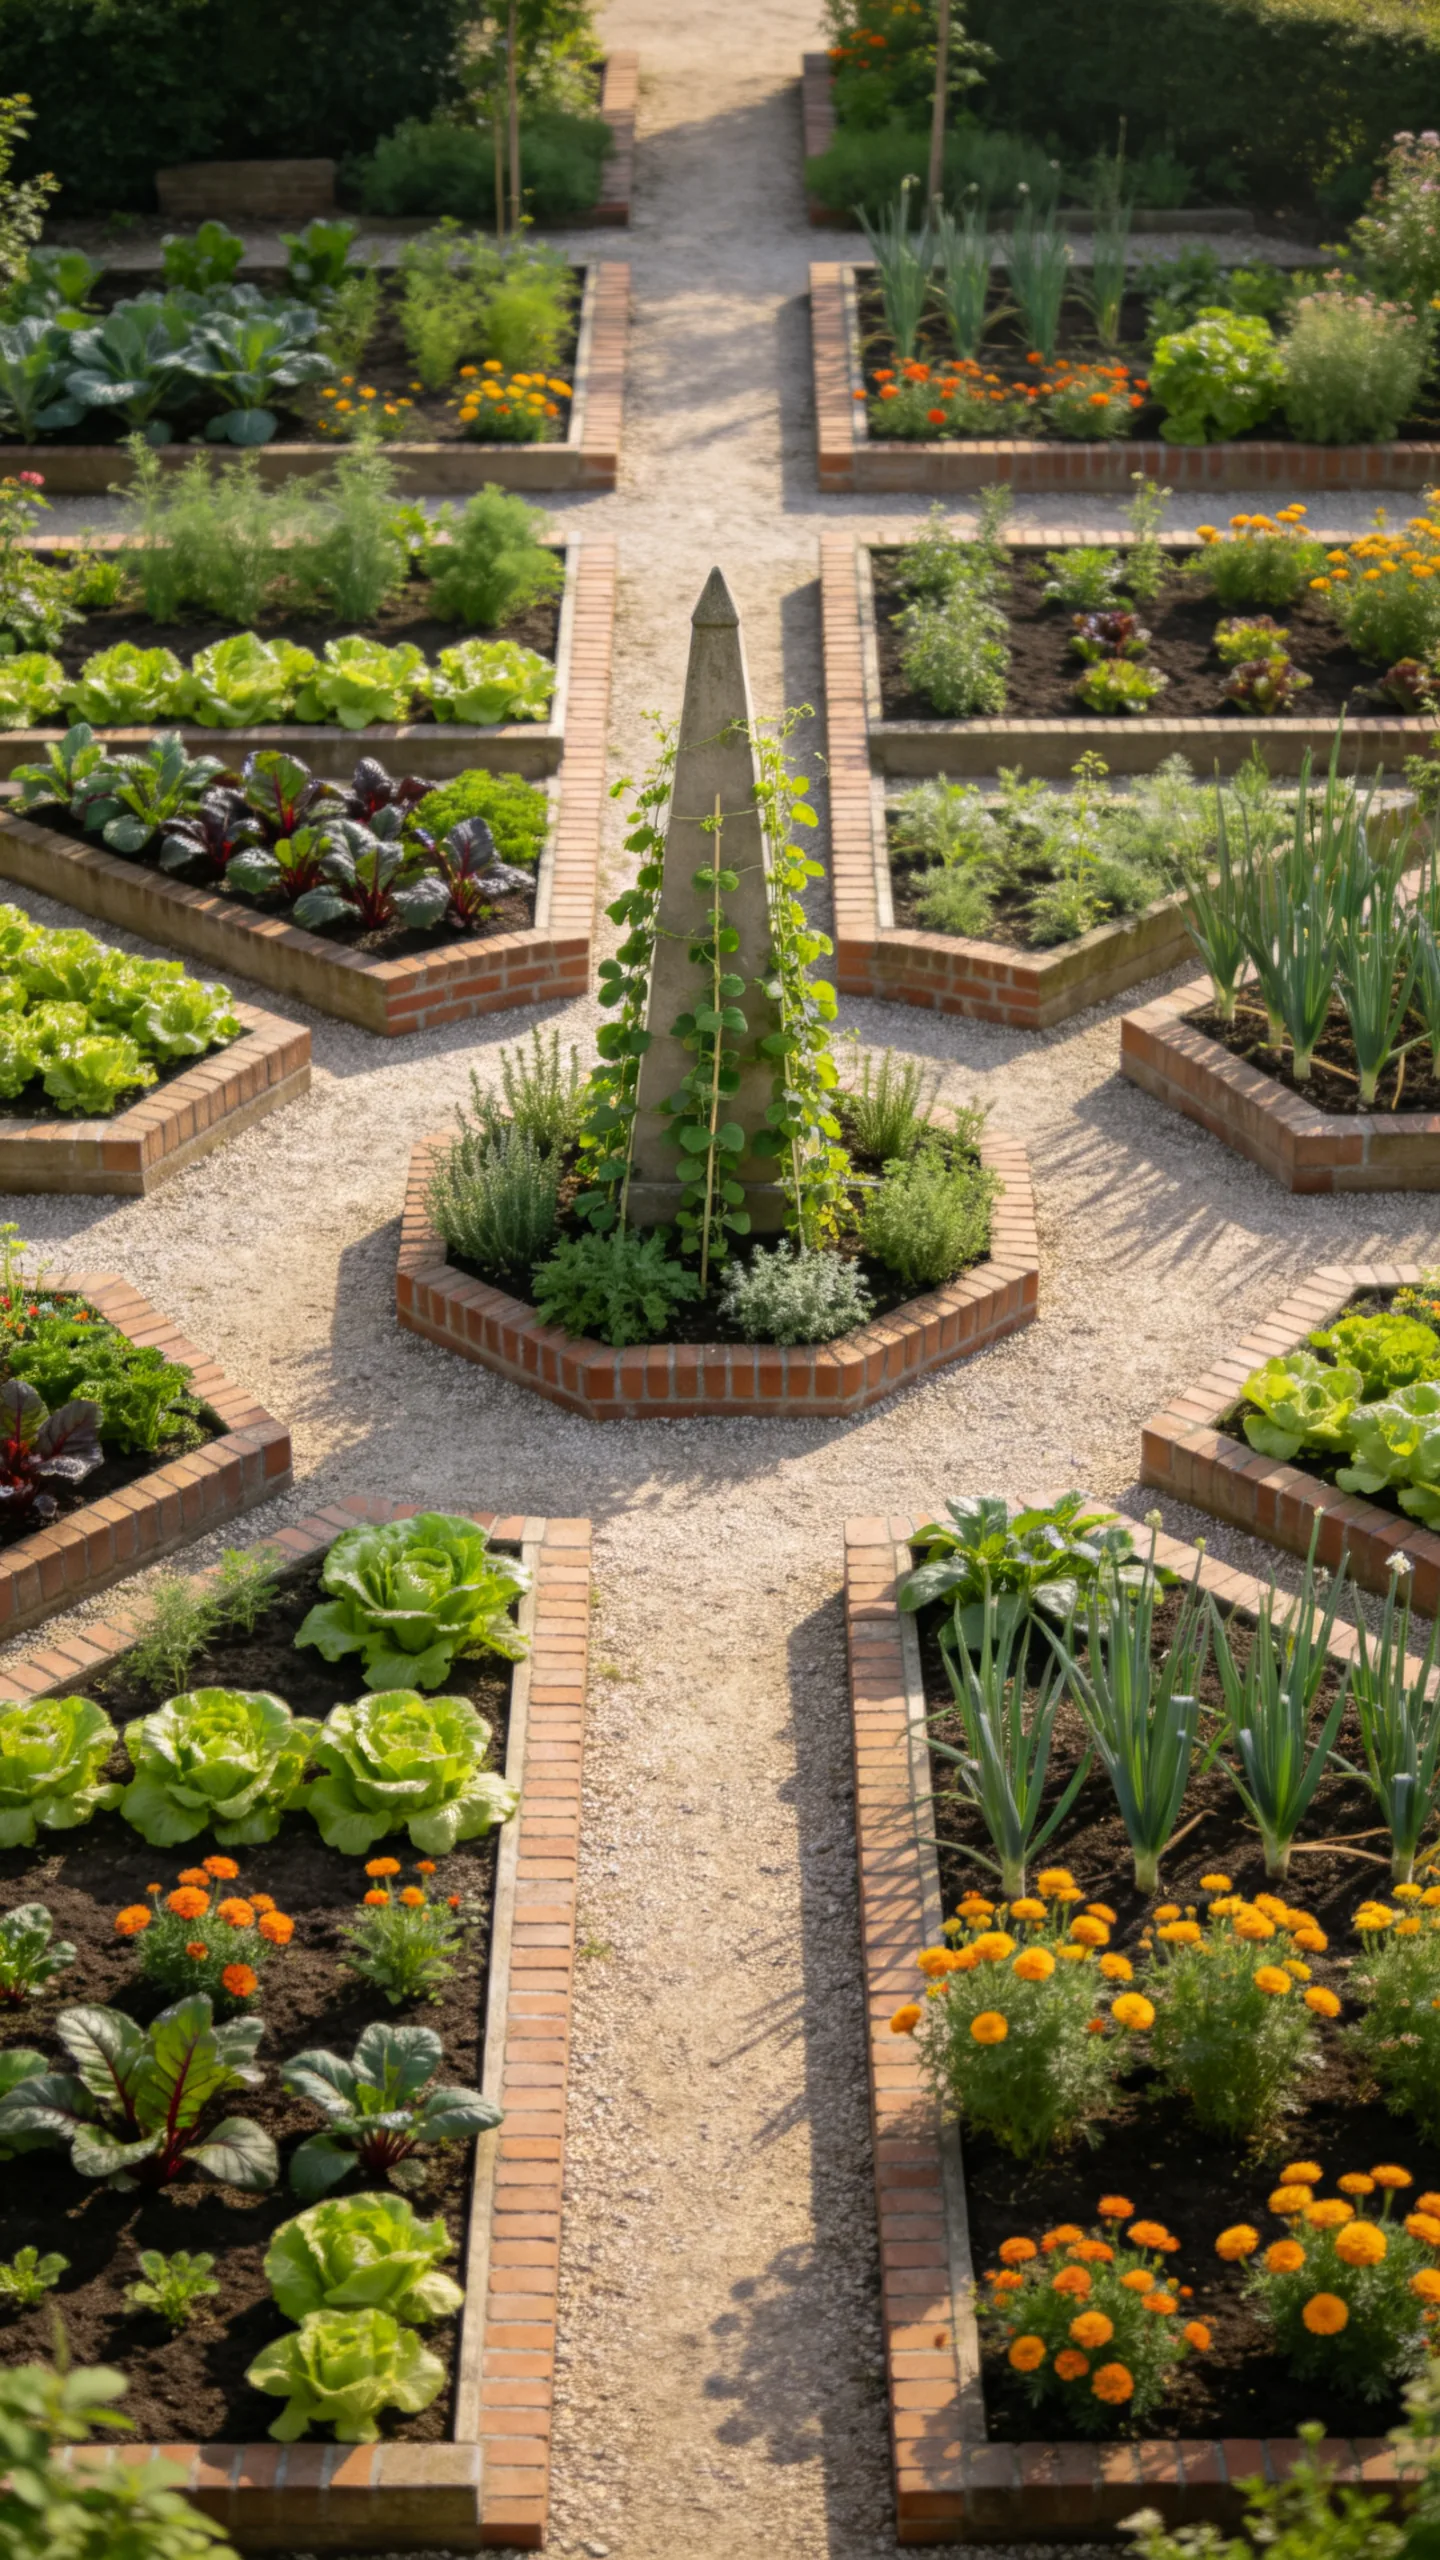
Arrange matching raised beds around a central focal point, such as a large herb planter, birdbath, or obelisk trellis. Symmetry gives the vegetable patch a formal appearance and makes even mixed planting combinations look intentional.
Edge the paths with brick, gravel, or compacted stone fines to reinforce the geometry. Mix vegetables with edible flowers such as nasturtiums and calendula, but leave enough spacing for airflow and routine harvesting.
9. Tiered Beds for a Sloping Yard
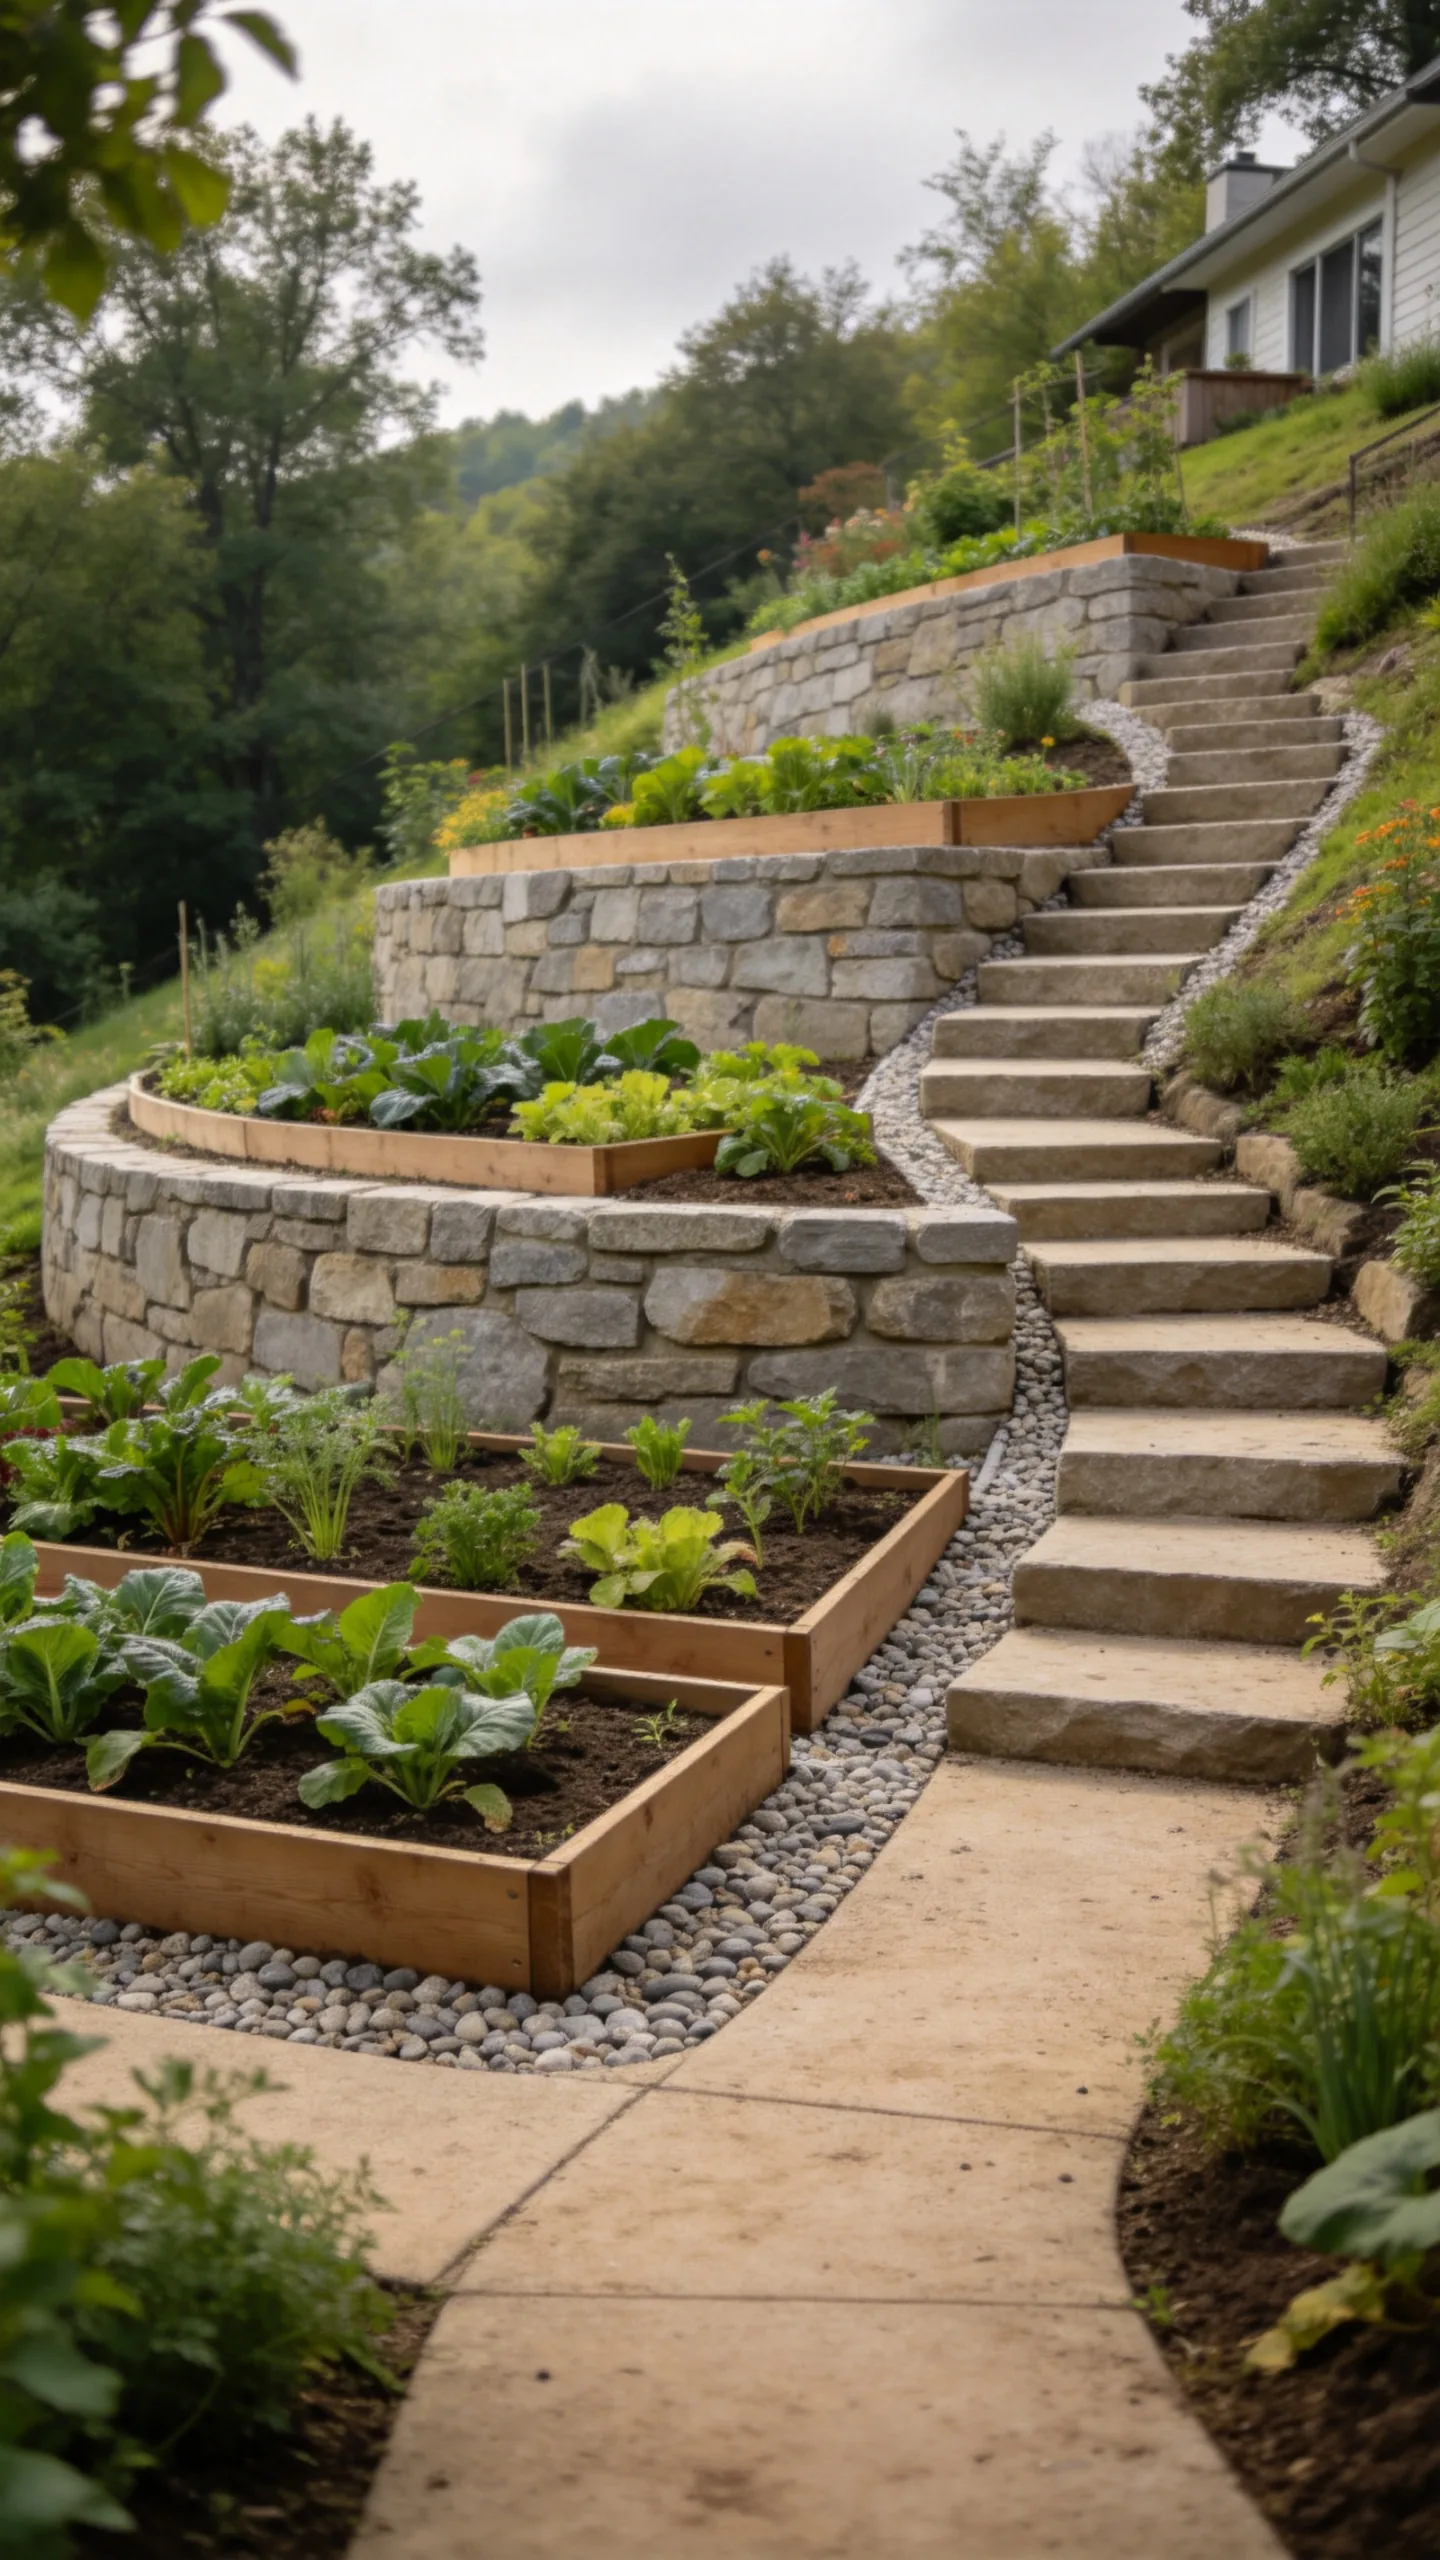
Turn a gentle slope into a series of level raised beds separated by steps or paths. Terracing reduces awkward planting angles and can help slow surface runoff, although steep sites may require professional retaining structures and drainage planning.
Place taller beds uphill and shorter beds downhill to create a clean stepped effect. Make sure excess water can drain safely away from foundations and neighboring properties rather than collecting behind the bed walls.
10. Waist-High Beds for Easy Access
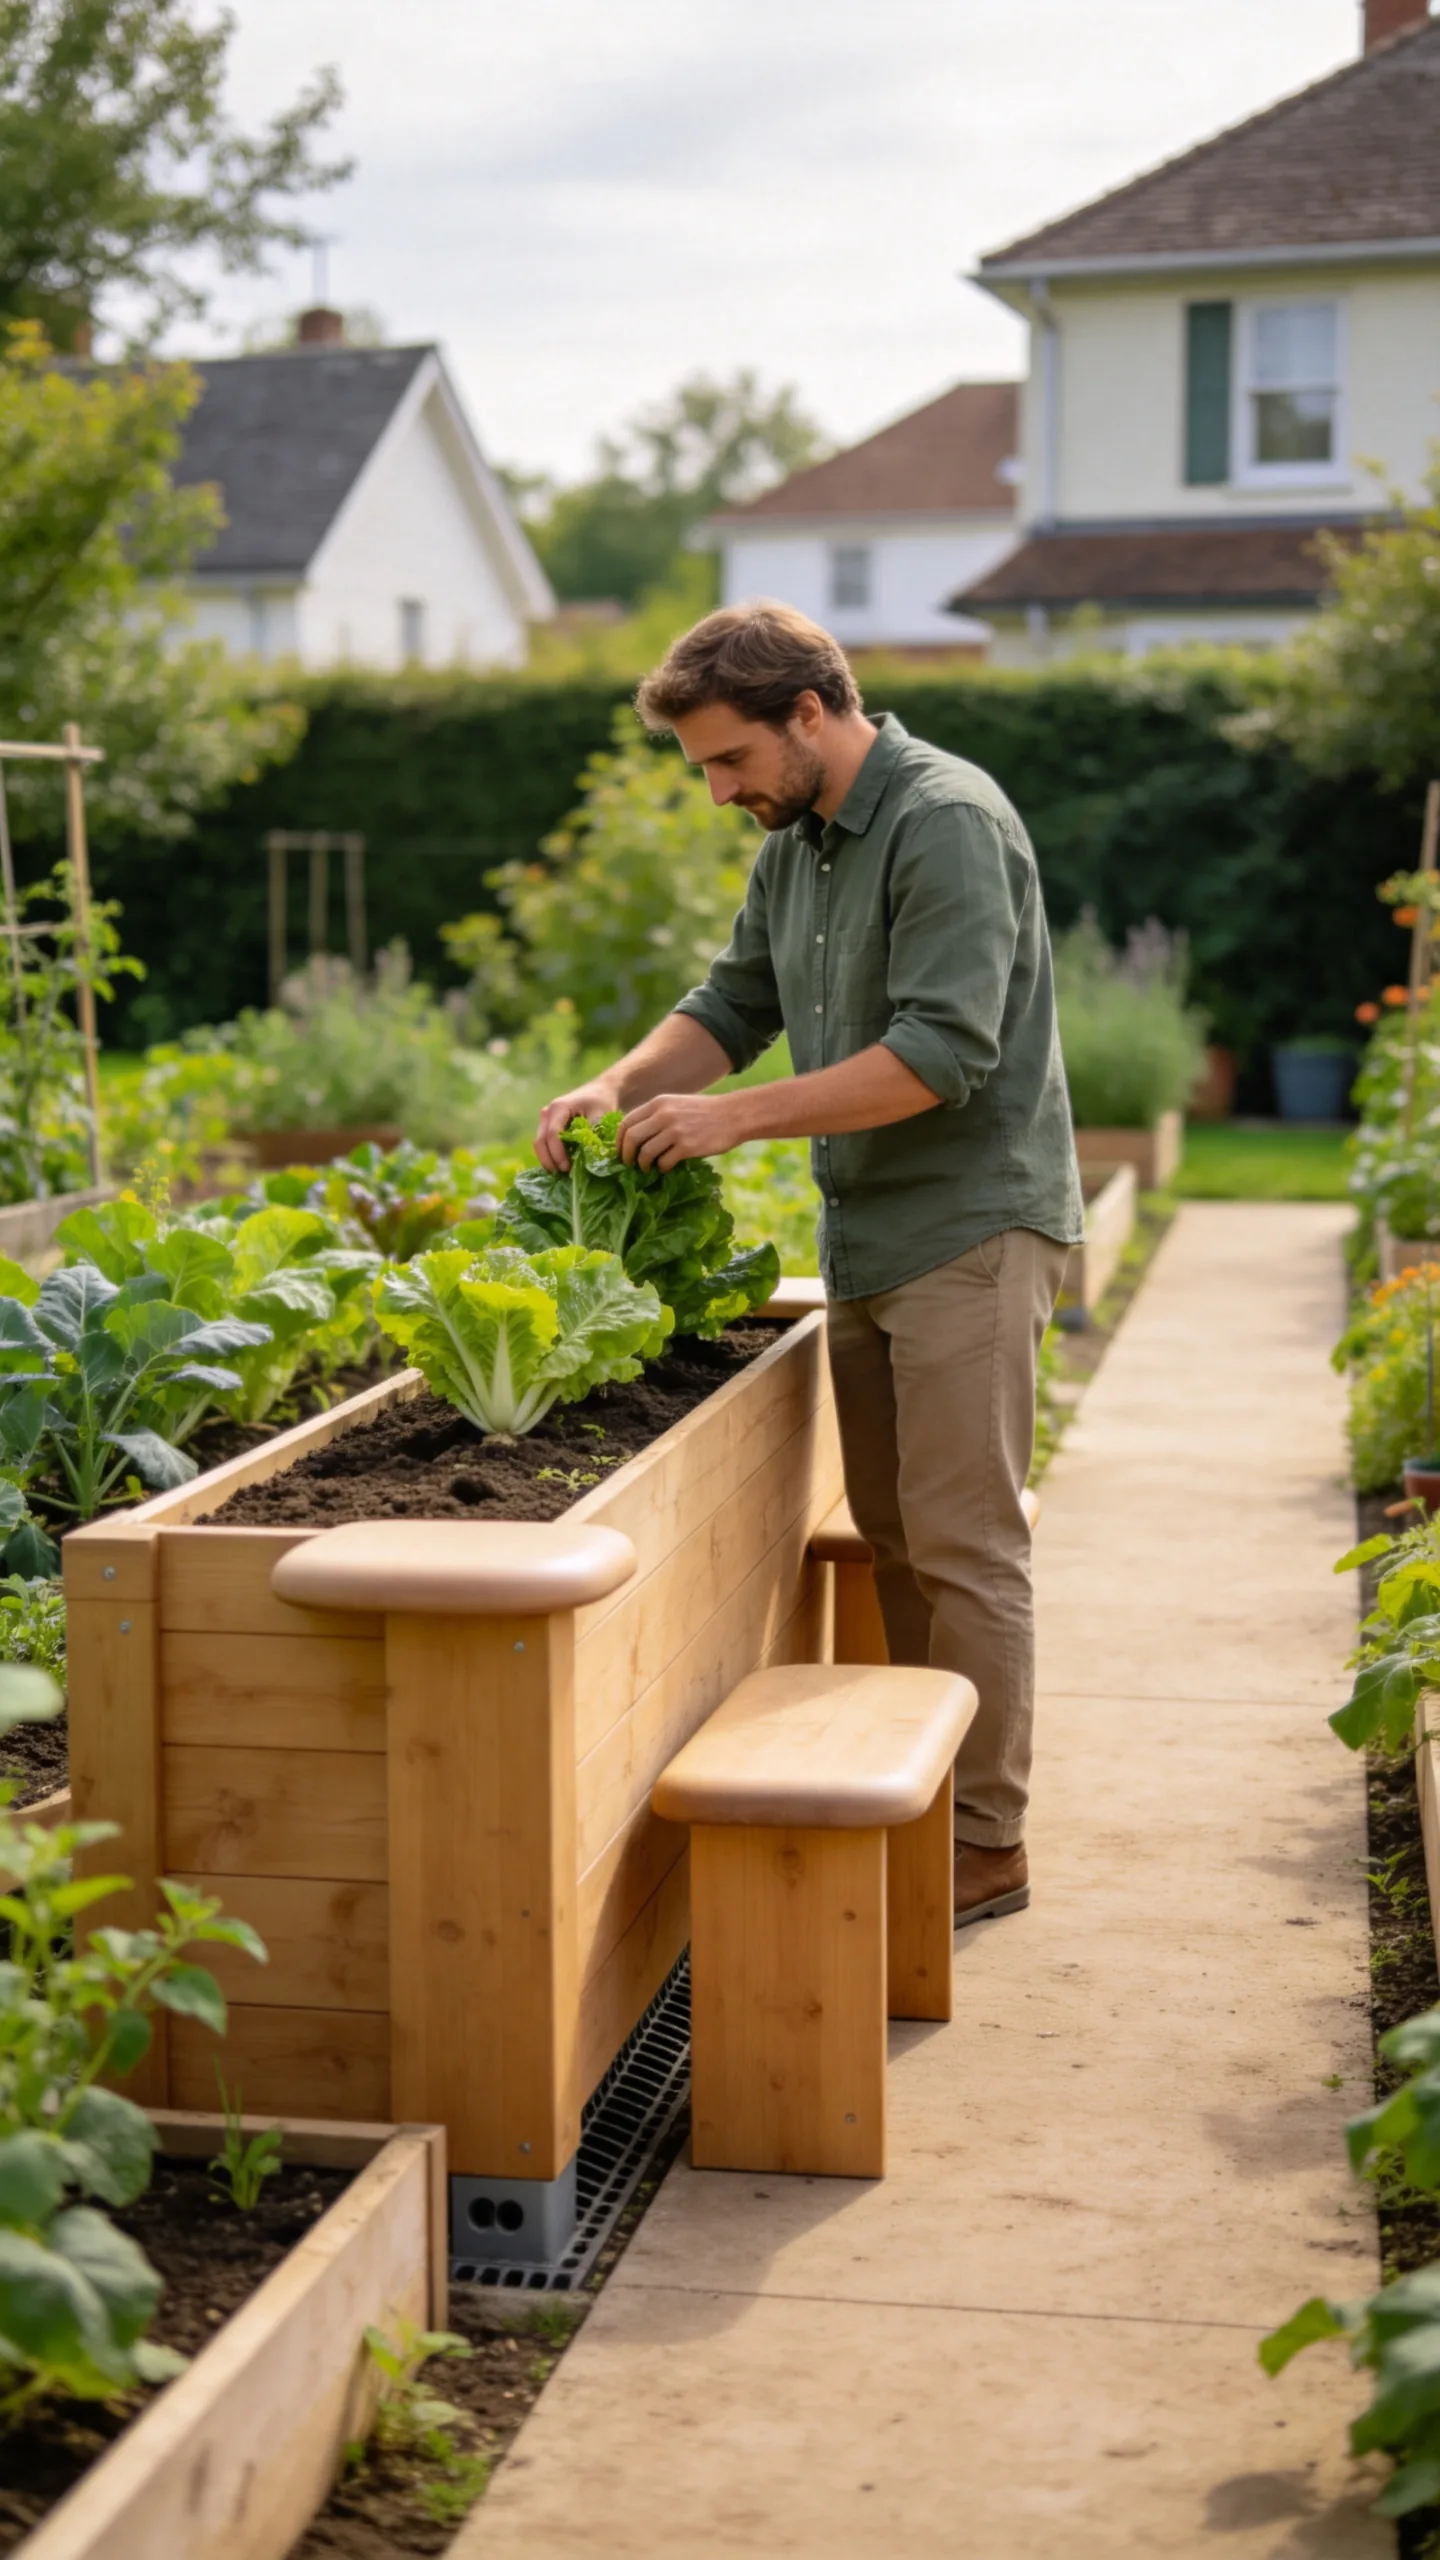
Use raised beds 28 to 36 inches tall to reduce bending during sowing, weeding, and harvesting. A broad top edge can provide a convenient perch, but it should not make the planting area too wide to reach comfortably.
Filling a deep bed entirely with premium soil can be expensive, so calculate the volume before construction. If the crop root zone allows it, use an appropriate lightweight base layer beneath at least 12 to 18 inches of quality vegetable-growing mix, while maintaining good drainage.
11. C-Shaped Bed With an Inner Work Zone
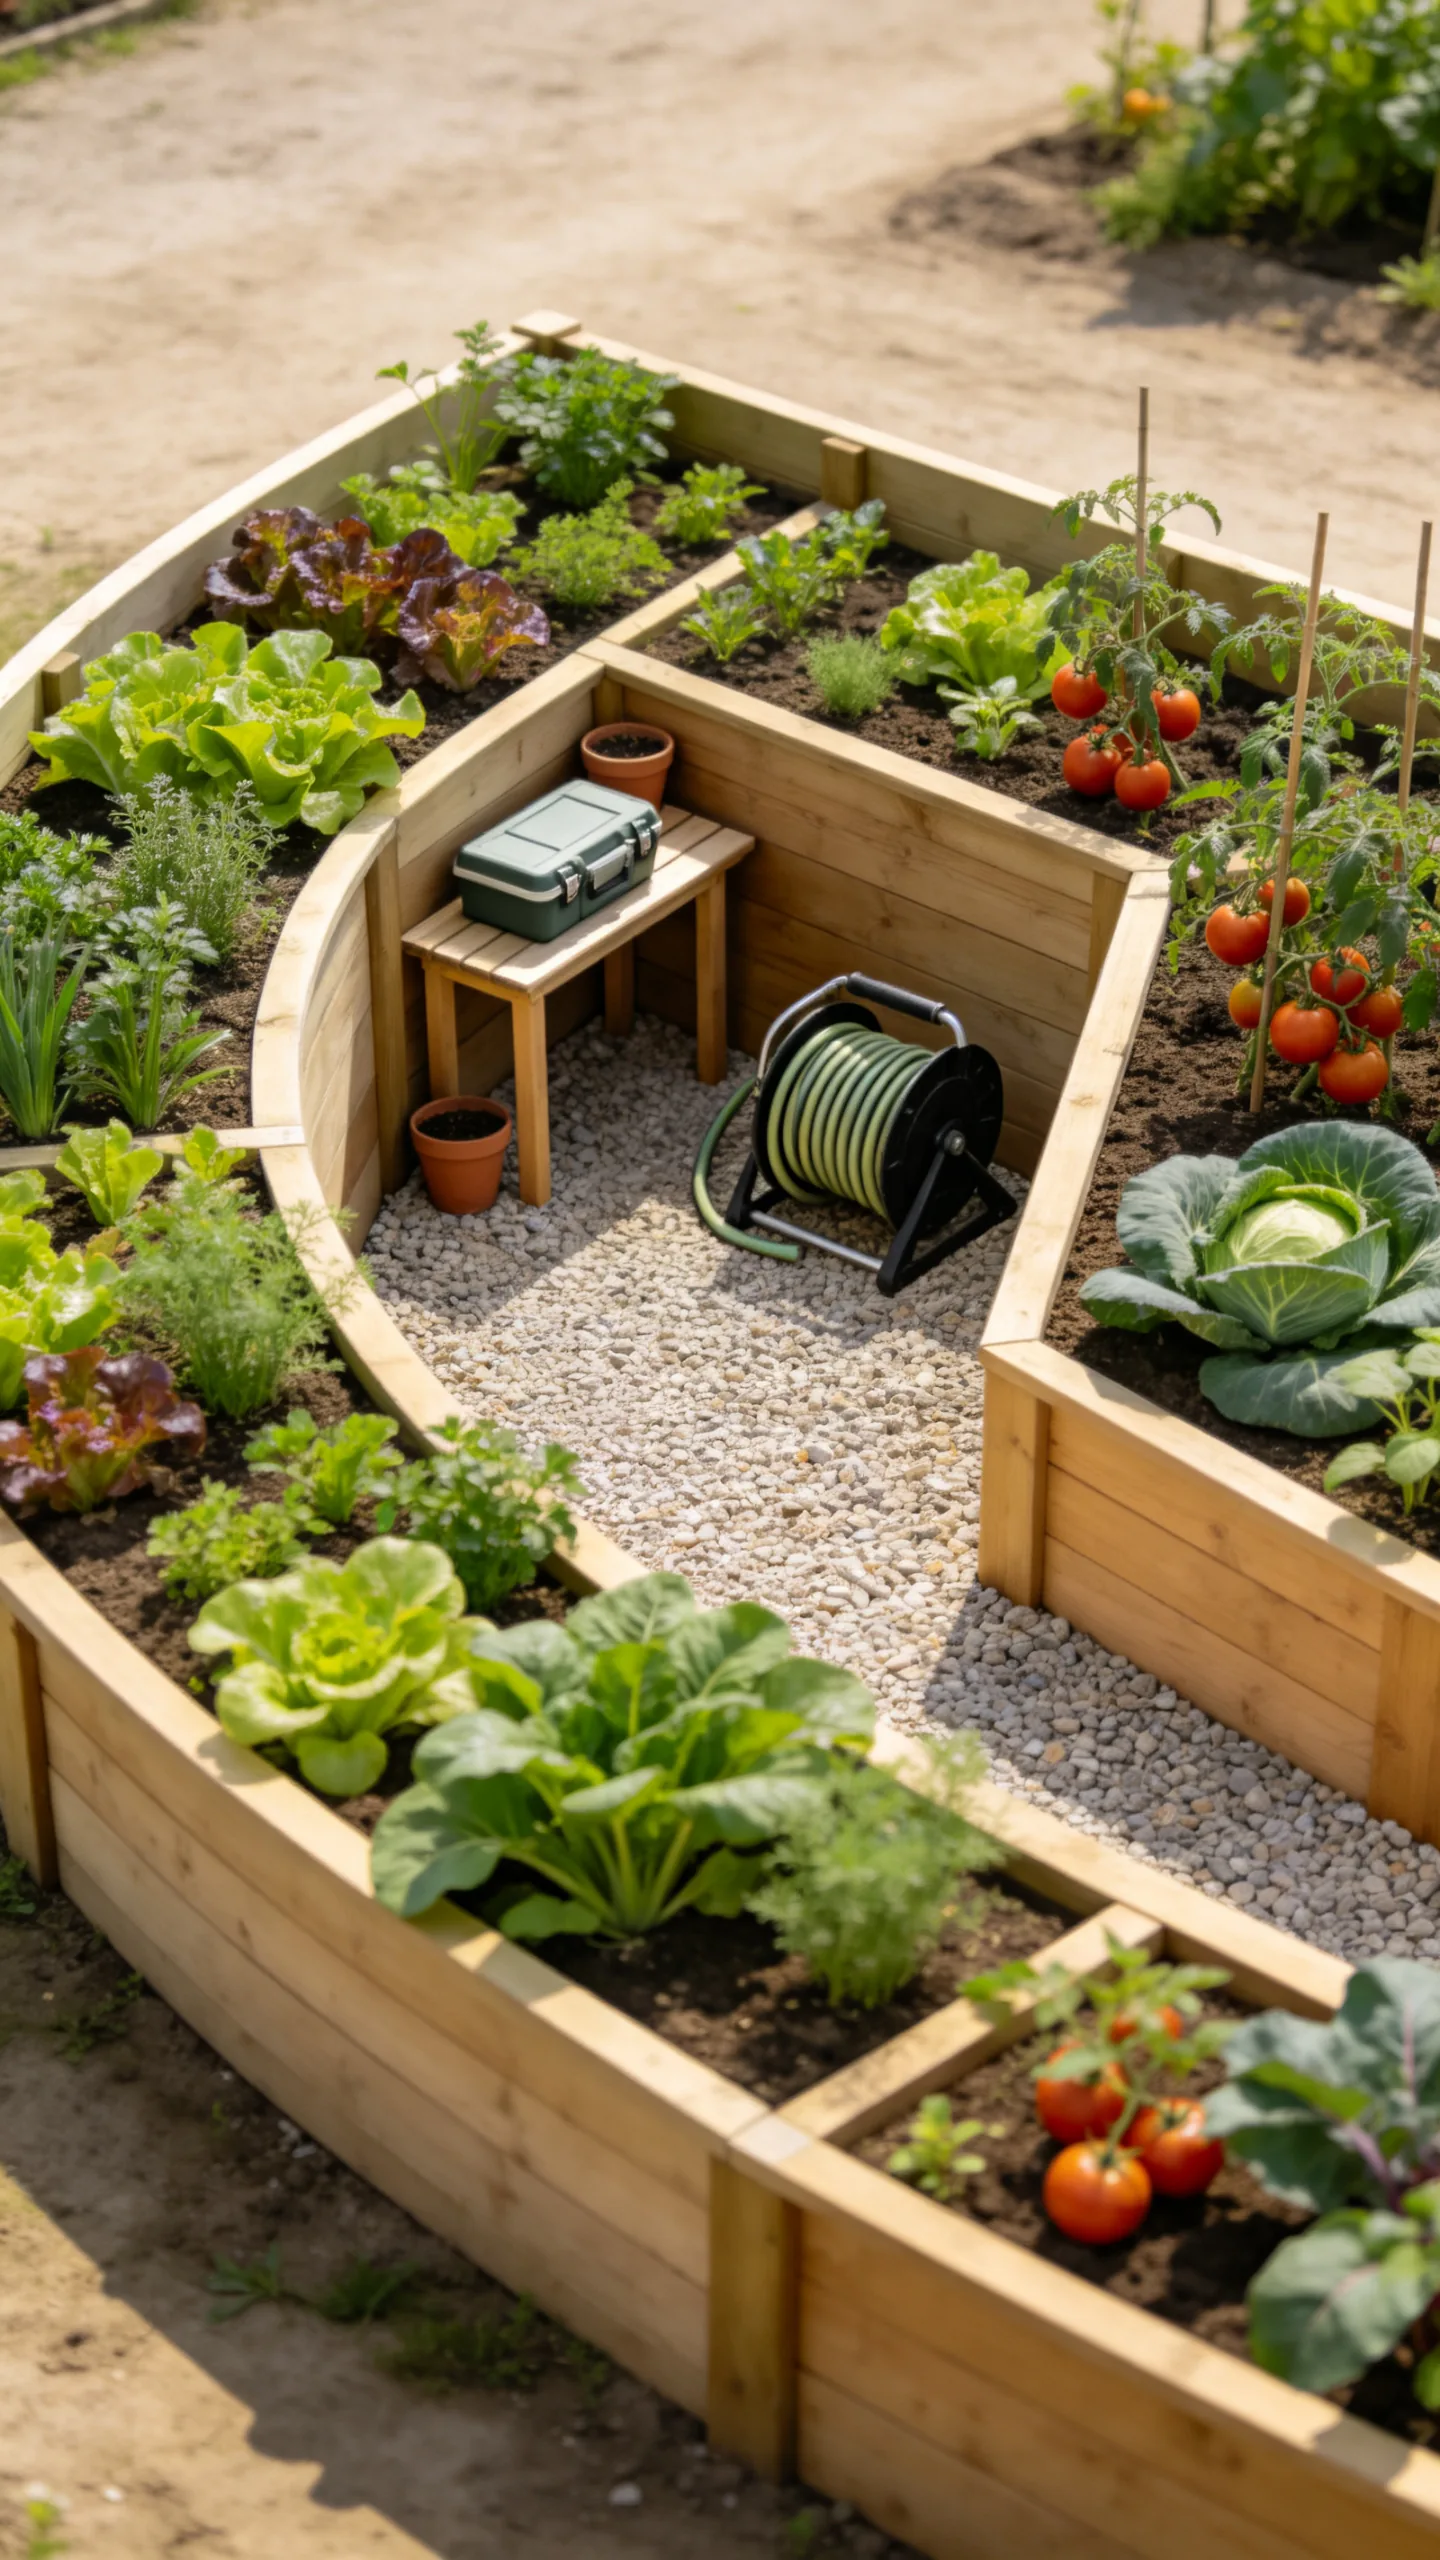
Build a broad C-shaped raised bed with an open center that acts as a compact work area. Unlike separate beds, this connected layout creates generous planting room while keeping most vegetables within arm’s reach.
Place a small potting bench, tool box, or hose reel in the center opening. Grow daily-use crops such as salad leaves and herbs nearest the work zone, with larger plants positioned toward the outer corners.
12. Checkerboard Beds and Pavers
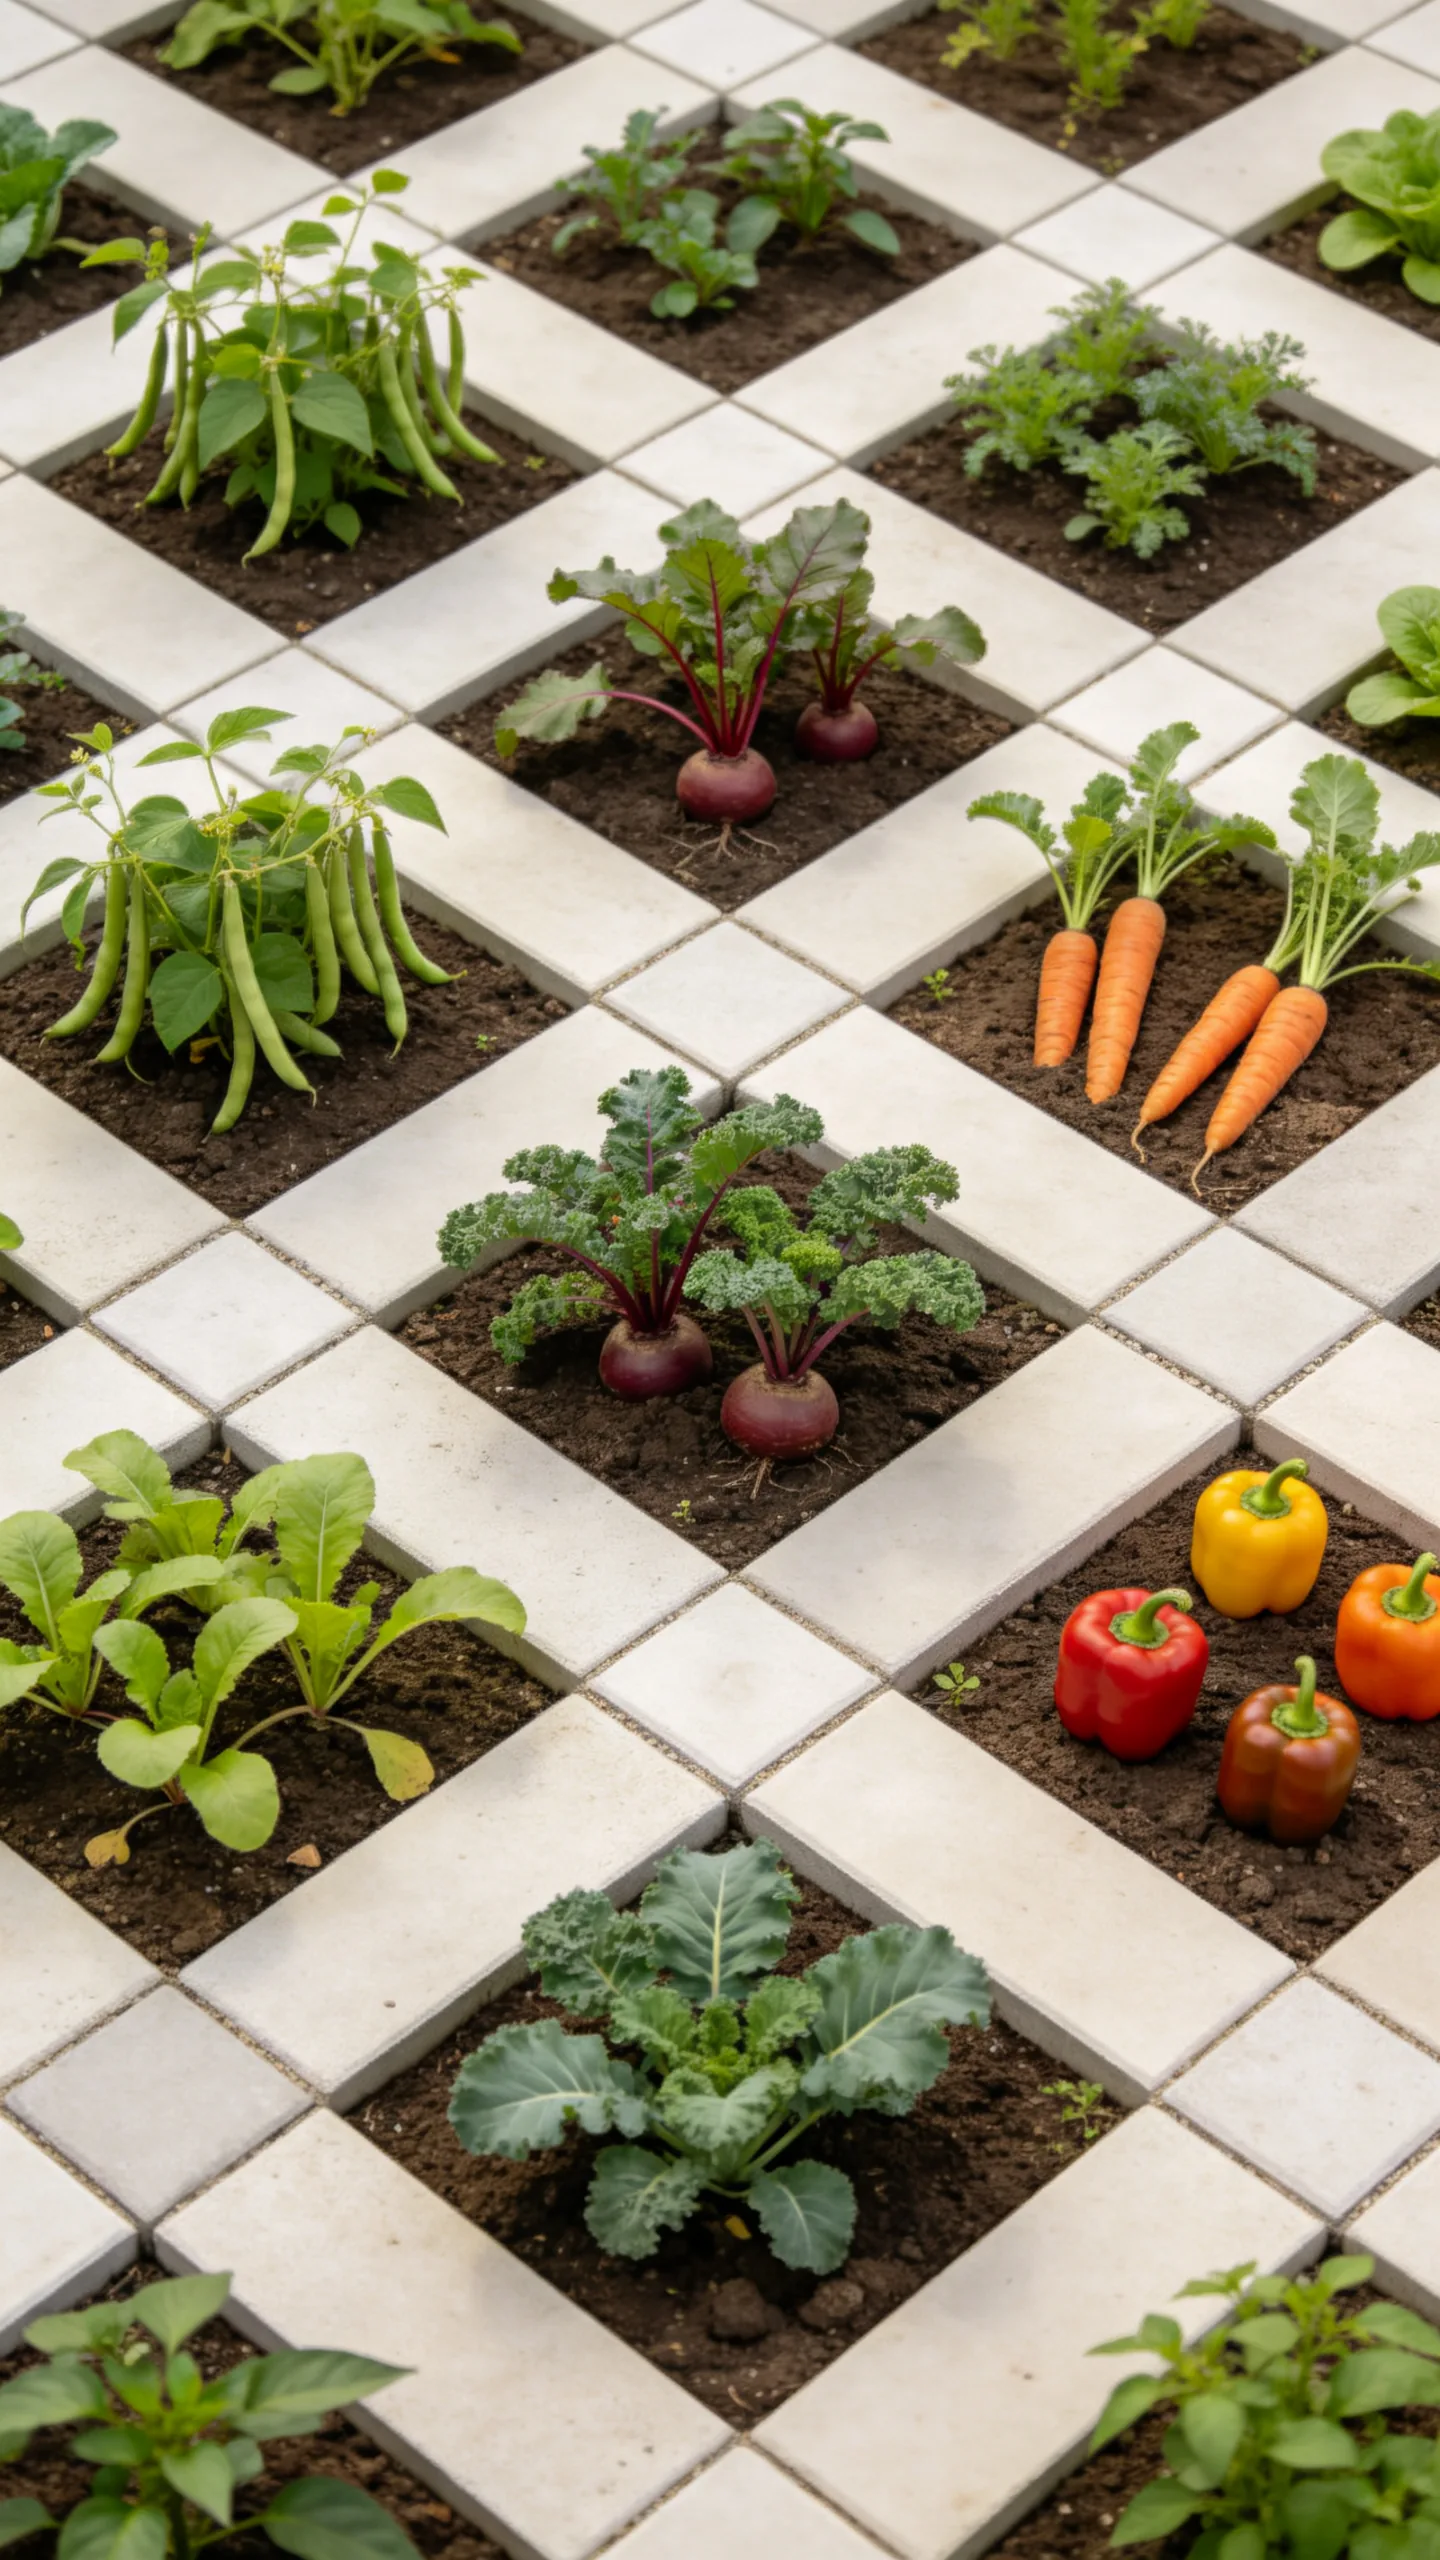
Alternate small square raised beds with large paving slabs to create a checkerboard-style vegetable patch. This modular layout looks structured and allows individual beds to be replanted without disturbing nearby crops.
Use the squares for compact vegetables such as bush beans, beets, carrots, dwarf kale, or patio peppers. Ensure the paving slopes slightly for drainage and avoid placing beds where runoff from treated surfaces could enter the soil.
13. Cedar Beds With Matching Trellises
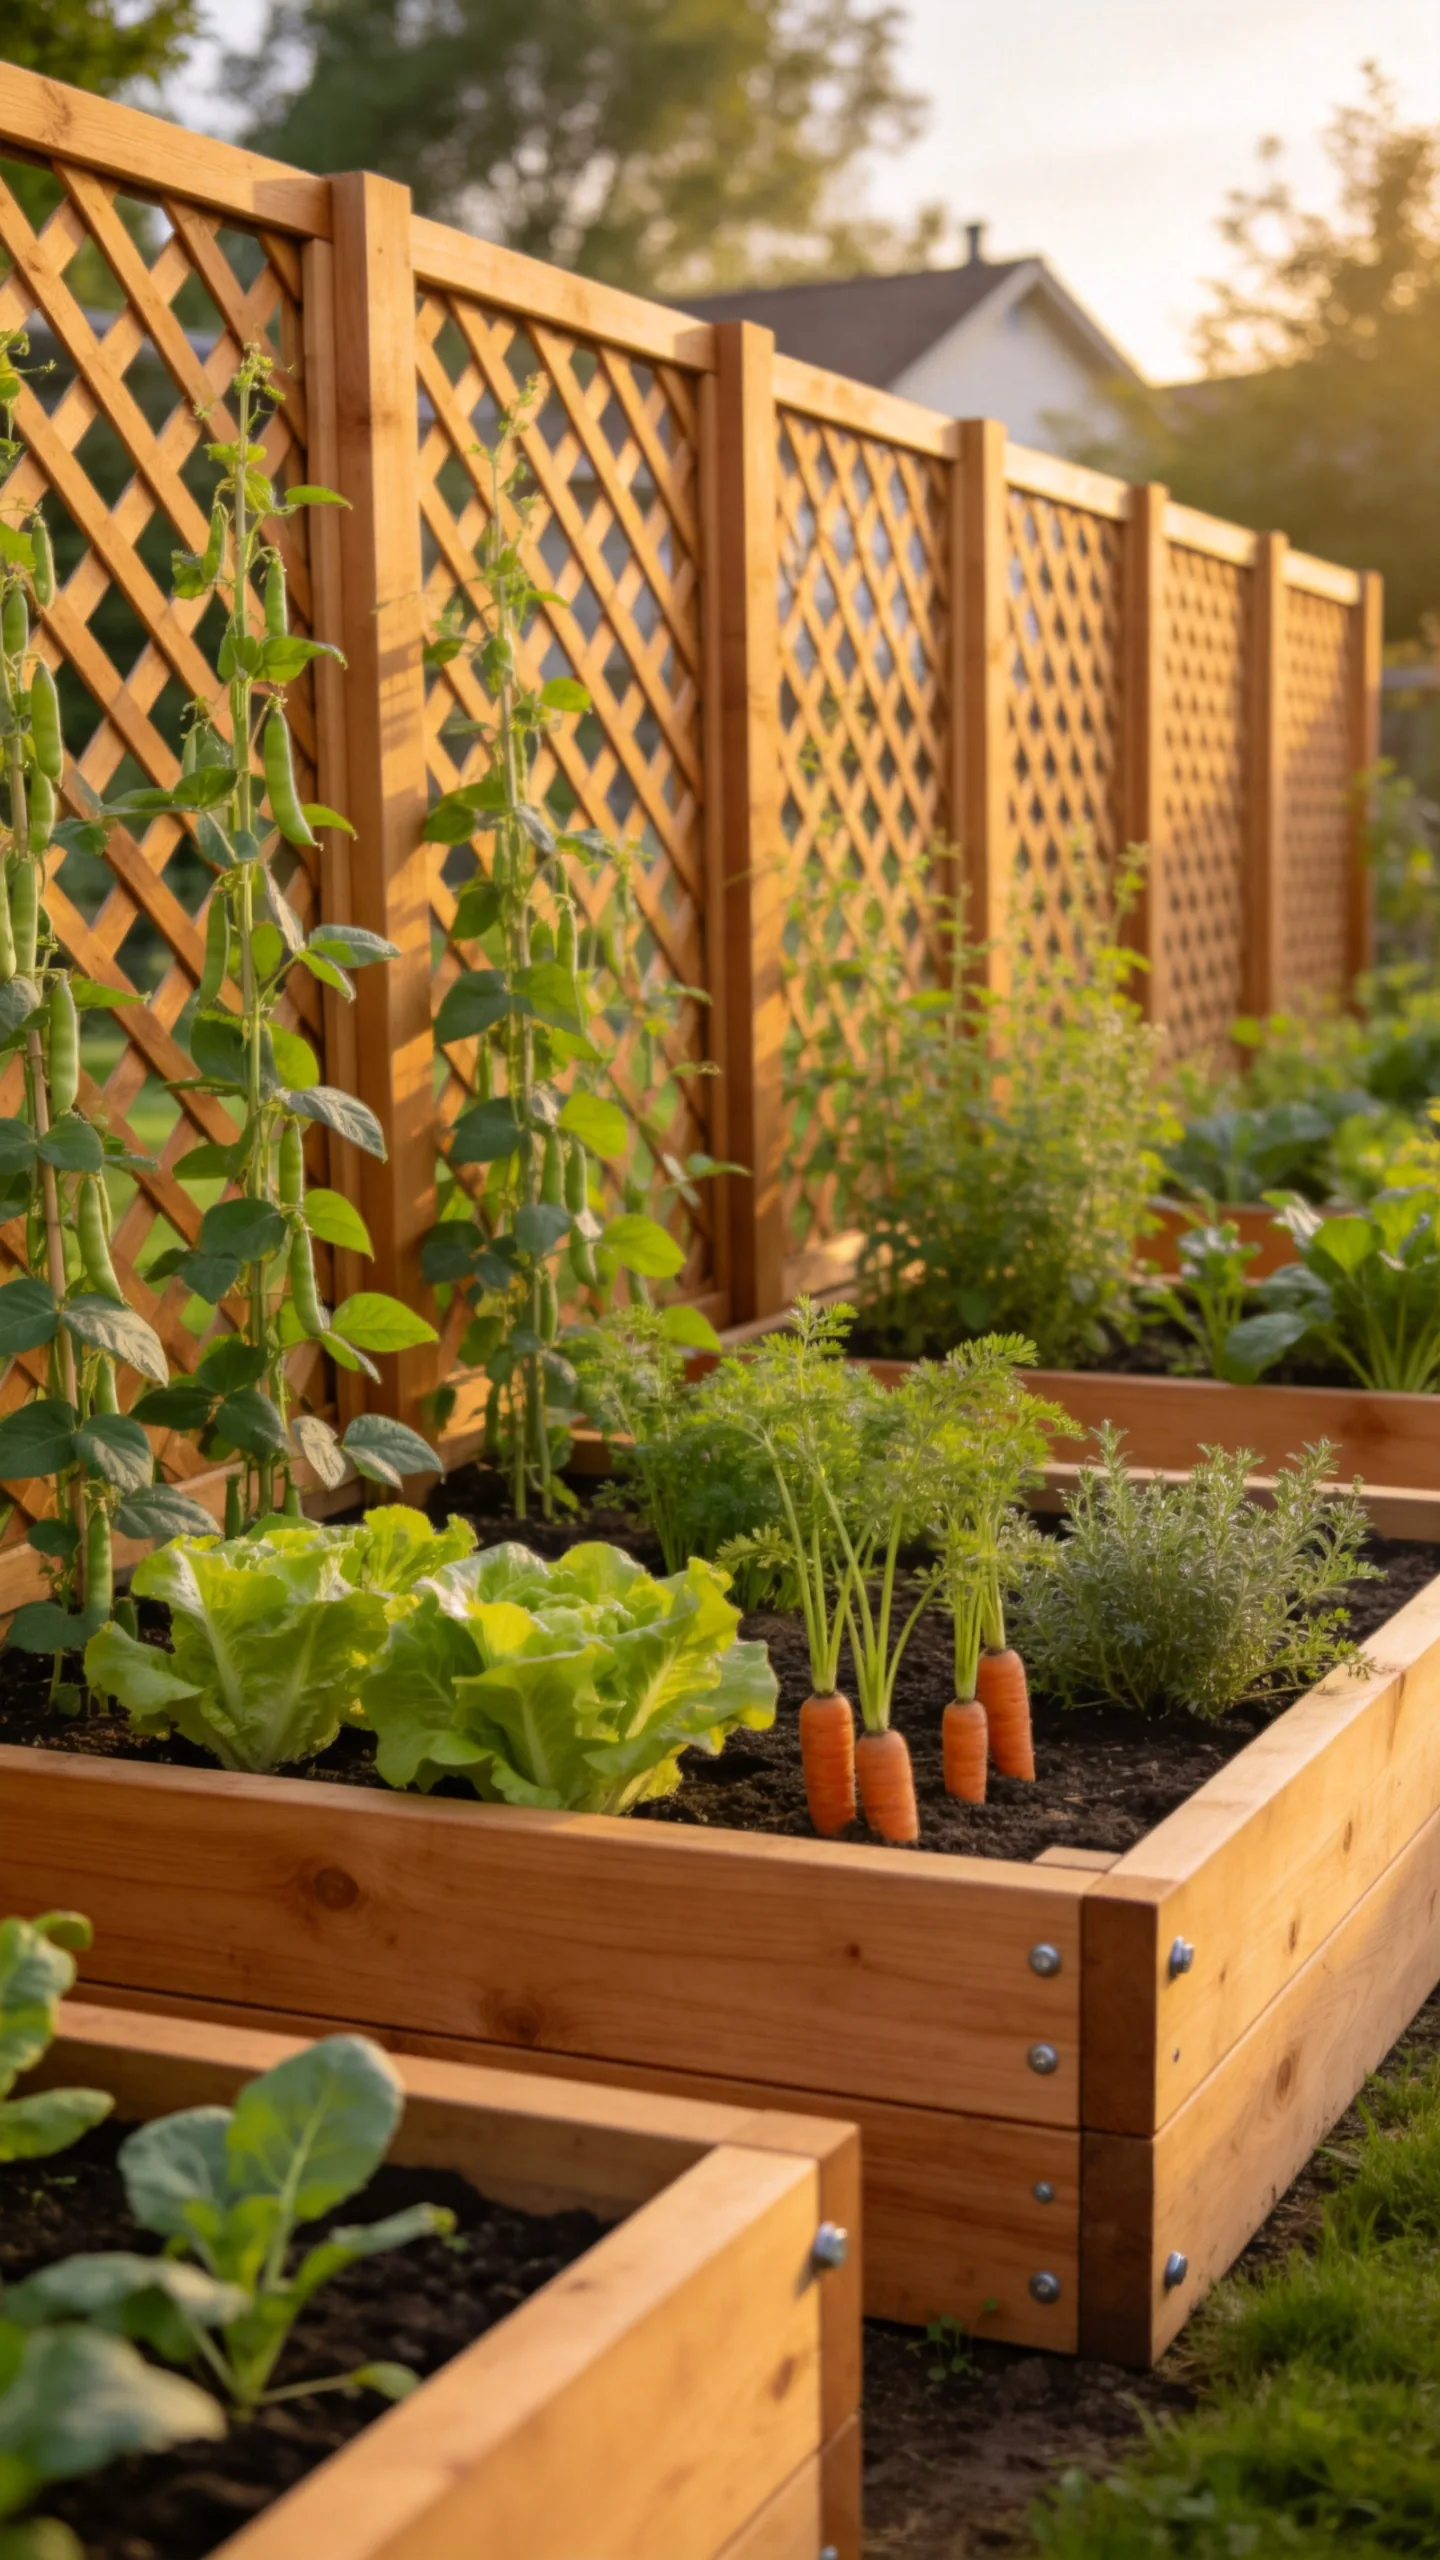
Construct uniform cedar beds and add trellises made from the same timber for a coordinated finish. Cedar is often selected for outdoor beds because it is naturally durable, although availability, lifespan, and cost vary by region.
Install trellises on the north side of beds in the Northern Hemisphere, or the south side in the Southern Hemisphere, to limit shading of shorter crops. Use corrosion-resistant screws and exterior-grade hardware to keep the structures secure through wet weather.
14. Galvanized Metal Bed Rows
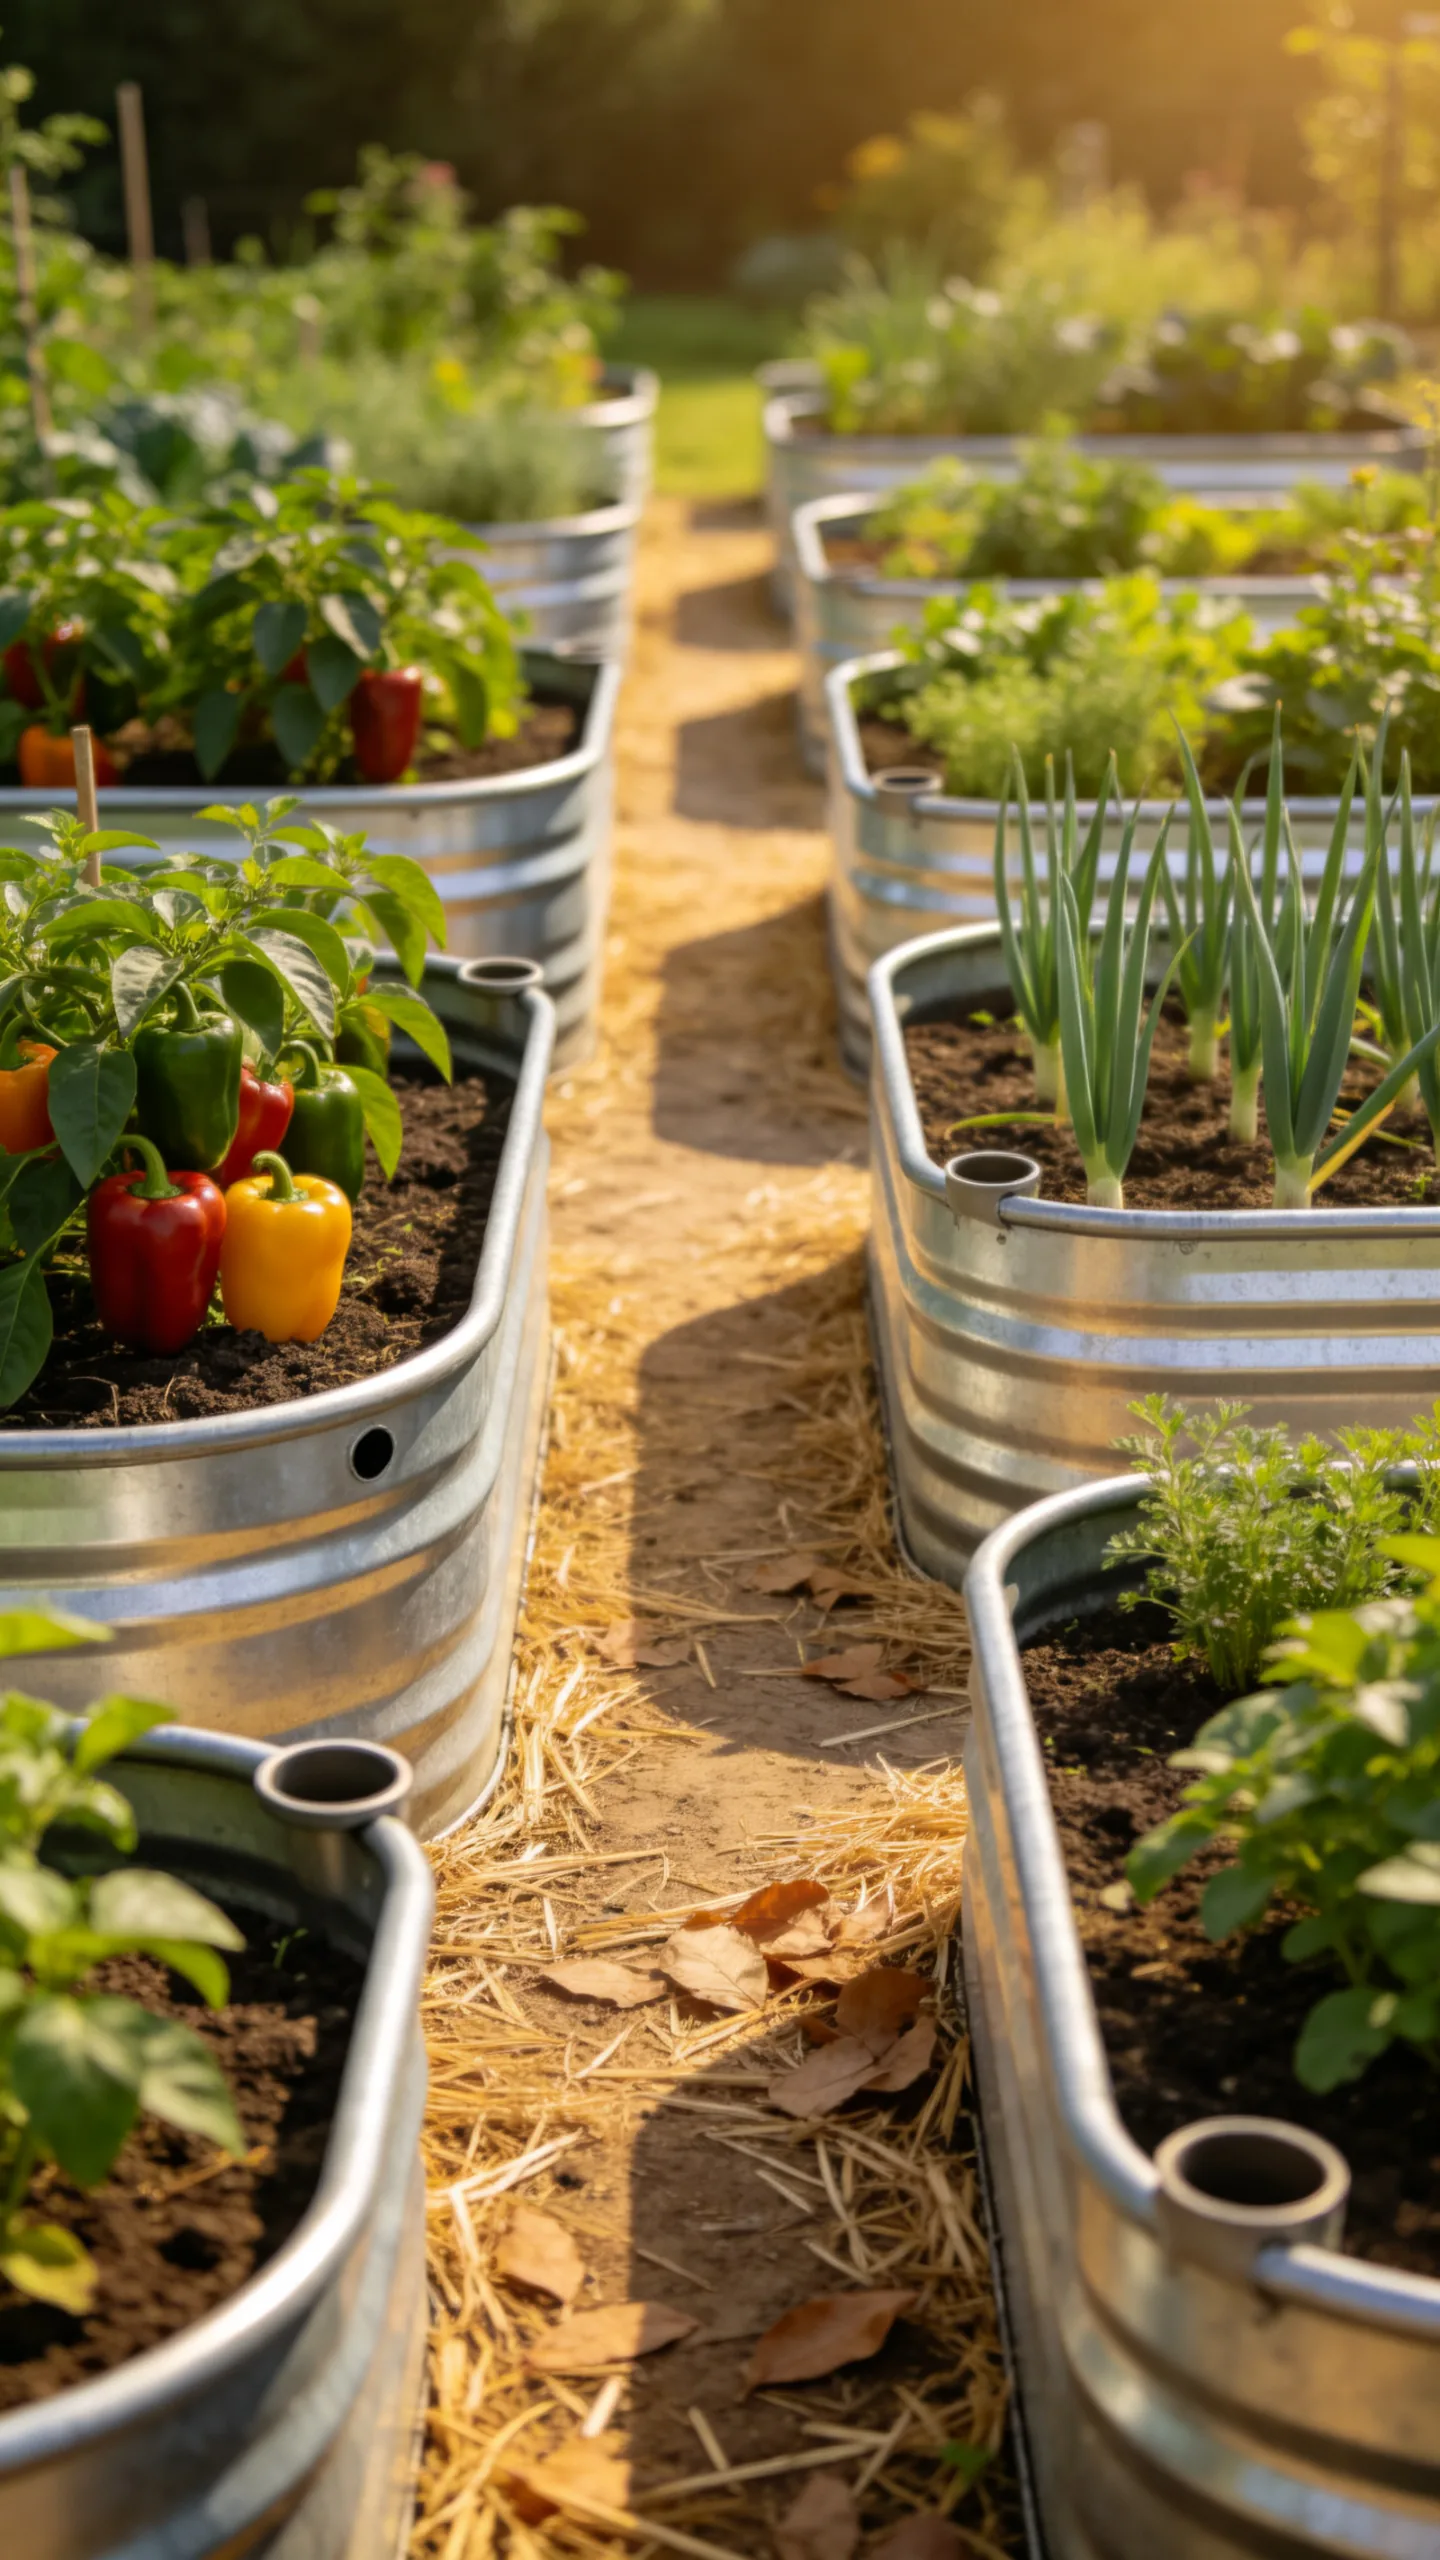
Line up galvanized metal beds in matching sizes for a crisp, contemporary vegetable patch. Rounded or rectangular metal planters are particularly useful where quick assembly is more practical than building timber frames.
Metal sides can become warm in intense sun, so monitor soil moisture and mulch the surface with straw, shredded leaves, or compost. Choose beds with safe finished edges and adequate drainage holes, especially when placing them over paving.
15. Brick-Edged Raised Beds
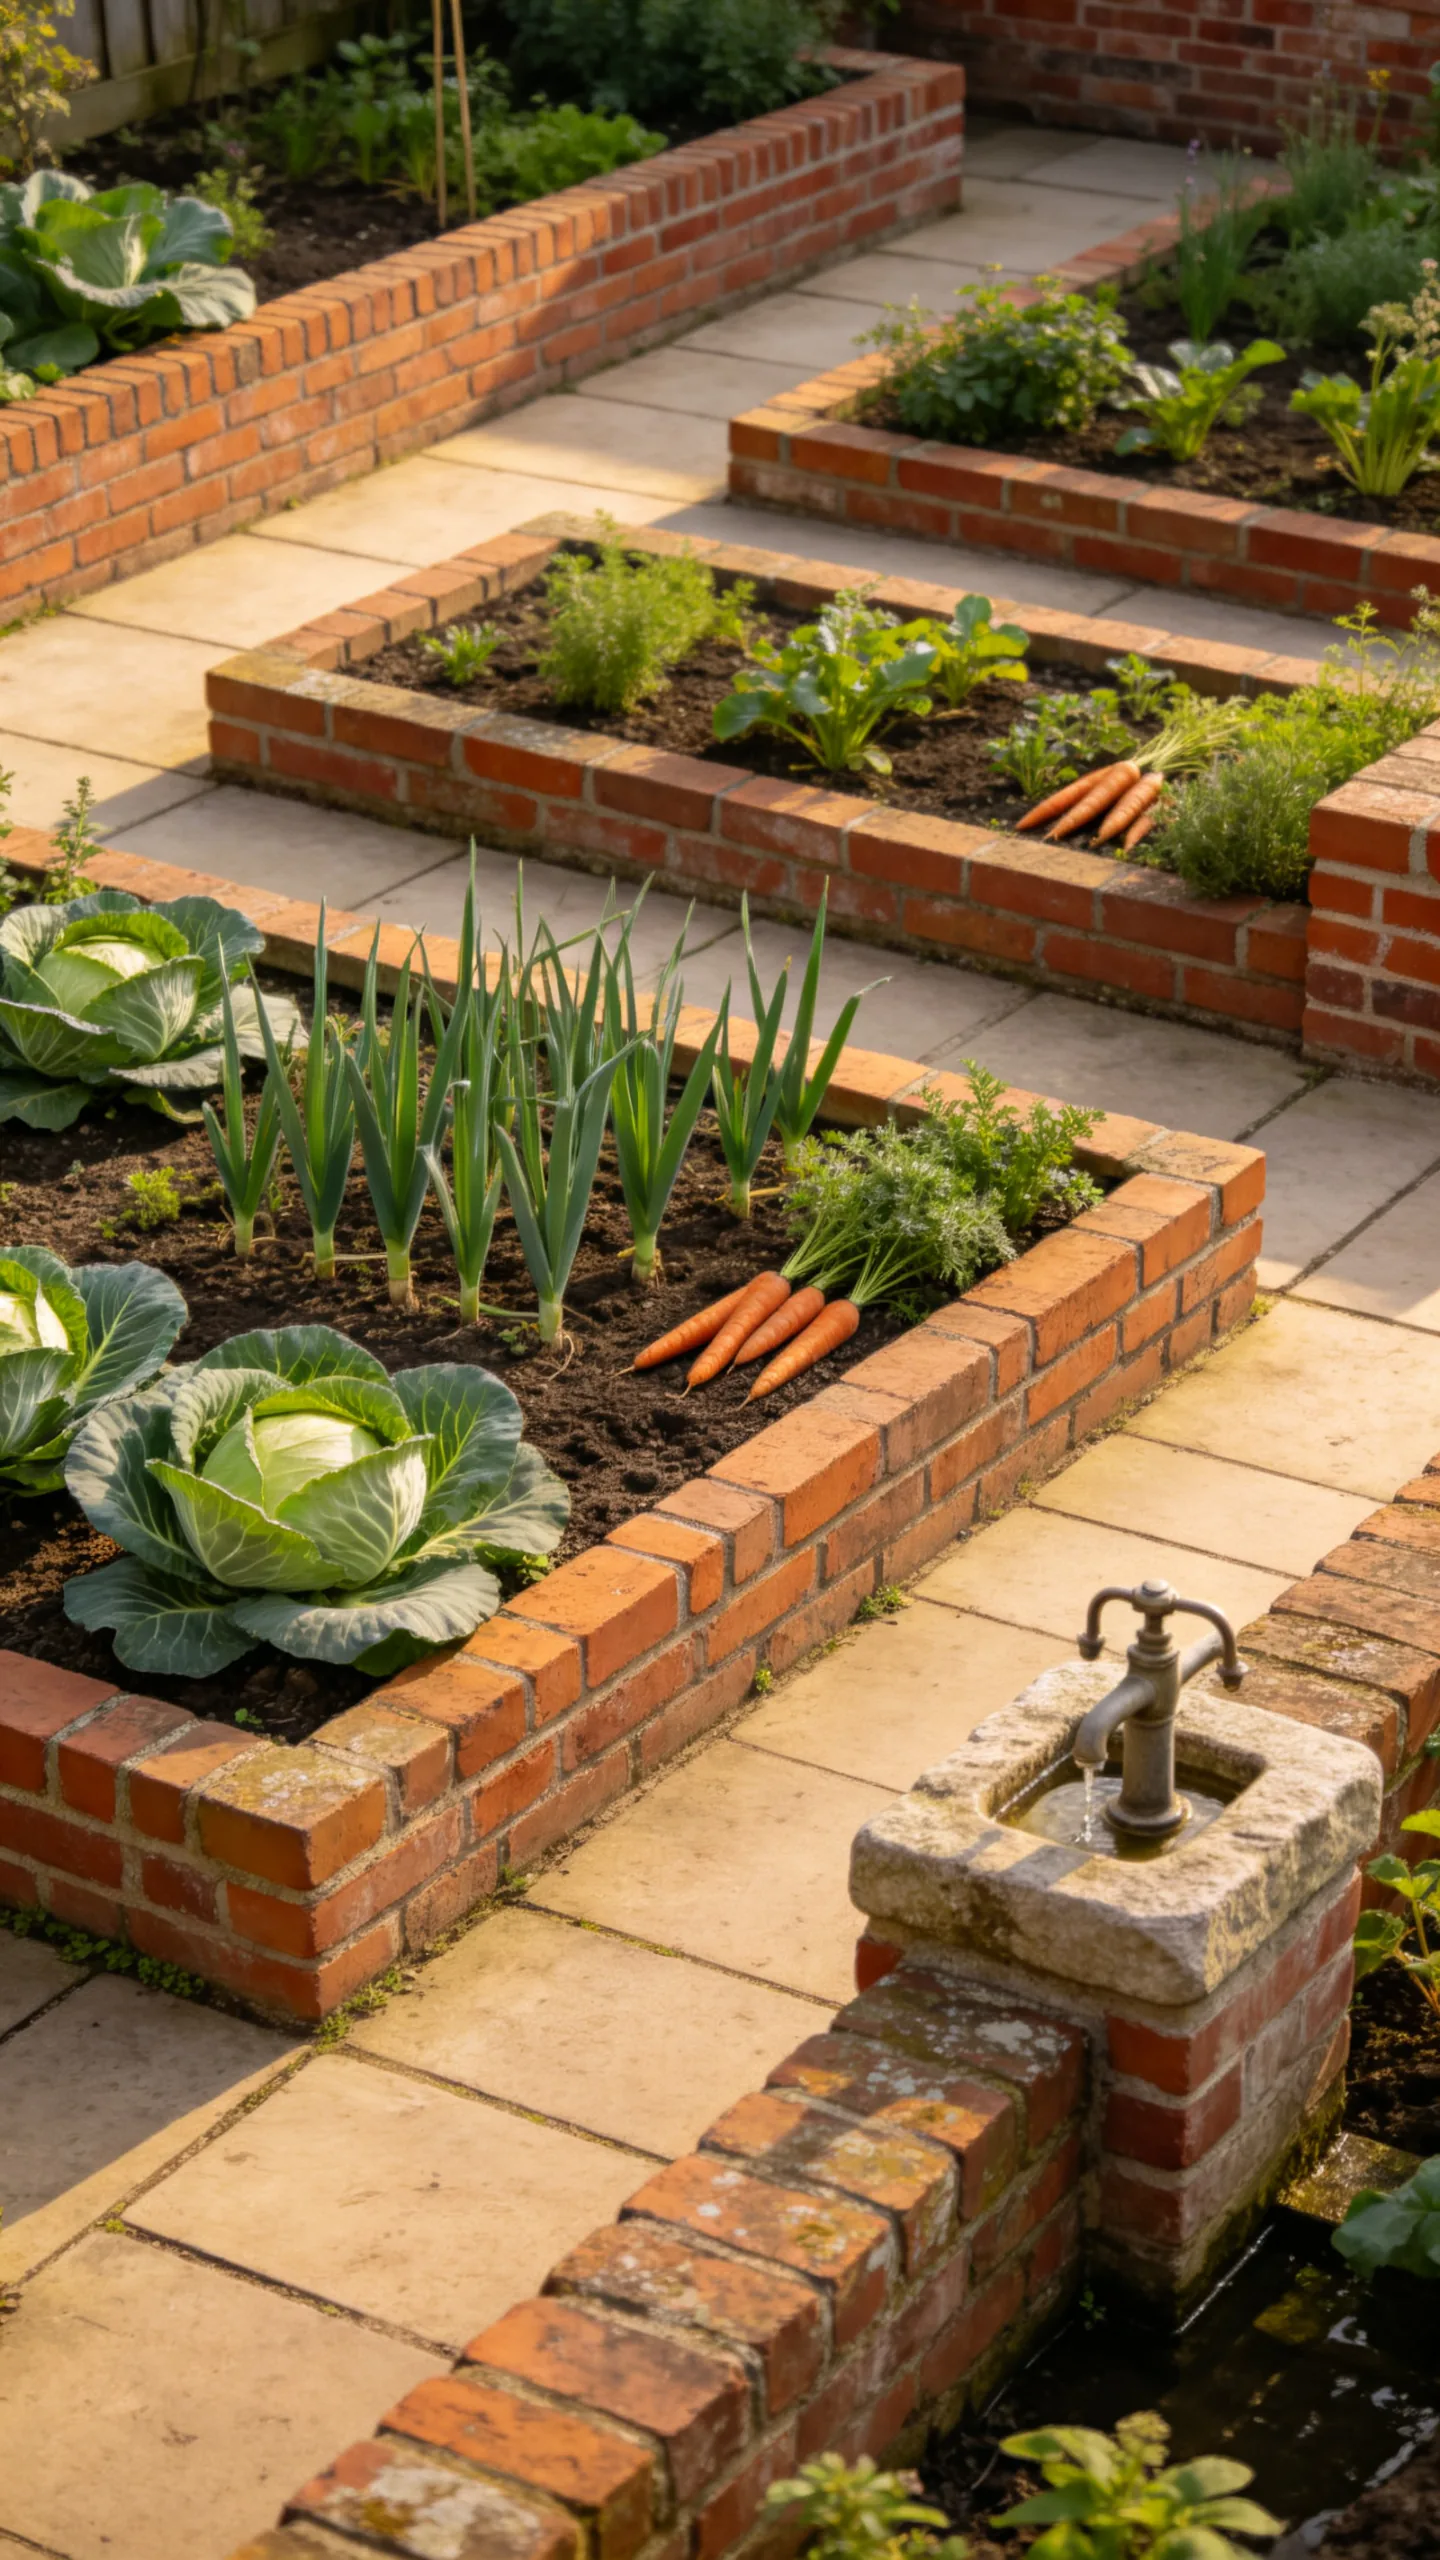
Create permanent raised beds with brick walls for a traditional kitchen-garden layout. Repeating the same brick around each bed visually connects the vegetable patch with nearby paths, patios, or house walls.
Use mortar for stable, taller structures or dry-stack low beds on a level base where appropriate. Because brick beds are difficult to move, confirm sun exposure, path width, water access, and drainage before construction begins.
16. Octagonal Beds With Center Trellises
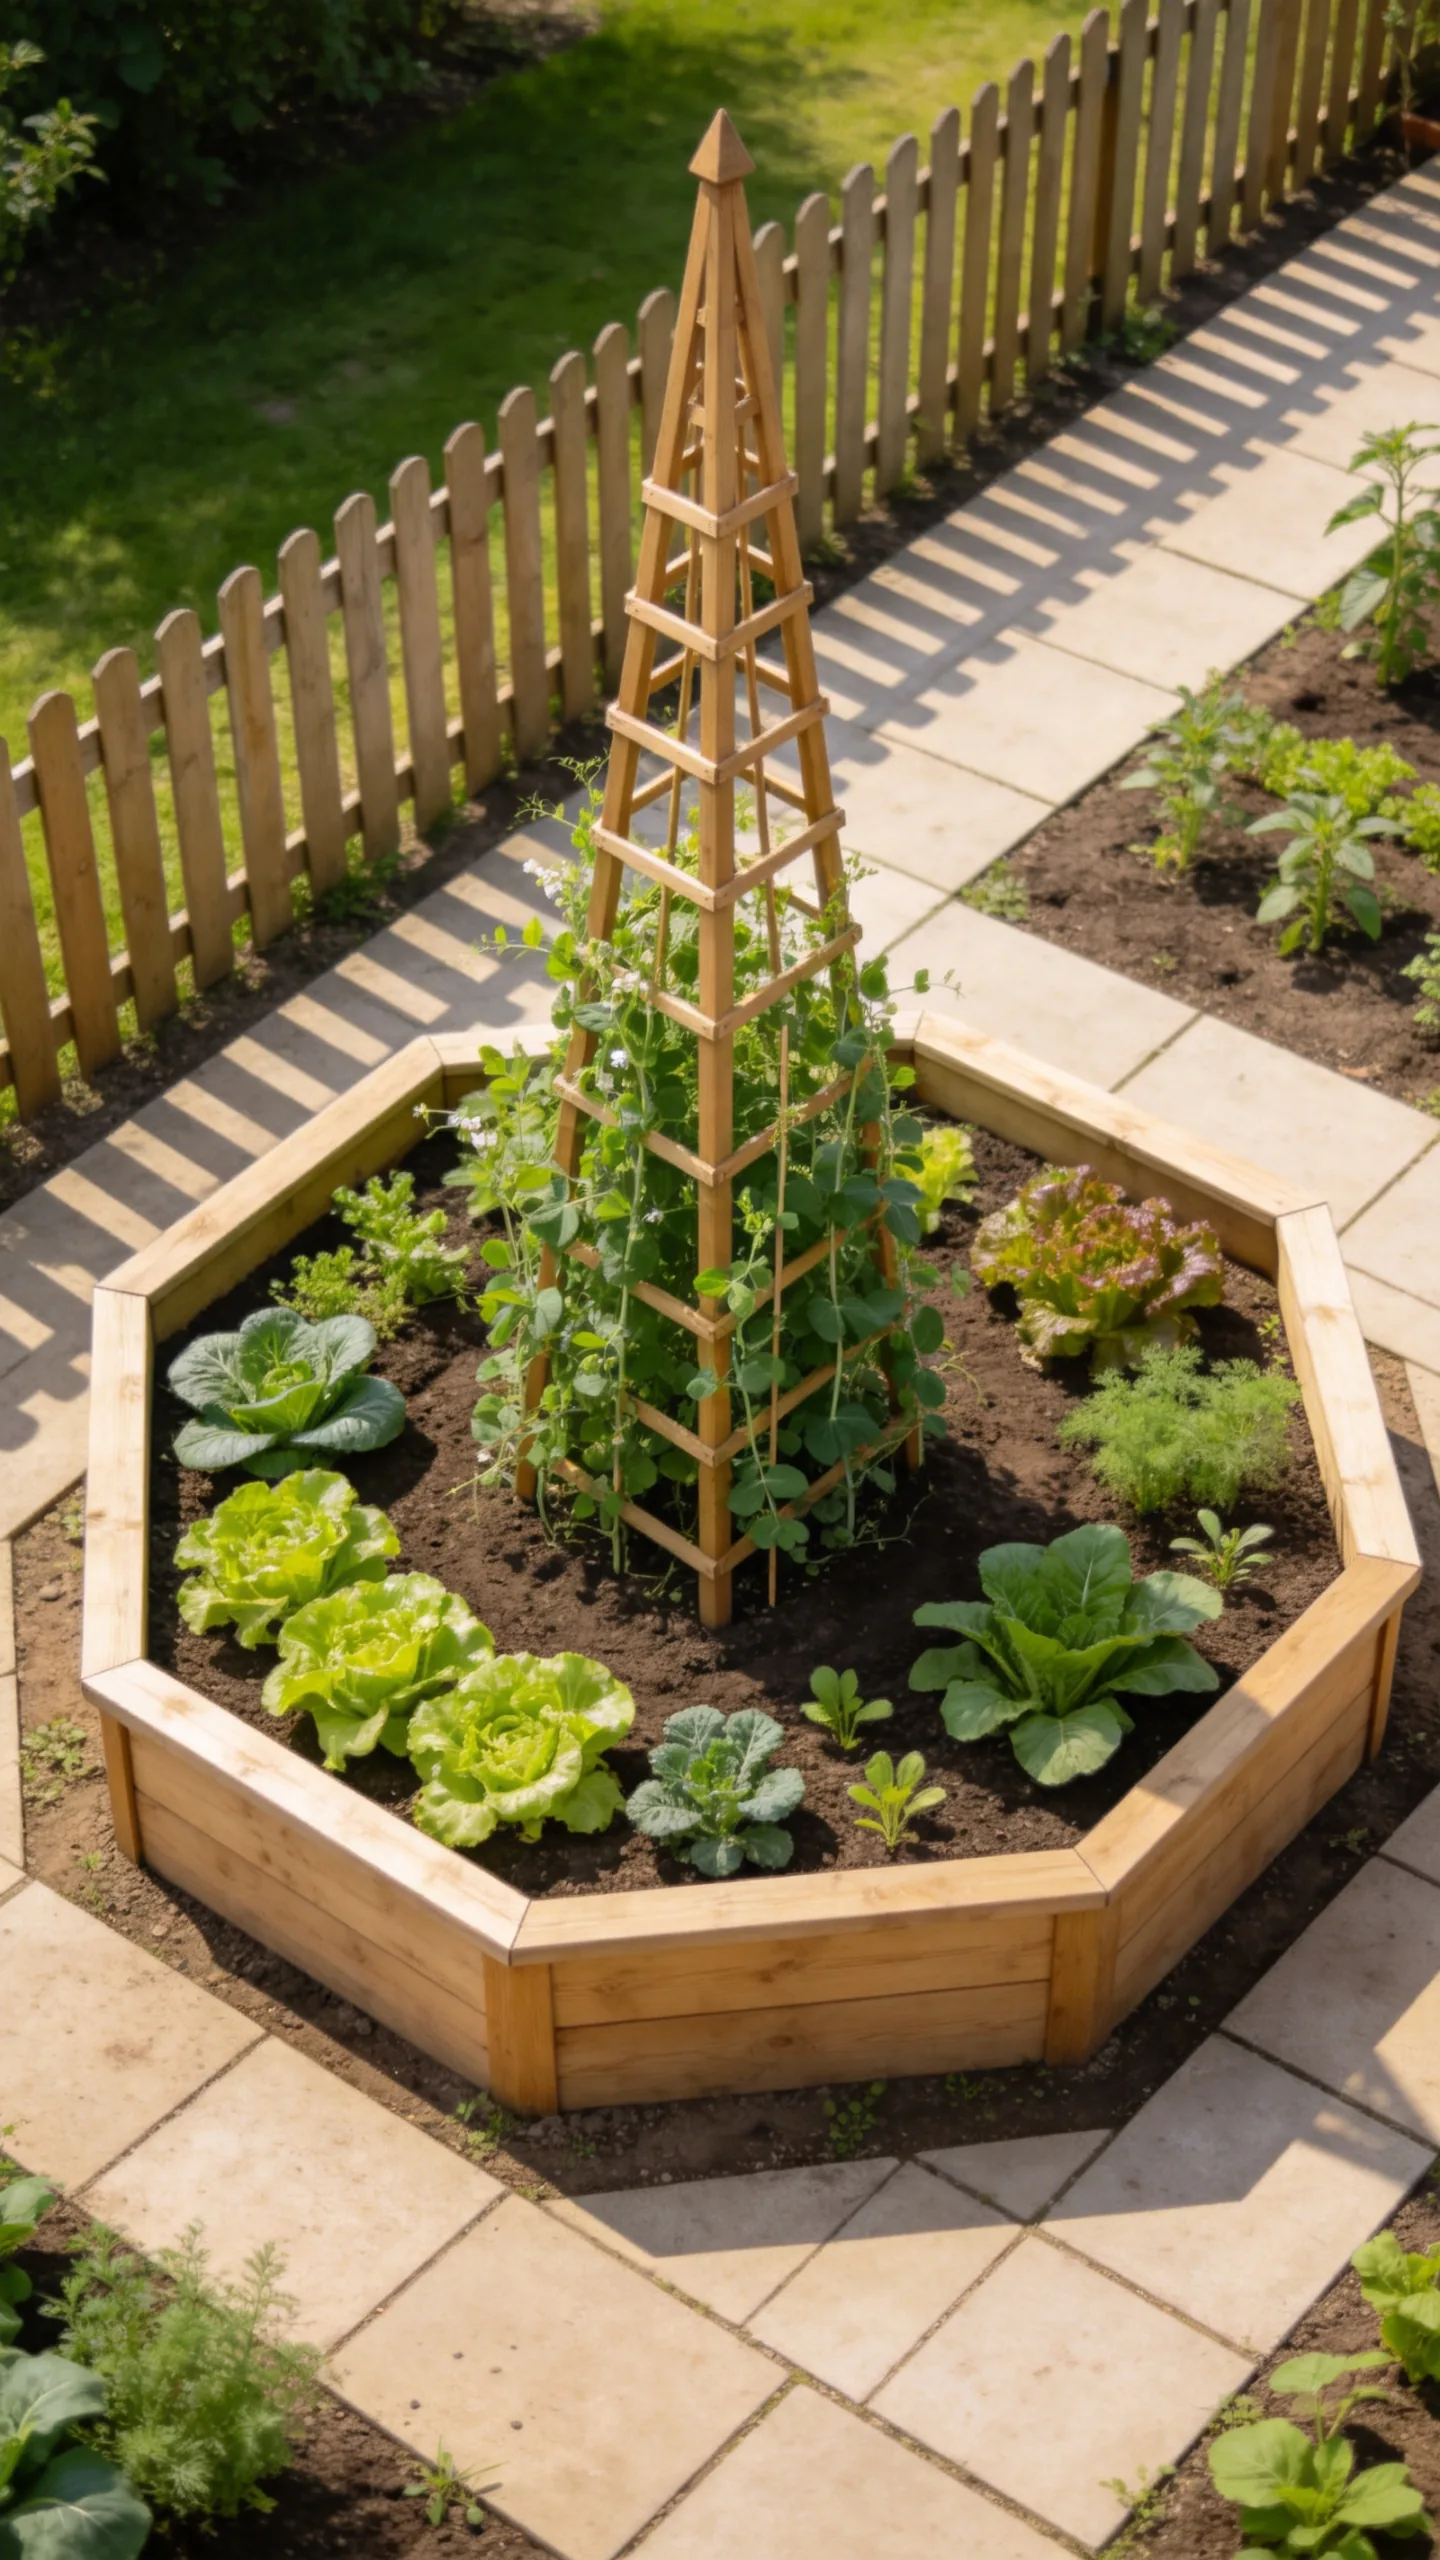
Use octagonal raised beds to soften a layout dominated by straight fences and rectangular patios. A tall obelisk or teepee trellis in the center gives each bed a clear focal point and provides vertical growing room.
Plant climbing peas or beans around the support and place shallow-rooted greens near the outer edge. Keep the bed diameter manageable so you can reach the center without leaning on the soil or compacting it.
17. Narrow Side-Yard Bed Sequence
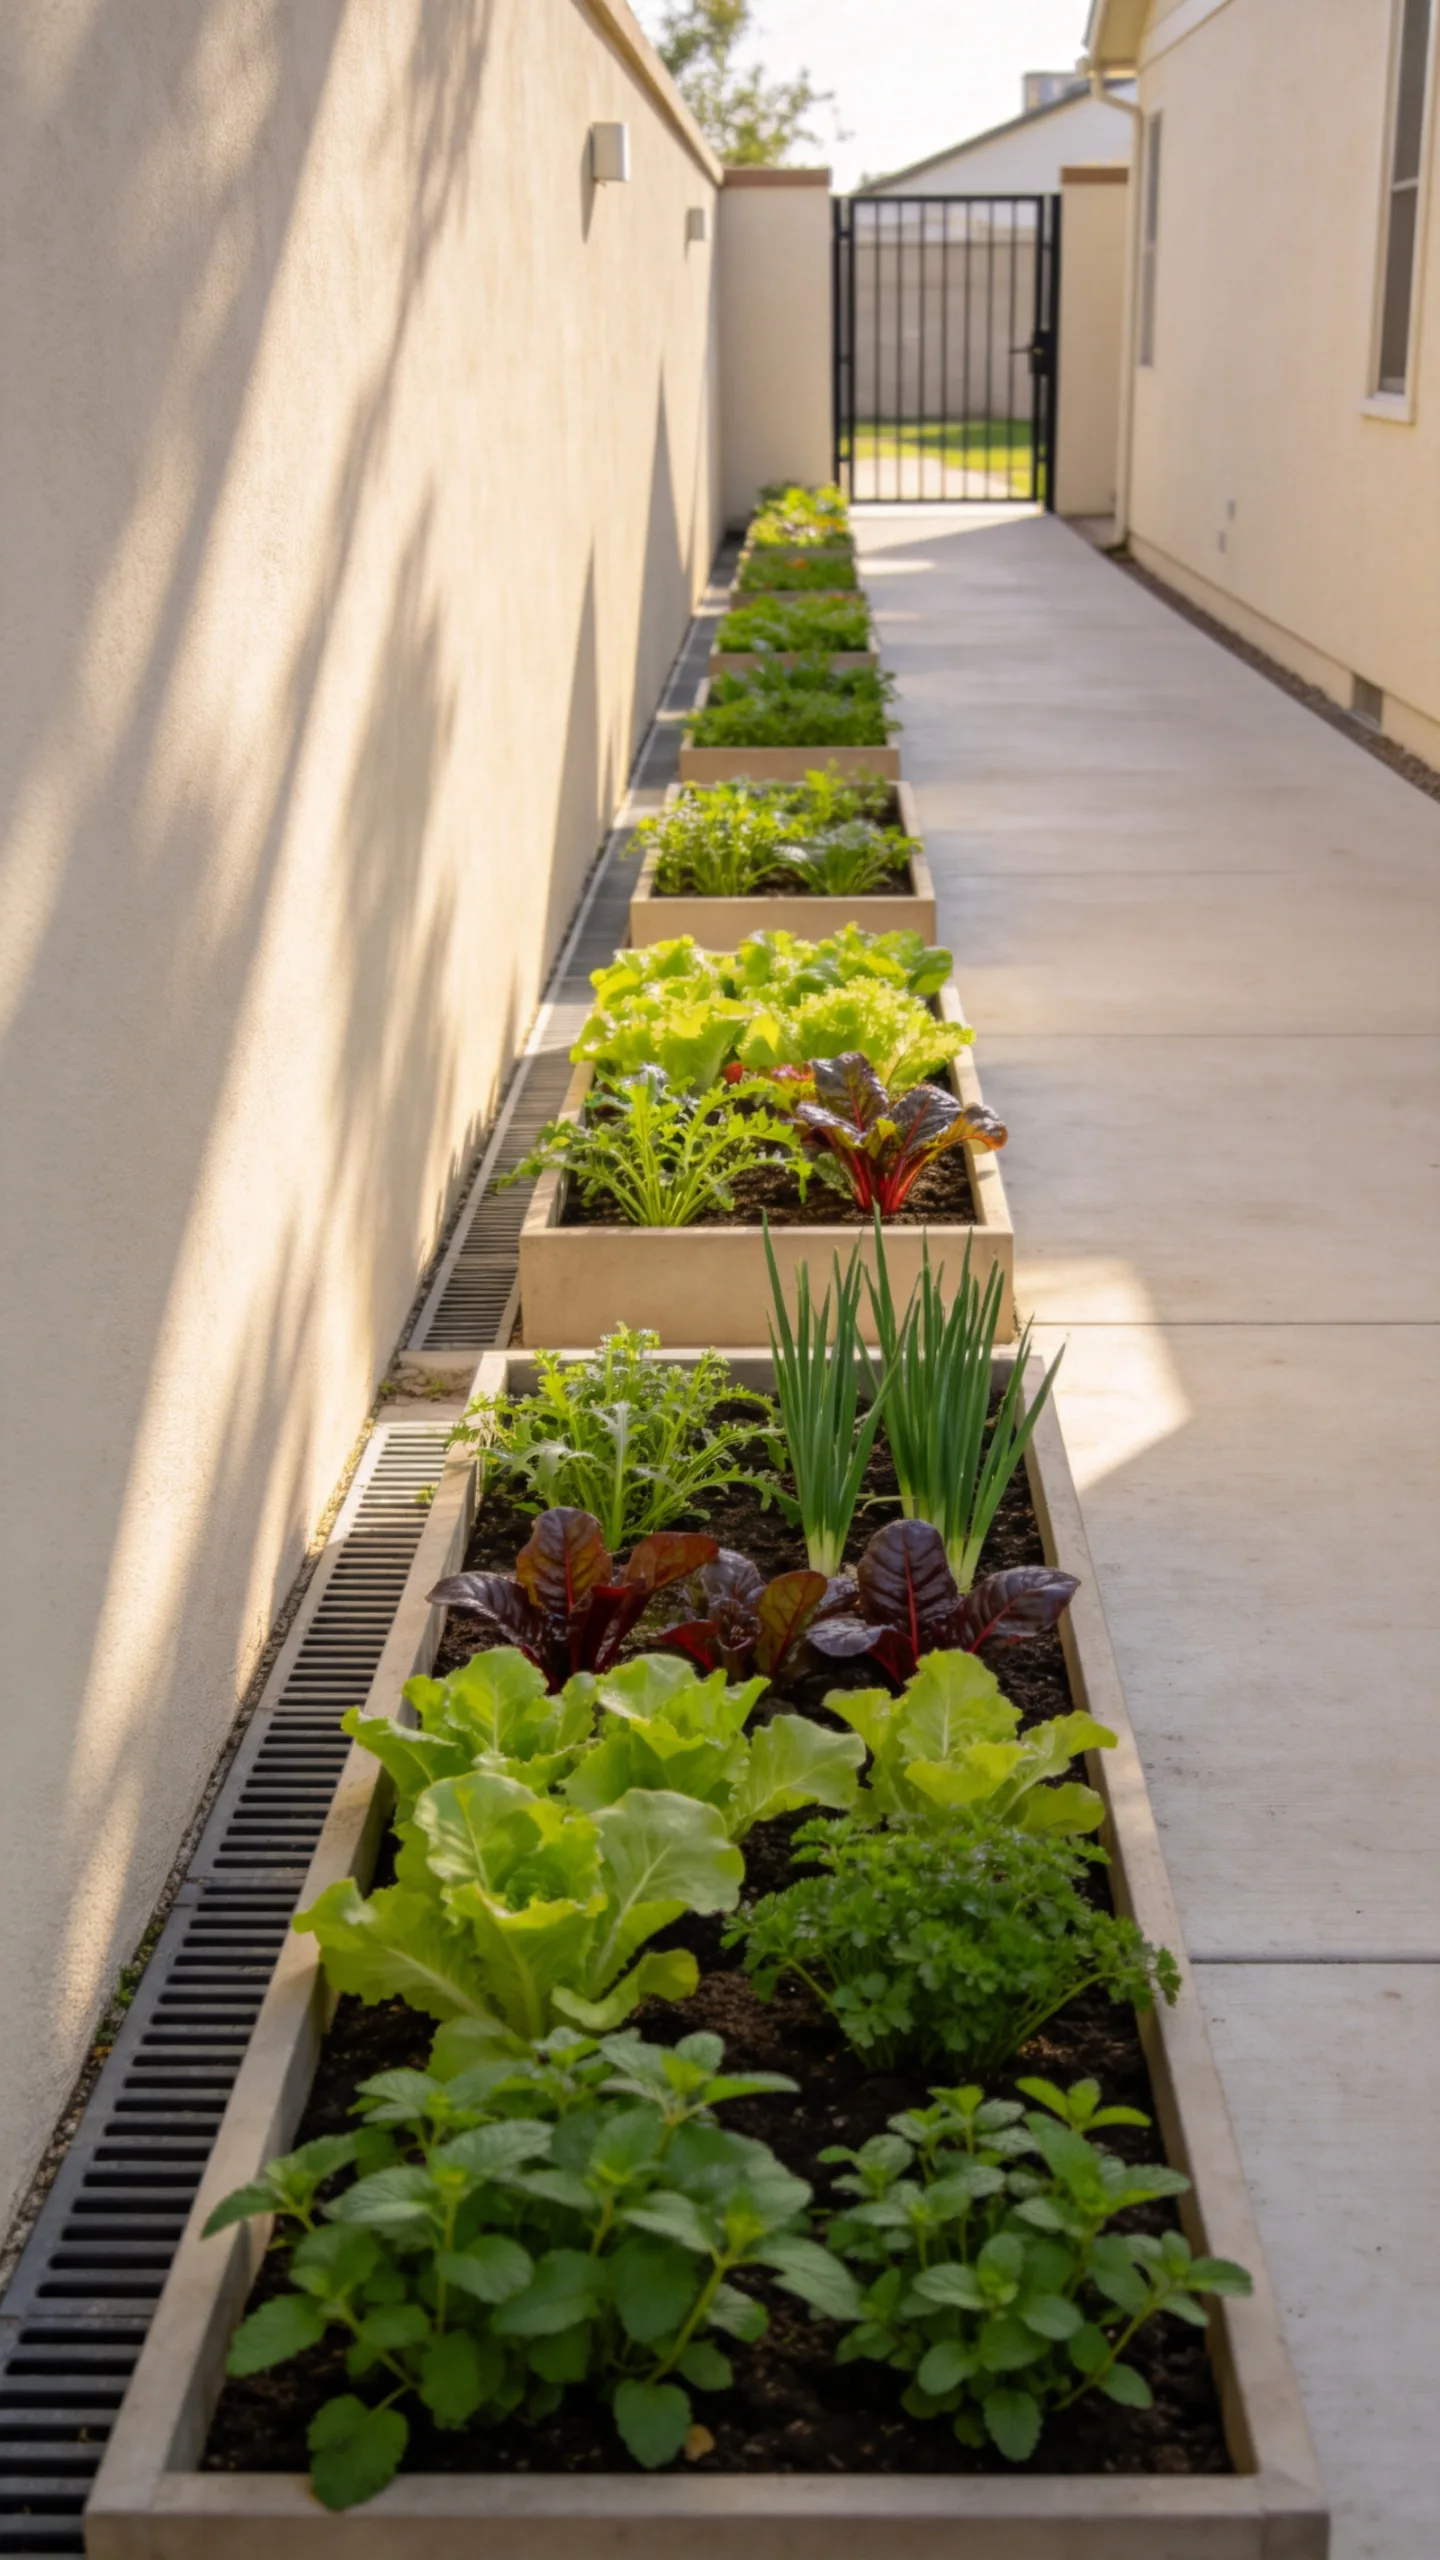
Fit a series of slim raised beds along one side of a narrow passage, keeping the opposite side clear as a continuous walkway. Short beds with small gaps between them can be easier to navigate than one uninterrupted planter.
Choose crops according to the available light, since side yards often receive only part-day sun. Leaf lettuce, arugula, Swiss chard, scallions, and many herbs can tolerate less light than fruiting crops, though growth will still depend on local conditions.
18. Raised Beds With Built-In Bench Seating
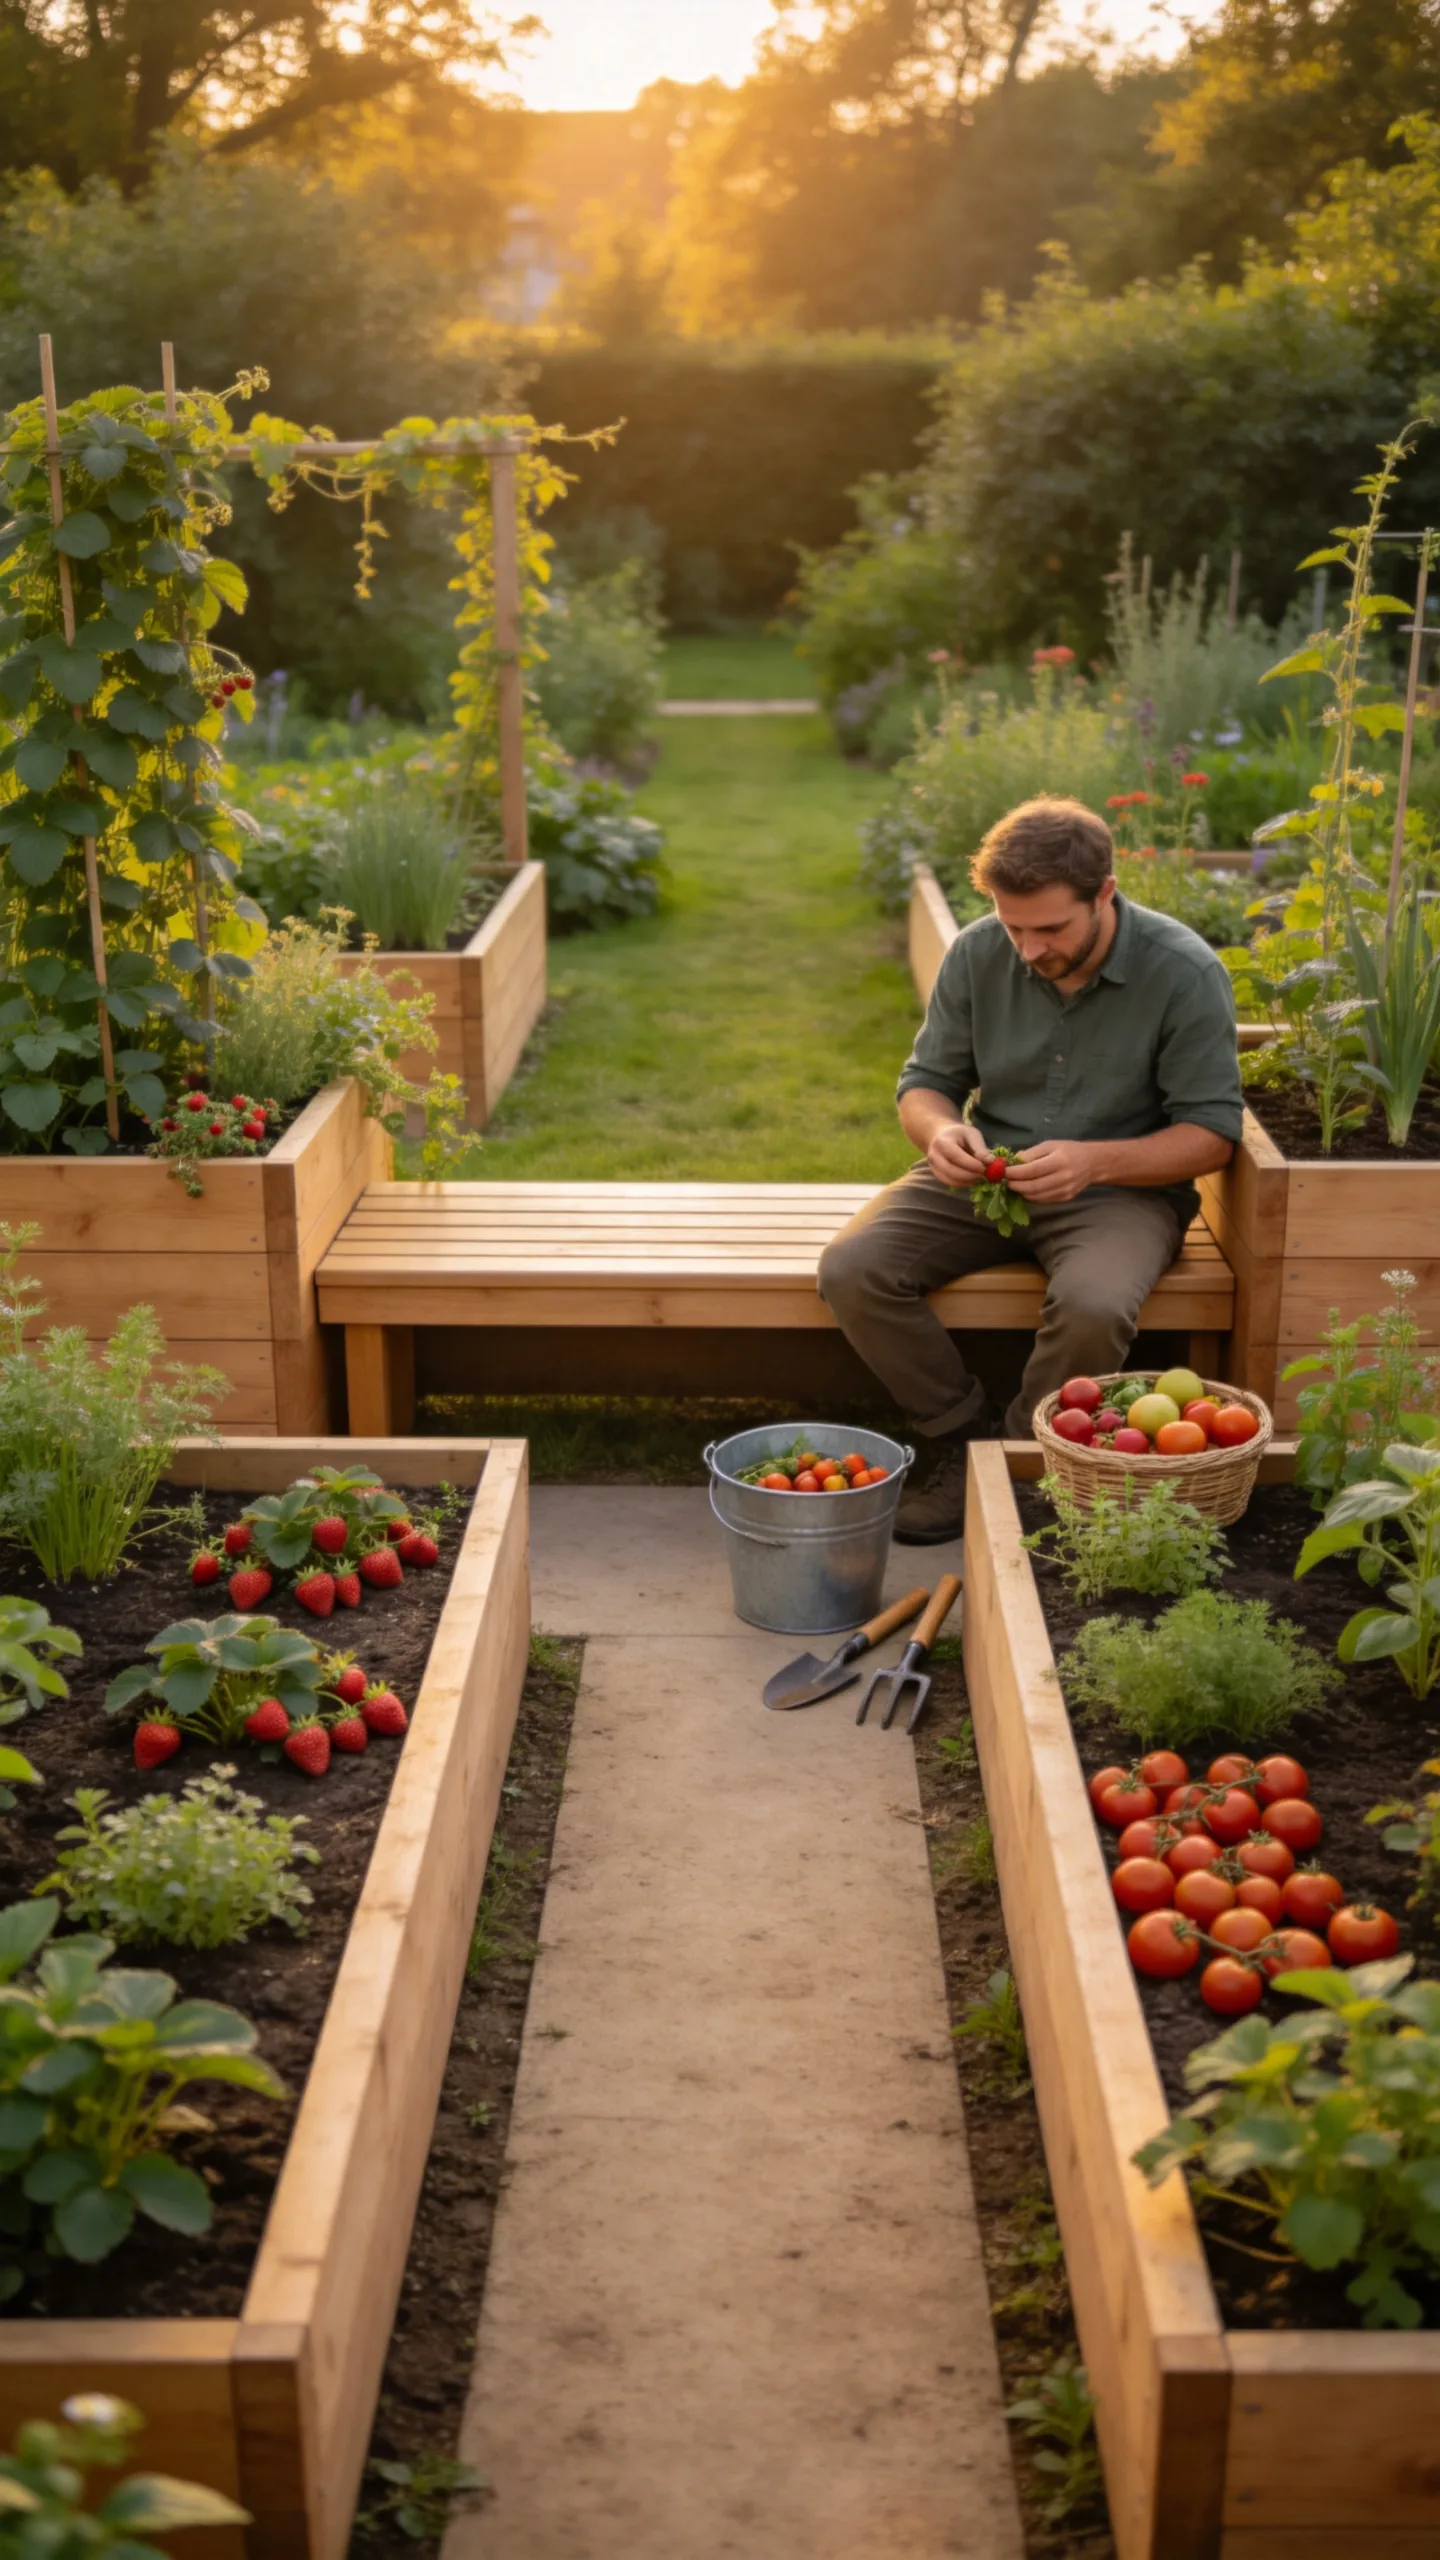
Add a timber bench between two beds or extend the bed caps to create simple seating. This gives you a place to sort produce, rest while gardening, or supervise children without bringing extra furniture into the patch.
Keep seating away from thorny plants and sprawling vines. Position frequently picked strawberries, herbs, or cherry tomatoes nearby, while leaving sufficient path clearance for buckets and garden tools.
19. Sunburst Bed Arrangement
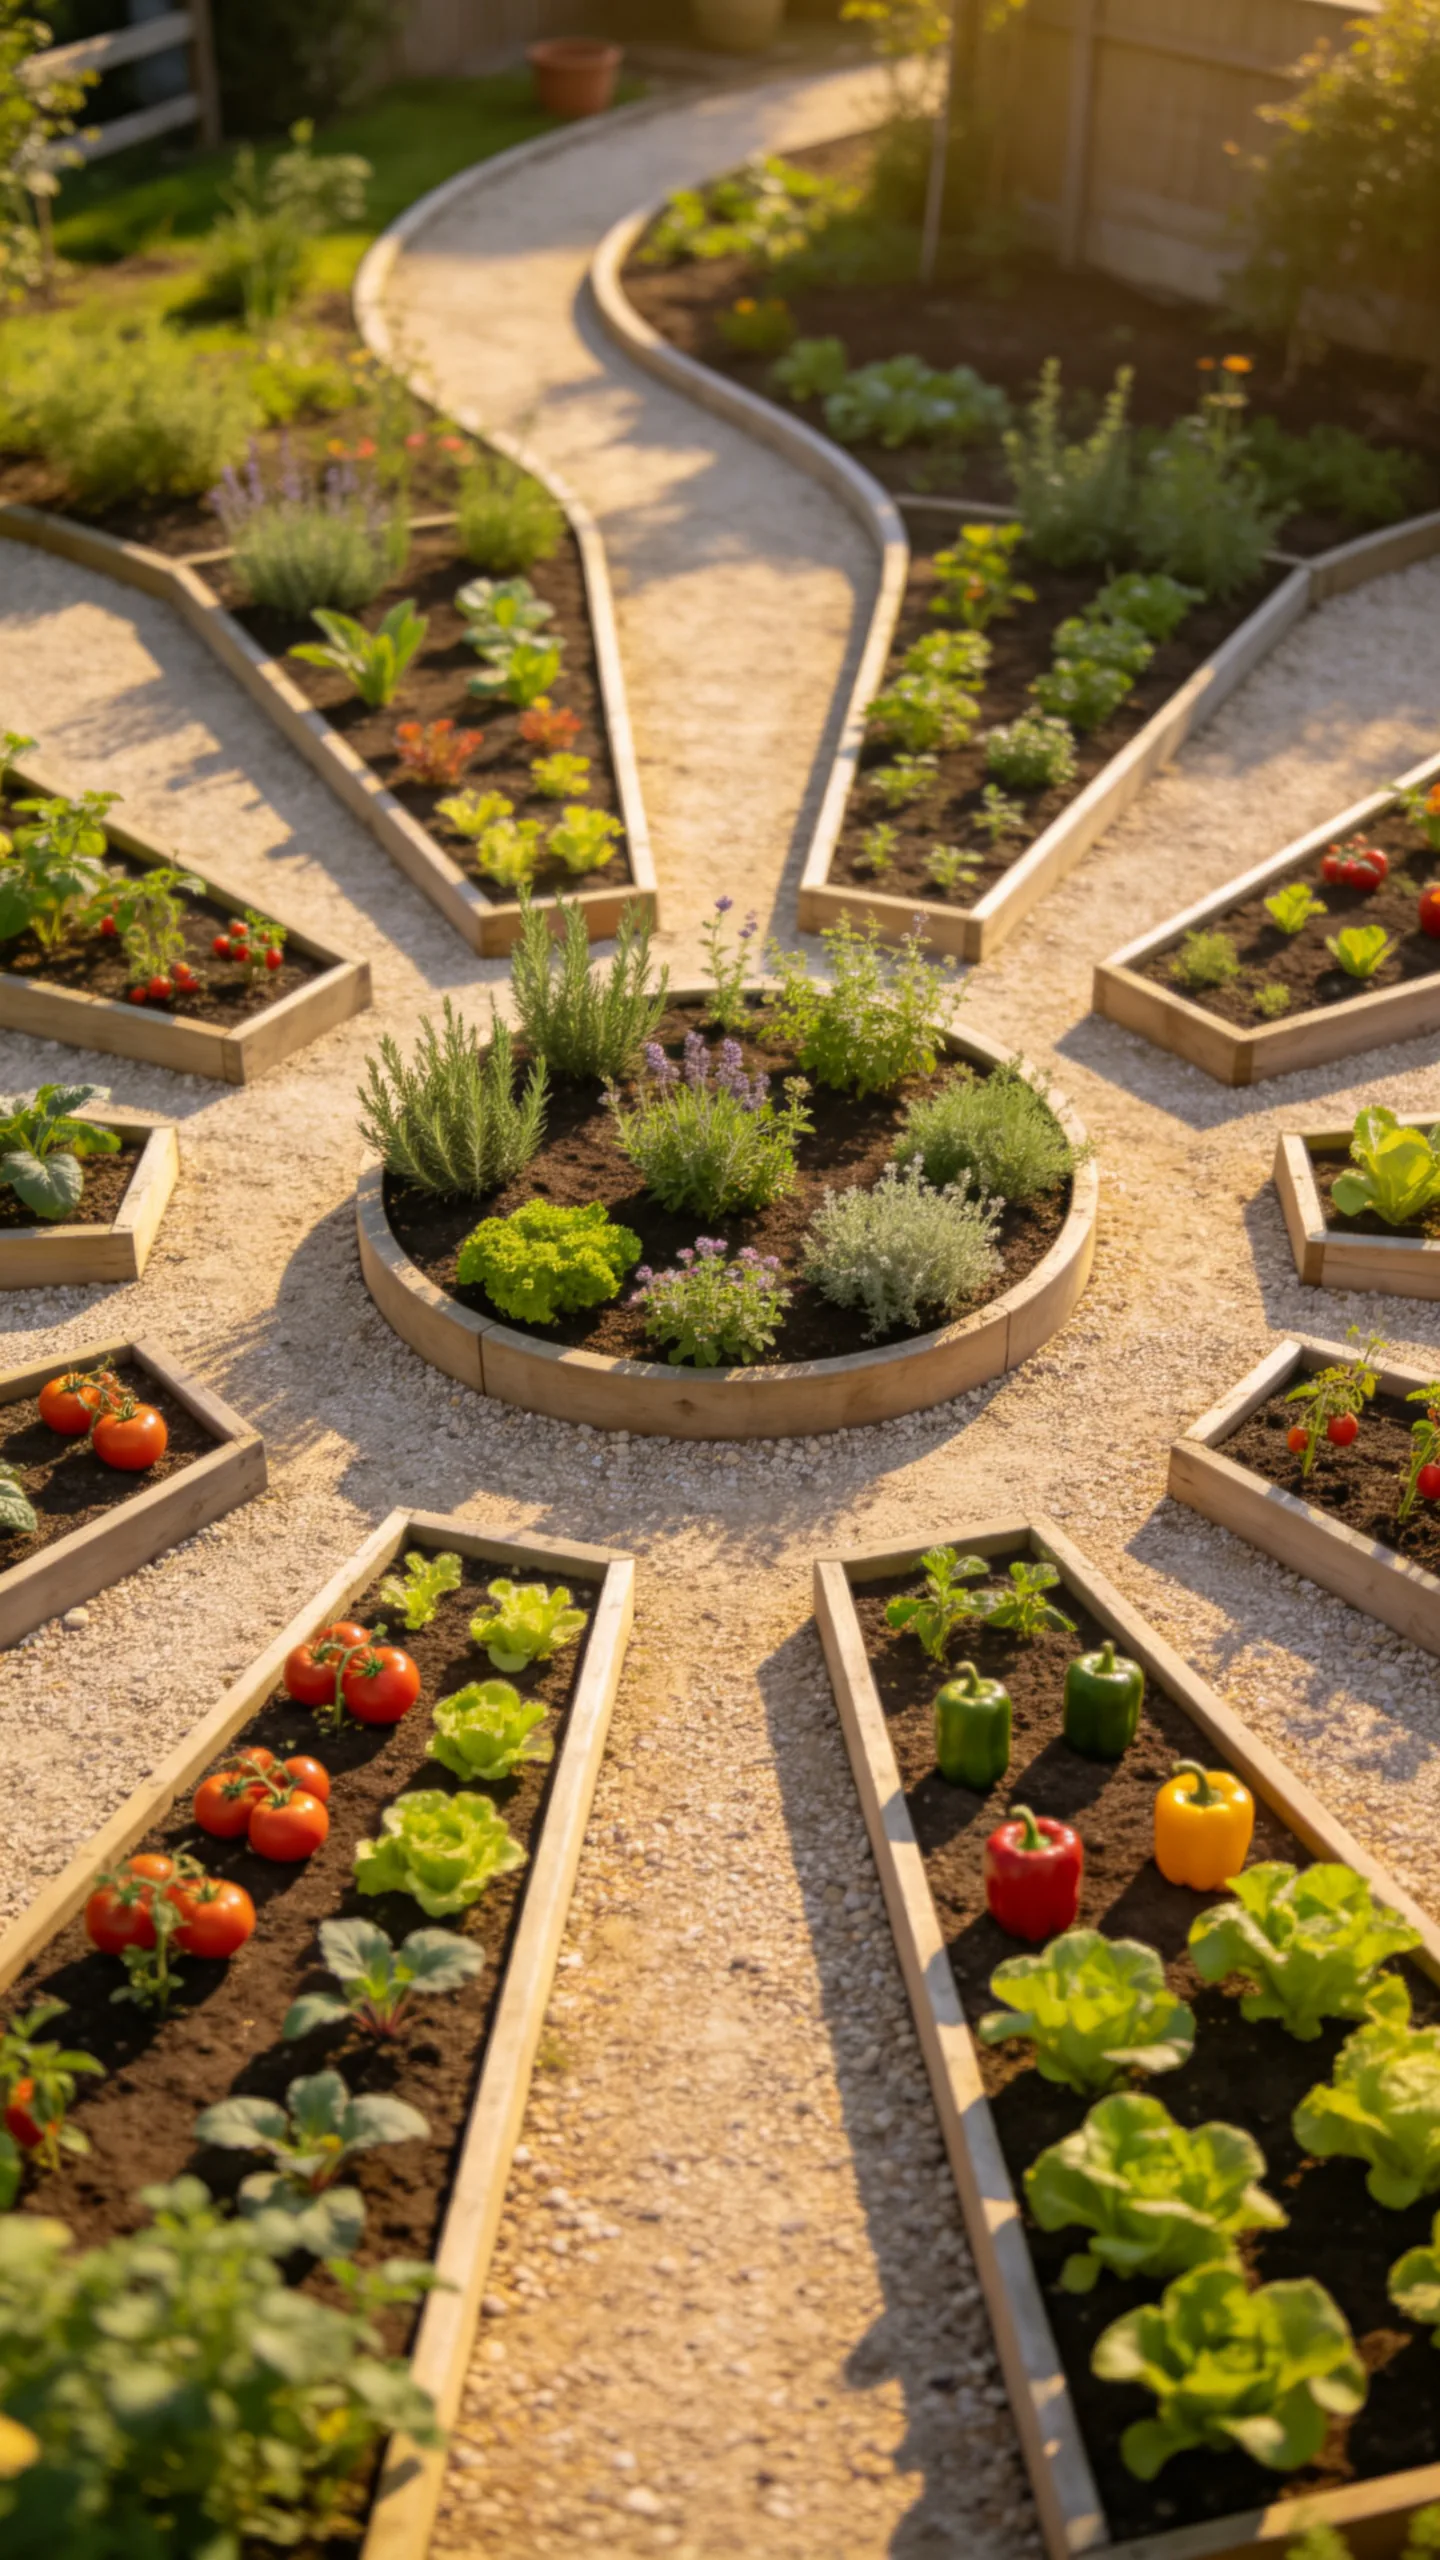
Place a circular planter or herb bed in the center, then arrange narrow rectangular beds around it like rays. Curved gravel paths between the beds create visual movement while providing access to every planting area.
Use the center for perennial herbs that suit your climate, and rotate annual vegetables through the surrounding beds. Before building, mark the full arrangement with string or garden hose to check that the outer paths are wide enough for mowing and maintenance.
20. Raised Beds With a Dedicated Nursery Zone
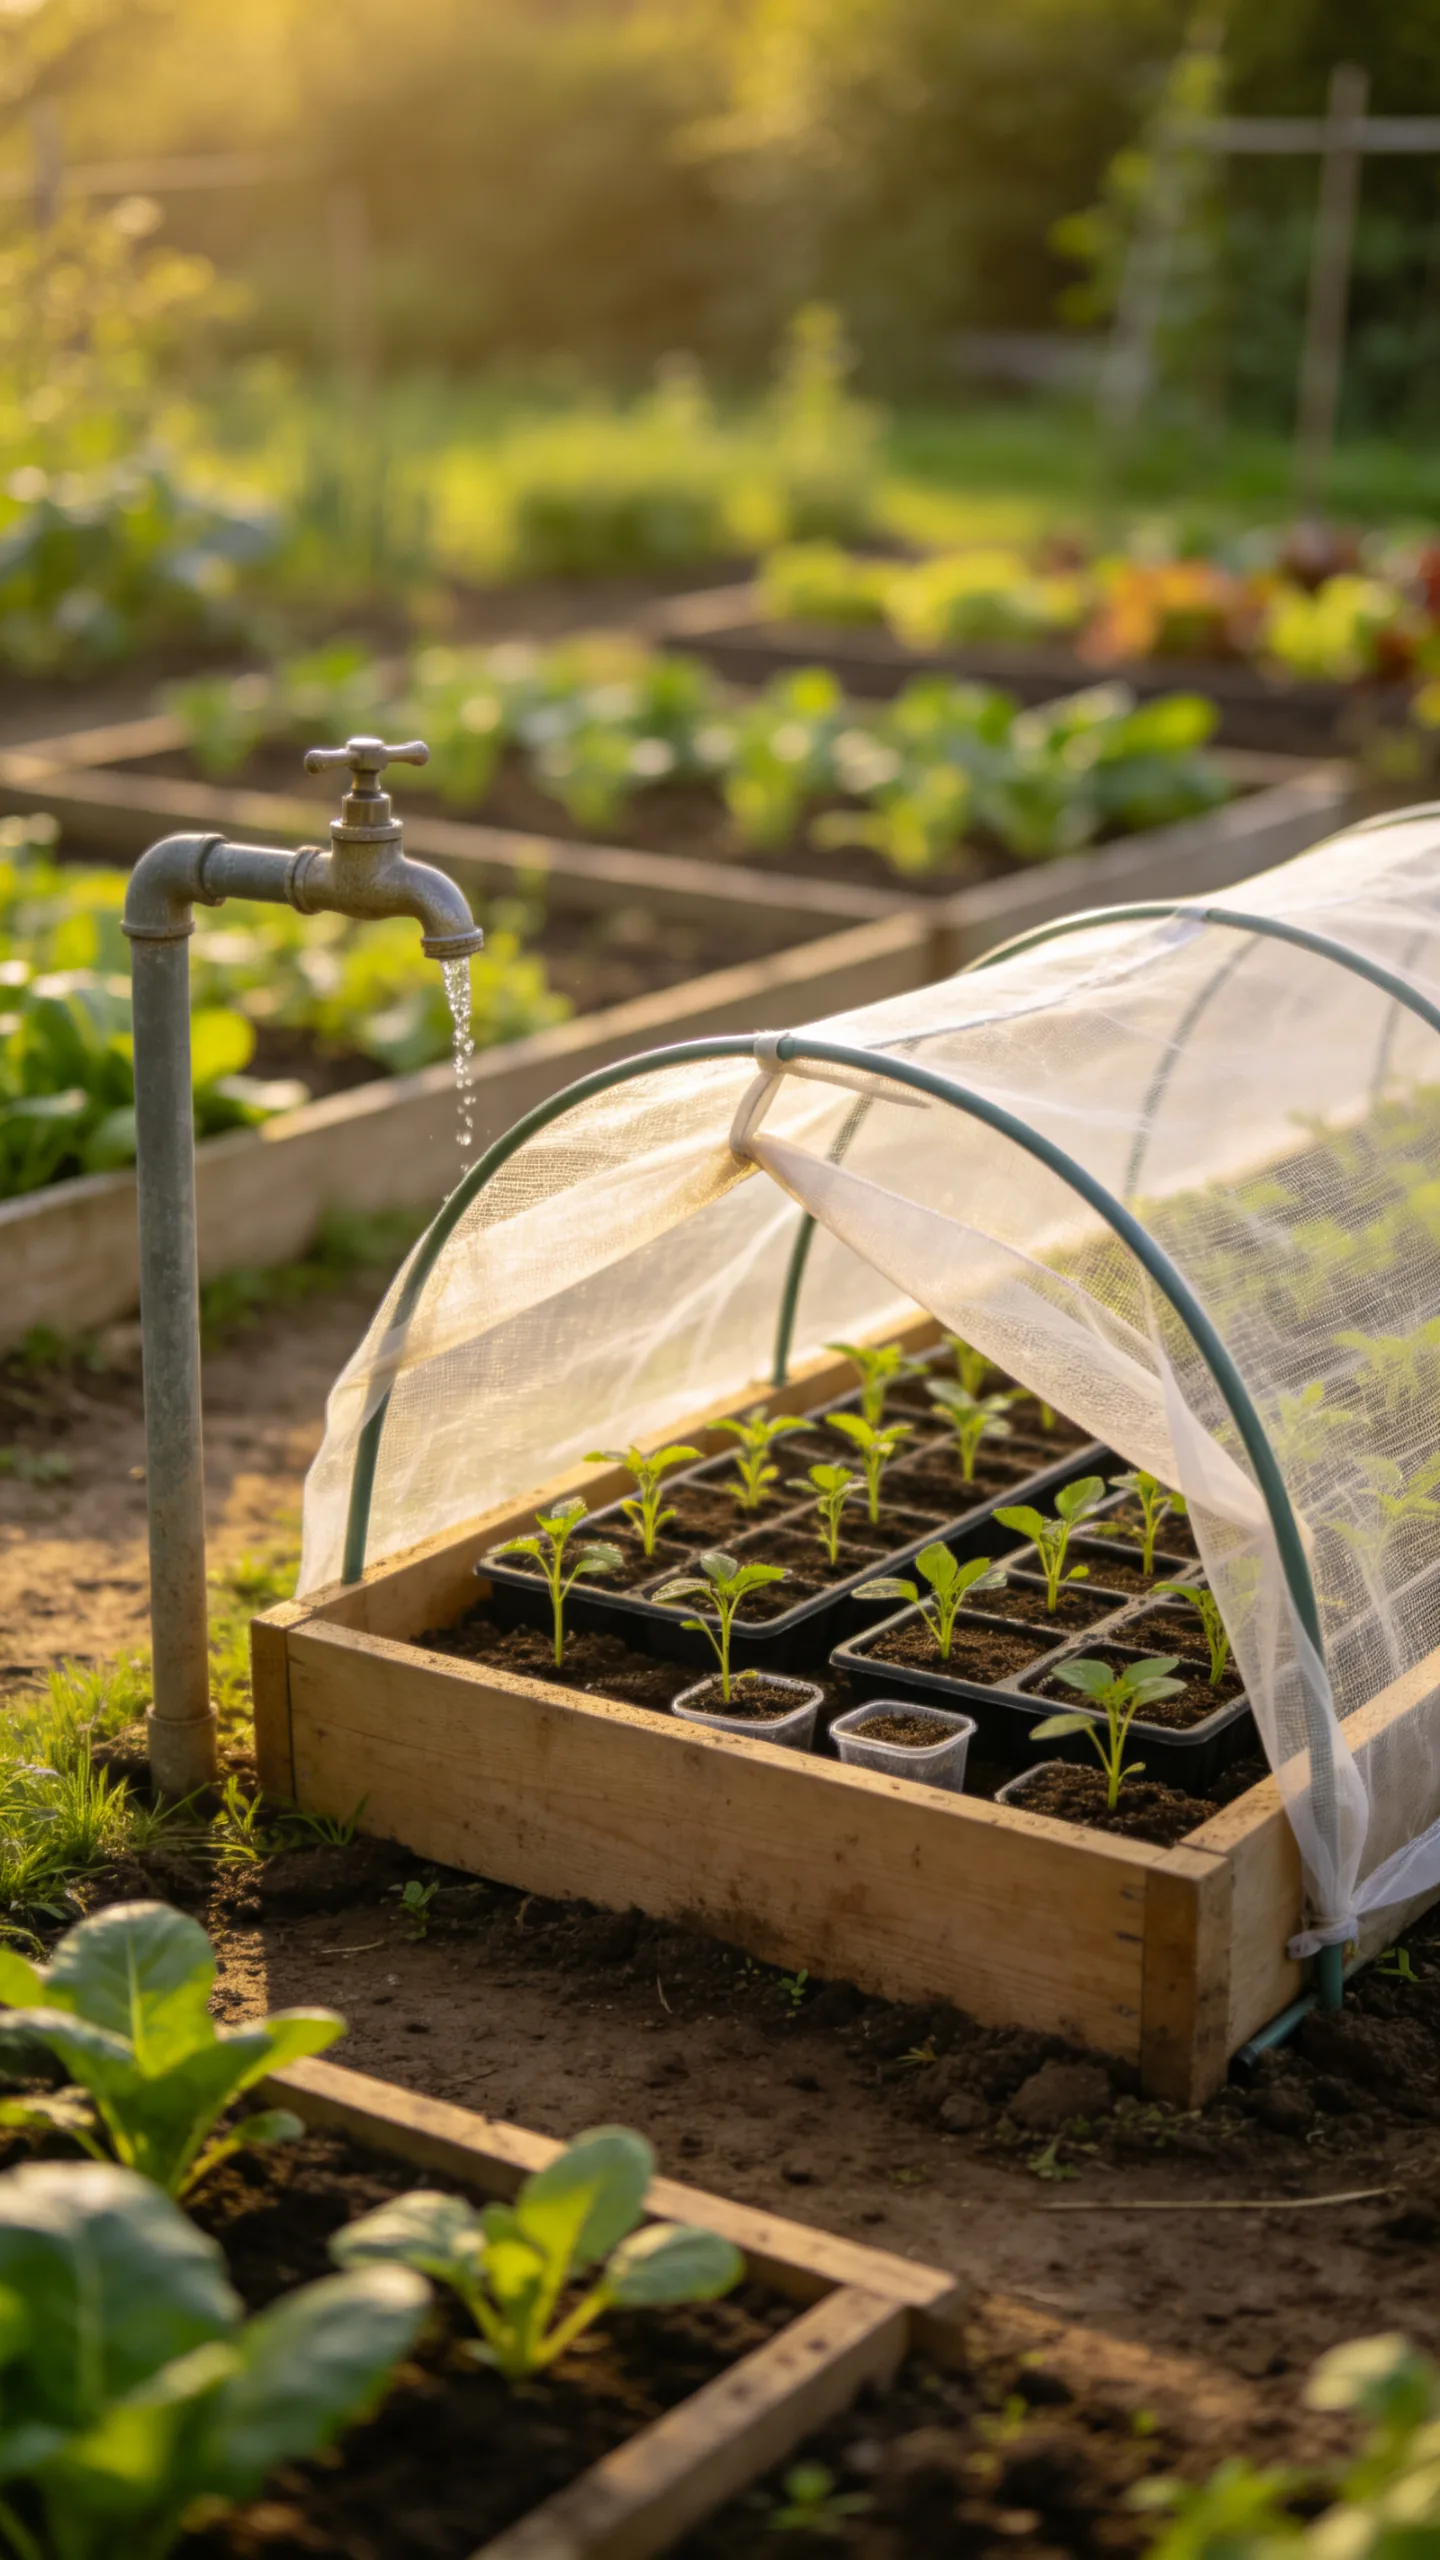
Reserve one small raised bed for seedlings, propagation, and quick-growing crops. Place it near the main entrance or water source so young plants can be checked regularly without walking through the entire garden.
Use removable hoops with insect mesh or horticultural fleece to protect tender seedlings when conditions require it. Once transplants move into larger beds, reuse the nursery space for radishes, baby greens, scallions, or another short-season crop.
21. Corner Beds Linked by a Perimeter Path
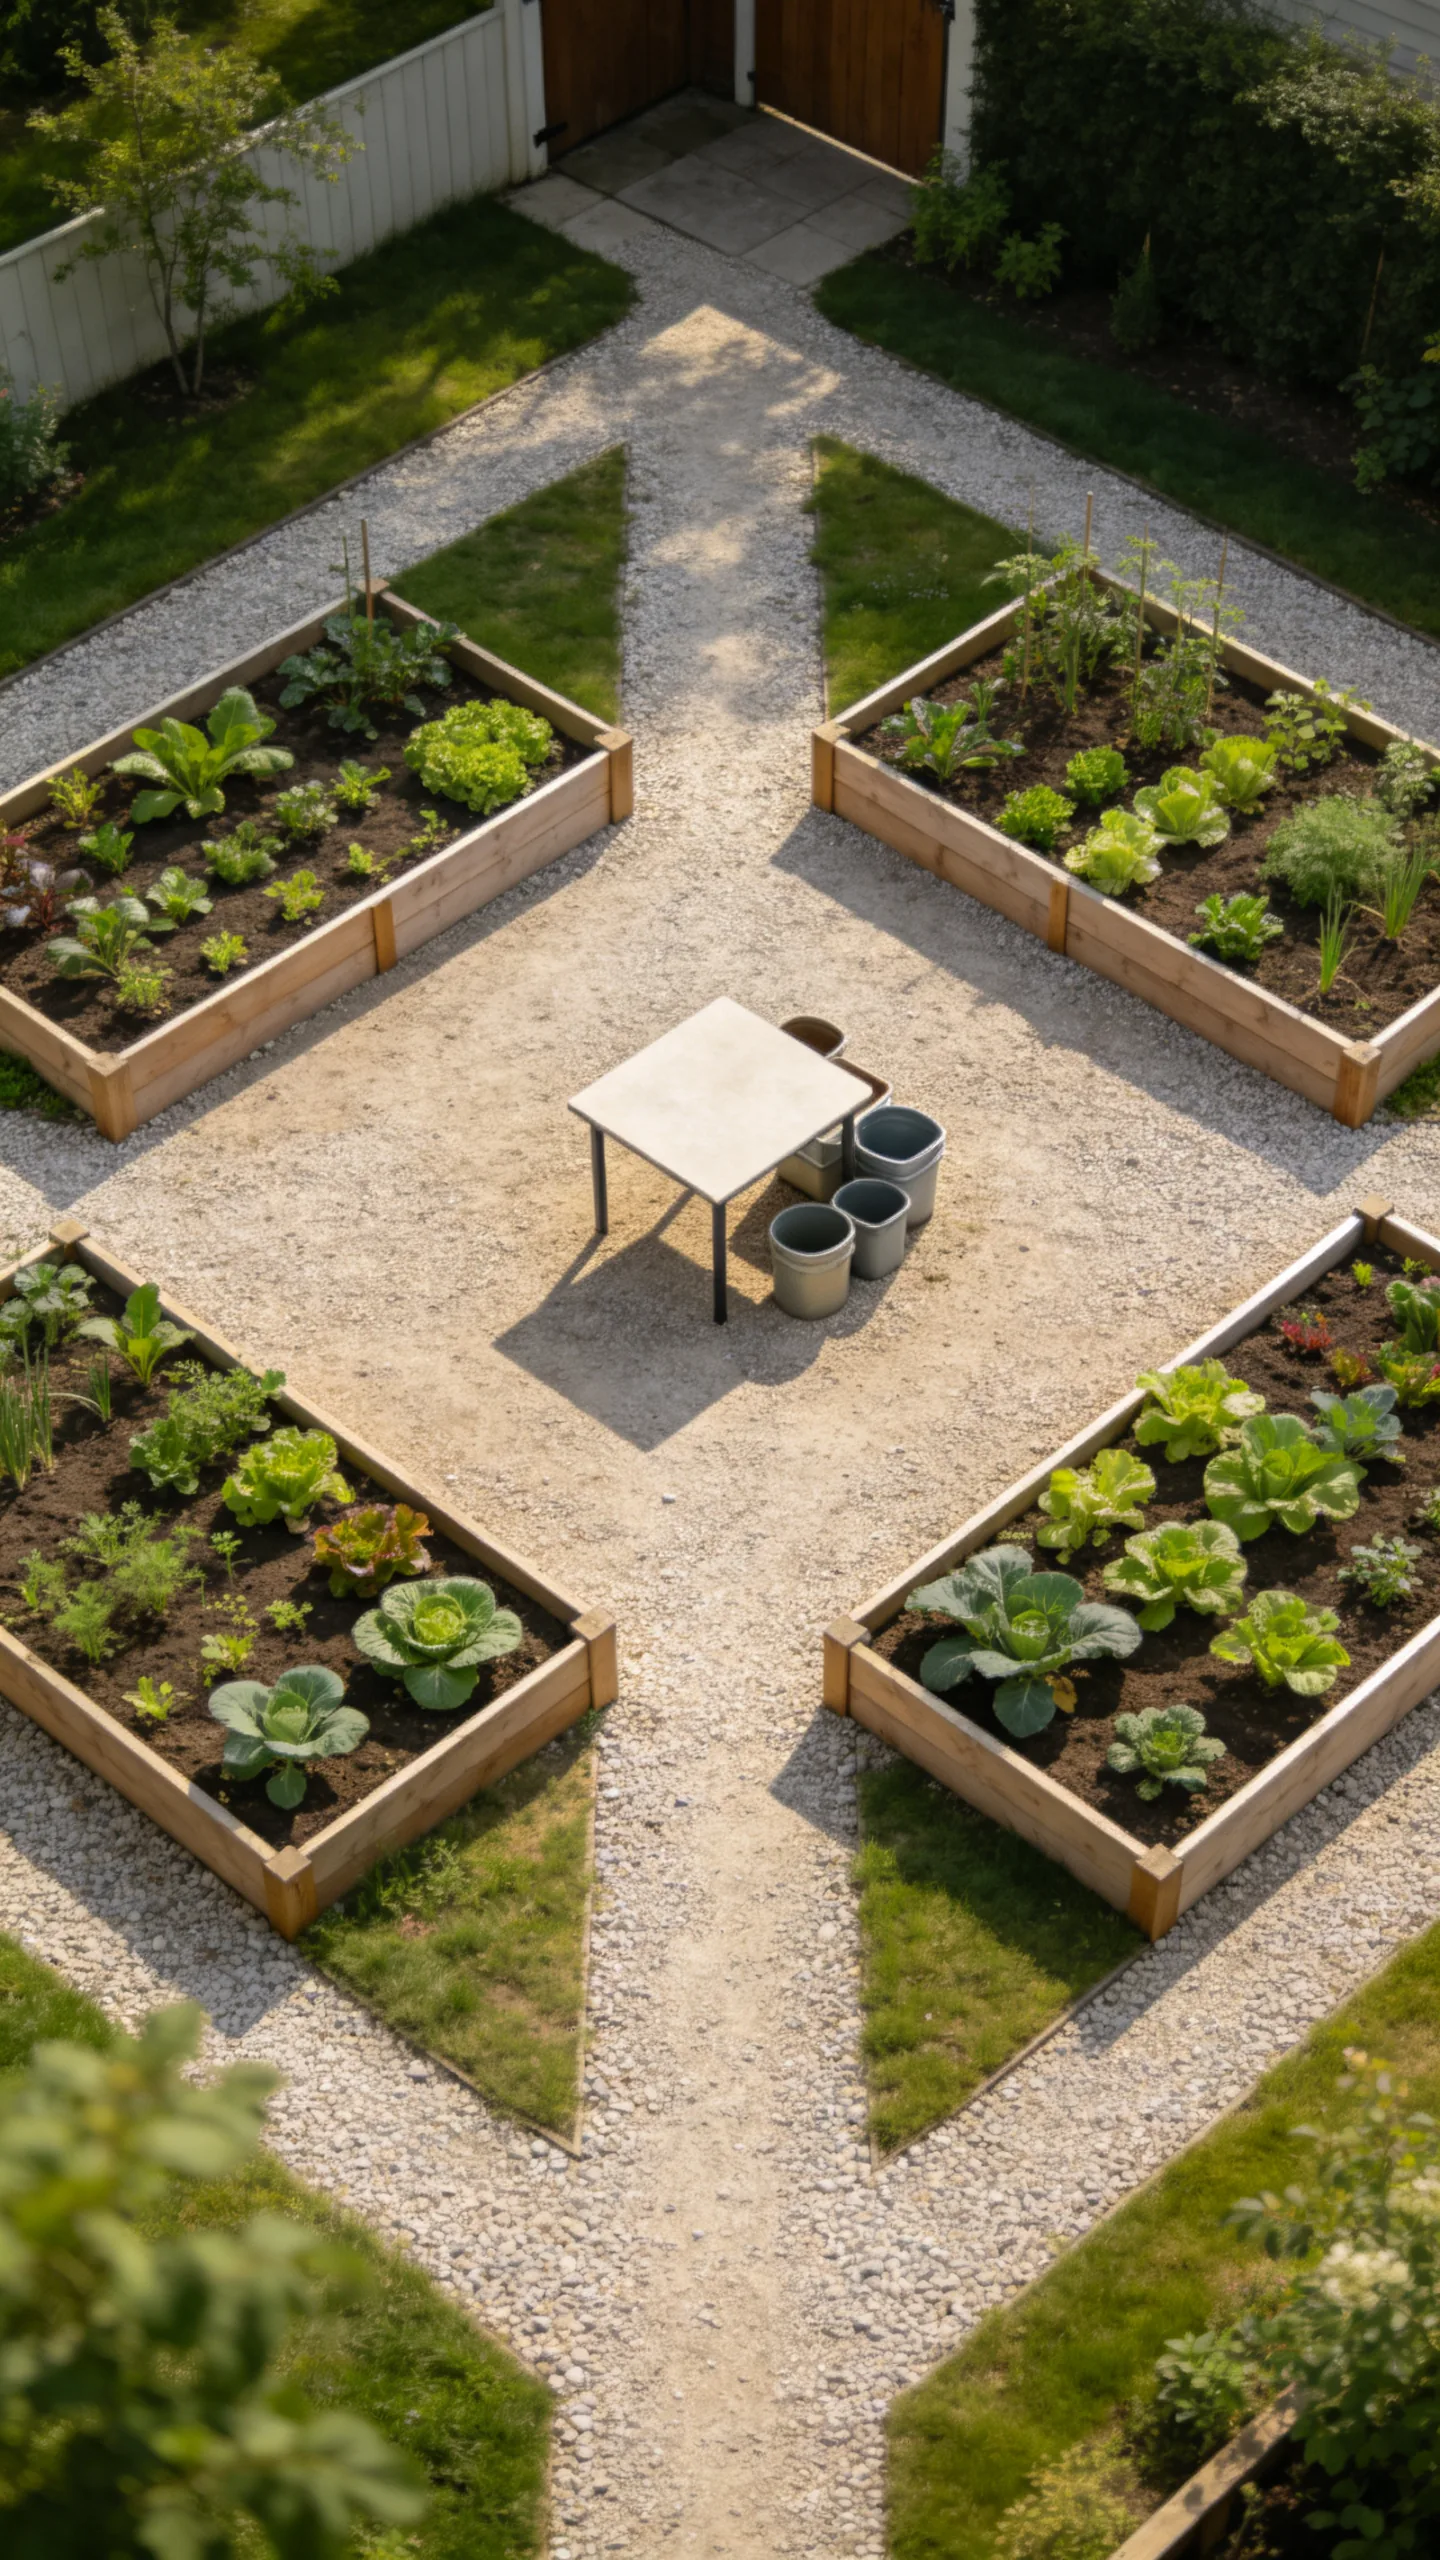
Position one raised bed in each corner of a square garden and connect them with a continuous path. The open middle can hold a compact table, water feature, container display, or additional in-ground planting.
Keep bed dimensions consistent to create a unified design. A perimeter path made from bark chips or fine gravel helps separate the vegetable patch from surrounding lawn and provides access without compacting growing soil.
22. Companion-Planting Bed Blocks
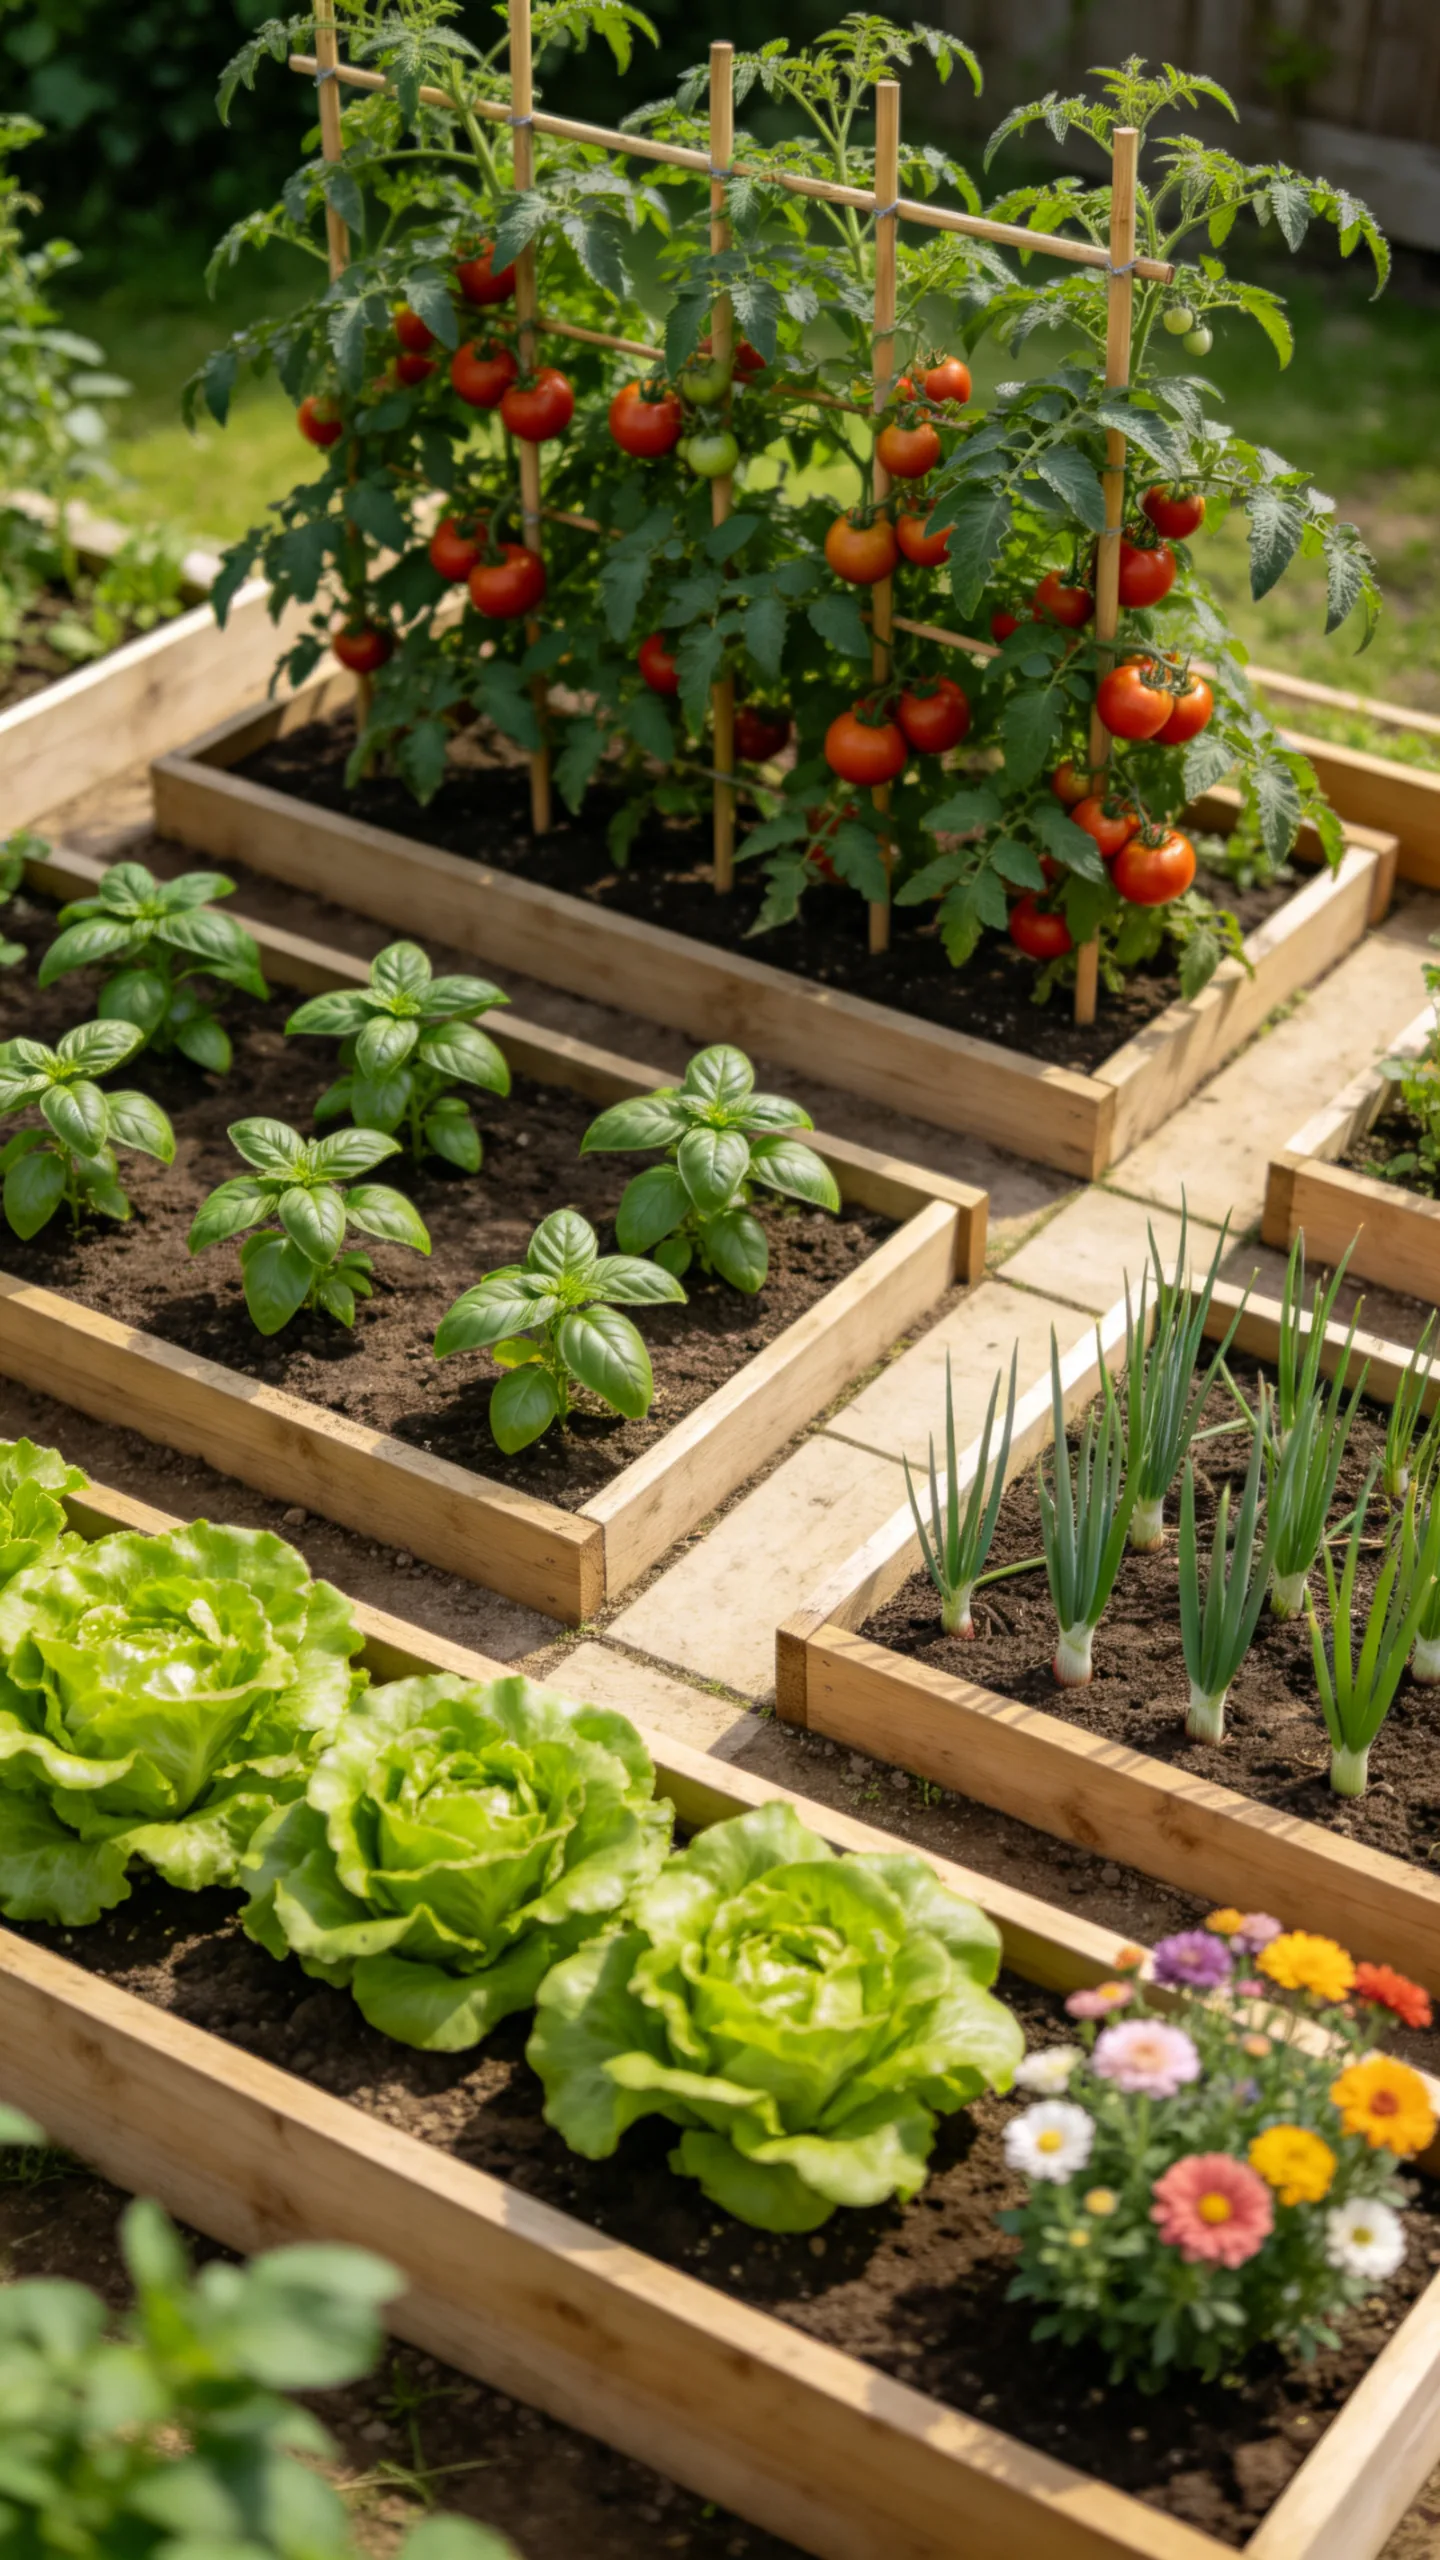
Divide a large raised bed into clearly marked planting blocks rather than scattering crops randomly. Use string lines, slim timber dividers, or a square-foot grid to organize vegetables according to mature size and harvest schedule.
For example, place tomatoes beside a trellis, tuck basil into accessible gaps, and grow low lettuce near the front edge. Companion planting should not replace correct spacing, crop rotation, light management, or pest monitoring.
23. Irrigated Beds With a Central Water Line
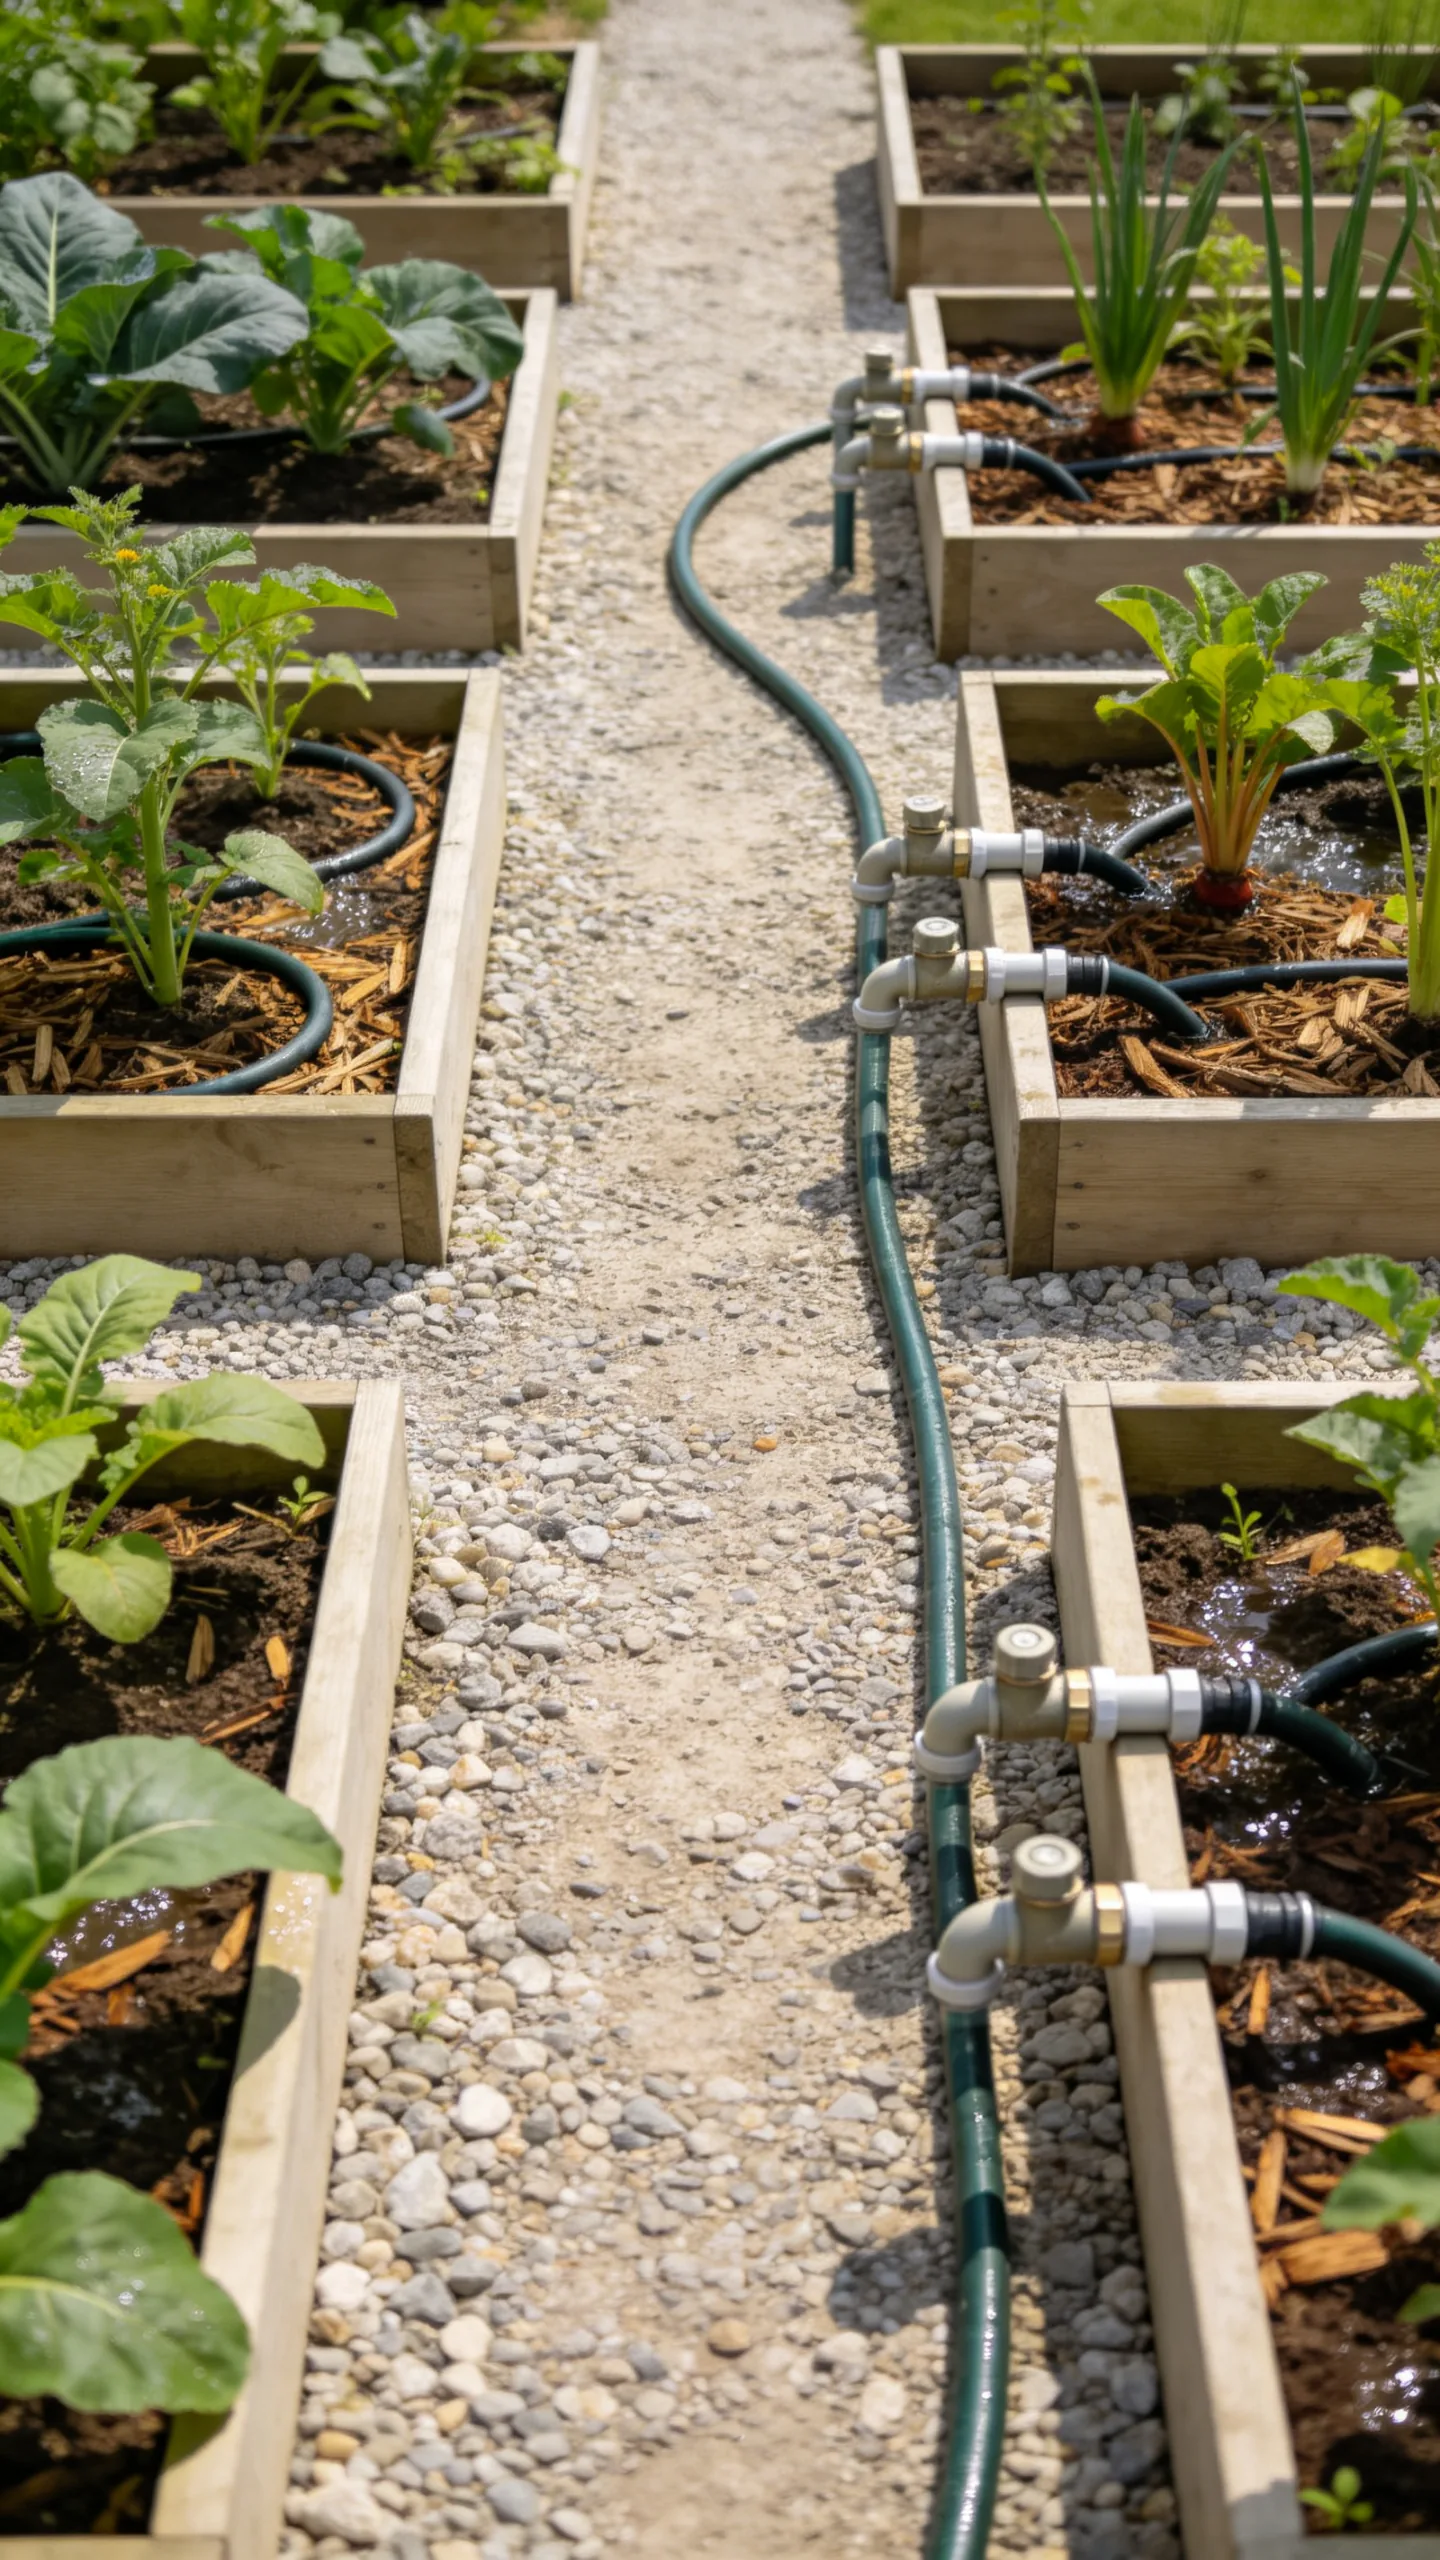
Arrange raised beds on both sides of one main water line so each bed can connect to drip tubing or a soaker hose. A centralized system reduces loose hoses across paths and delivers water close to plant roots.
Add an individual shutoff valve for each bed if different crops have different watering needs. Cover irrigation lines with mulch, inspect emitters regularly, and adjust the schedule for rainfall, temperature, soil mix, and plant maturity.
24. Hoop-Cover Bed Layout
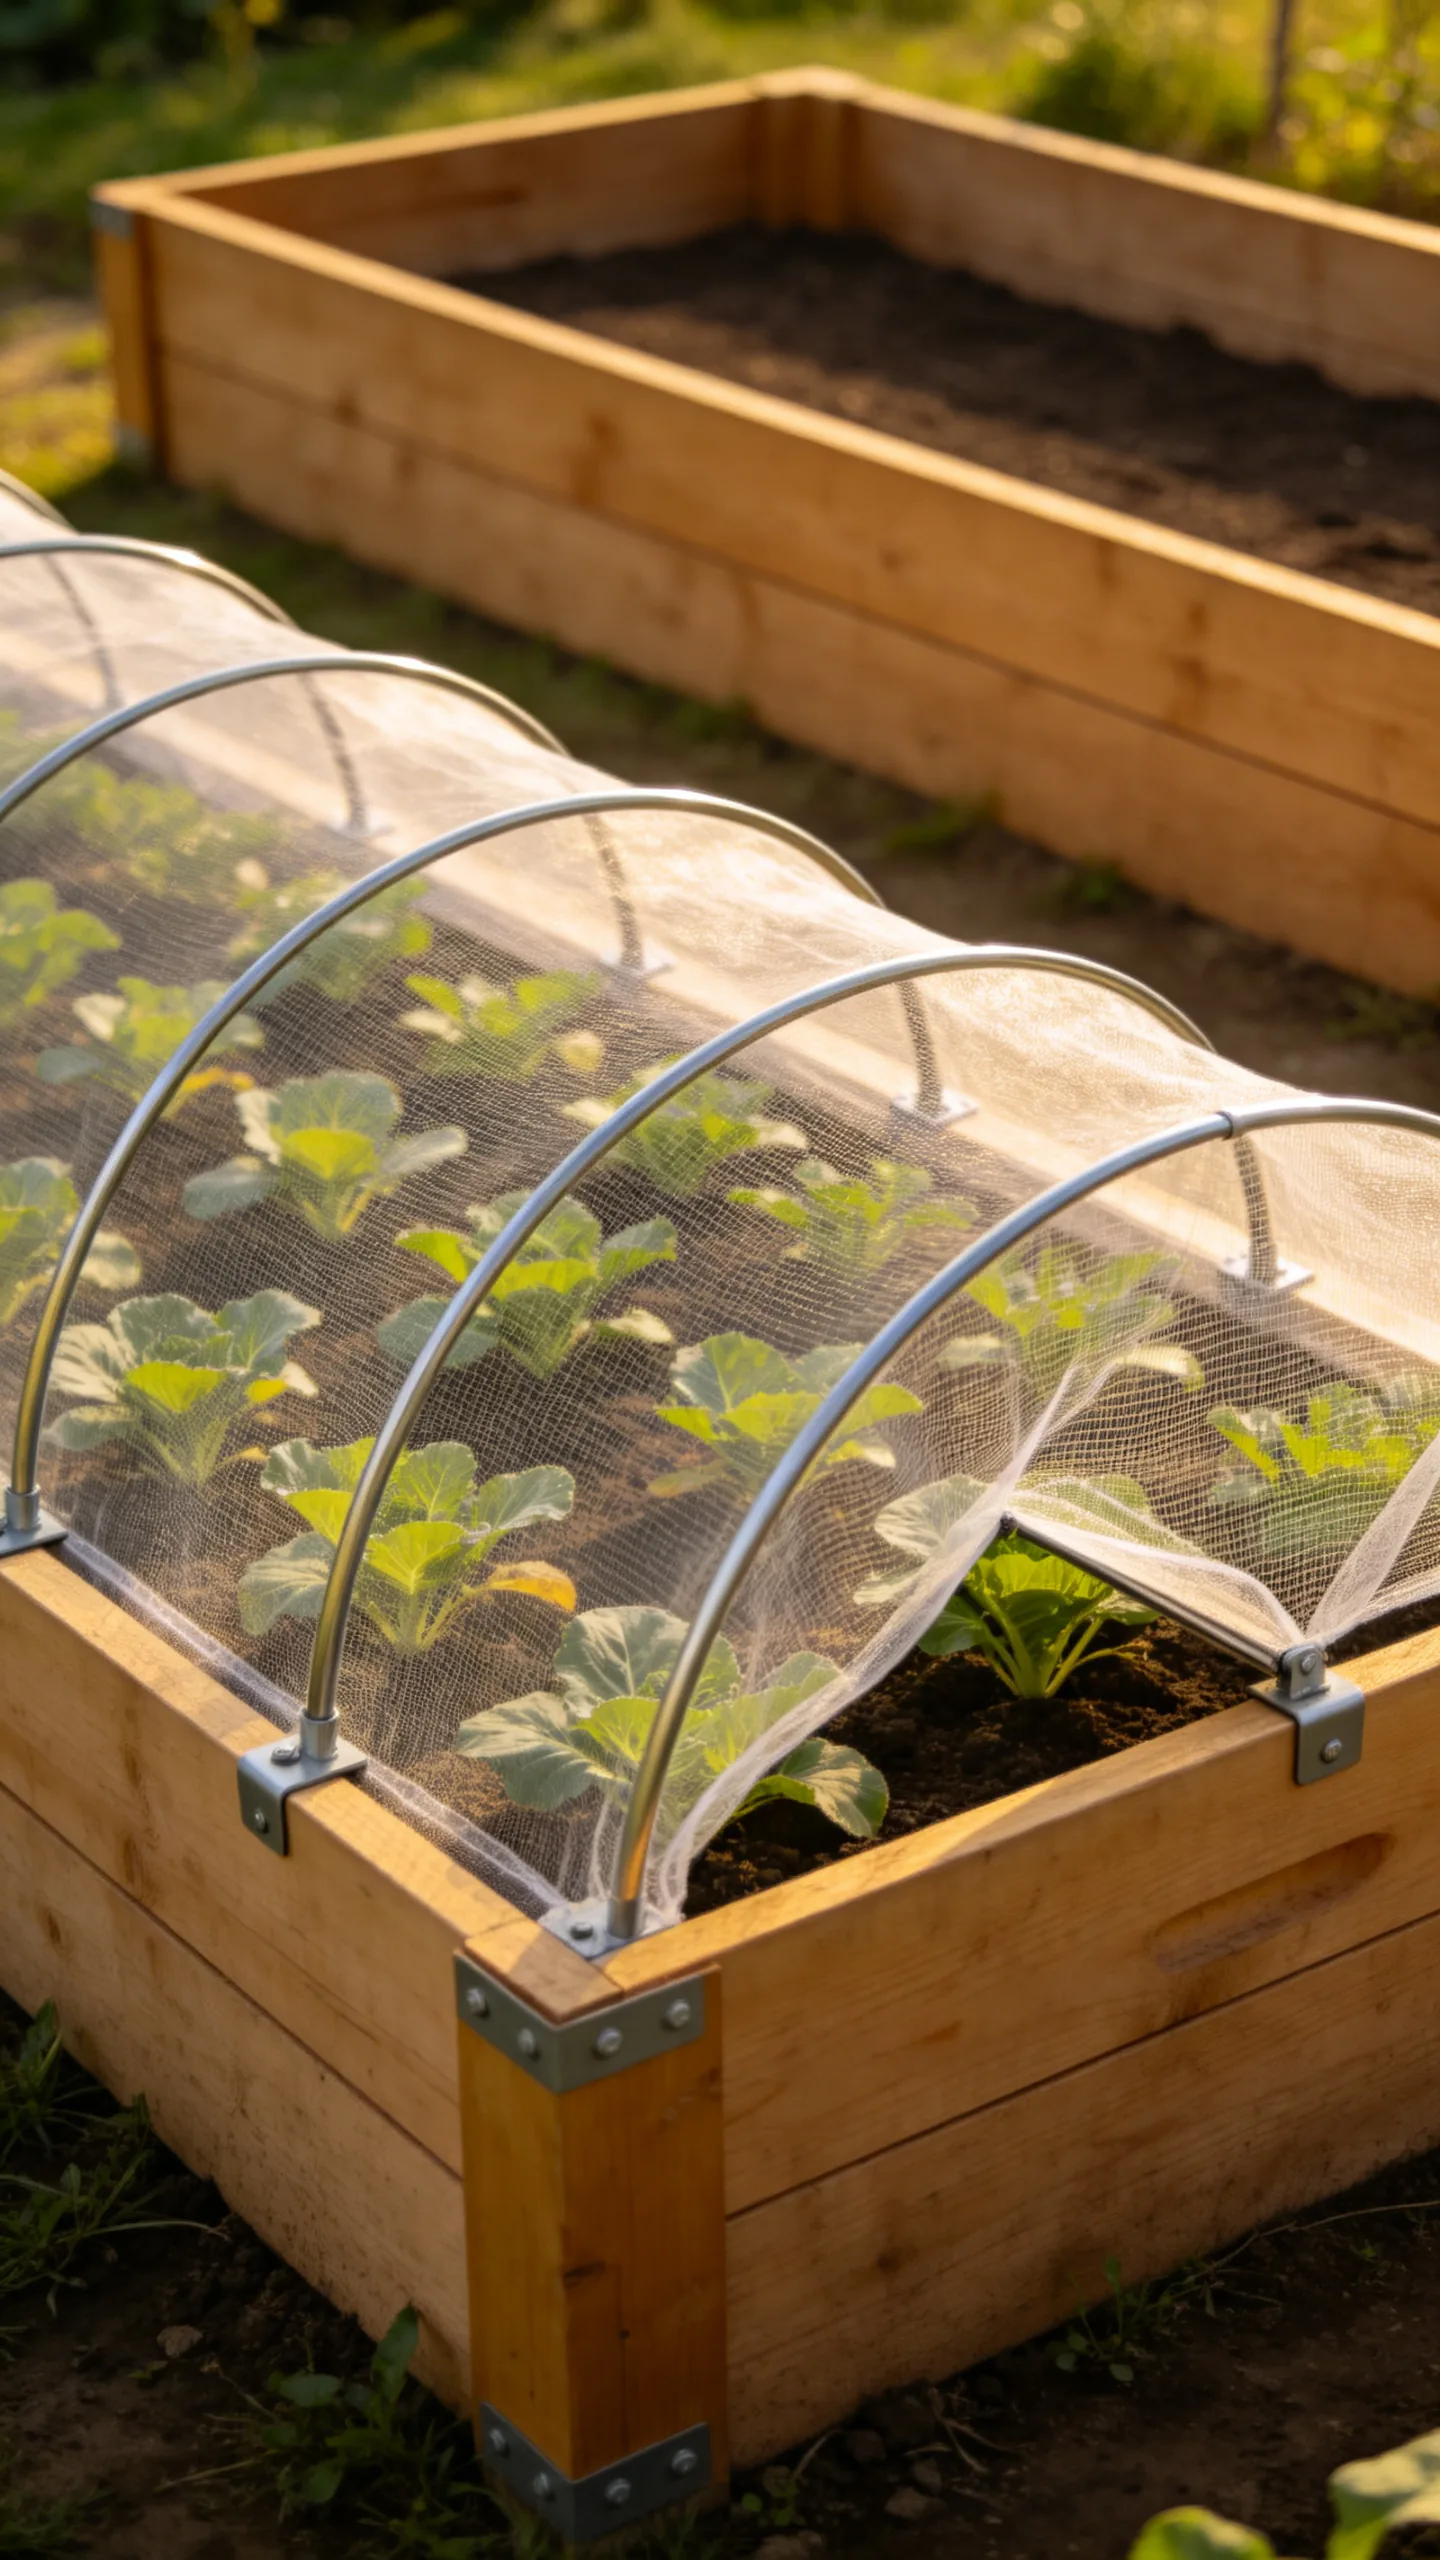
Design one or more beds to accept removable PVC, fiberglass, or metal hoops. The frames can hold insect mesh, bird netting, shade cloth, or seasonal row cover, depending on the crop and weather.
Install matching brackets along the inner bed walls so covers can be added without rebuilding the frame each season. Secure fabric tightly and choose mesh openings suited to the target pest while allowing enough ventilation for the plants below.
25. Crop-Rotation Bed Quartet
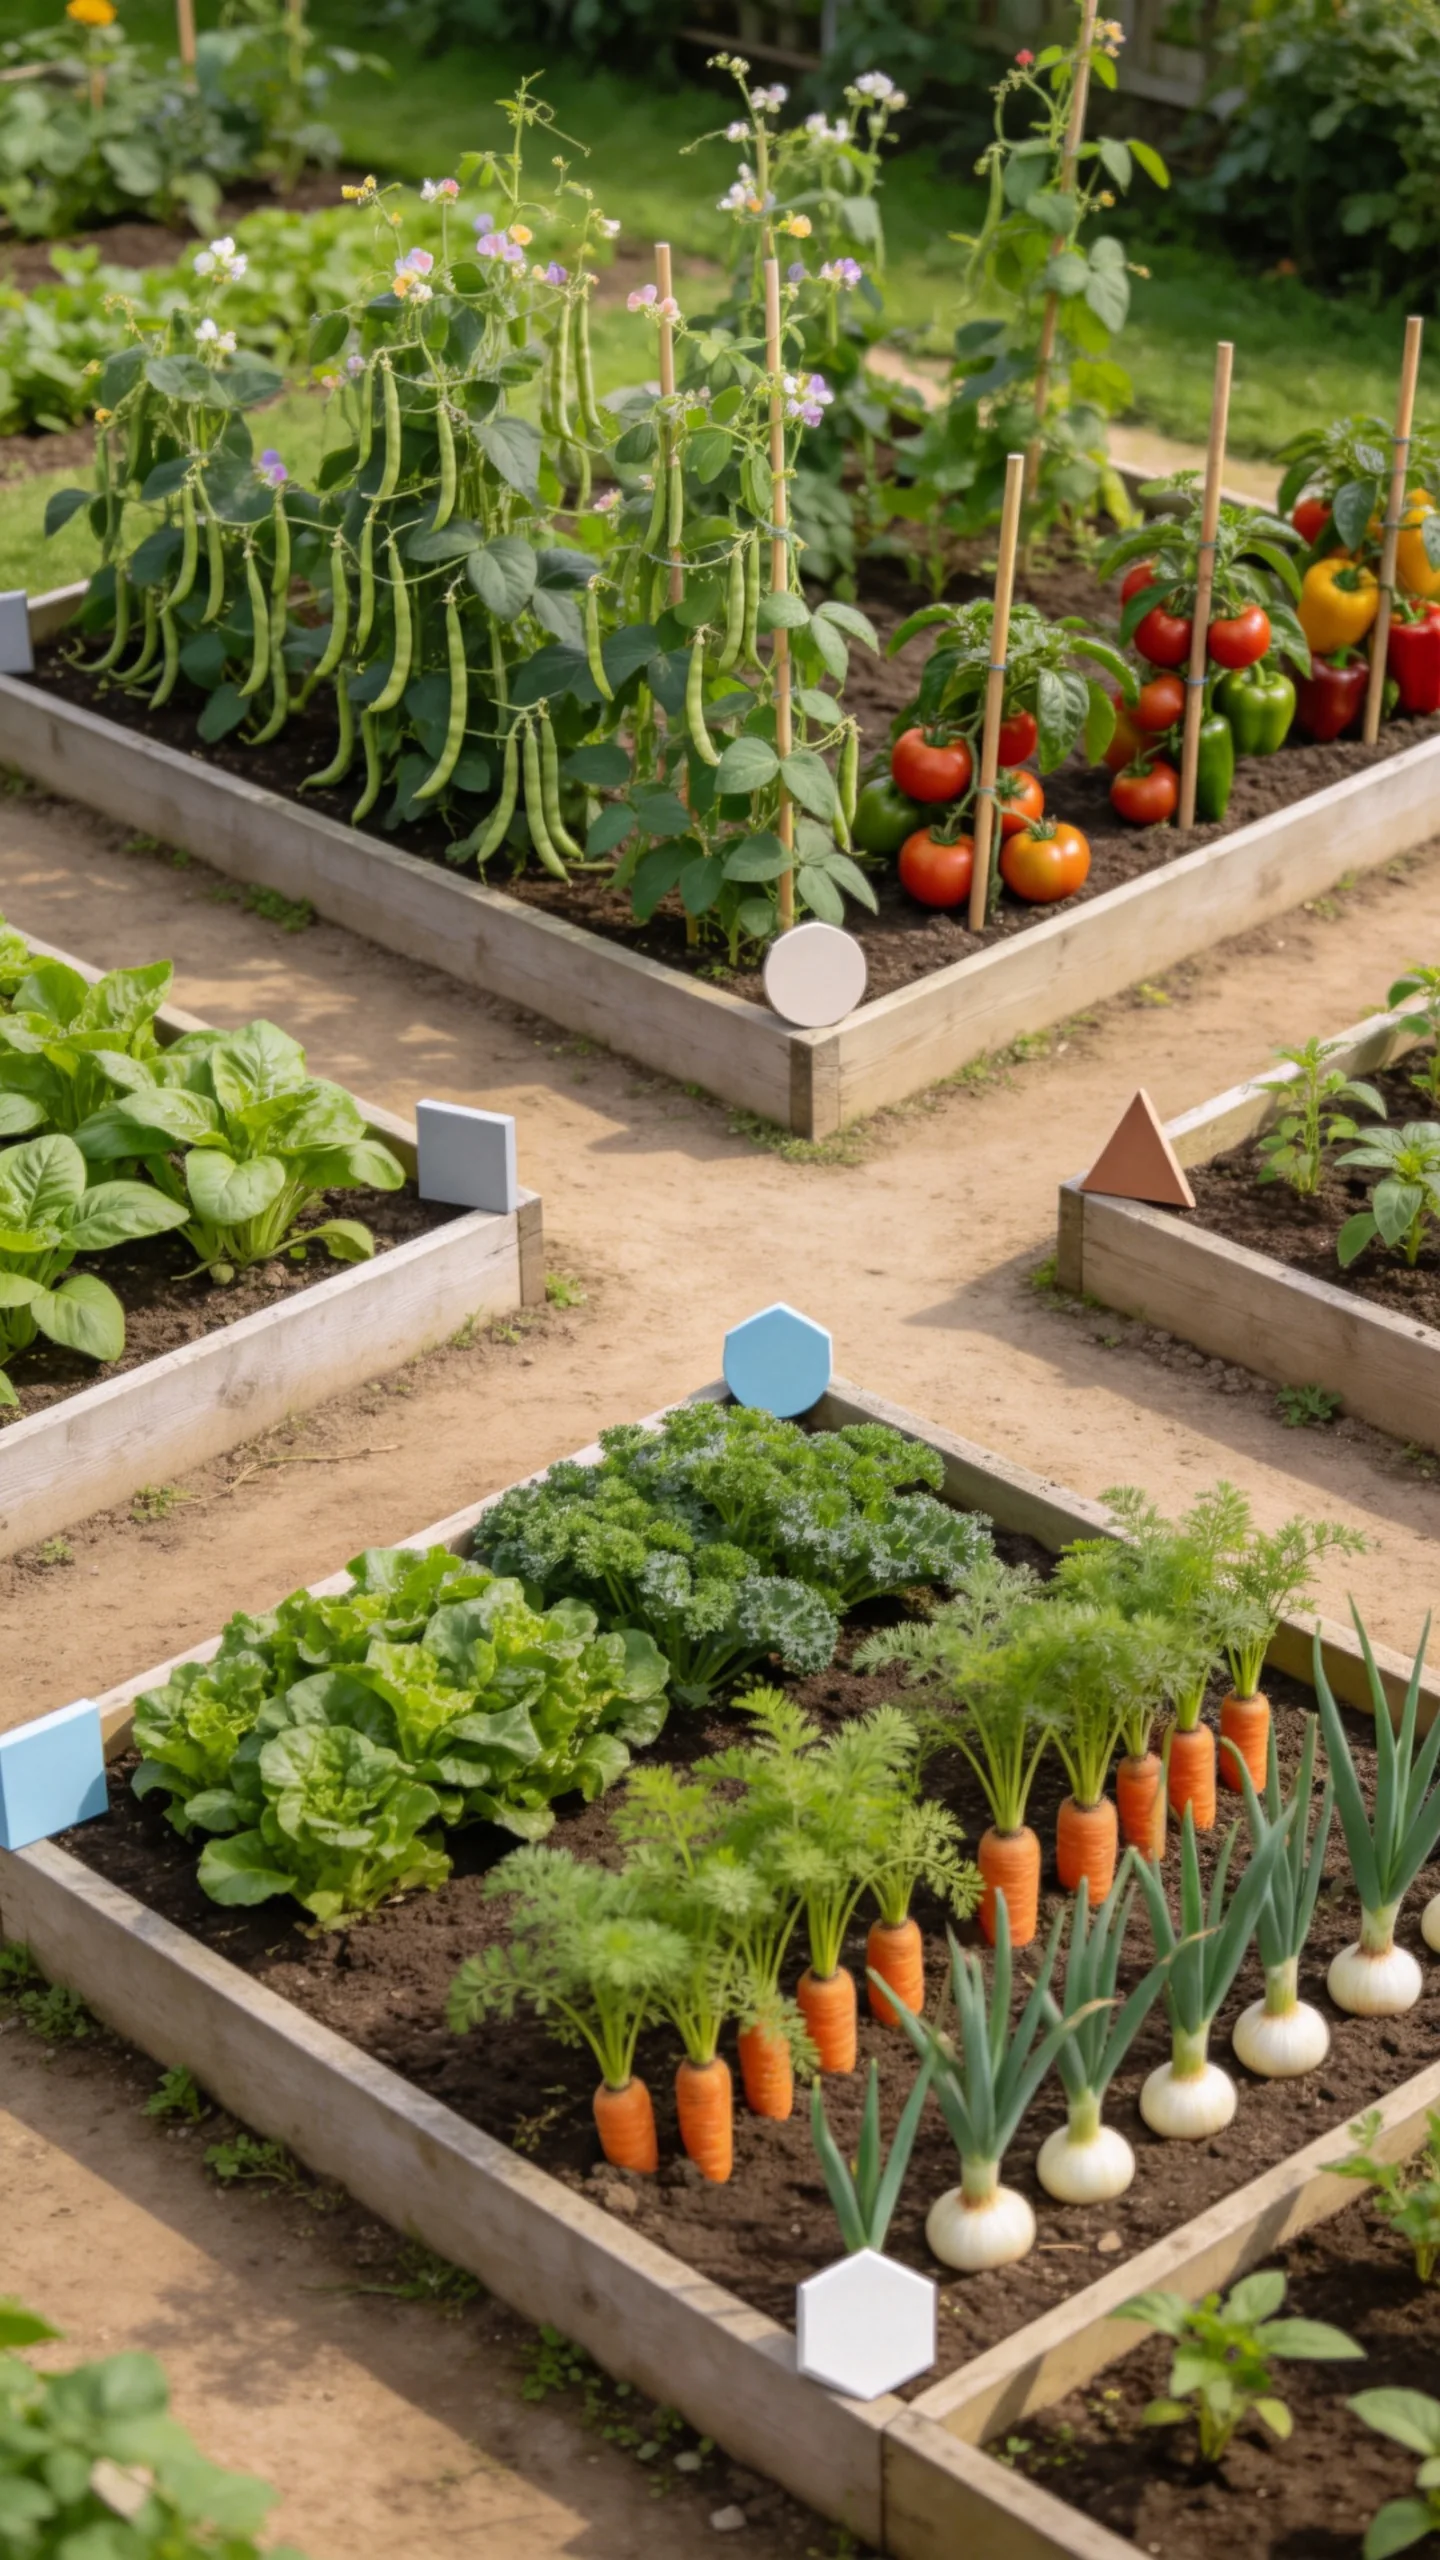
Create four equal raised beds specifically for a simple crop-rotation plan. Assign each bed a broad crop category, then move the categories to a different bed in the following growing season where climate and planting schedules allow.
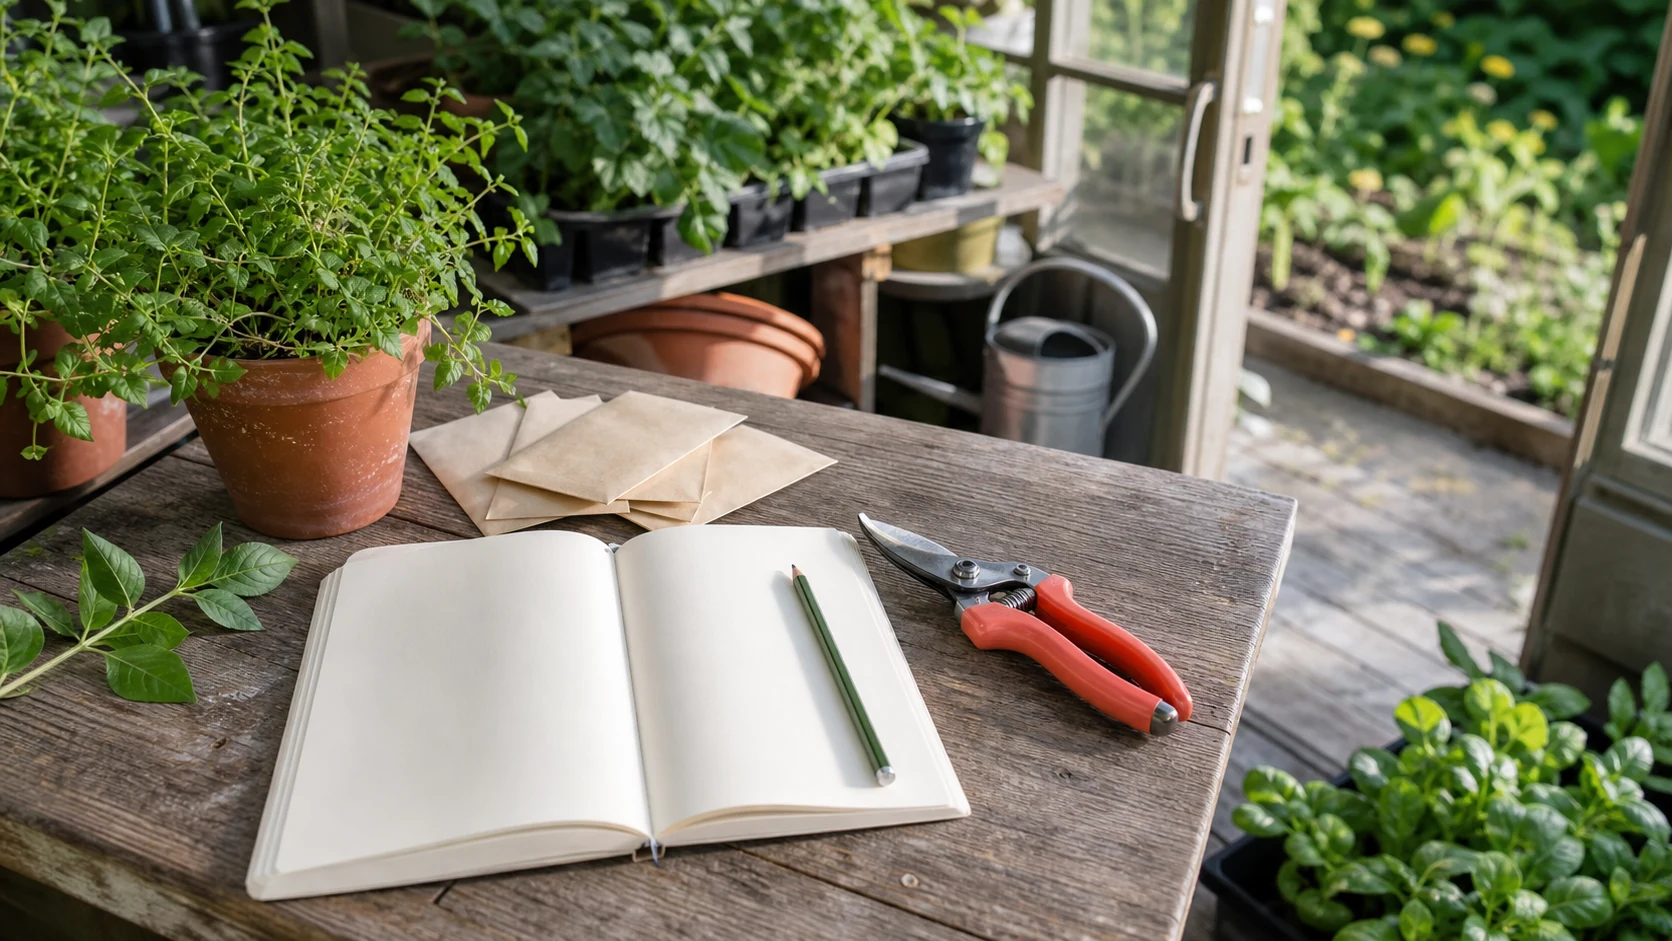
A practical grouping might include legumes, fruiting crops, leafy vegetables, and roots or alliums. Add permanent number markers to the bed corners and keep a basic planting record, making it easier to track soil amendments, recurring pests, and previous crops.