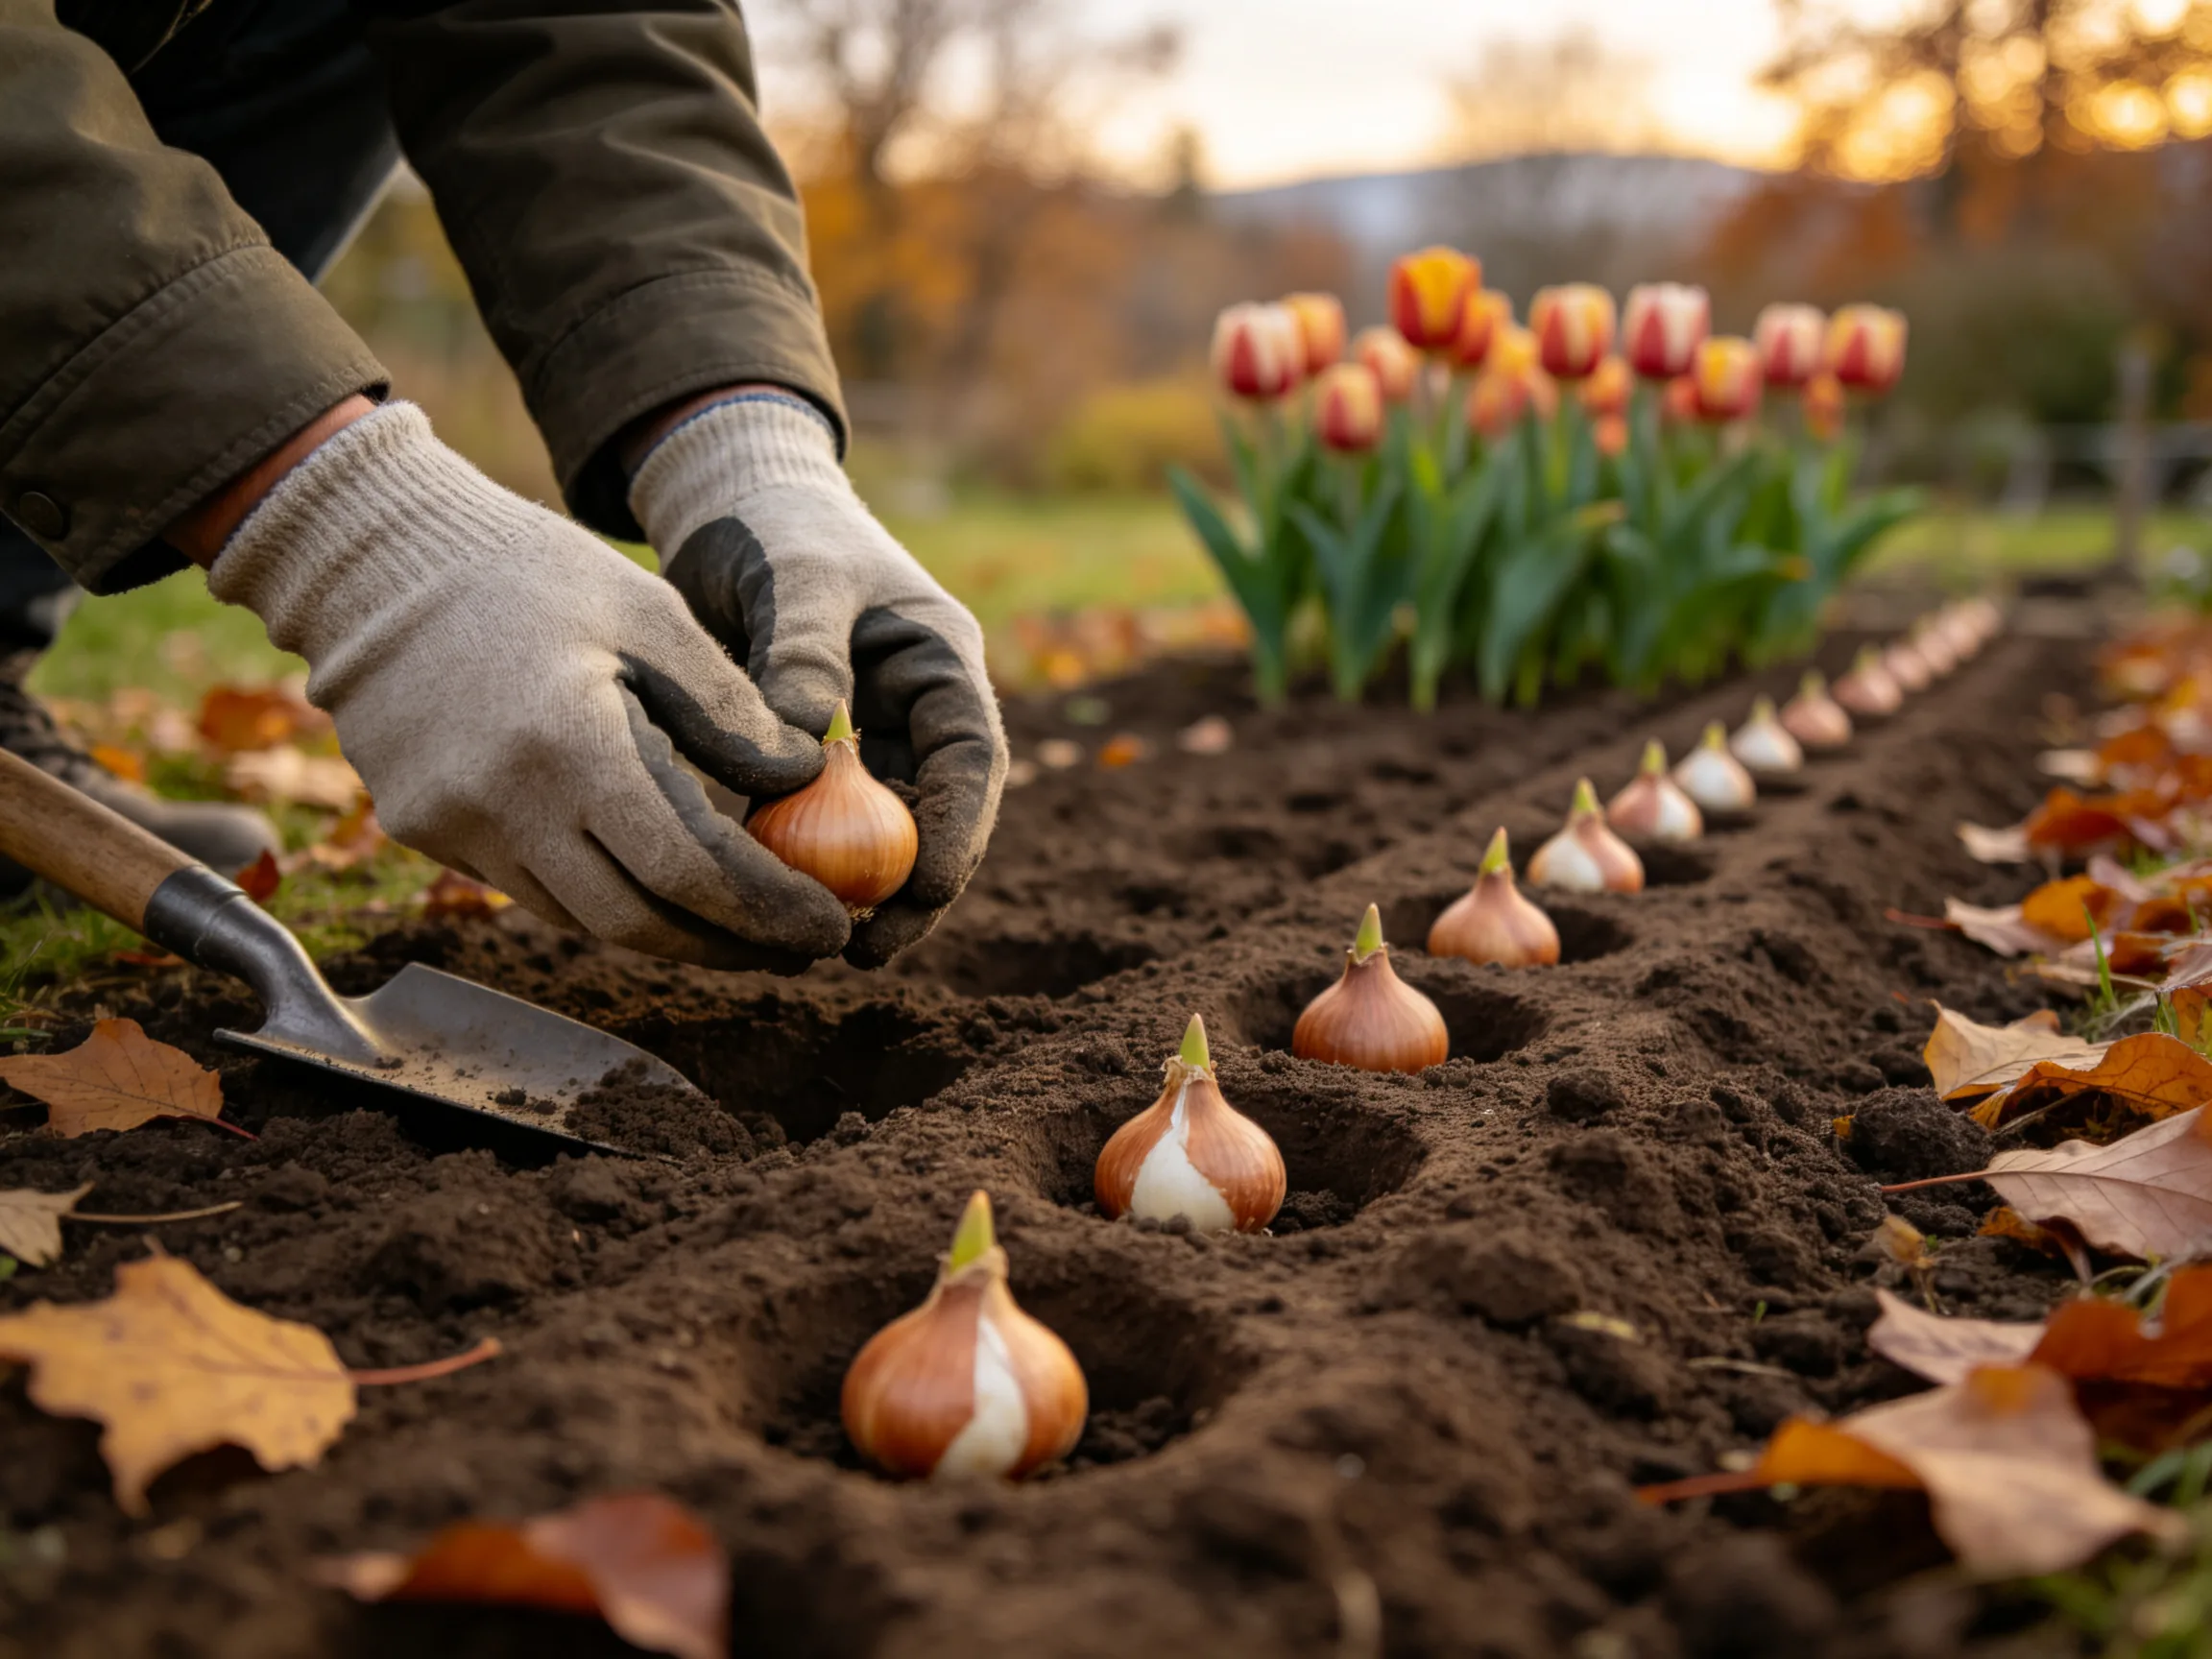
Planting tulips in the fall gives bulbs time to develop roots before winter, but small choices can affect spring flowering. Avoid these common mistakes by matching the planting time, soil, location, bulb type, and aftercare to your garden’s conditions.
1. Planting Tulip Bulbs Too Early
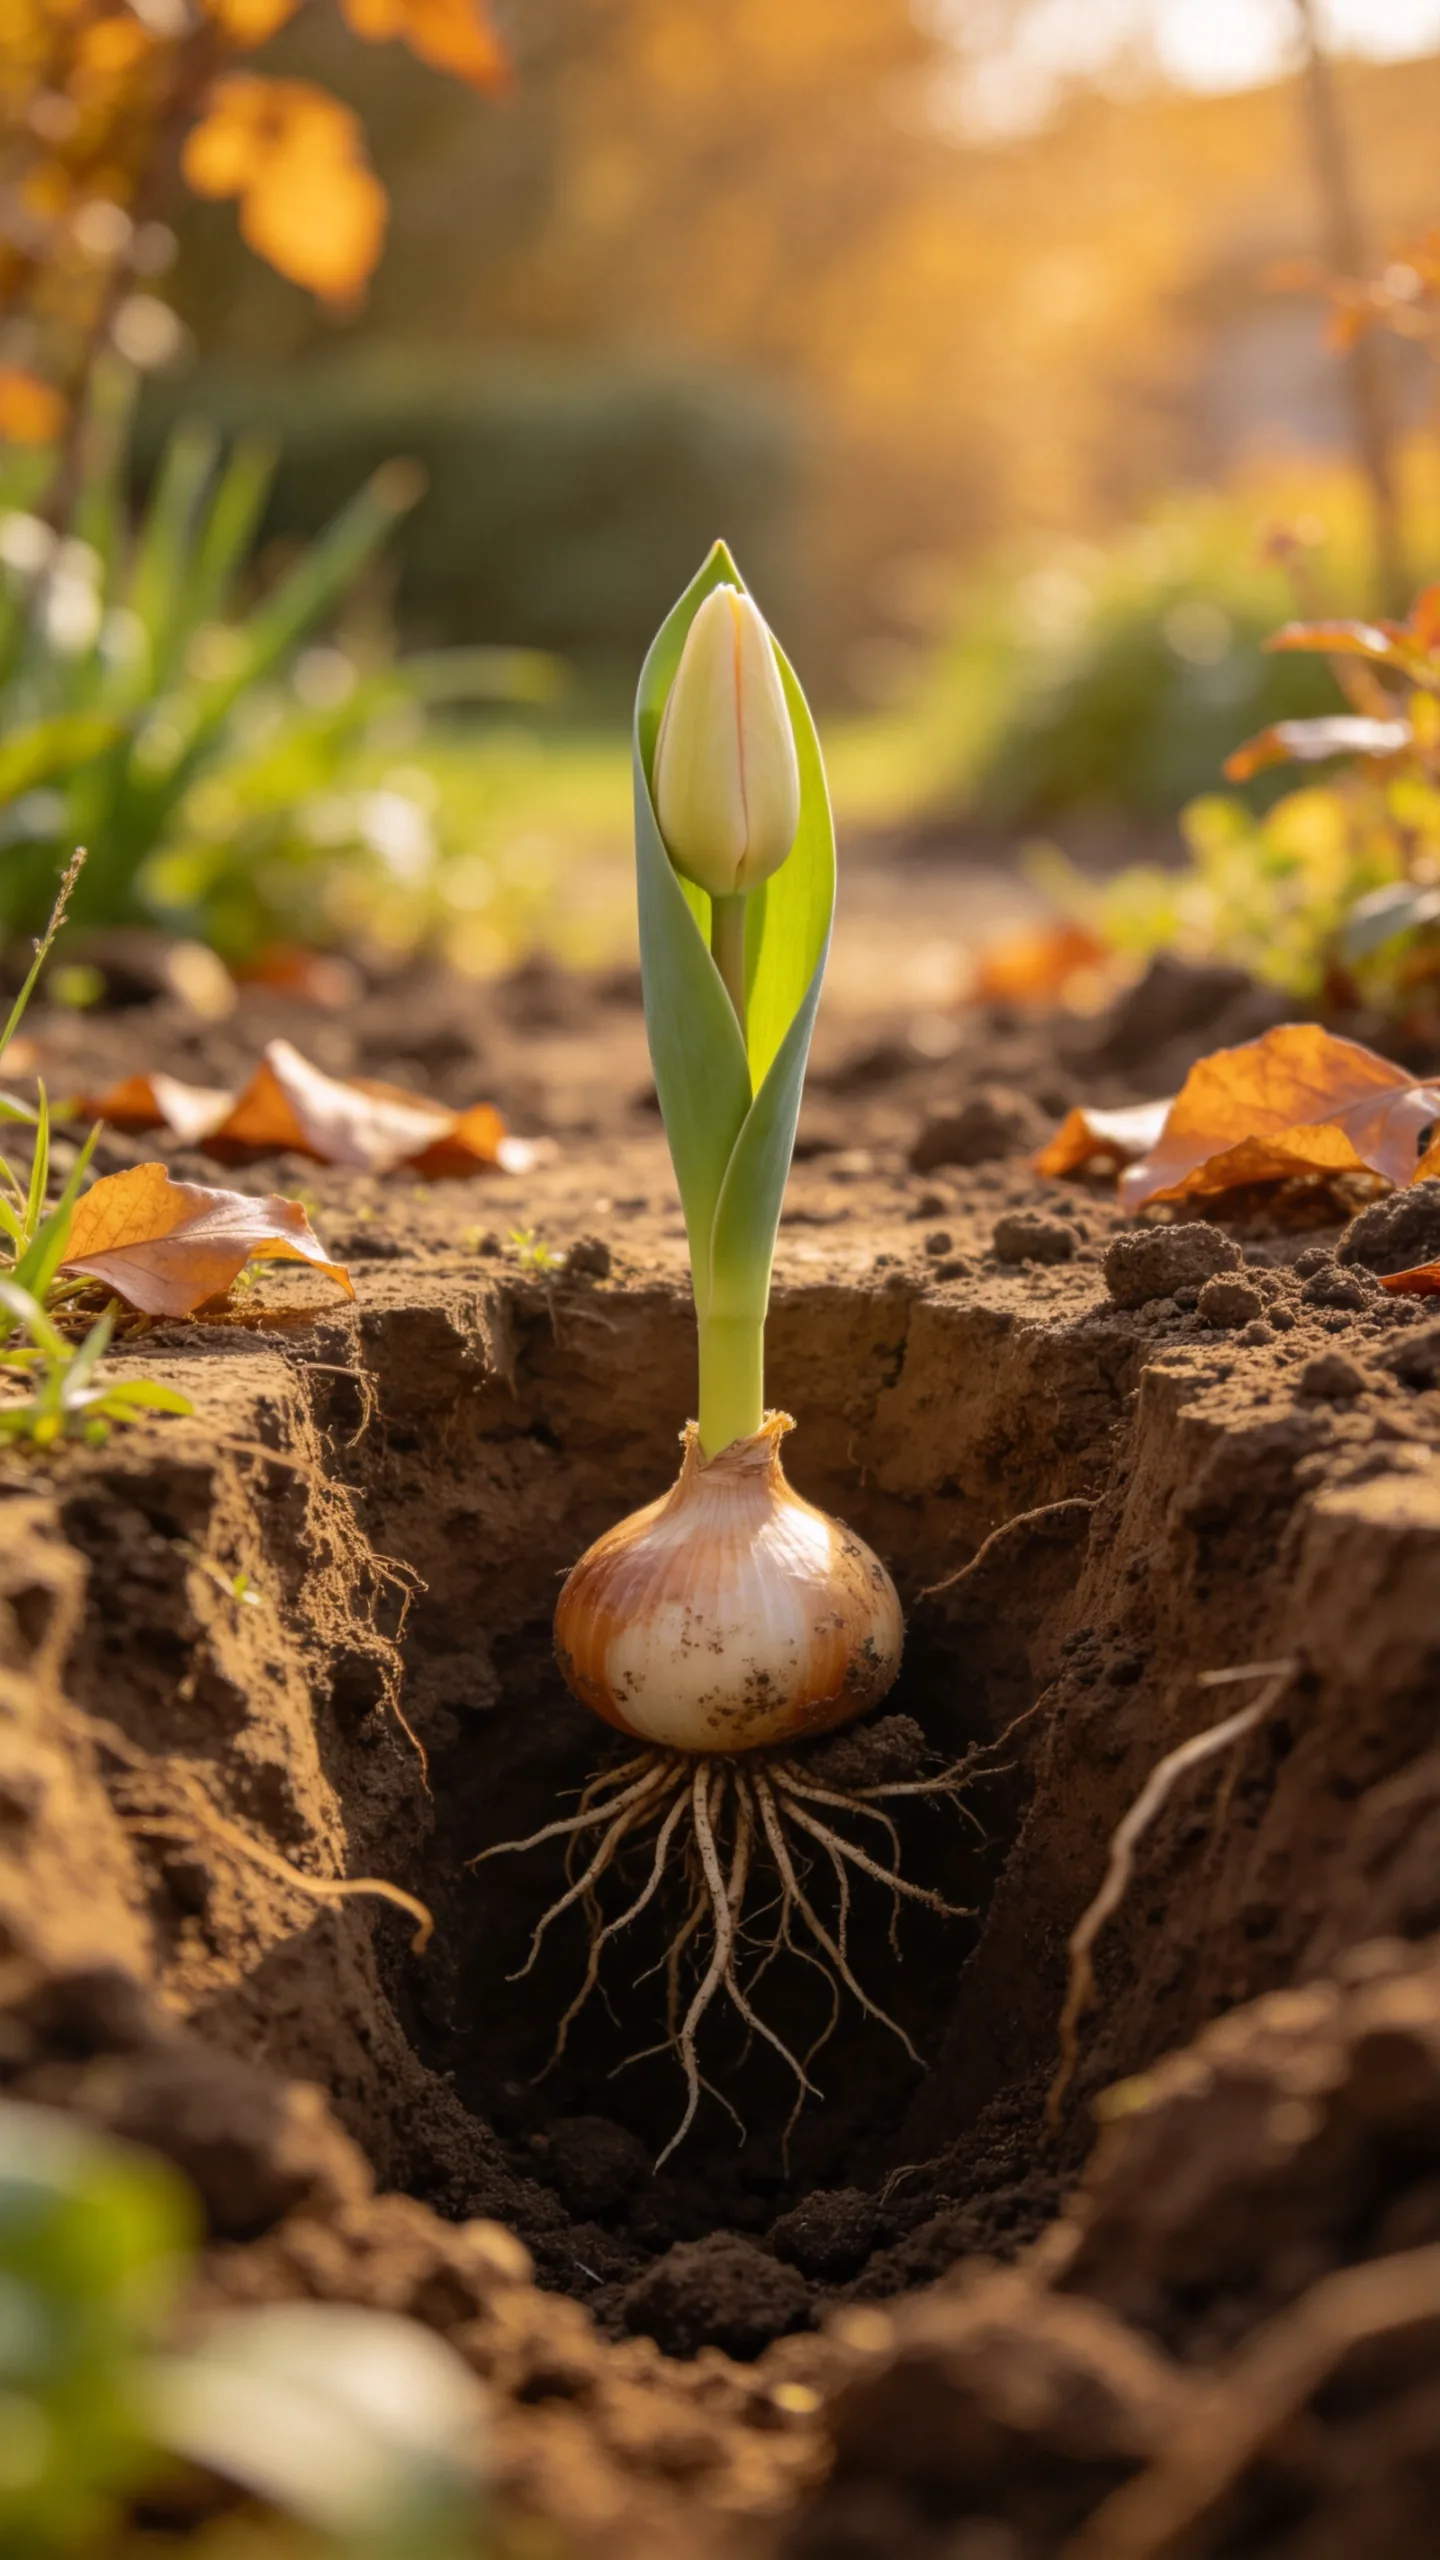
Planting while the soil is still warm can encourage bulbs to sprout before winter, leaving tender growth vulnerable to freezing weather and pests. In many regions, the best time is after nighttime temperatures begin to cool and the soil is around 55°F (13°C) or lower.
Use your local first-frost date as a general guide, but do not plant solely by the calendar. Gardeners in warm climates may need to wait until late fall, while gardeners in colder regions often plant several weeks before the ground freezes.
2. Waiting Until the Ground Is Frozen
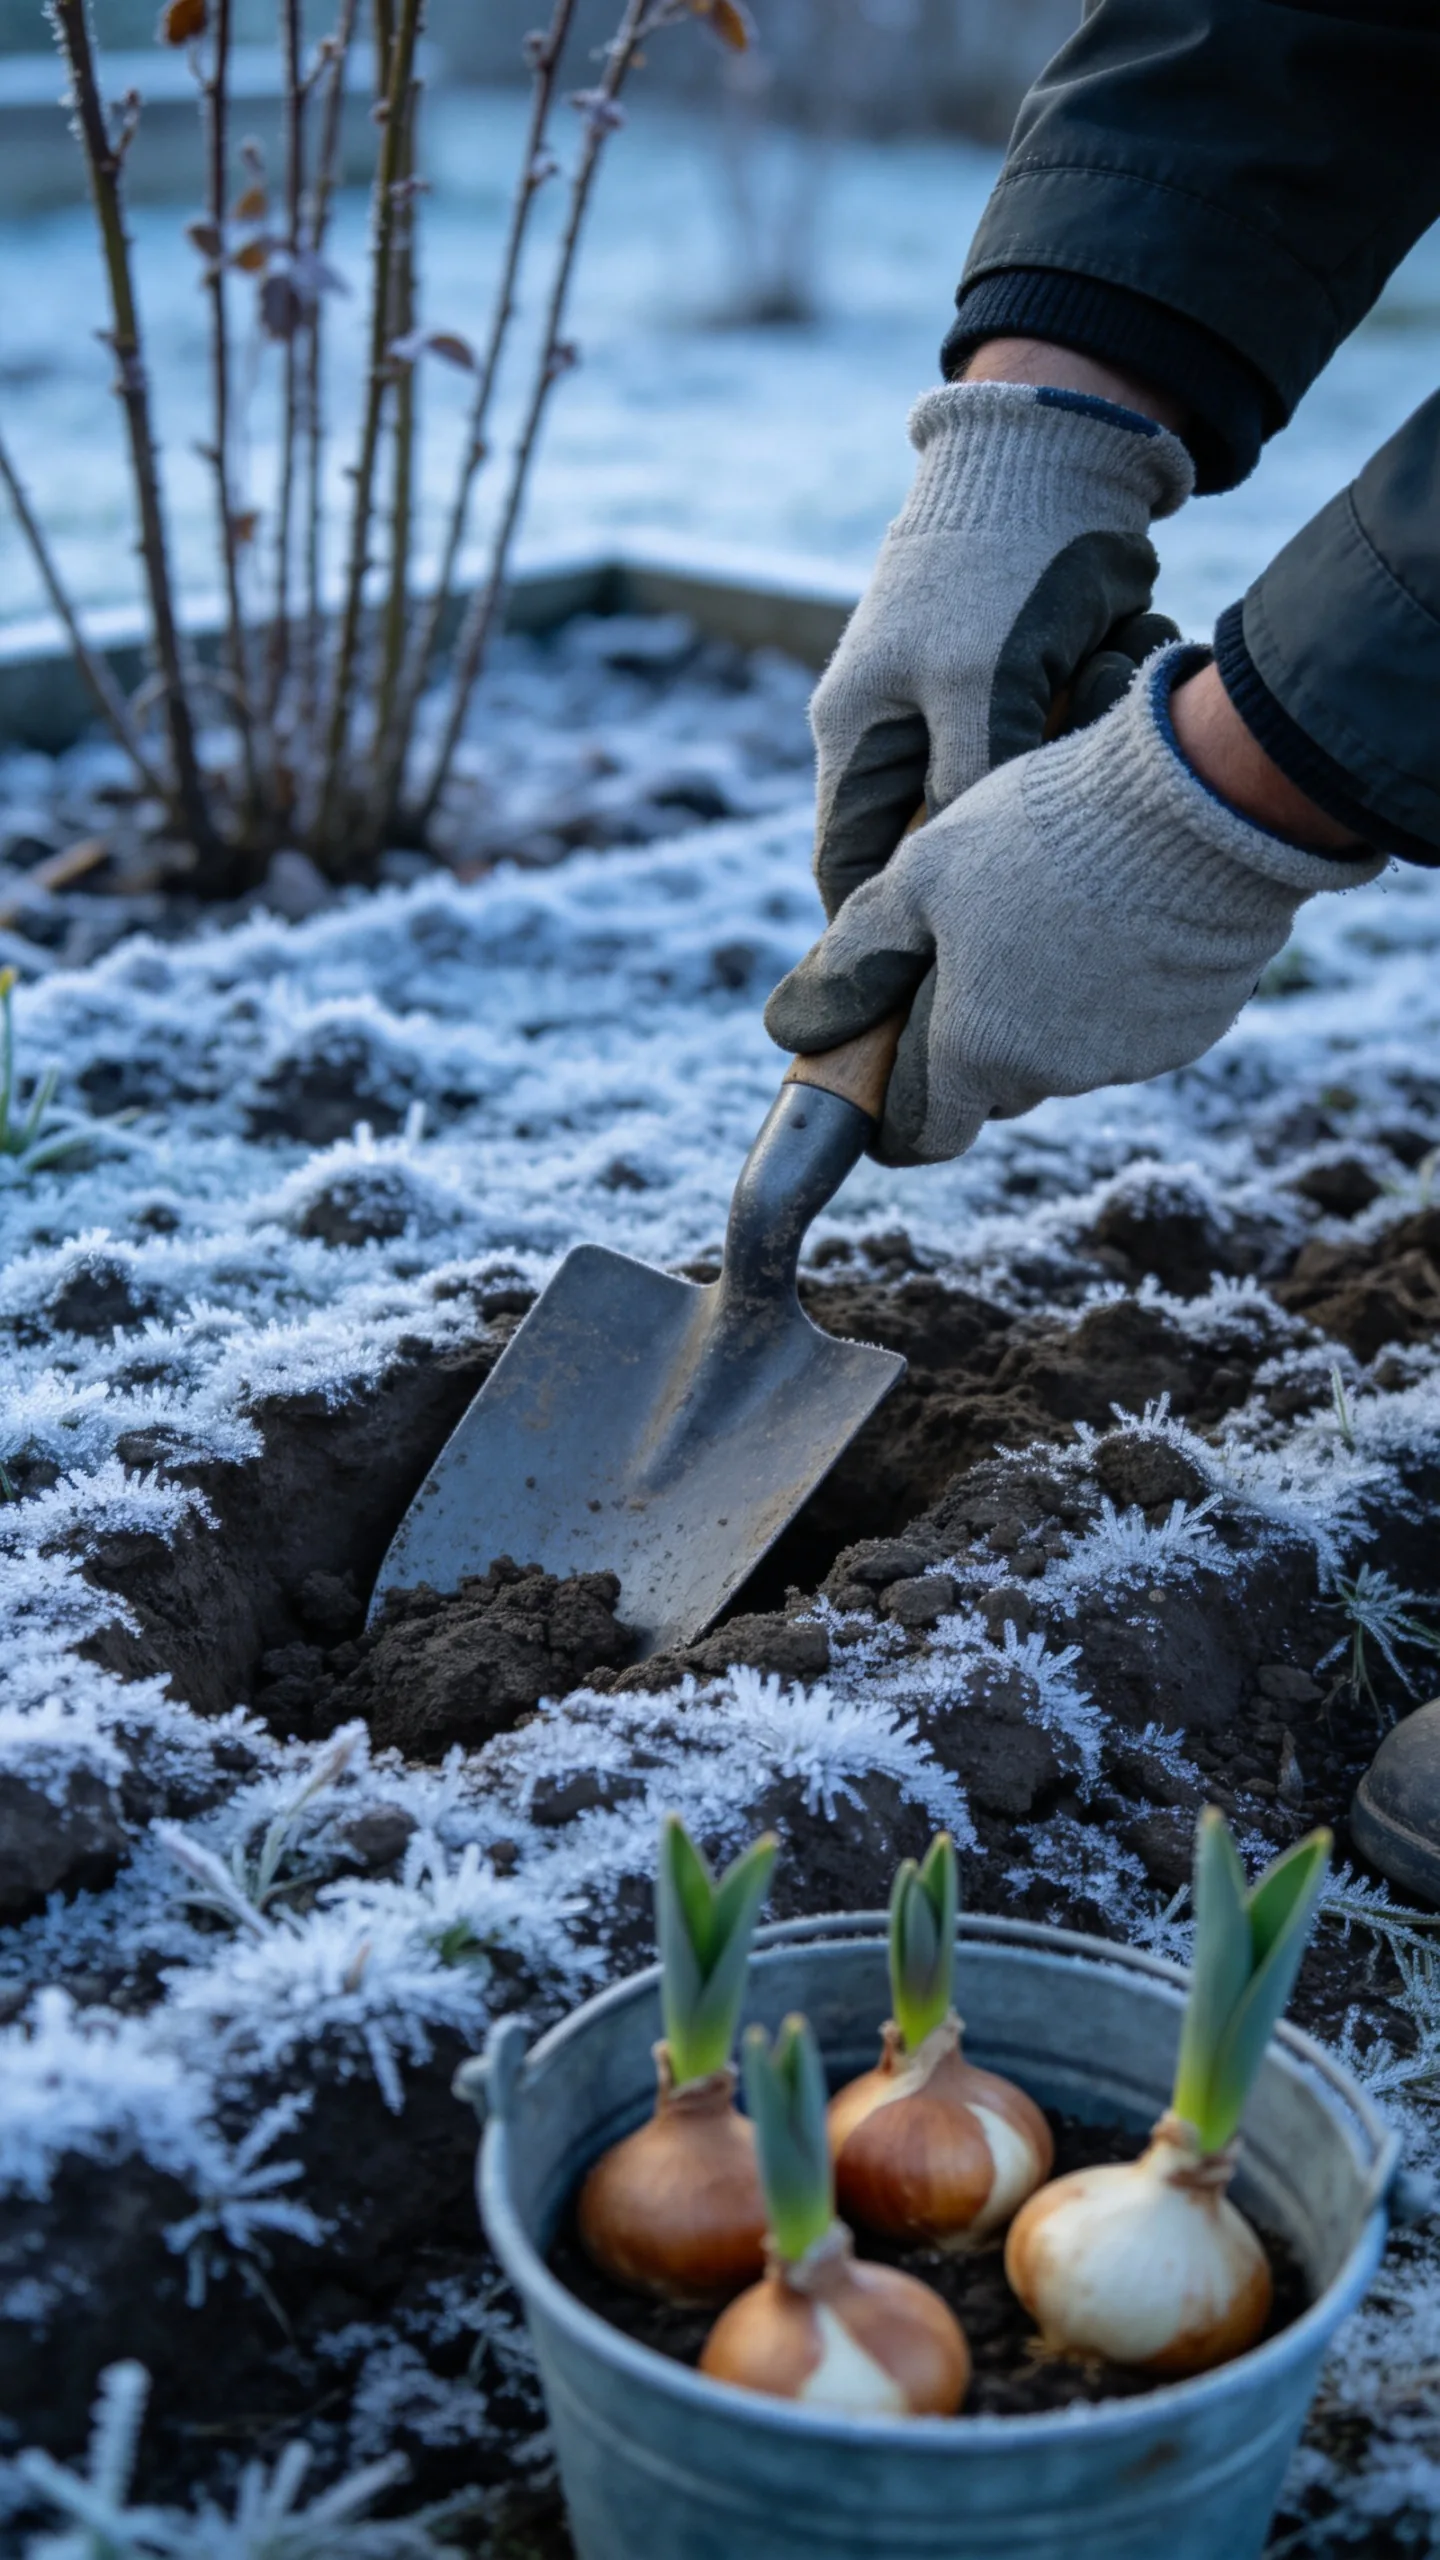
Delaying planting until the soil is hard makes it difficult to dig a proper hole and can prevent bulbs from establishing roots. Bulbs planted too late may still grow, but they have less time to root before winter.
Prepare the bed and purchase bulbs early, then plant as soon as the soil is cool and workable. If an unexpected freeze is approaching, plant the bulbs promptly rather than storing them for an extended period in a warm room.
3. Choosing a Poorly Drained Location
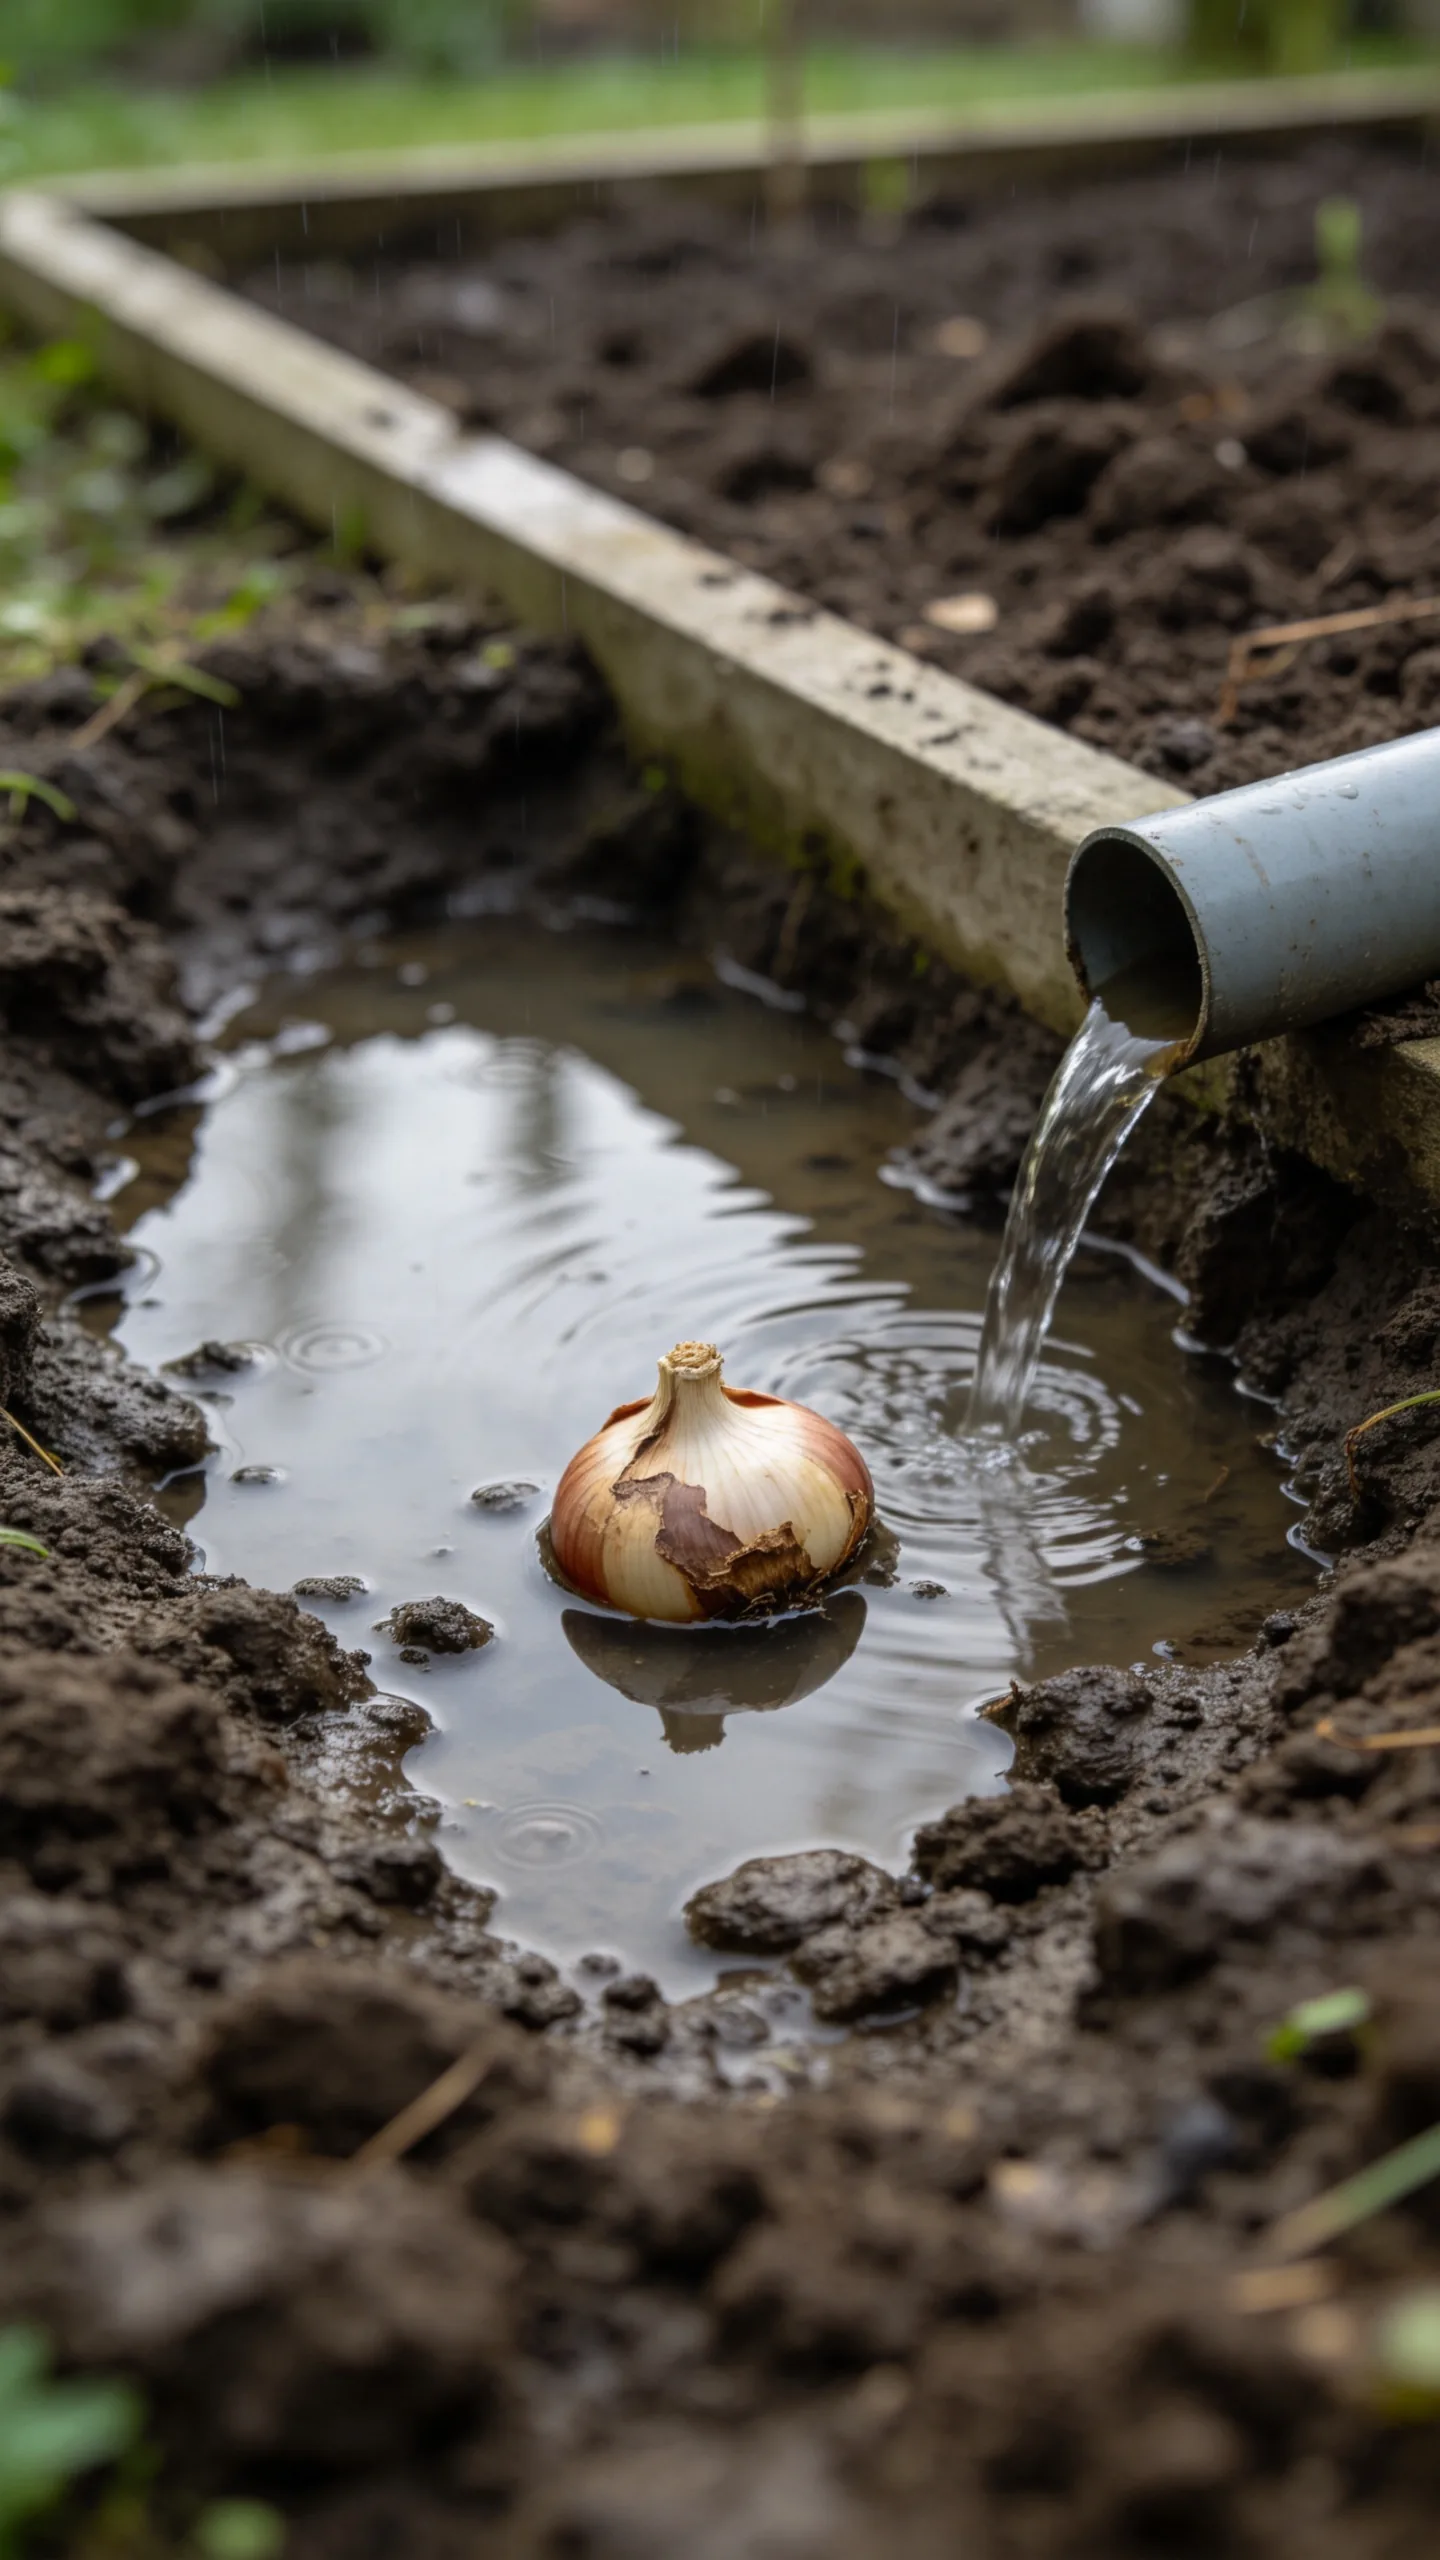
Tulip bulbs can rot when they sit in waterlogged soil through fall and winter. Low spots, heavy clay, and areas beneath downspouts are risky planting locations, especially after repeated rain or snowmelt.
Choose a site with good drainage, or improve the bed by mixing in finished compost and organic matter without creating a dense, water-holding pocket. In persistently wet gardens, raised beds or containers with drainage holes are safer options.
4. Planting in Too Much Shade
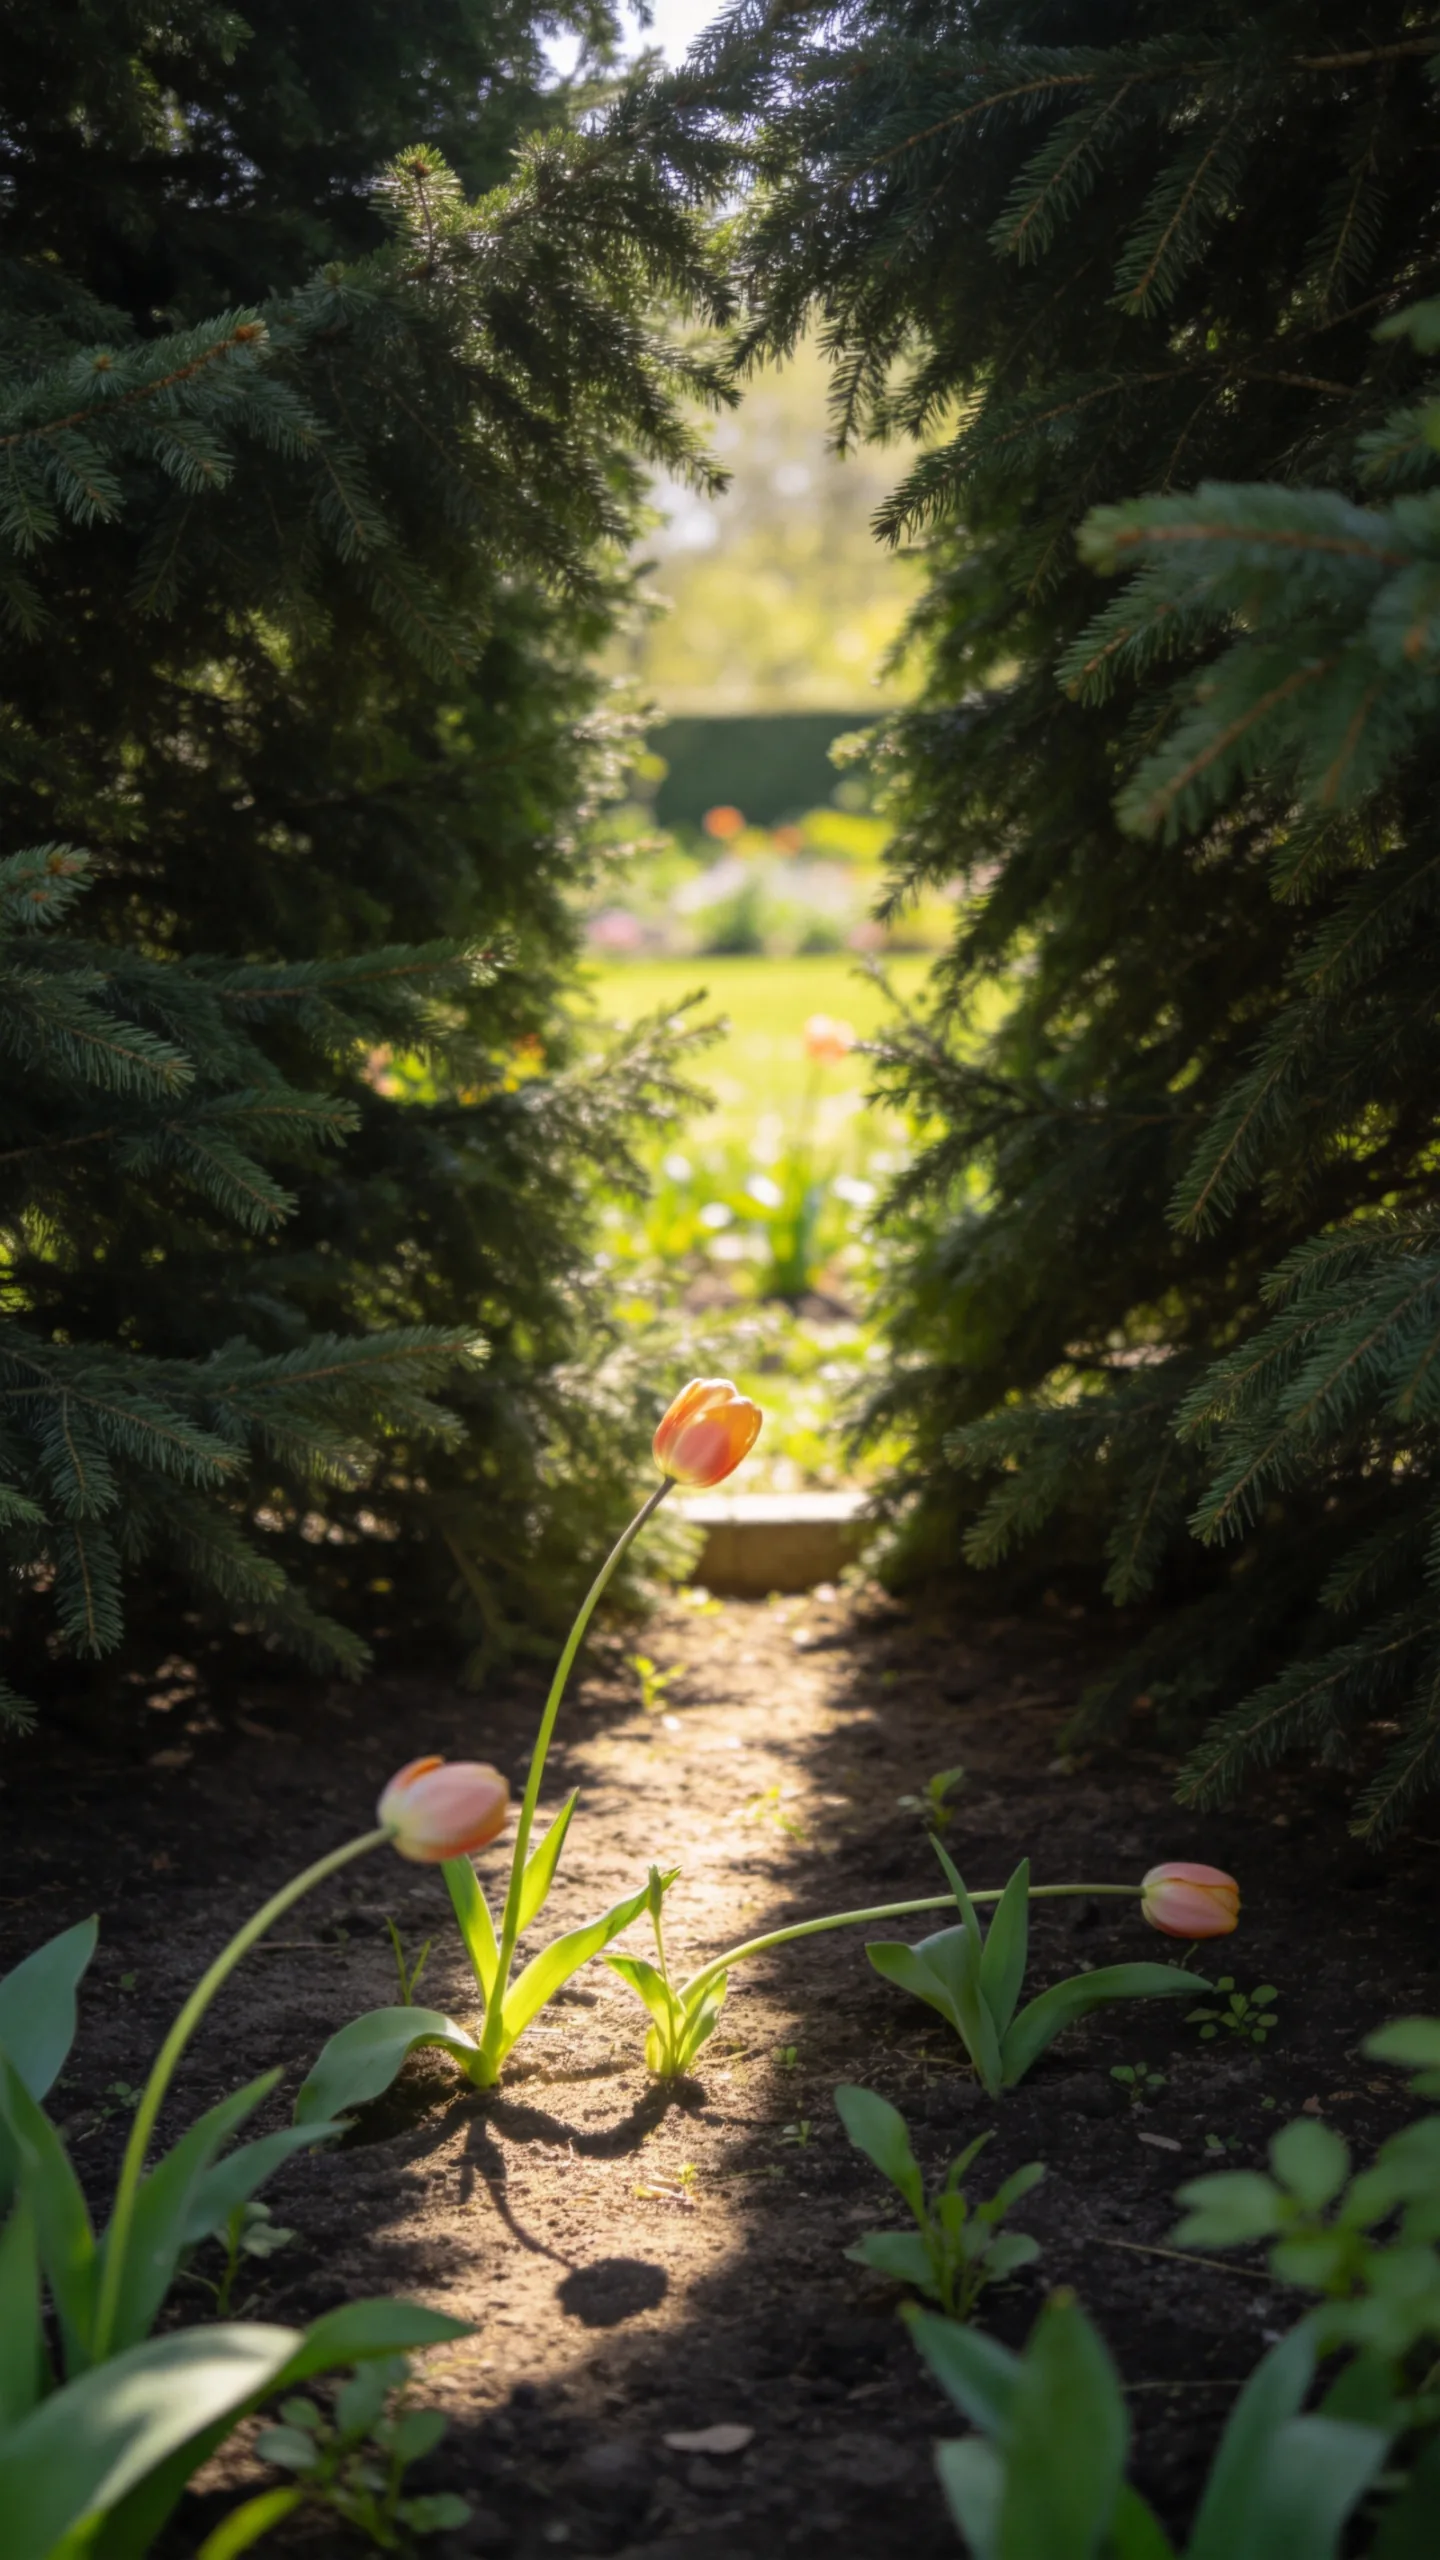
Tulips generally perform best in full sun to light shade, particularly during the growing season. A site that receives only a short period of weak light may produce fewer flowers and lankier stems.
Plant bulbs where they receive several hours of direct sunlight in spring. Deciduous trees can work well because their branches may be open when tulips bloom, but dense evergreen shade can limit flowering.
5. Ignoring the Soil Before Digging
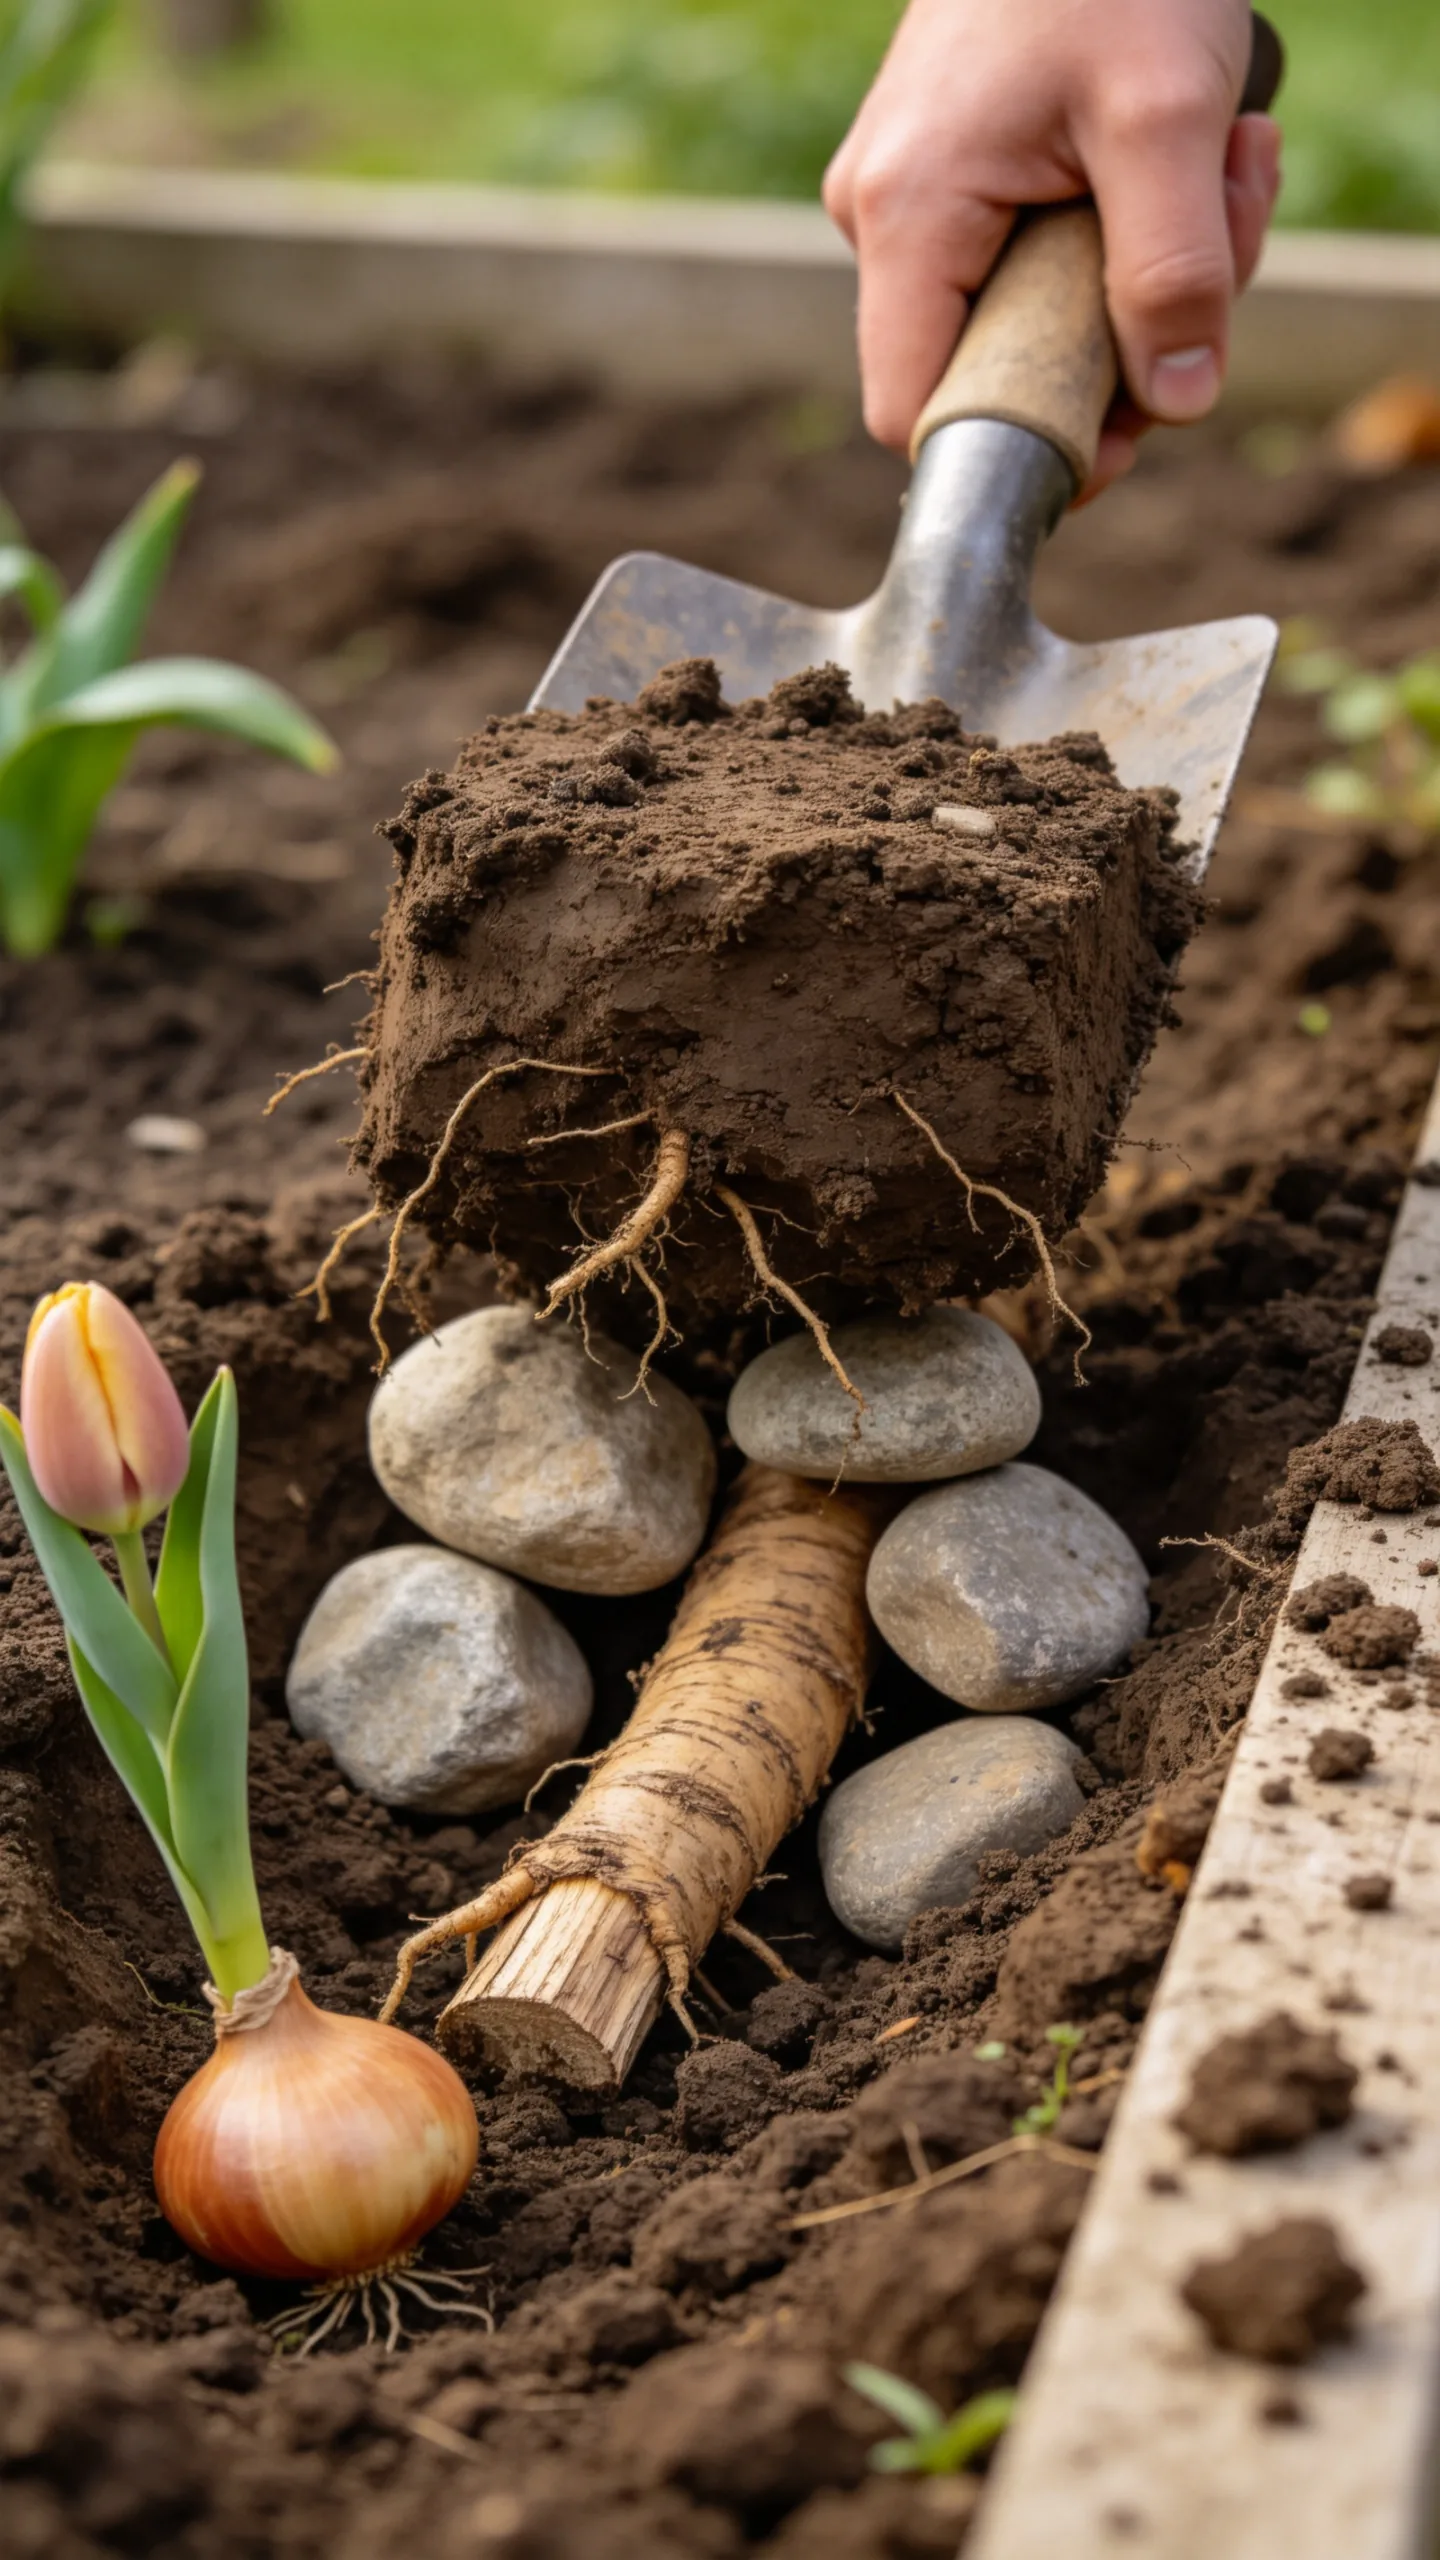
Planting directly into compacted or depleted soil can restrict root growth and make it harder for bulbs to establish. Soil that is difficult to dig also increases the chance of leaving bulbs at inconsistent depths.
Loosen the planting area several inches deeper than the bulb’s final position and remove large stones or thick roots. A simple soil test can reveal whether the bed needs a pH adjustment or additional organic matter before planting.
6. Planting Bulbs at the Wrong Depth
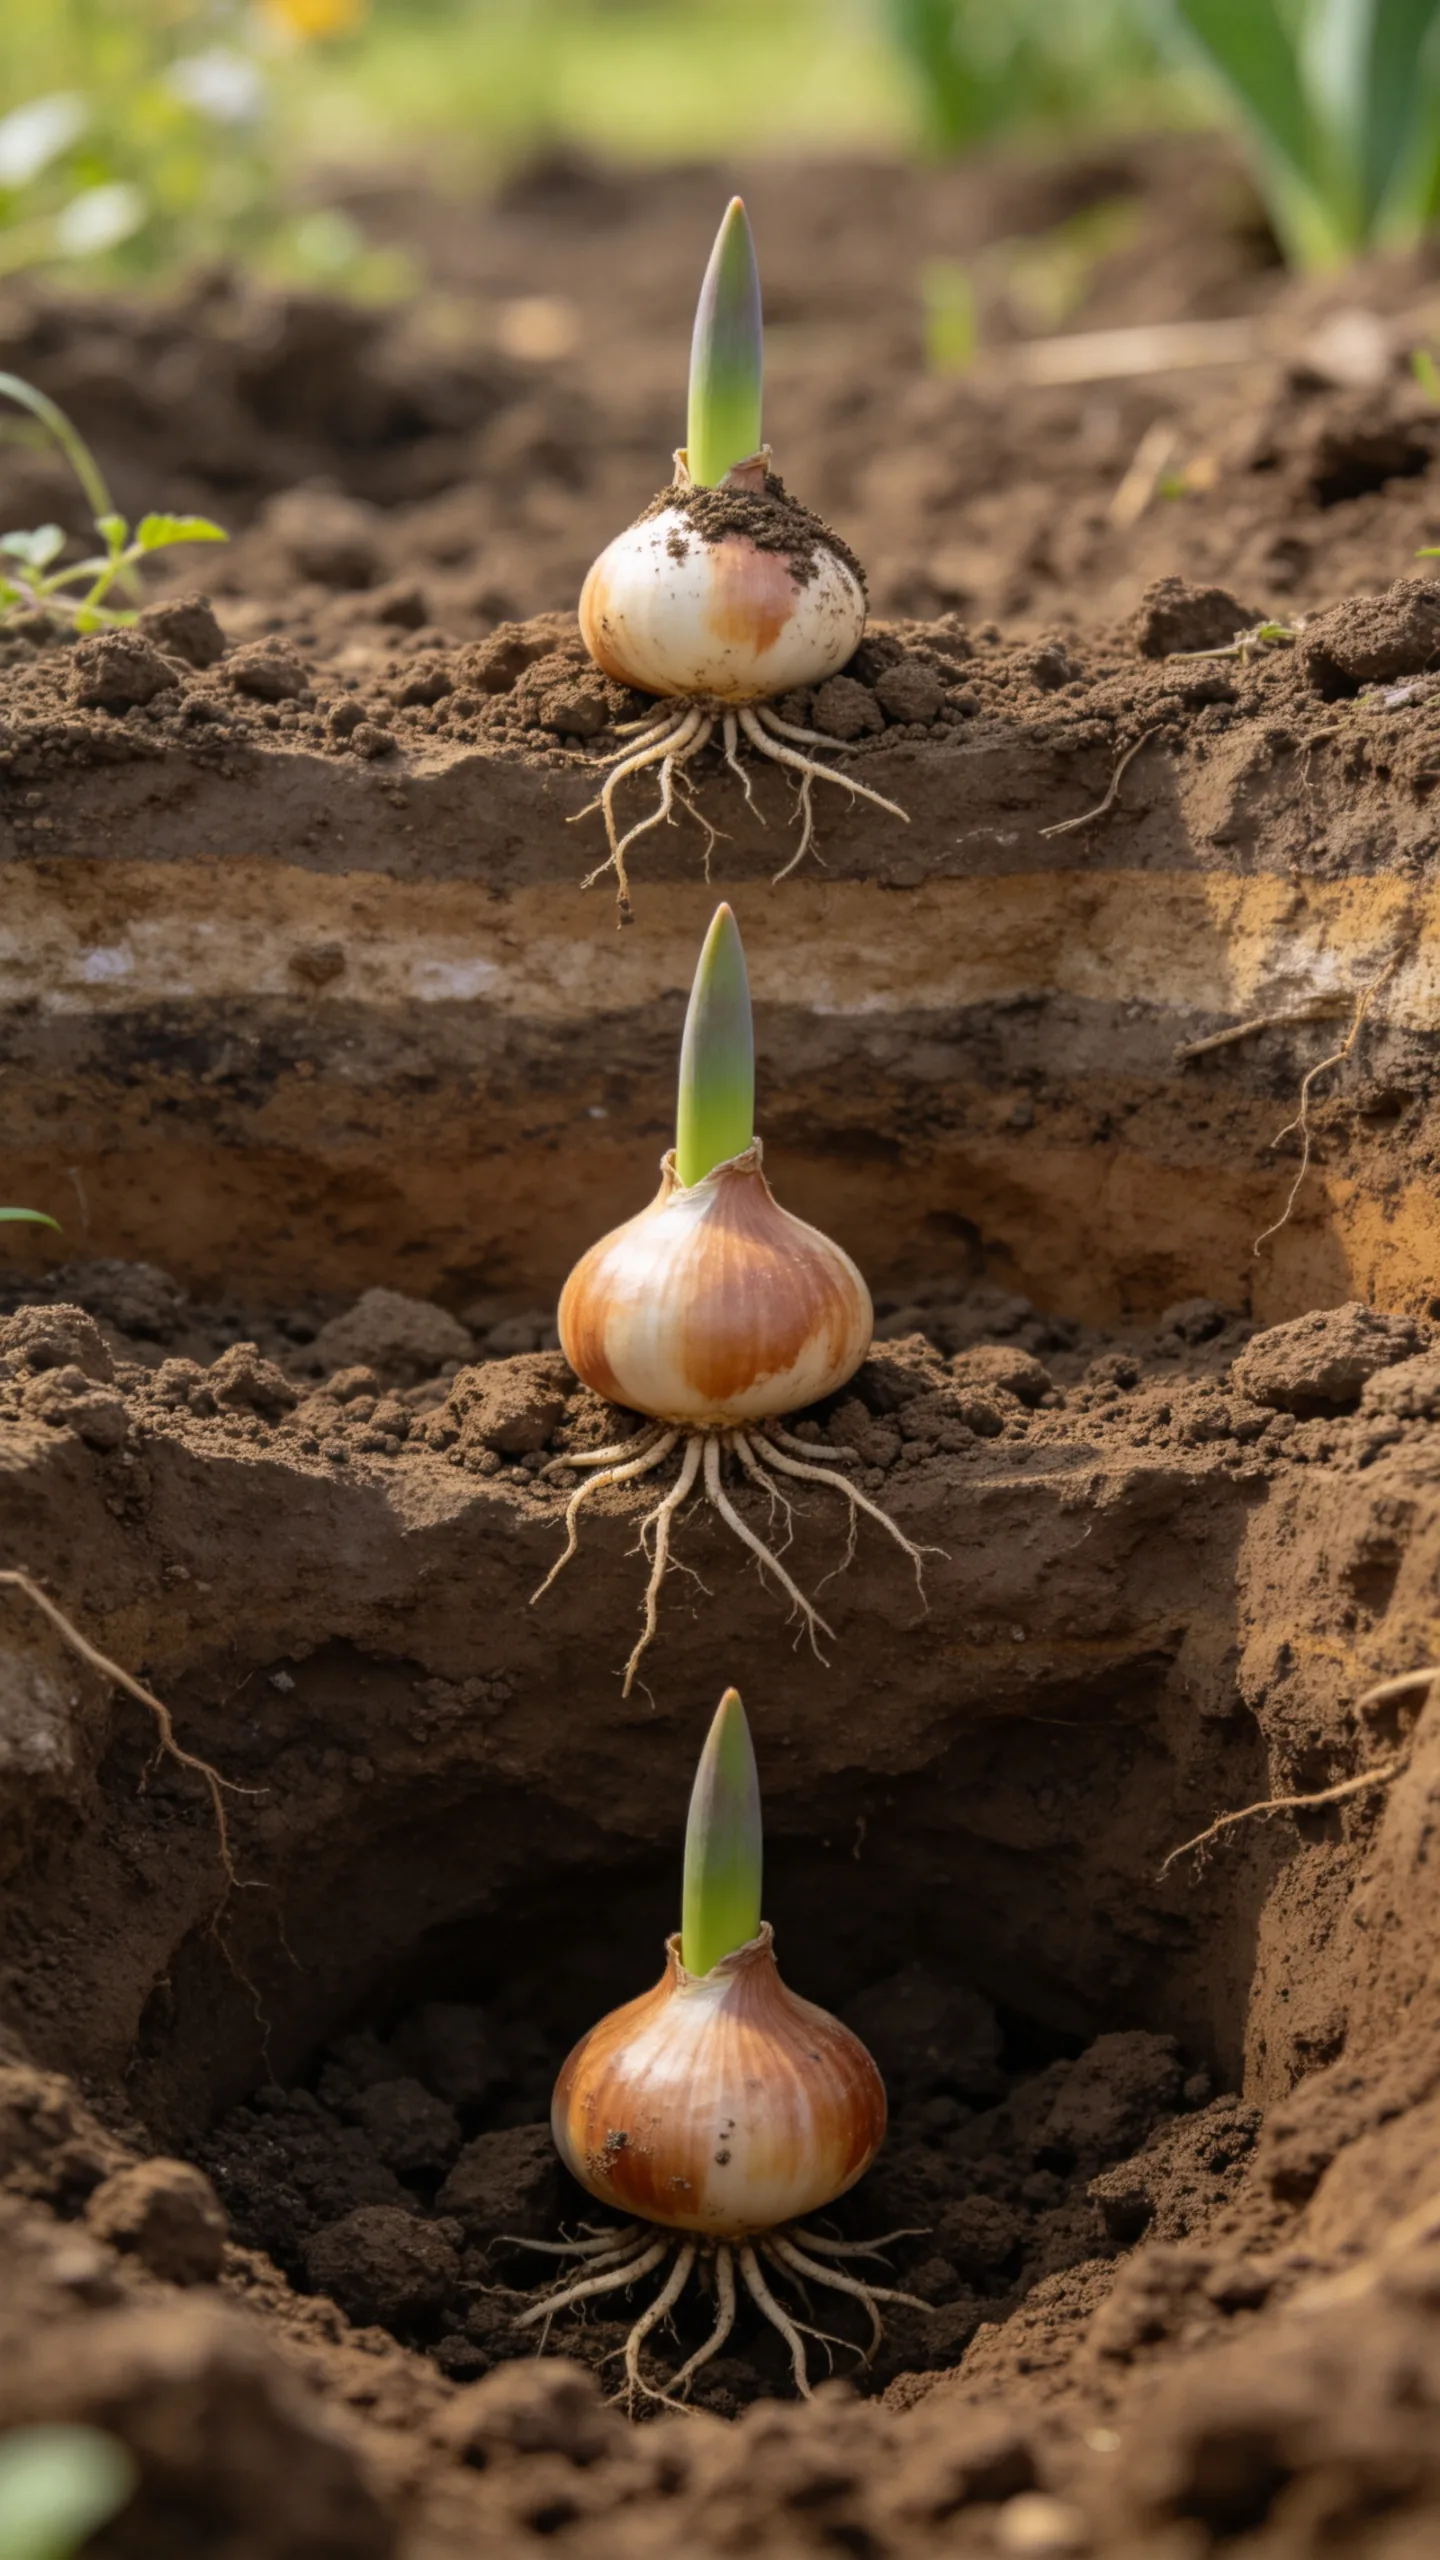
Bulbs planted too shallowly are more exposed to temperature swings, drying, and animals. Bulbs planted excessively deep may struggle to emerge or flower reliably.
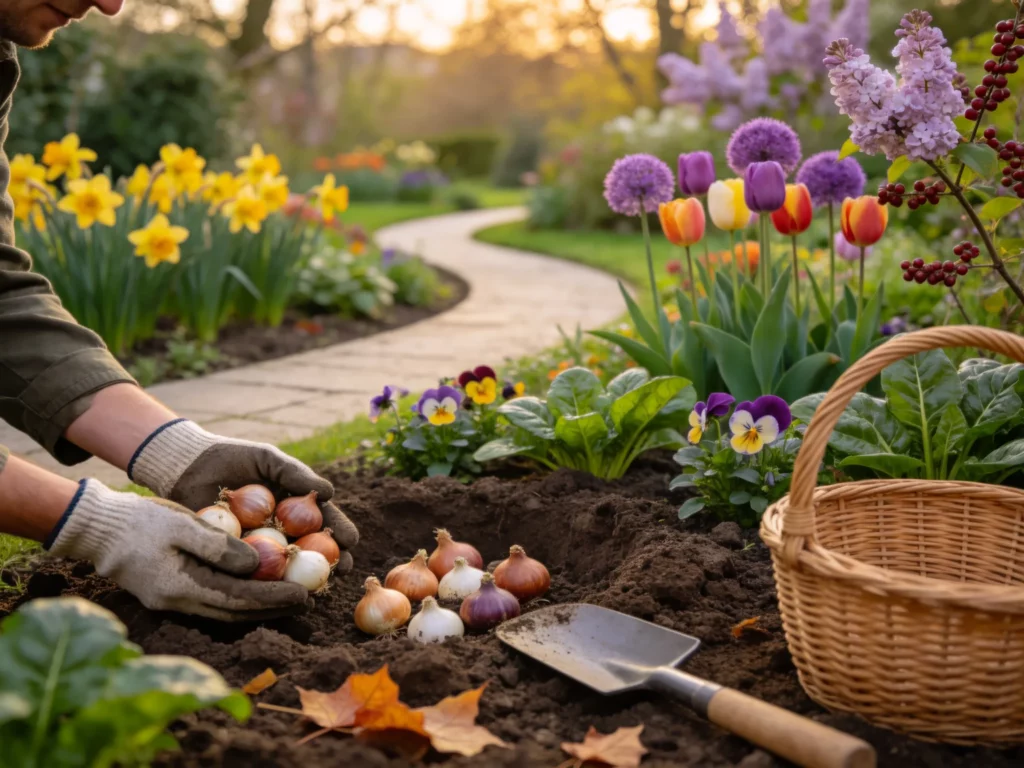
As a general starting point, plant tulips with the base of the bulb about 6 to 8 inches below the soil surface, or roughly two to three times the bulb’s height. Follow the supplier’s instructions when they differ, especially for miniature varieties or unusually large bulbs.
7. Setting the Bulbs Upside Down
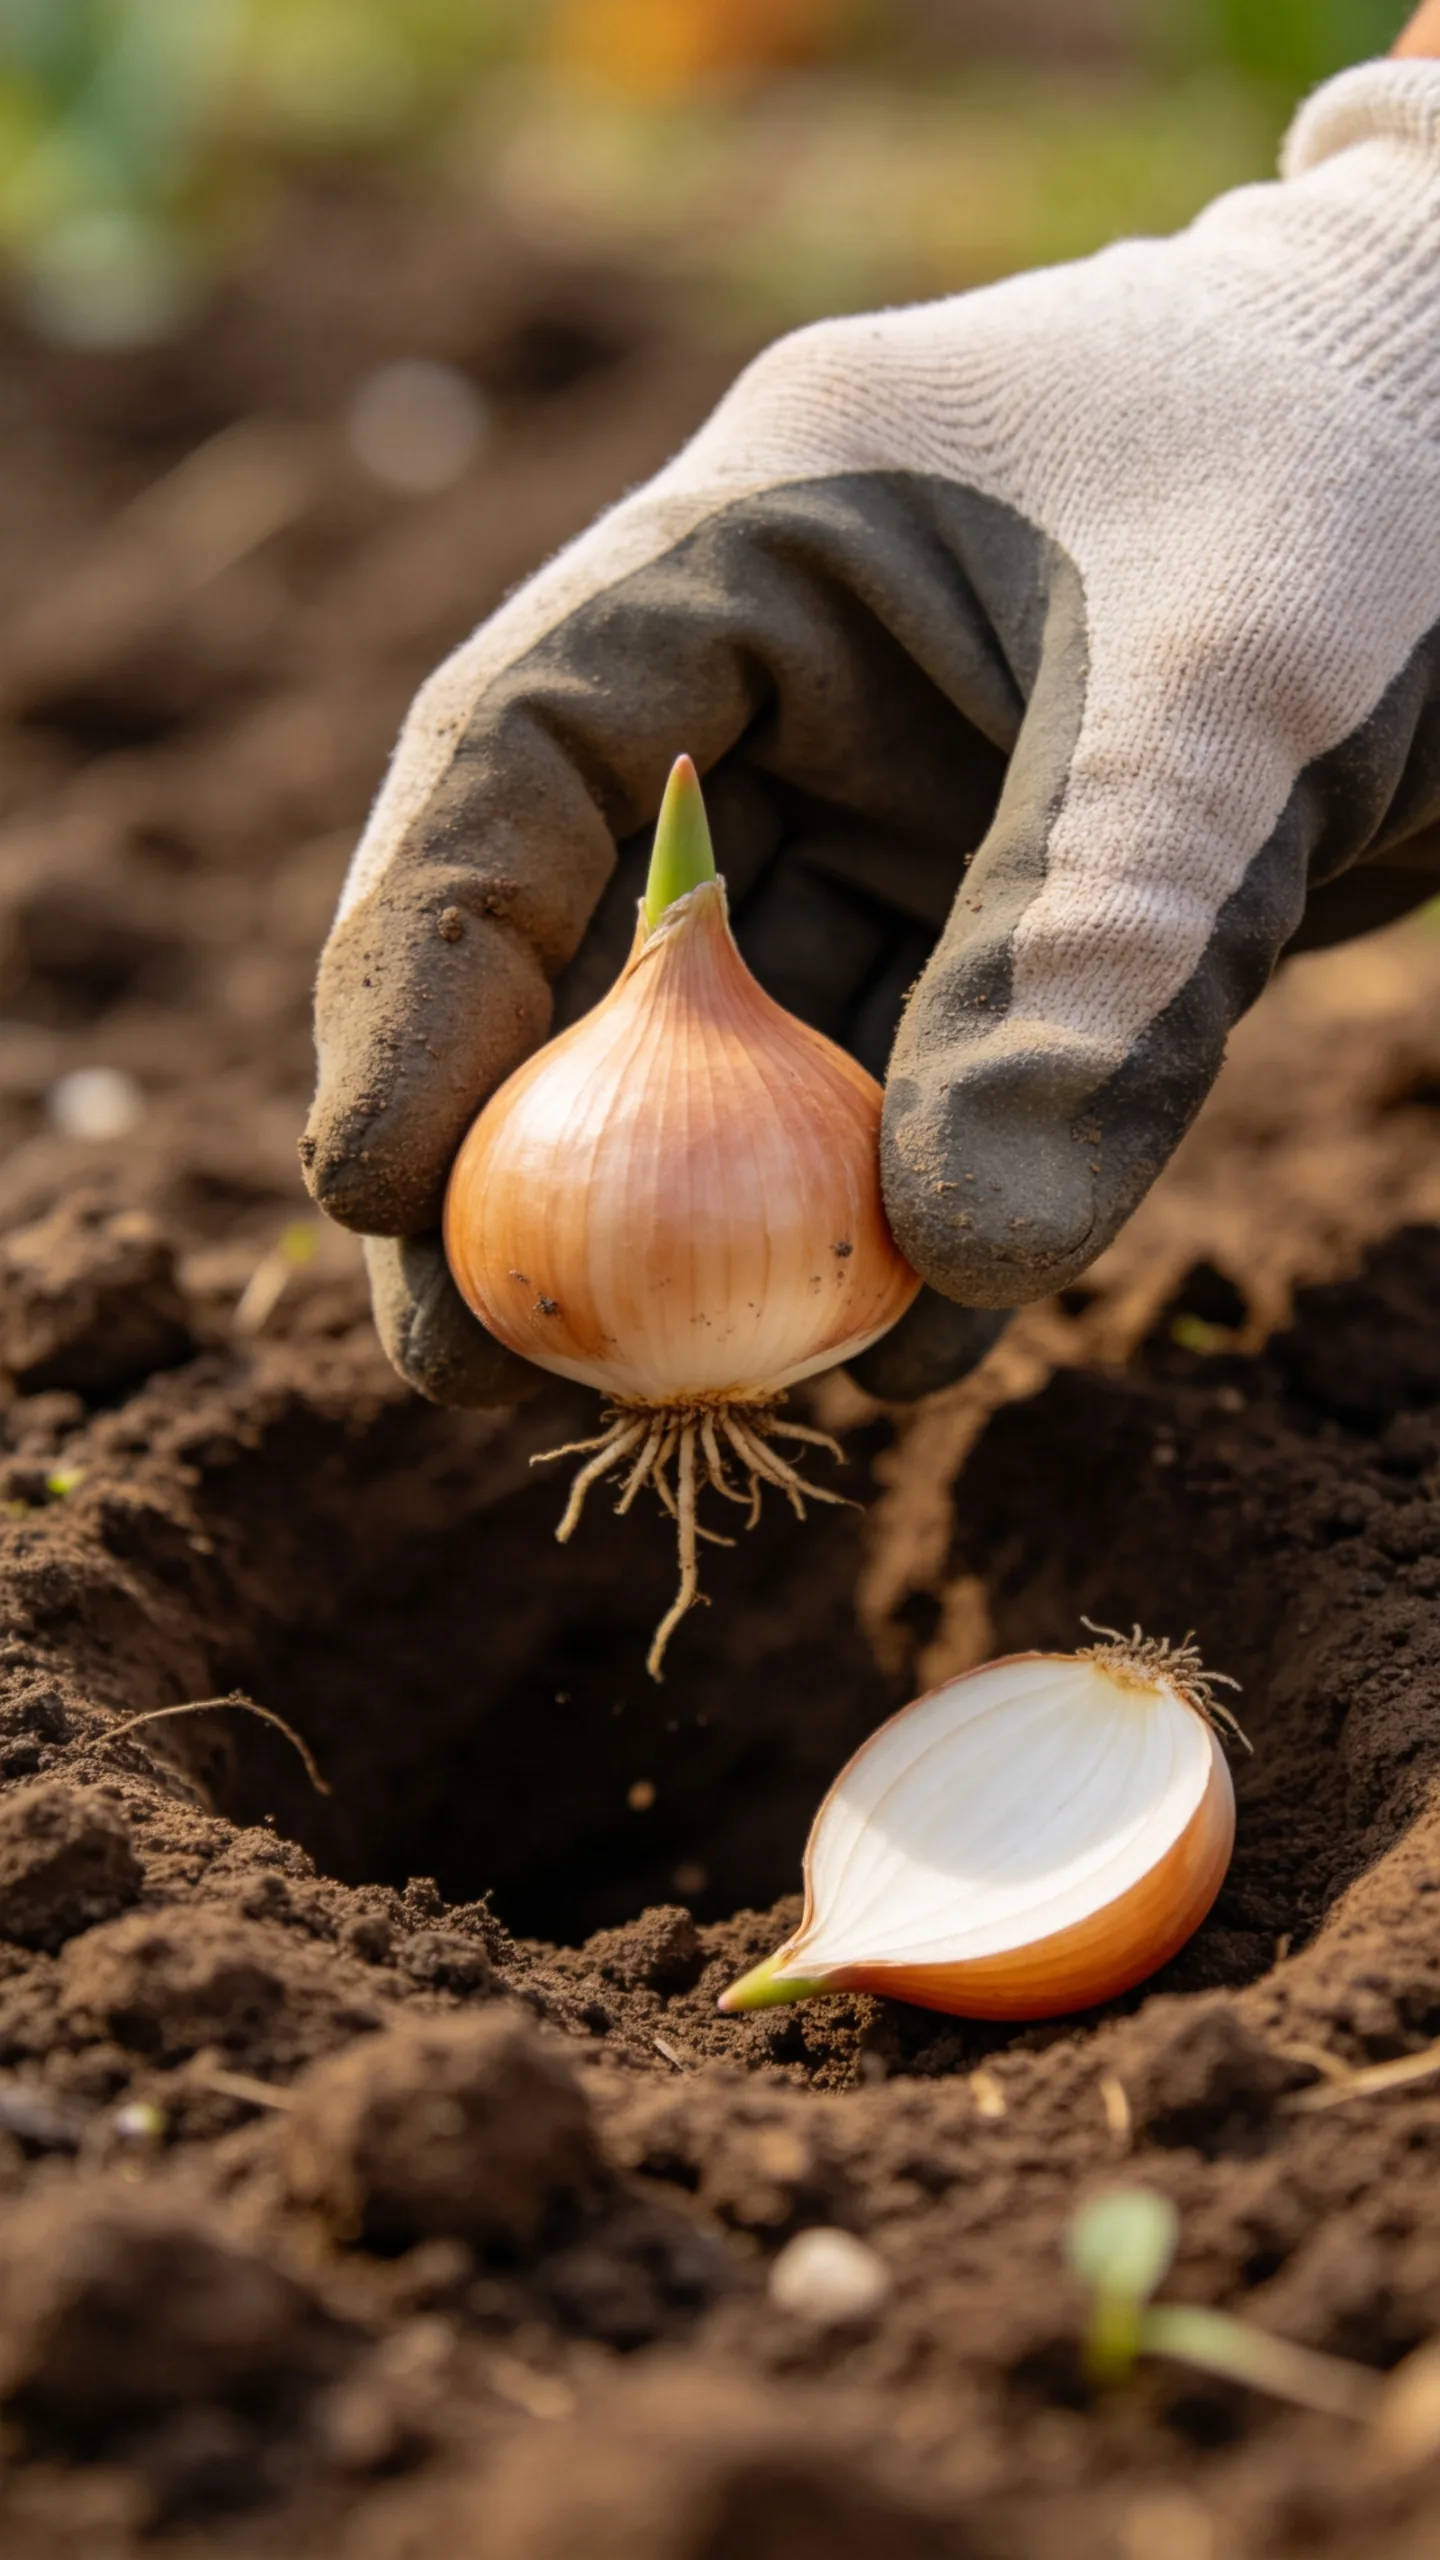
Tulip bulbs should be planted with the pointed end facing upward and the flatter root plate facing downward. An upside-down bulb may still send growth toward the surface, but it uses extra energy and may emerge later or unevenly.
If the bulb shape is difficult to read, look for the flatter, wider base where roots emerge. Place that side down and cover the bulb gently without pressing hard enough to damage it.
8. Crowding Bulbs Too Closely
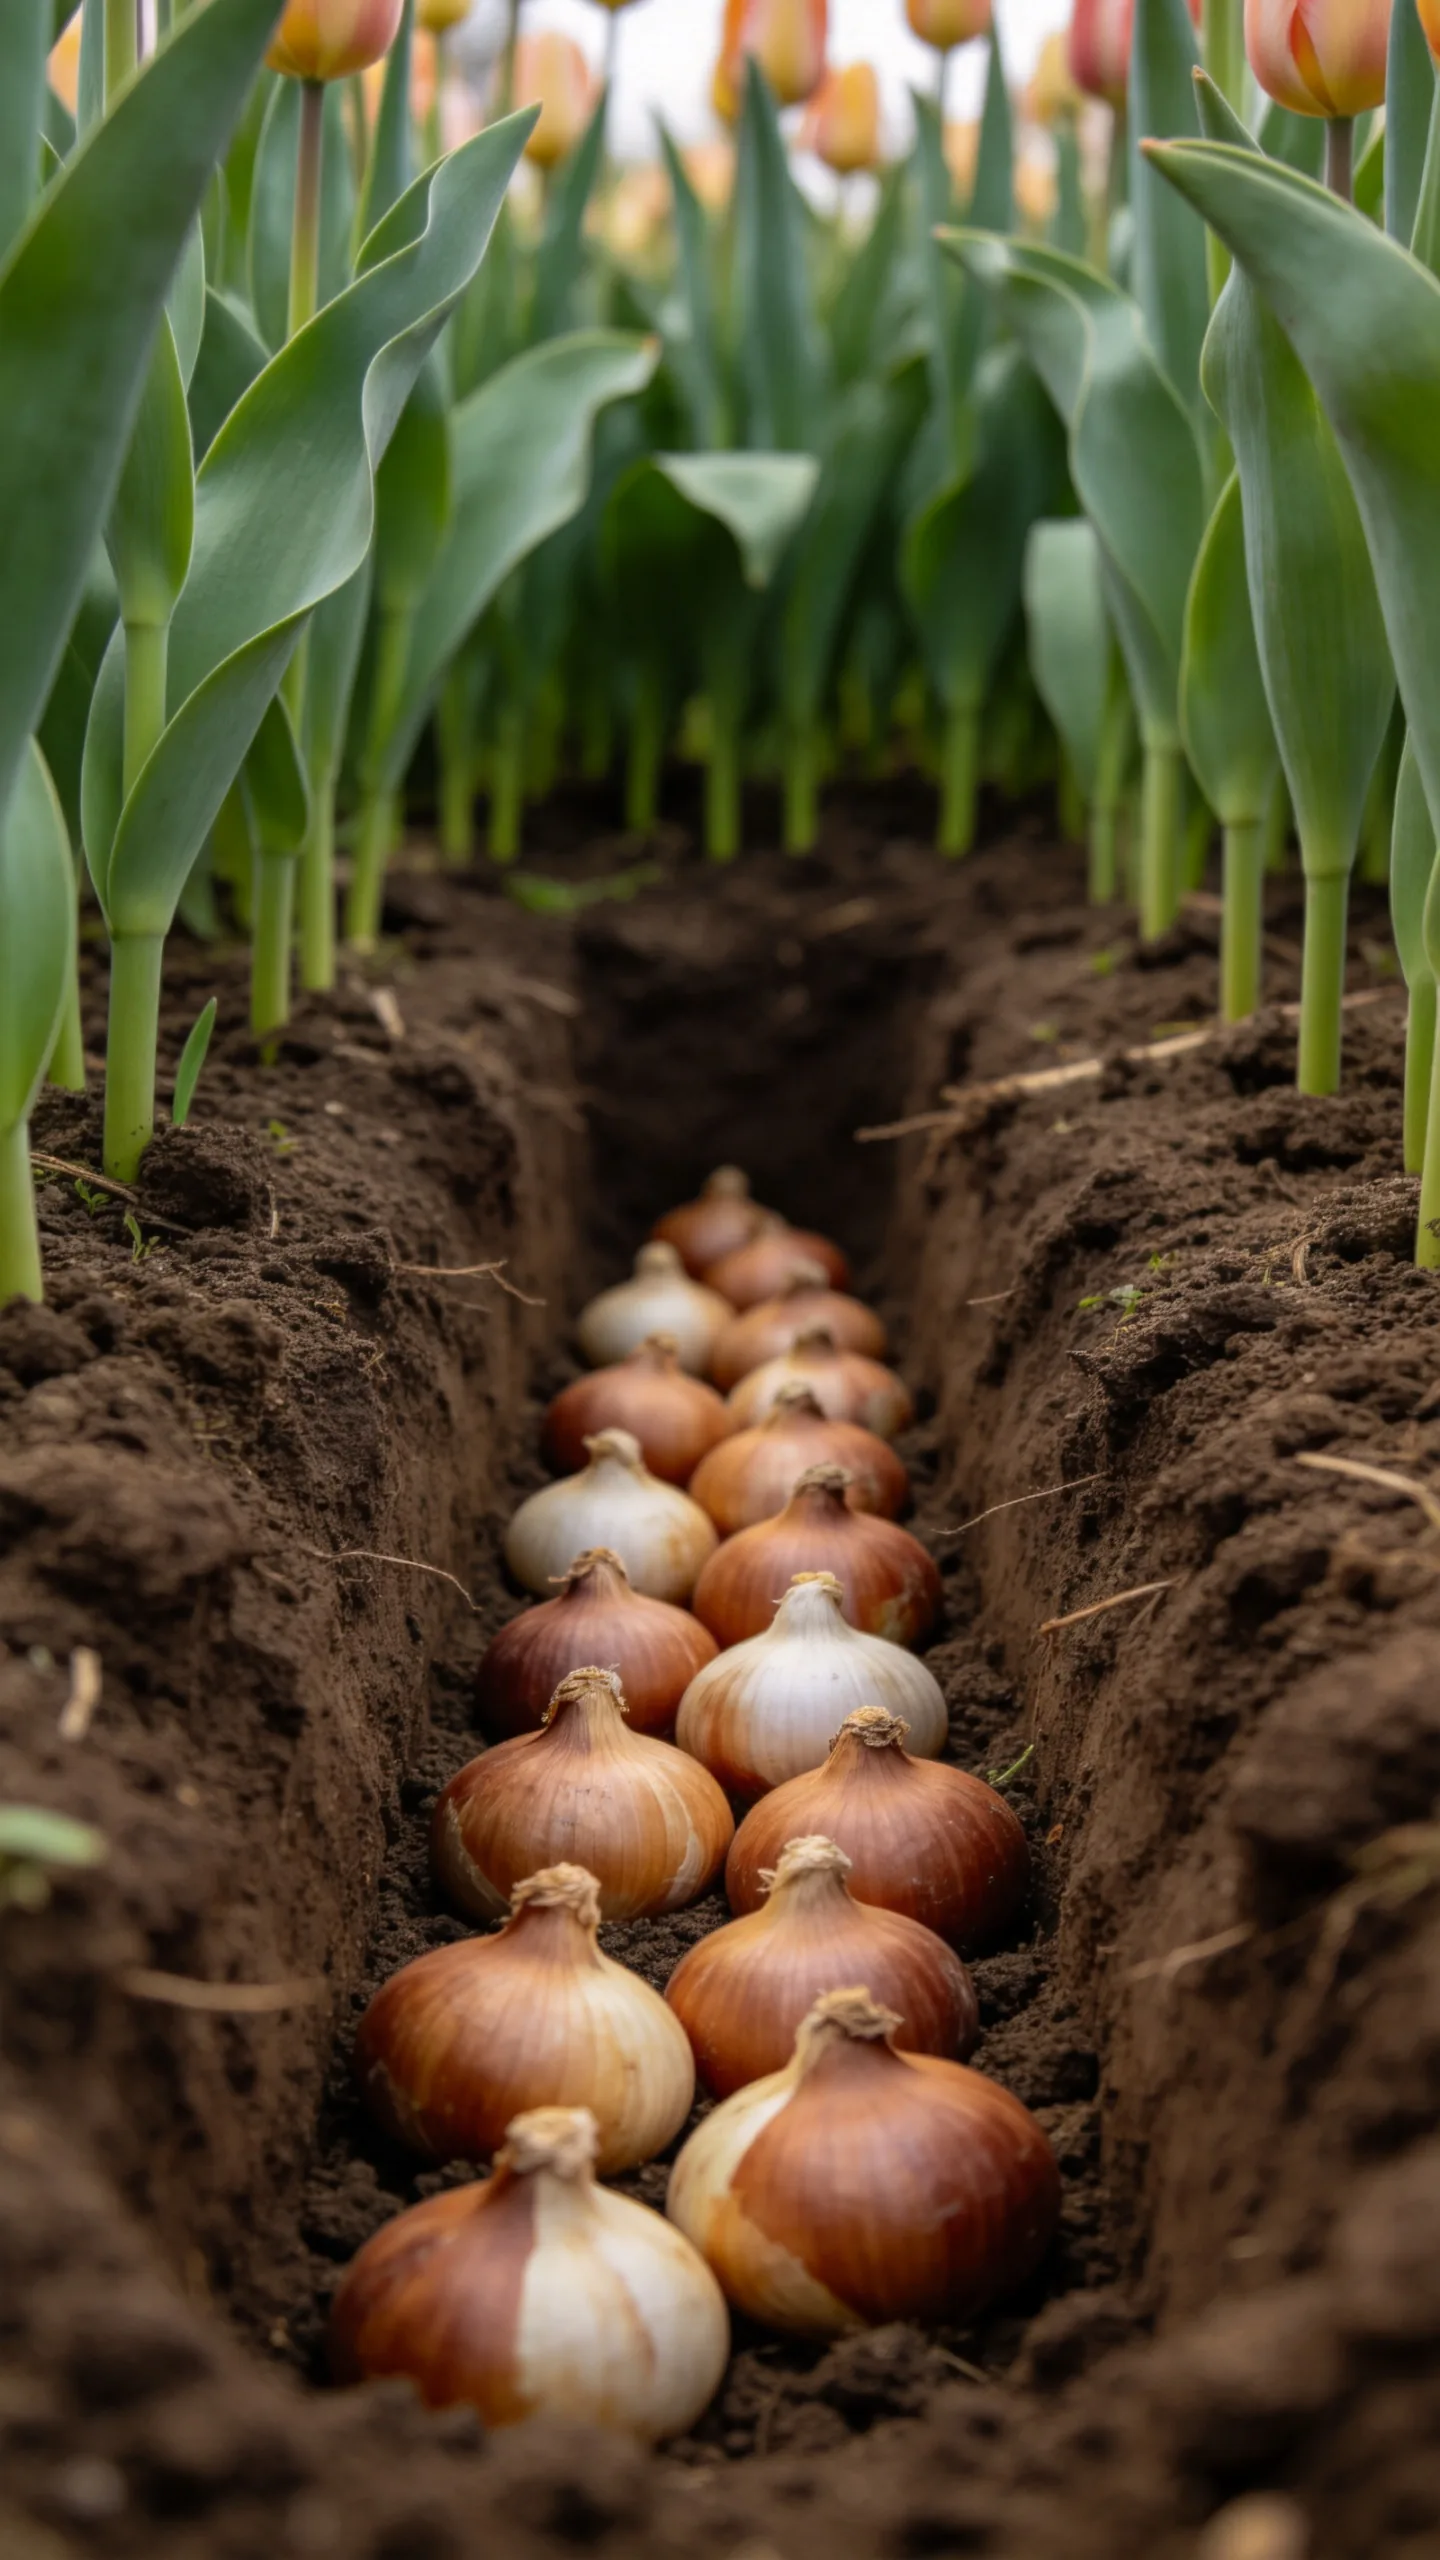
Tightly packed bulbs can create competition for moisture and nutrients and may make the display look uneven as plants emerge. Crowding also reduces air movement around the foliage in damp spring weather.
Space bulbs according to their mature size, commonly about 4 to 6 inches apart for standard tulips. For a fuller display, plant groups rather than one long single-file row, while still leaving enough room for each bulb to grow.
9. Planting Only One Bulb at a Time
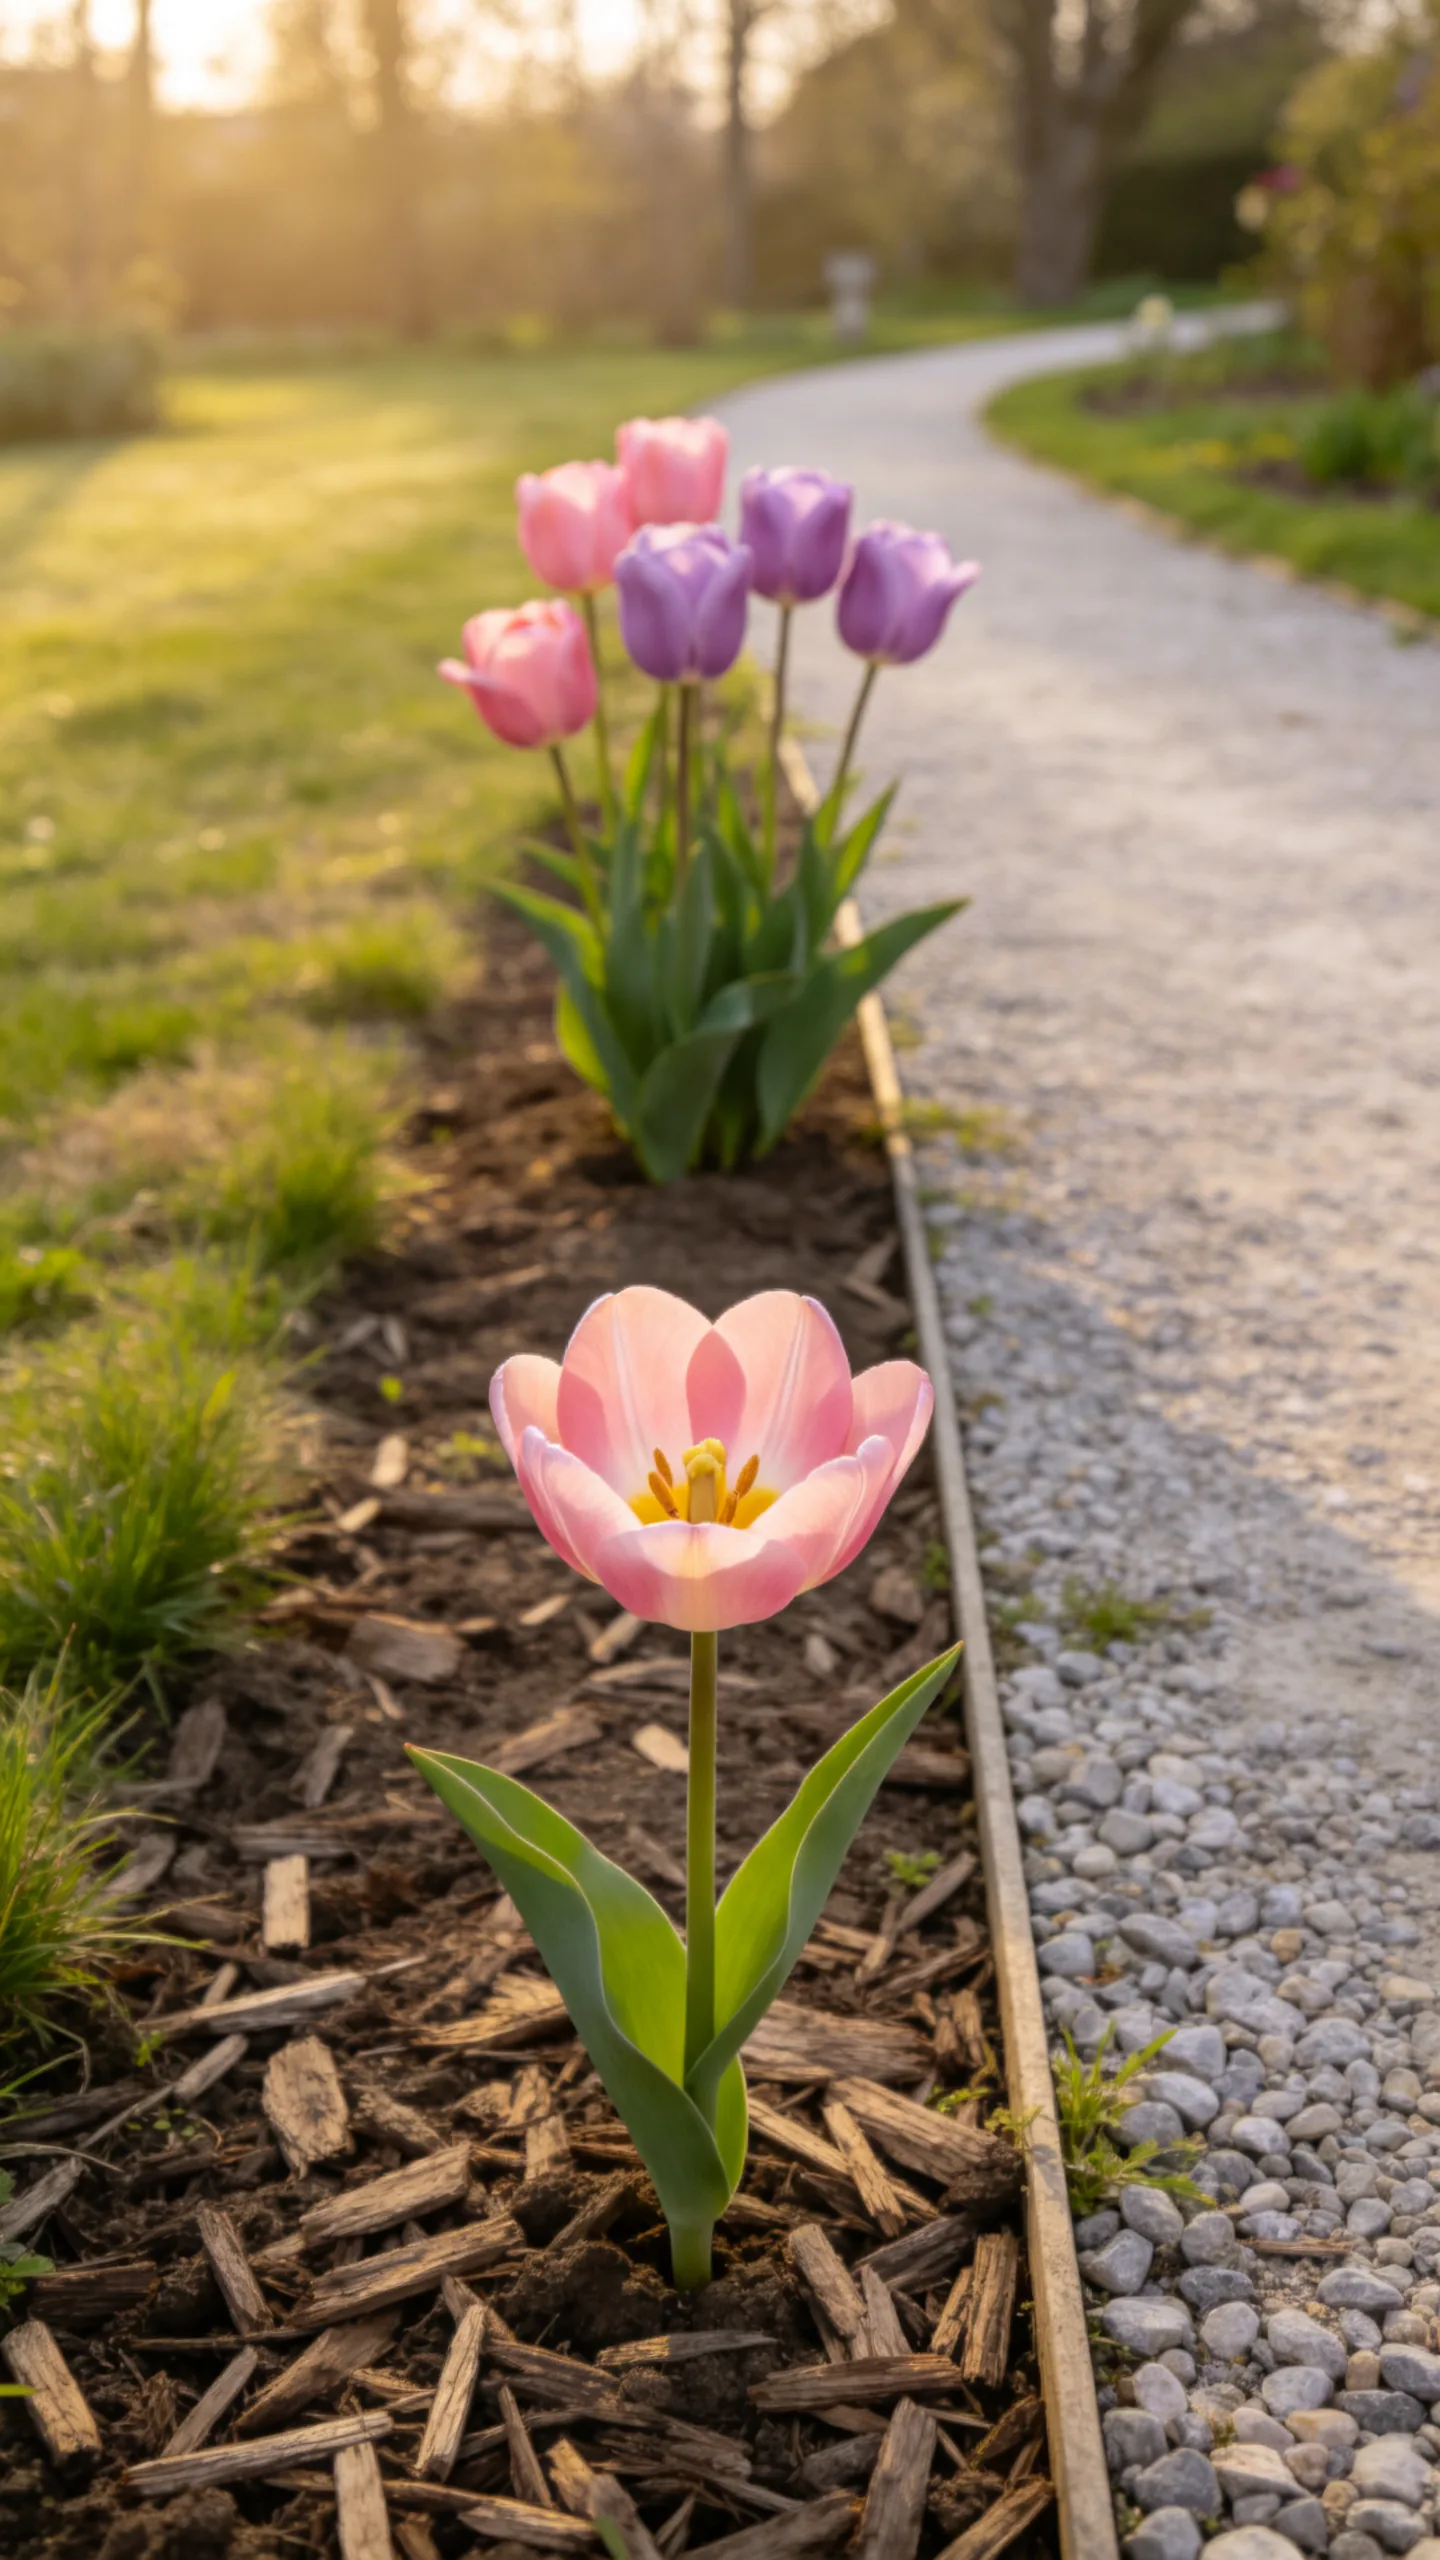
Scattering individual bulbs randomly across a large bed often creates a thin, disjointed display. Tulips usually have more visual impact when planted in clusters or repeated groups.
Arrange bulbs in groups of at least five to ten, using odd-numbered clusters or broad drifts along paths and borders. Place taller varieties behind shorter plants and repeat the same colors in several parts of the garden.
10. Selecting Bulbs Without Checking Their Condition
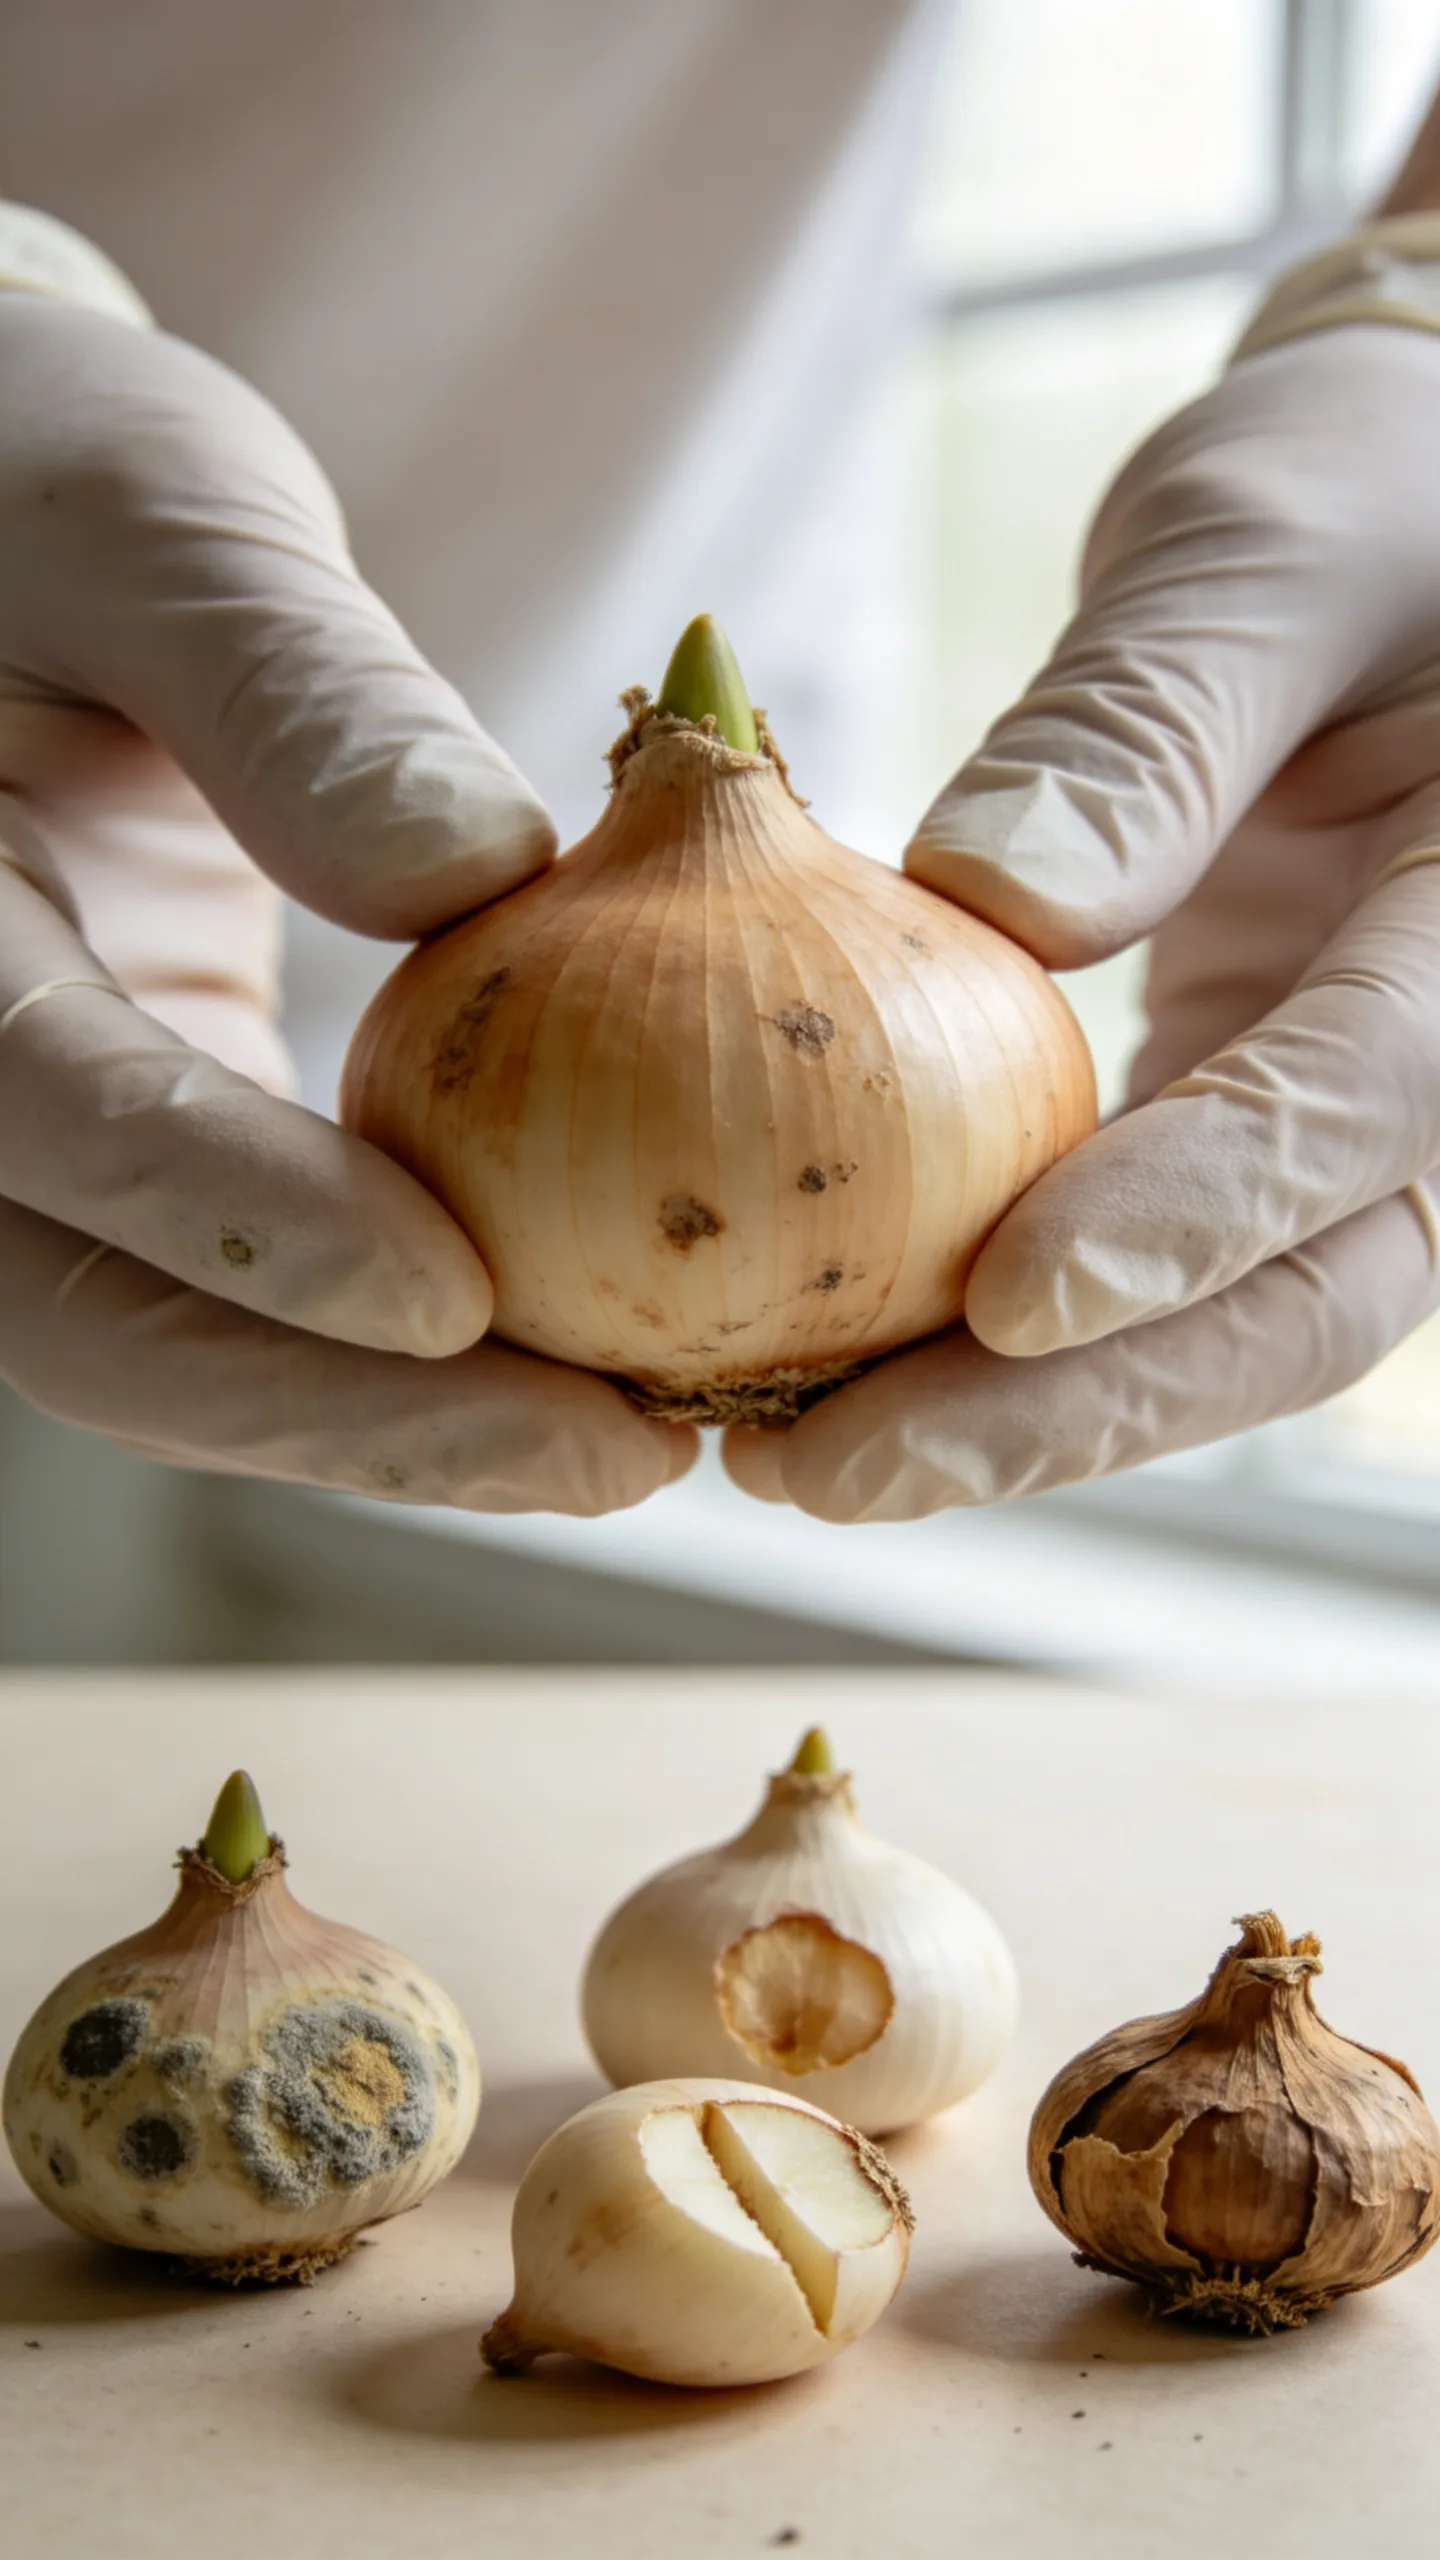
Soft, moldy, cut, or badly dried bulbs are less likely to establish successfully. A bulb with minor loose outer skin may be usable, but foul odors, mushy areas, and spreading mold are warning signs.
Buy firm bulbs from a reliable supplier and inspect them before planting. Remove damaged bulbs from the group so rot or fungal problems are not introduced into otherwise healthy planting material.
11. Choosing Tulip Varieties That Do Not Suit the Garden
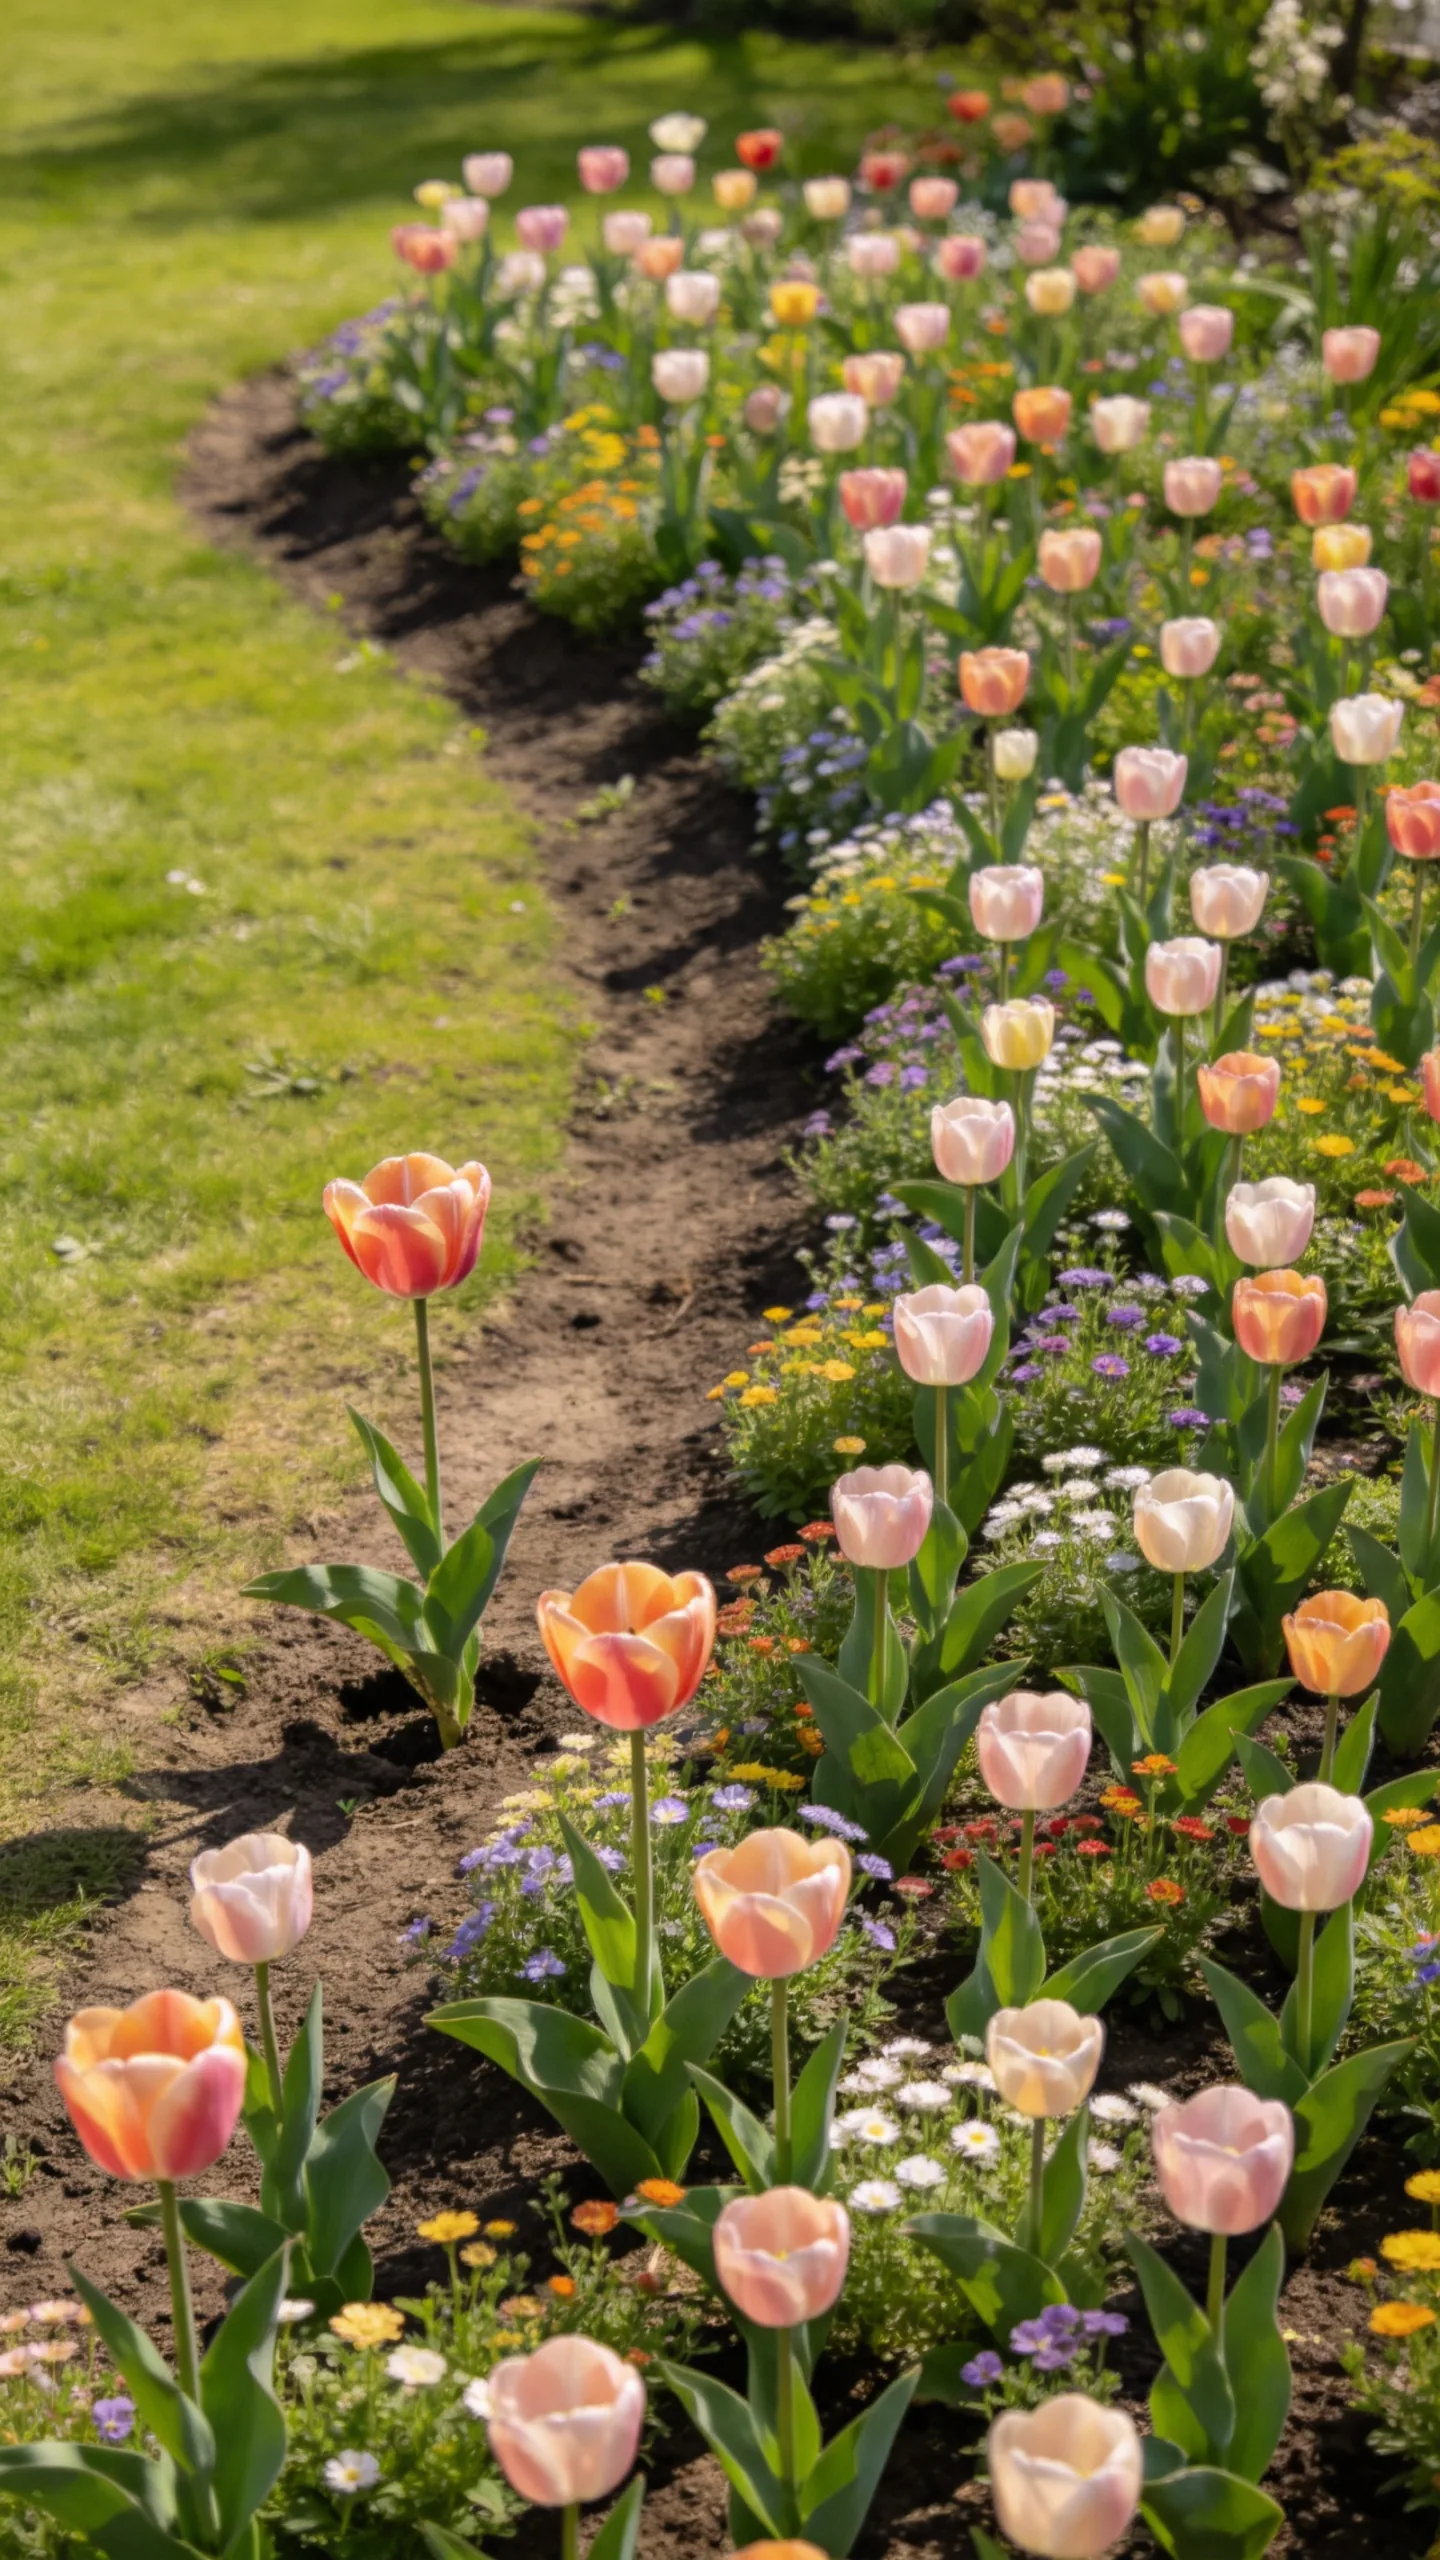
Not every tulip reliably returns for many years. Some hybrid tulips are bred for a strong first-year display and may produce fewer flowers later, while species tulips and certain perennializing varieties can be better for repeat flowering under suitable conditions.
Read the variety description before purchasing. If long-term return is important, select types labeled perennializing or naturalizing, provide well-drained soil and full spring sun, and avoid treating every tulip as a permanent perennial.
12. Forgetting About Winter Cold Requirements
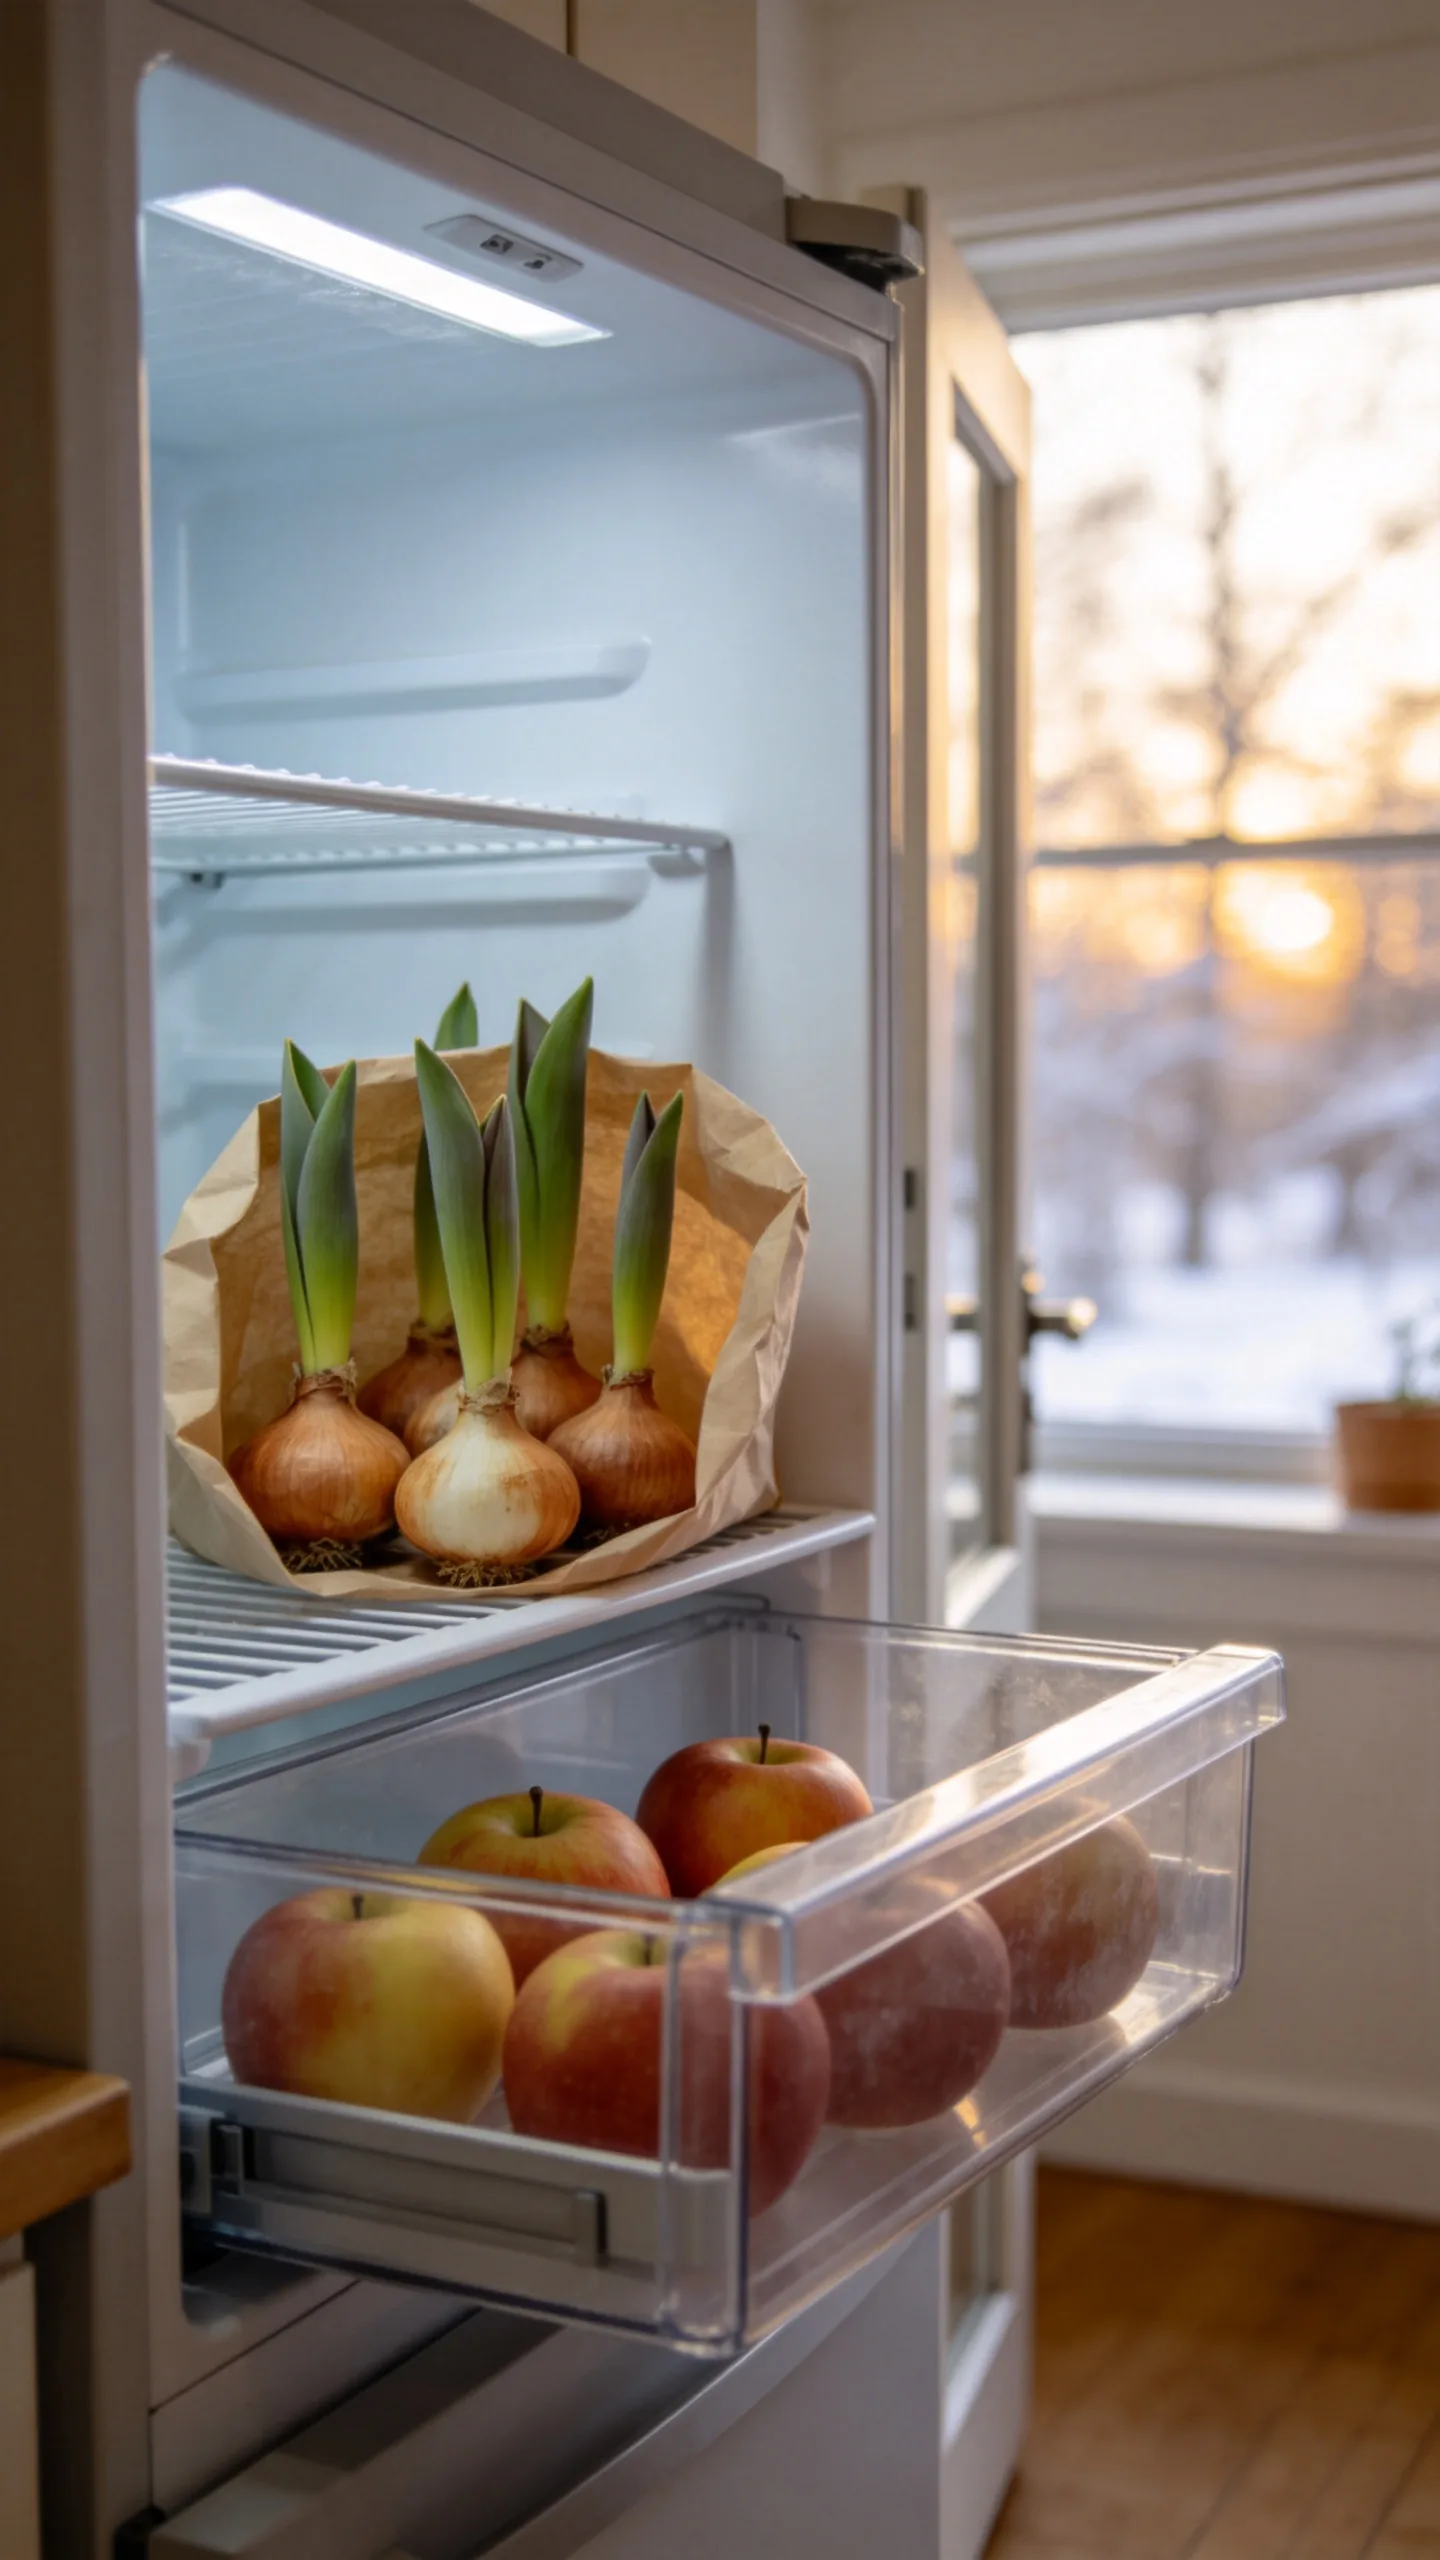
Tulips generally need a period of cold dormancy to flower properly, but mild-winter regions may not provide enough natural chill. Planting bulbs without checking this requirement can lead to weak growth or disappointing blooms.
Gardeners in warm climates should choose varieties recommended for their region and follow local guidance about pre-chilled bulbs. Do not chill bulbs beside fruit such as apples, since fruit releases ethylene gas that can damage flower development.
13. Adding Too Much Fertilizer to the Planting Hole
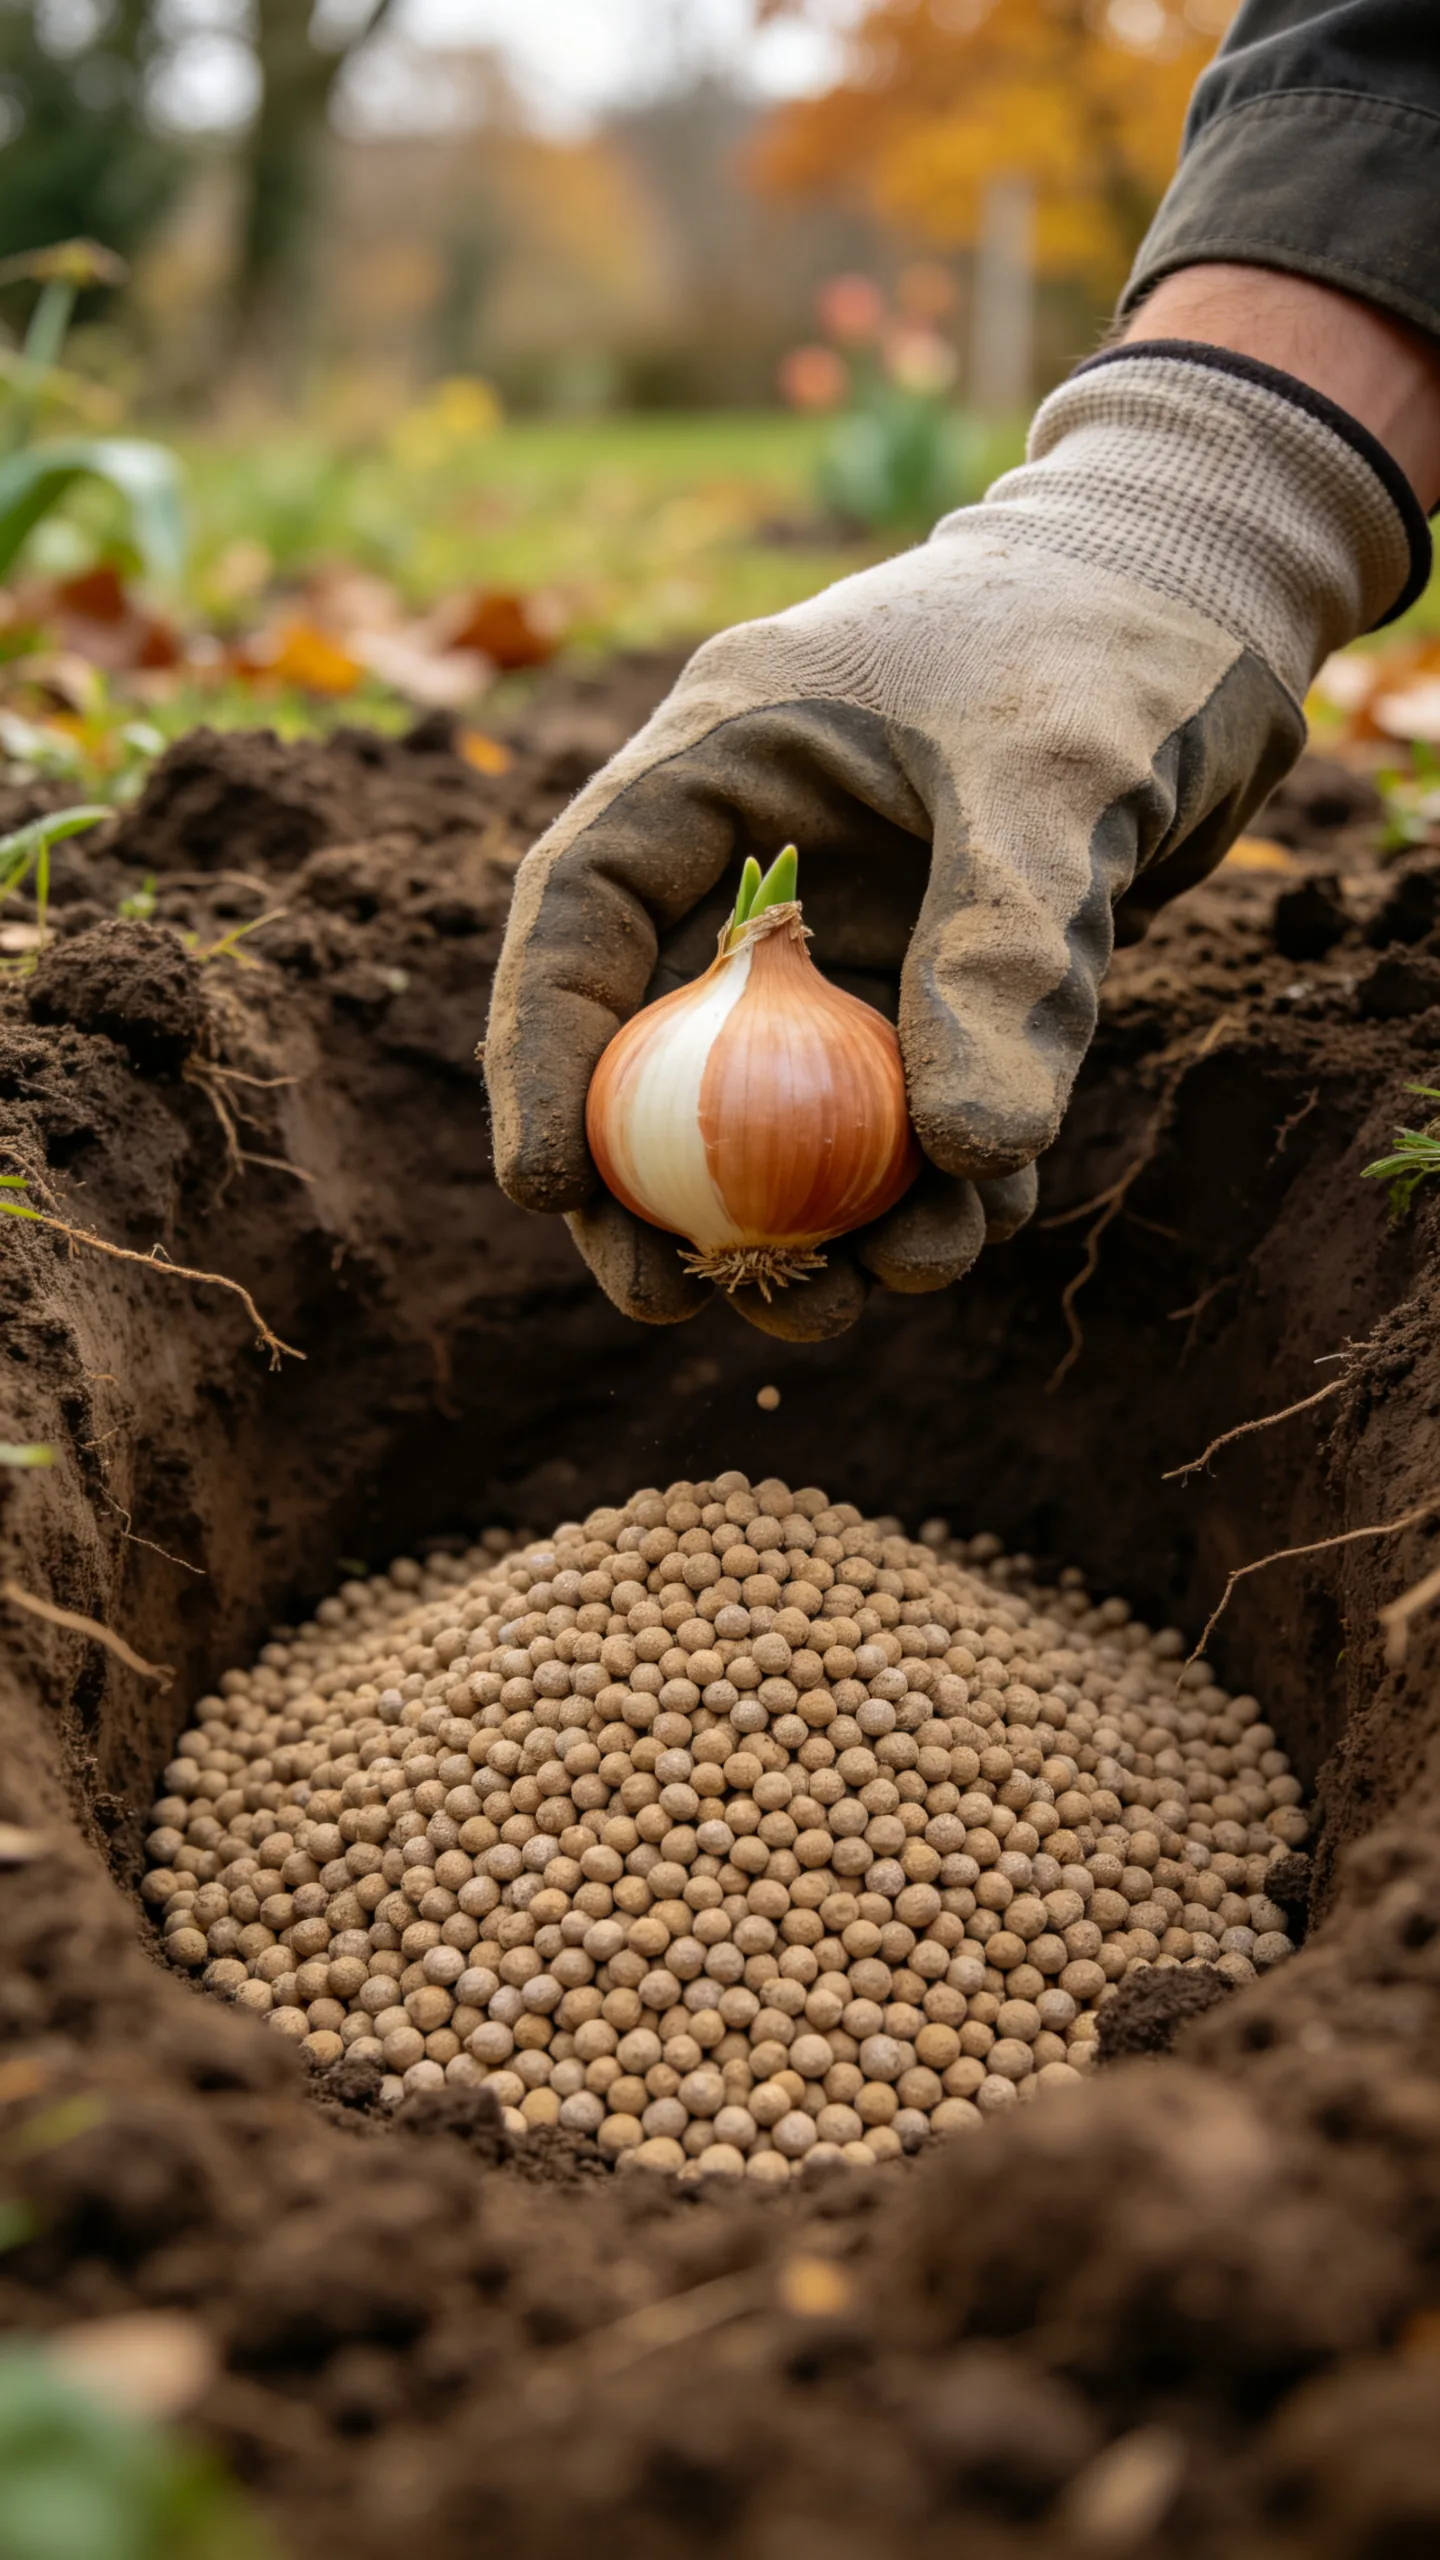
A concentrated layer of fertilizer touching the bulb can injure roots, and high-nitrogen products may encourage foliage rather than sturdy flowers. Fresh manure can also be too strong and may introduce weed seeds or uneven nutrient levels.
Base fertilizer decisions on a soil test or the bulb supplier’s directions. If nutrients are needed, mix a modest amount of bulb fertilizer into the surrounding soil rather than placing it directly against the bulb.
14. Failing to Water After Planting
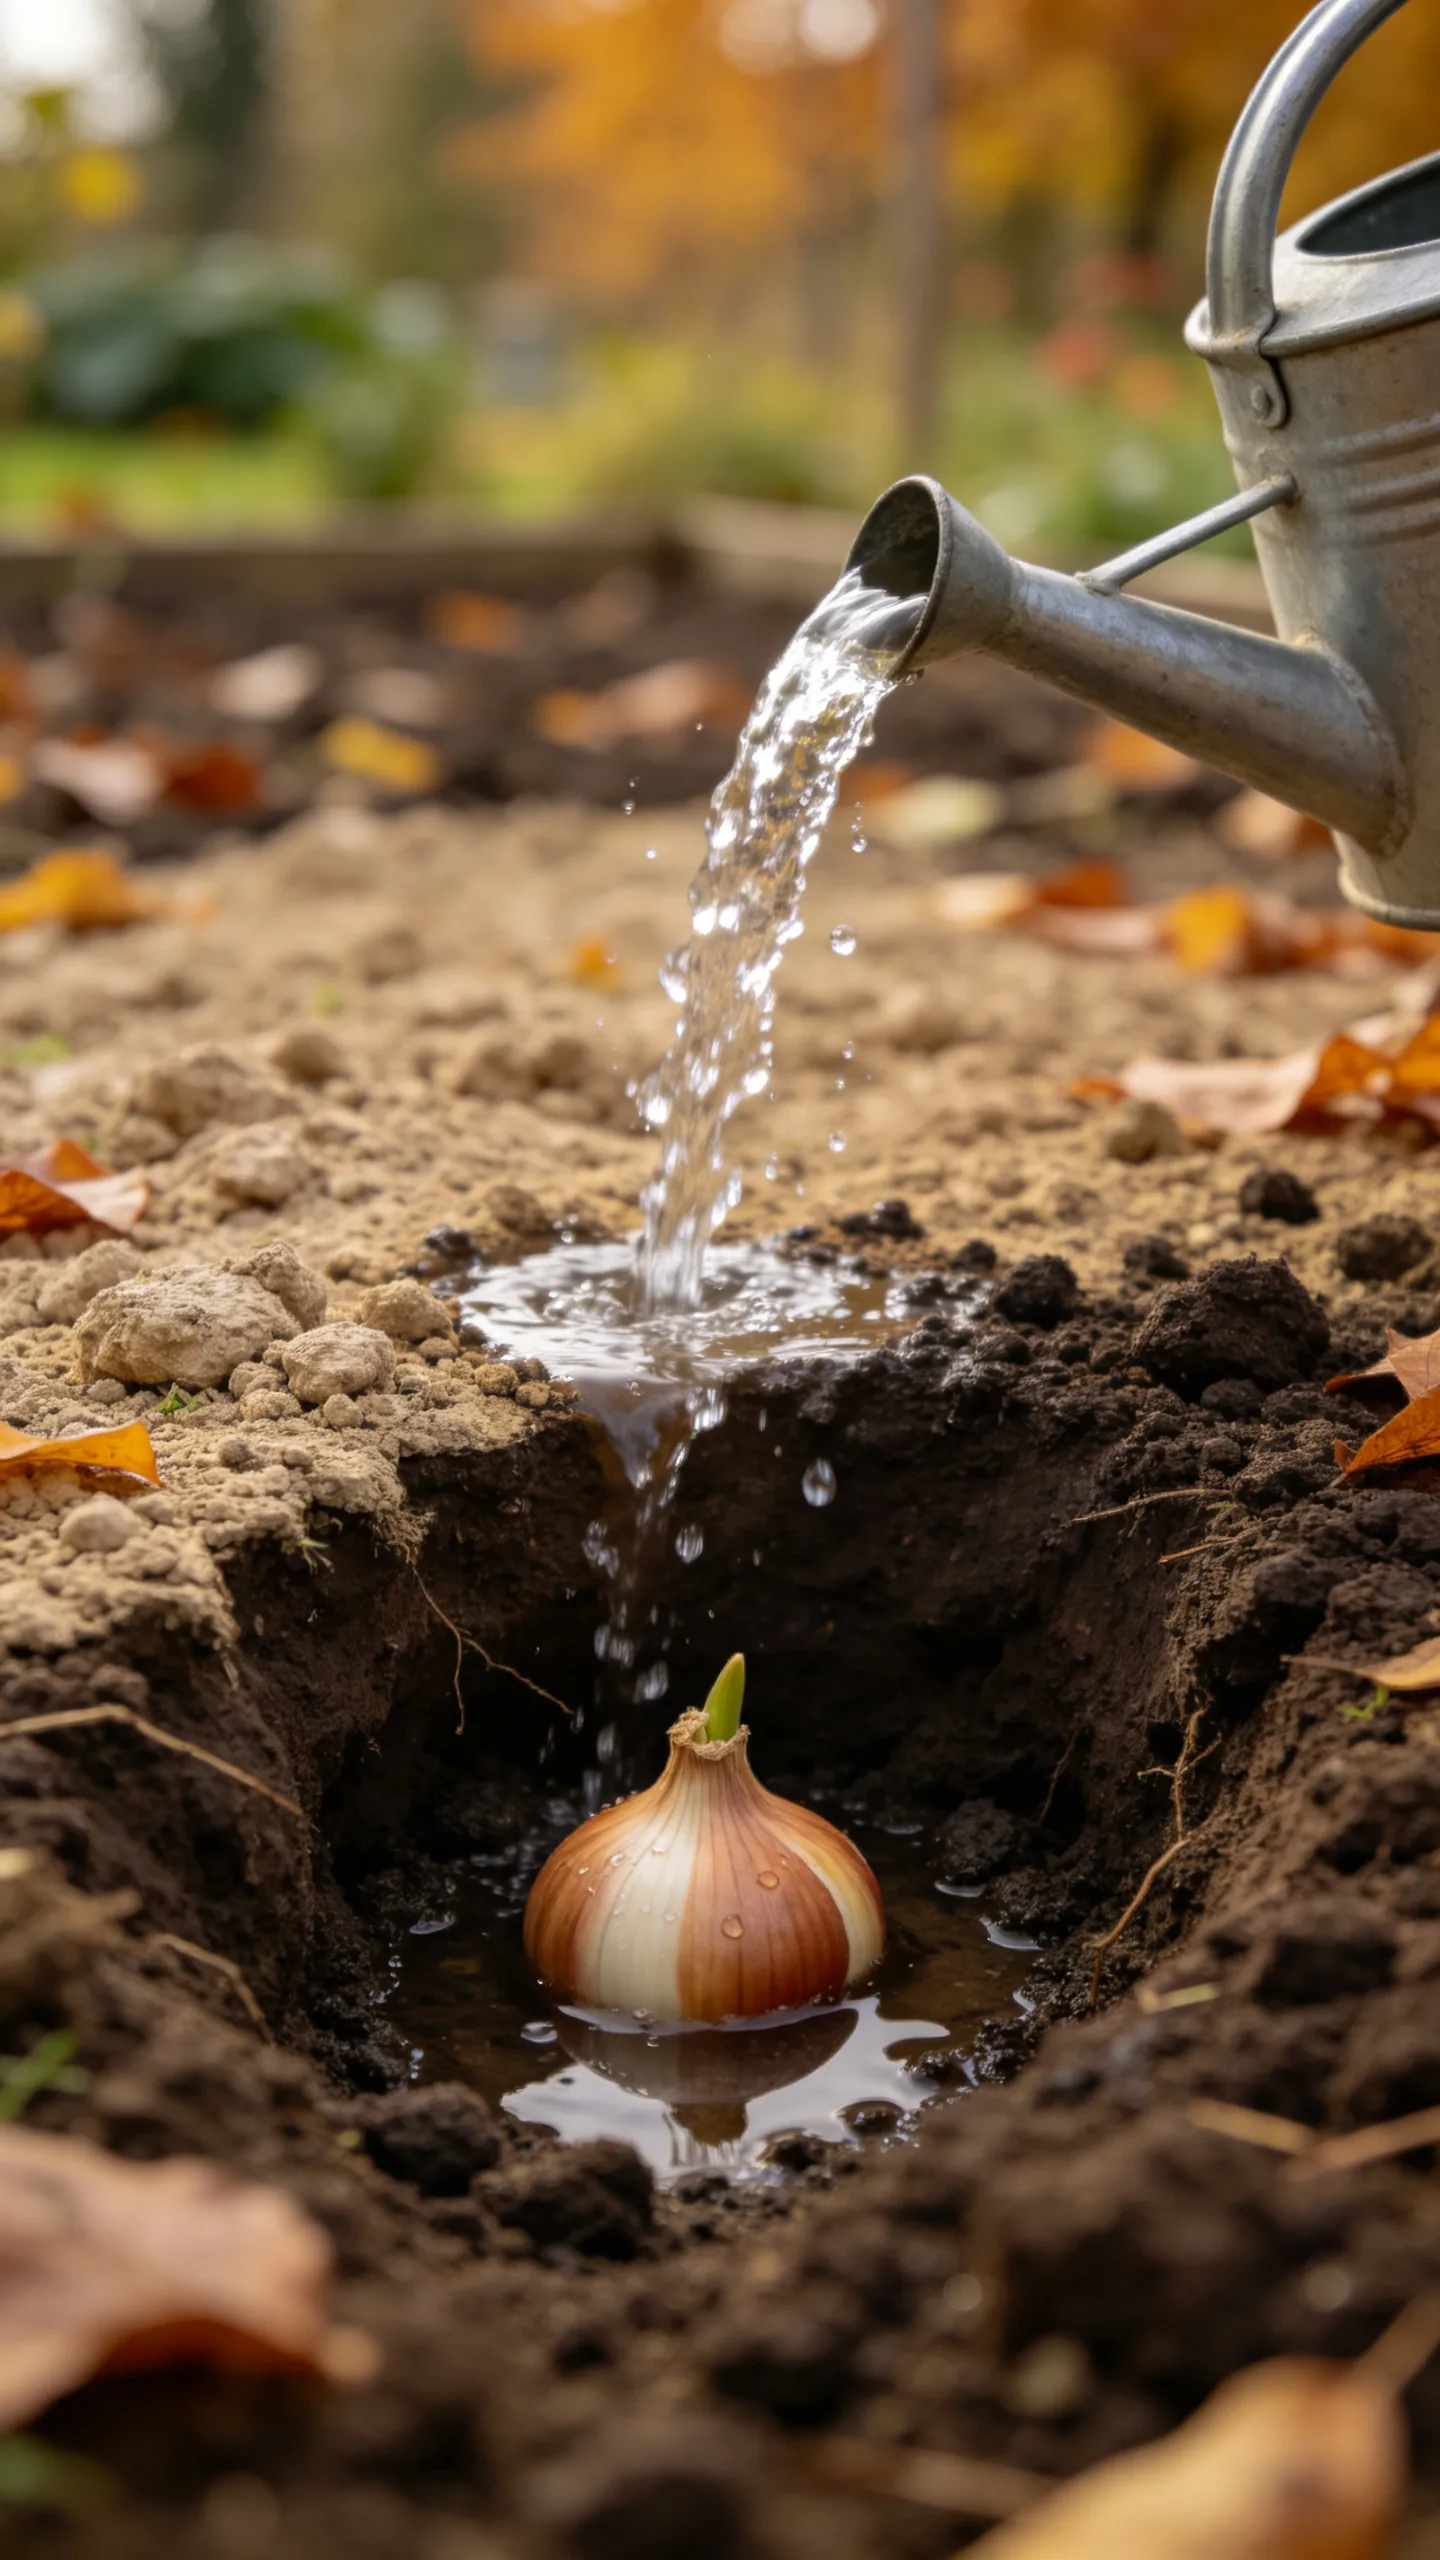
Newly planted bulbs need moisture to begin root development, particularly when fall weather is dry. Skipping the initial watering can leave air pockets around the bulb and delay root growth.
Water the bed thoroughly after planting unless the soil is already saturated. Afterward, keep the soil lightly and evenly moist during unusually dry fall weather, but allow excess water to drain instead of watering on a fixed schedule.
15. Leaving the Soil Bare in a Harsh Winter
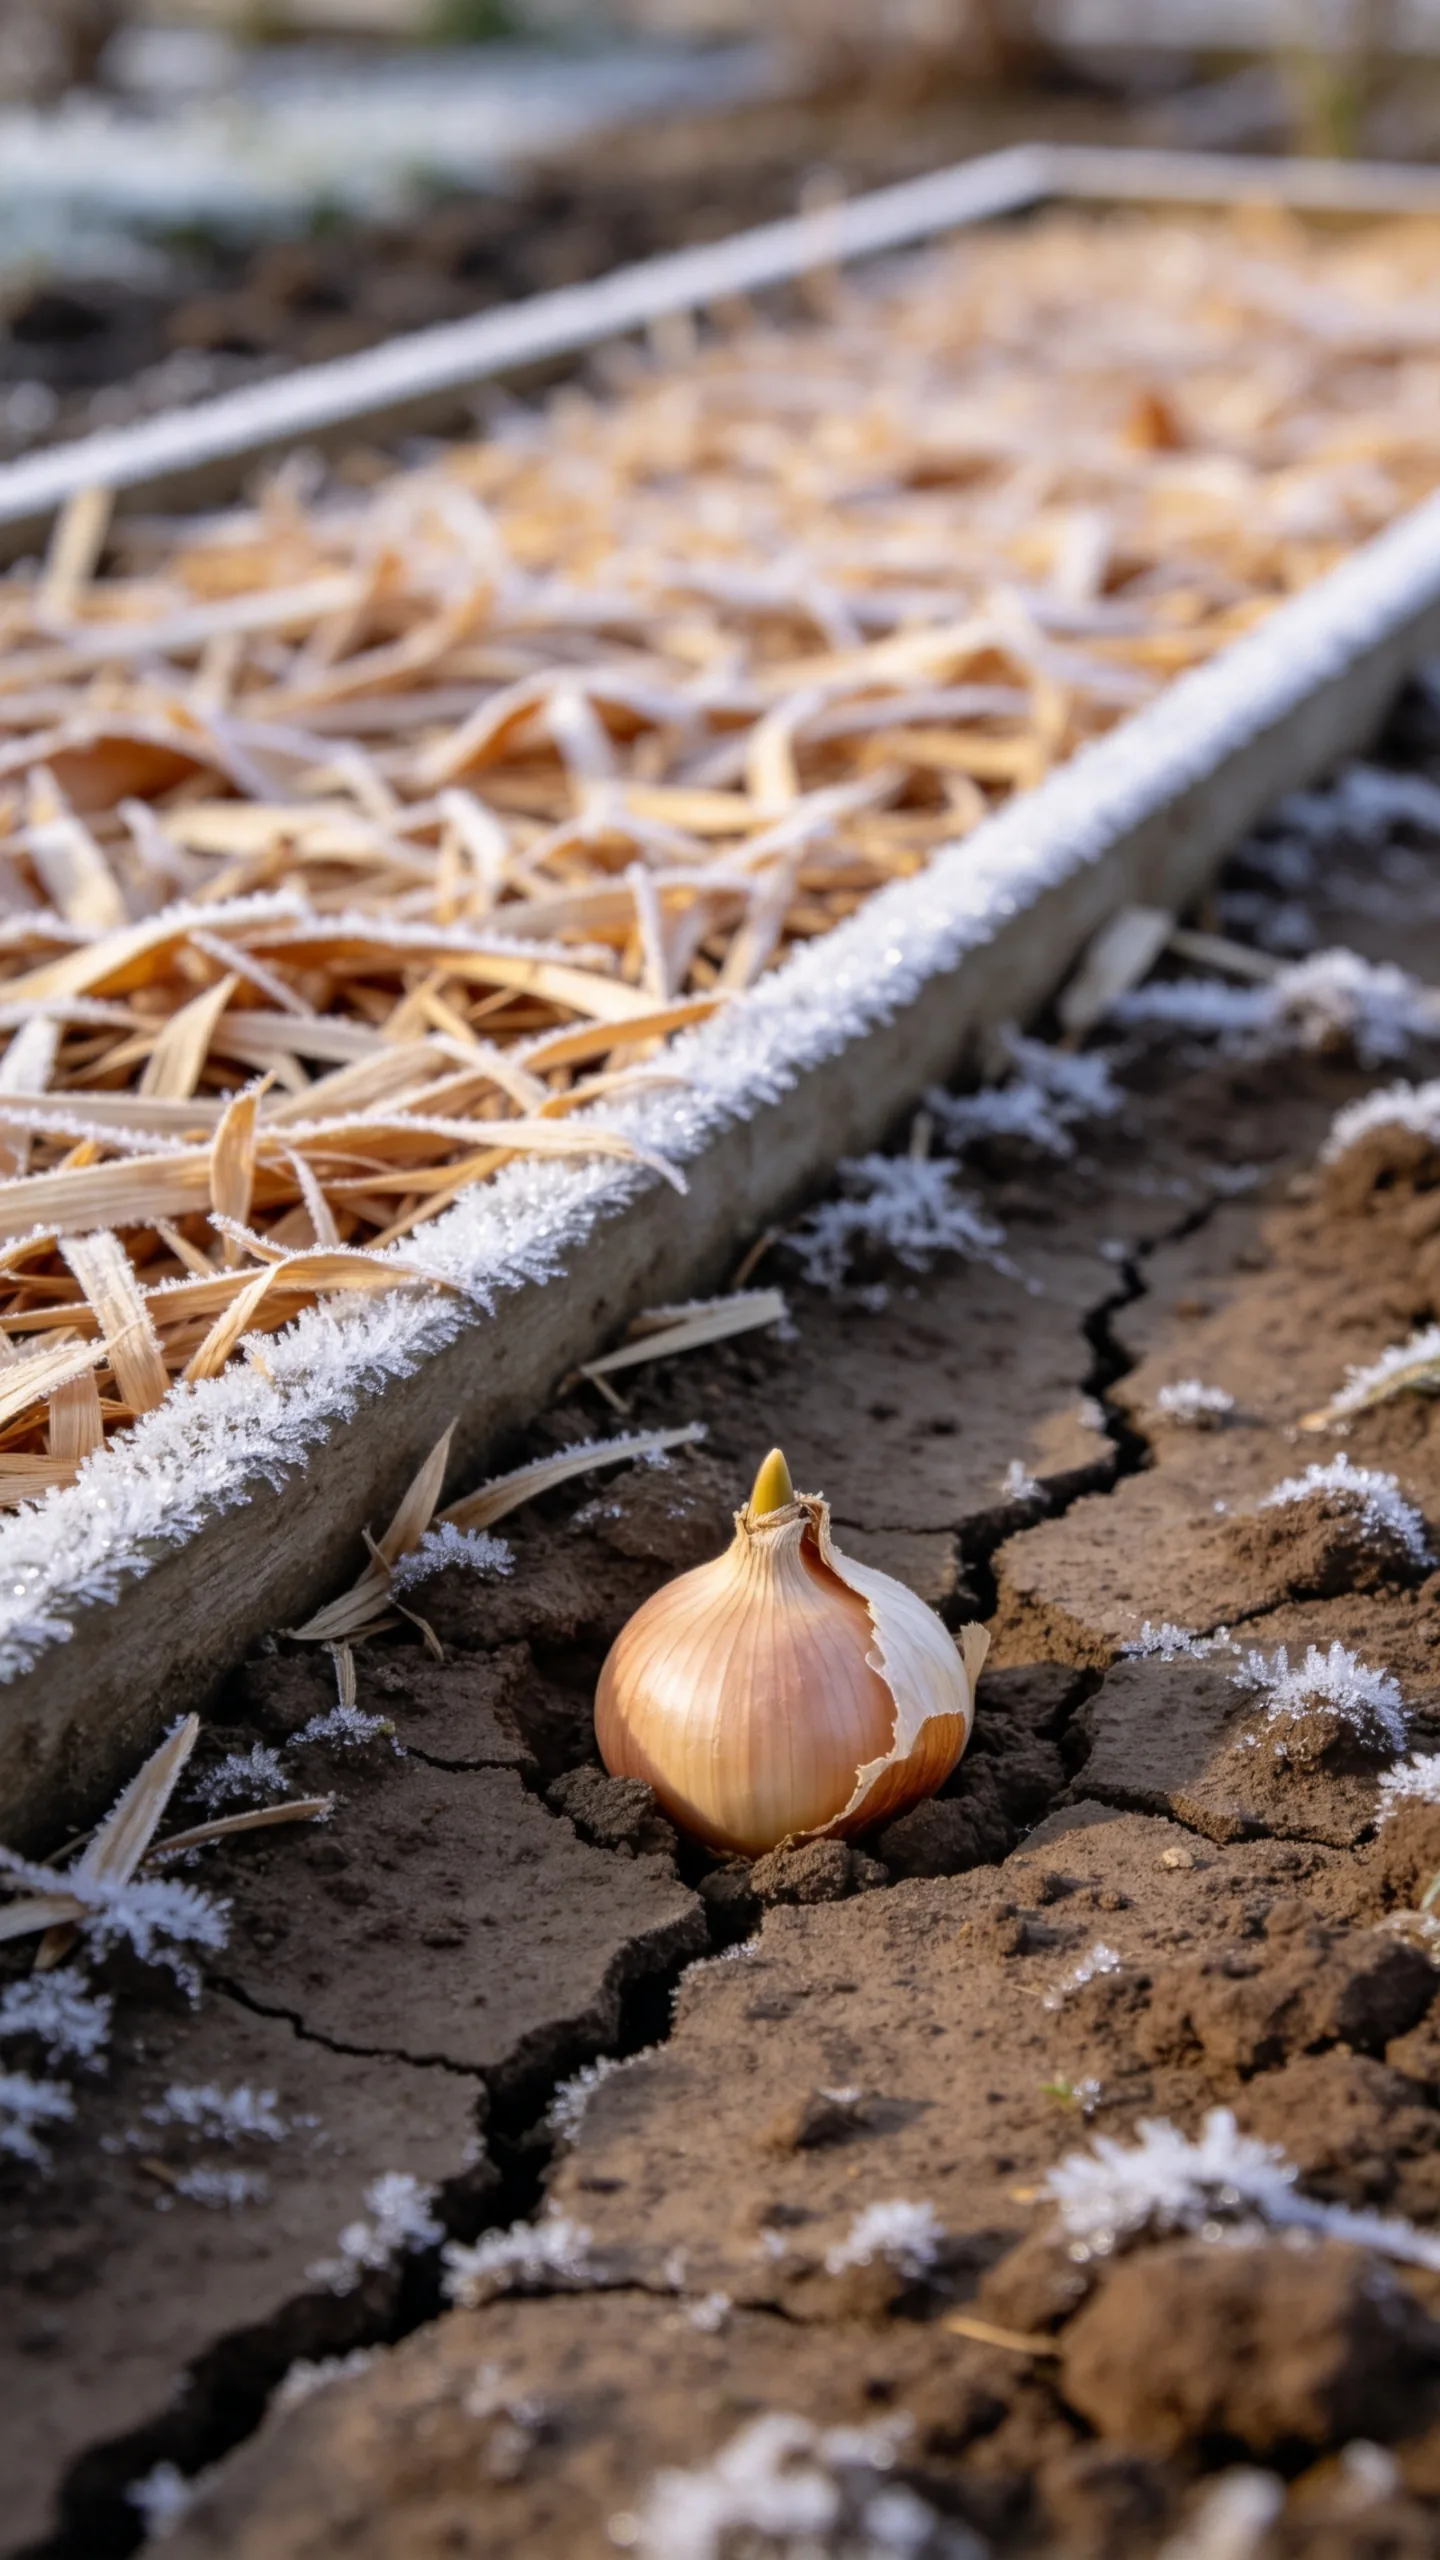
Repeated freezing and thawing can heave shallow bulbs toward the soil surface. Exposed bulbs are more vulnerable to cold damage, drying, and animals.
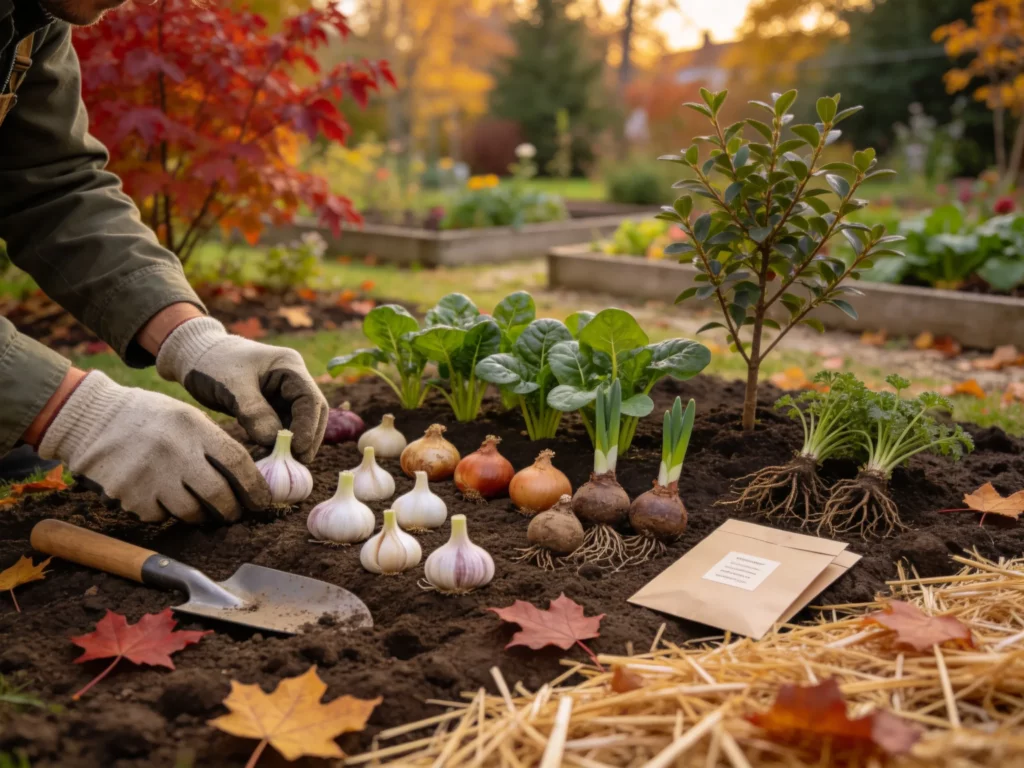
After the ground has cooled, add a light layer of mulch such as shredded leaves, pine straw, or clean straw. Avoid applying a thick, wet layer too early, because it can hold excess moisture and provide shelter for rodents.
16. Forgetting to Protect Bulbs From Animals
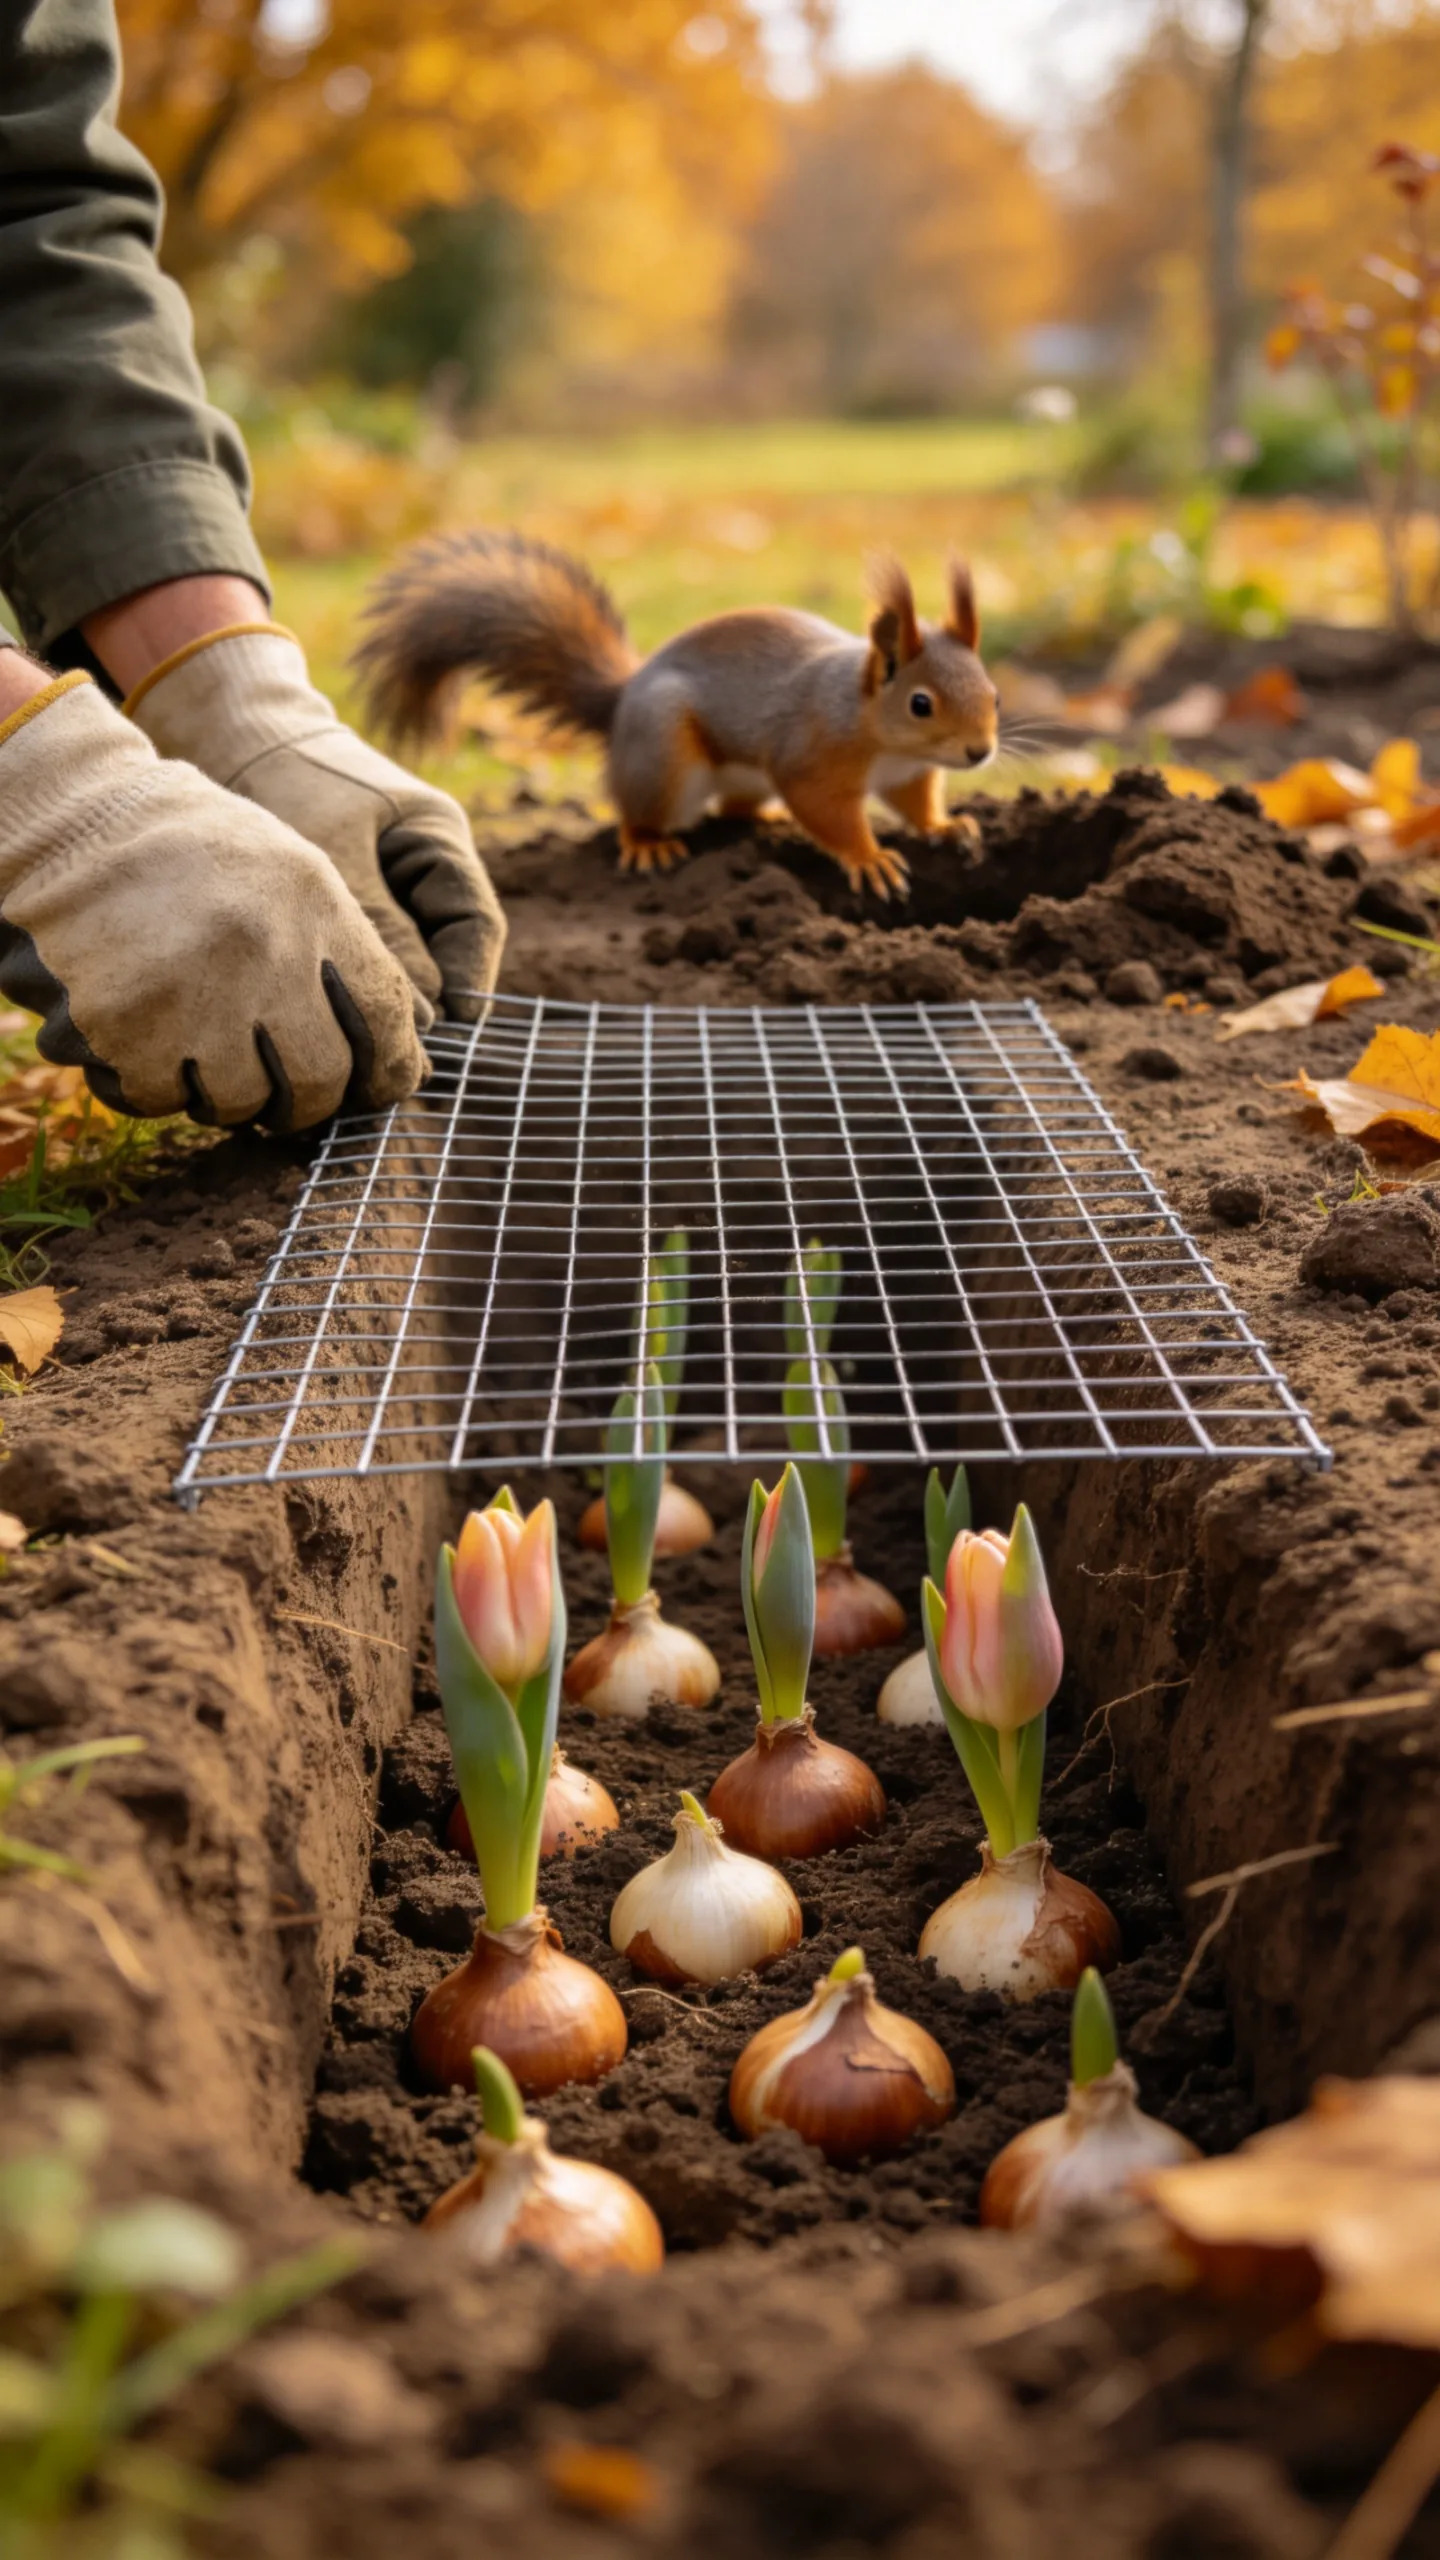
Squirrels, chipmunks, voles, and other animals may dig up freshly planted bulbs or eat them underground. This is especially common in loose soil or beds with little surface cover.
Firm the soil gently after planting and cover vulnerable areas with chicken wire, hardware cloth, or bulb baskets. Choose protection with openings large enough for shoots to emerge but small enough to discourage digging.
17. Cutting Tulip Foliage Down Too Soon
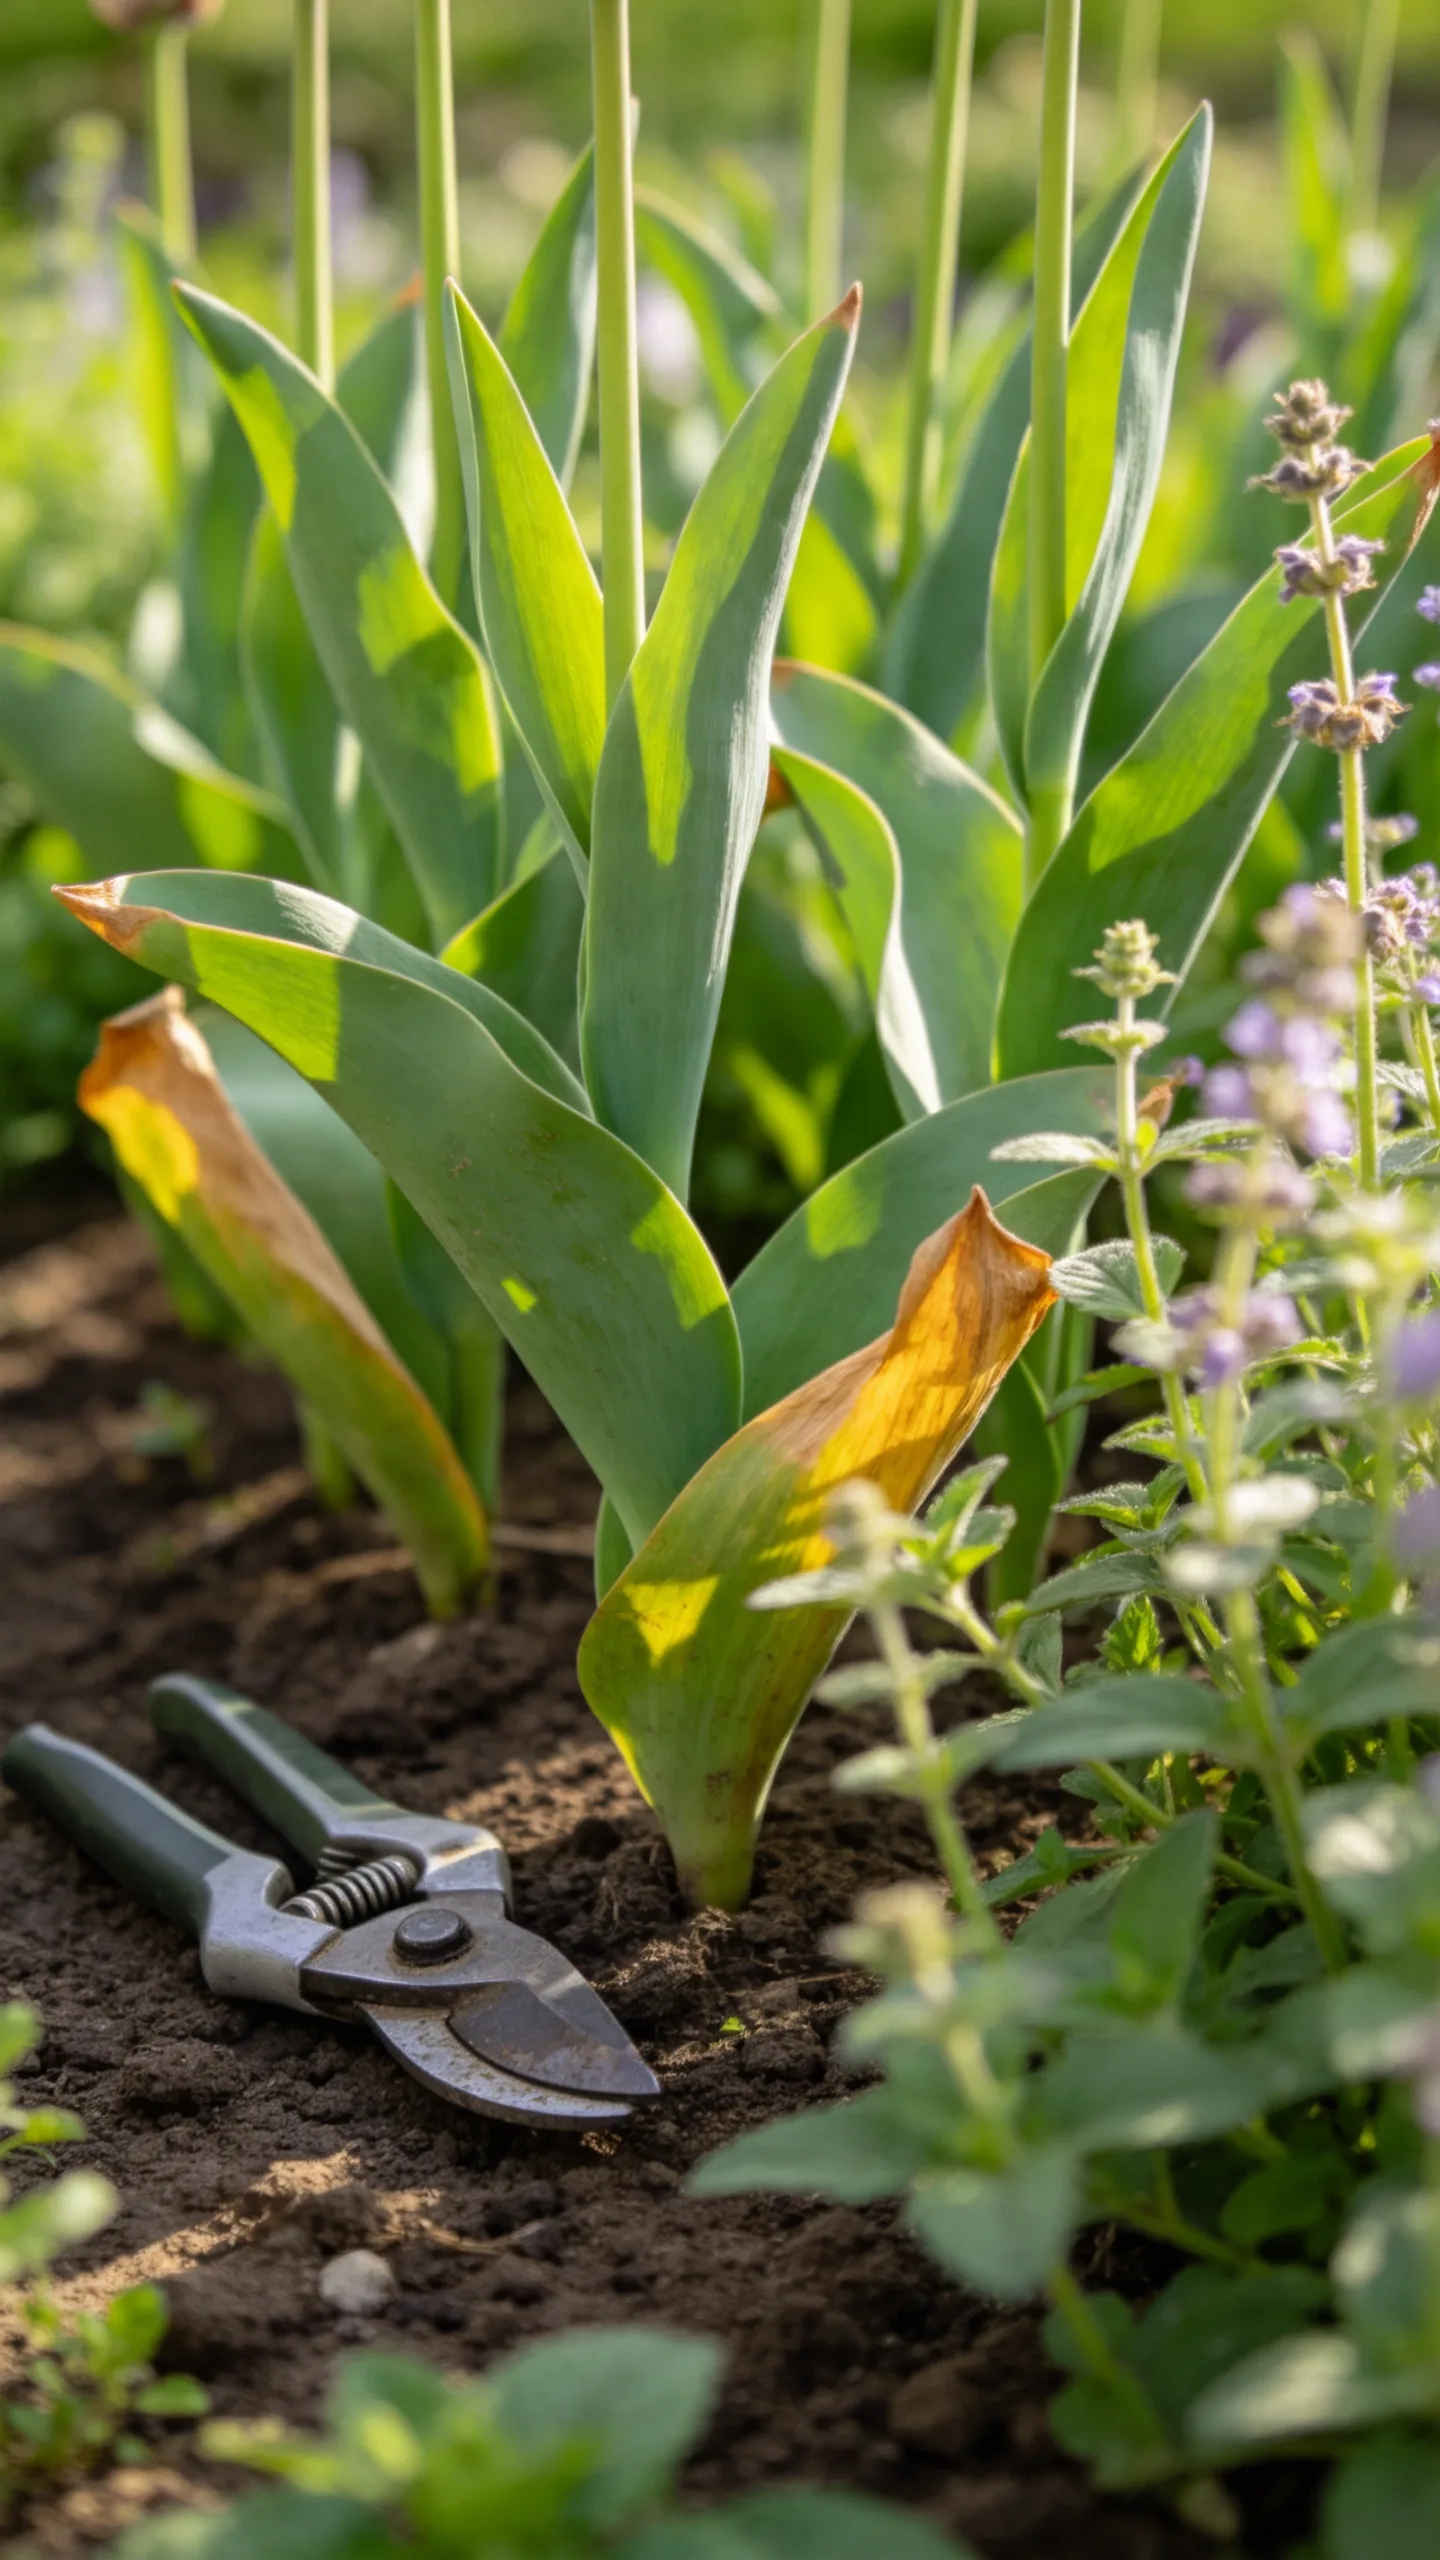
Removing the leaves immediately after flowering prevents the bulb from collecting energy for the following season. Even when the flowers fade, the foliage is still working through photosynthesis.
Remove spent flower heads if you want to prevent seed production, but leave the leaves in place until they turn yellow and can be pulled away easily. Hide fading foliage with nearby perennials or ground covers rather than tying it tightly or cutting it green.