DIY Compost Bin + How to Make Compost at Home (Easy Guide)
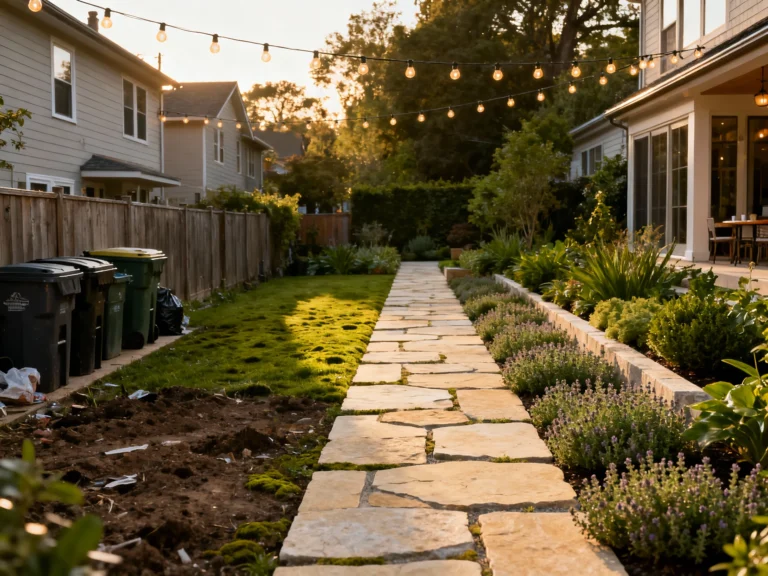
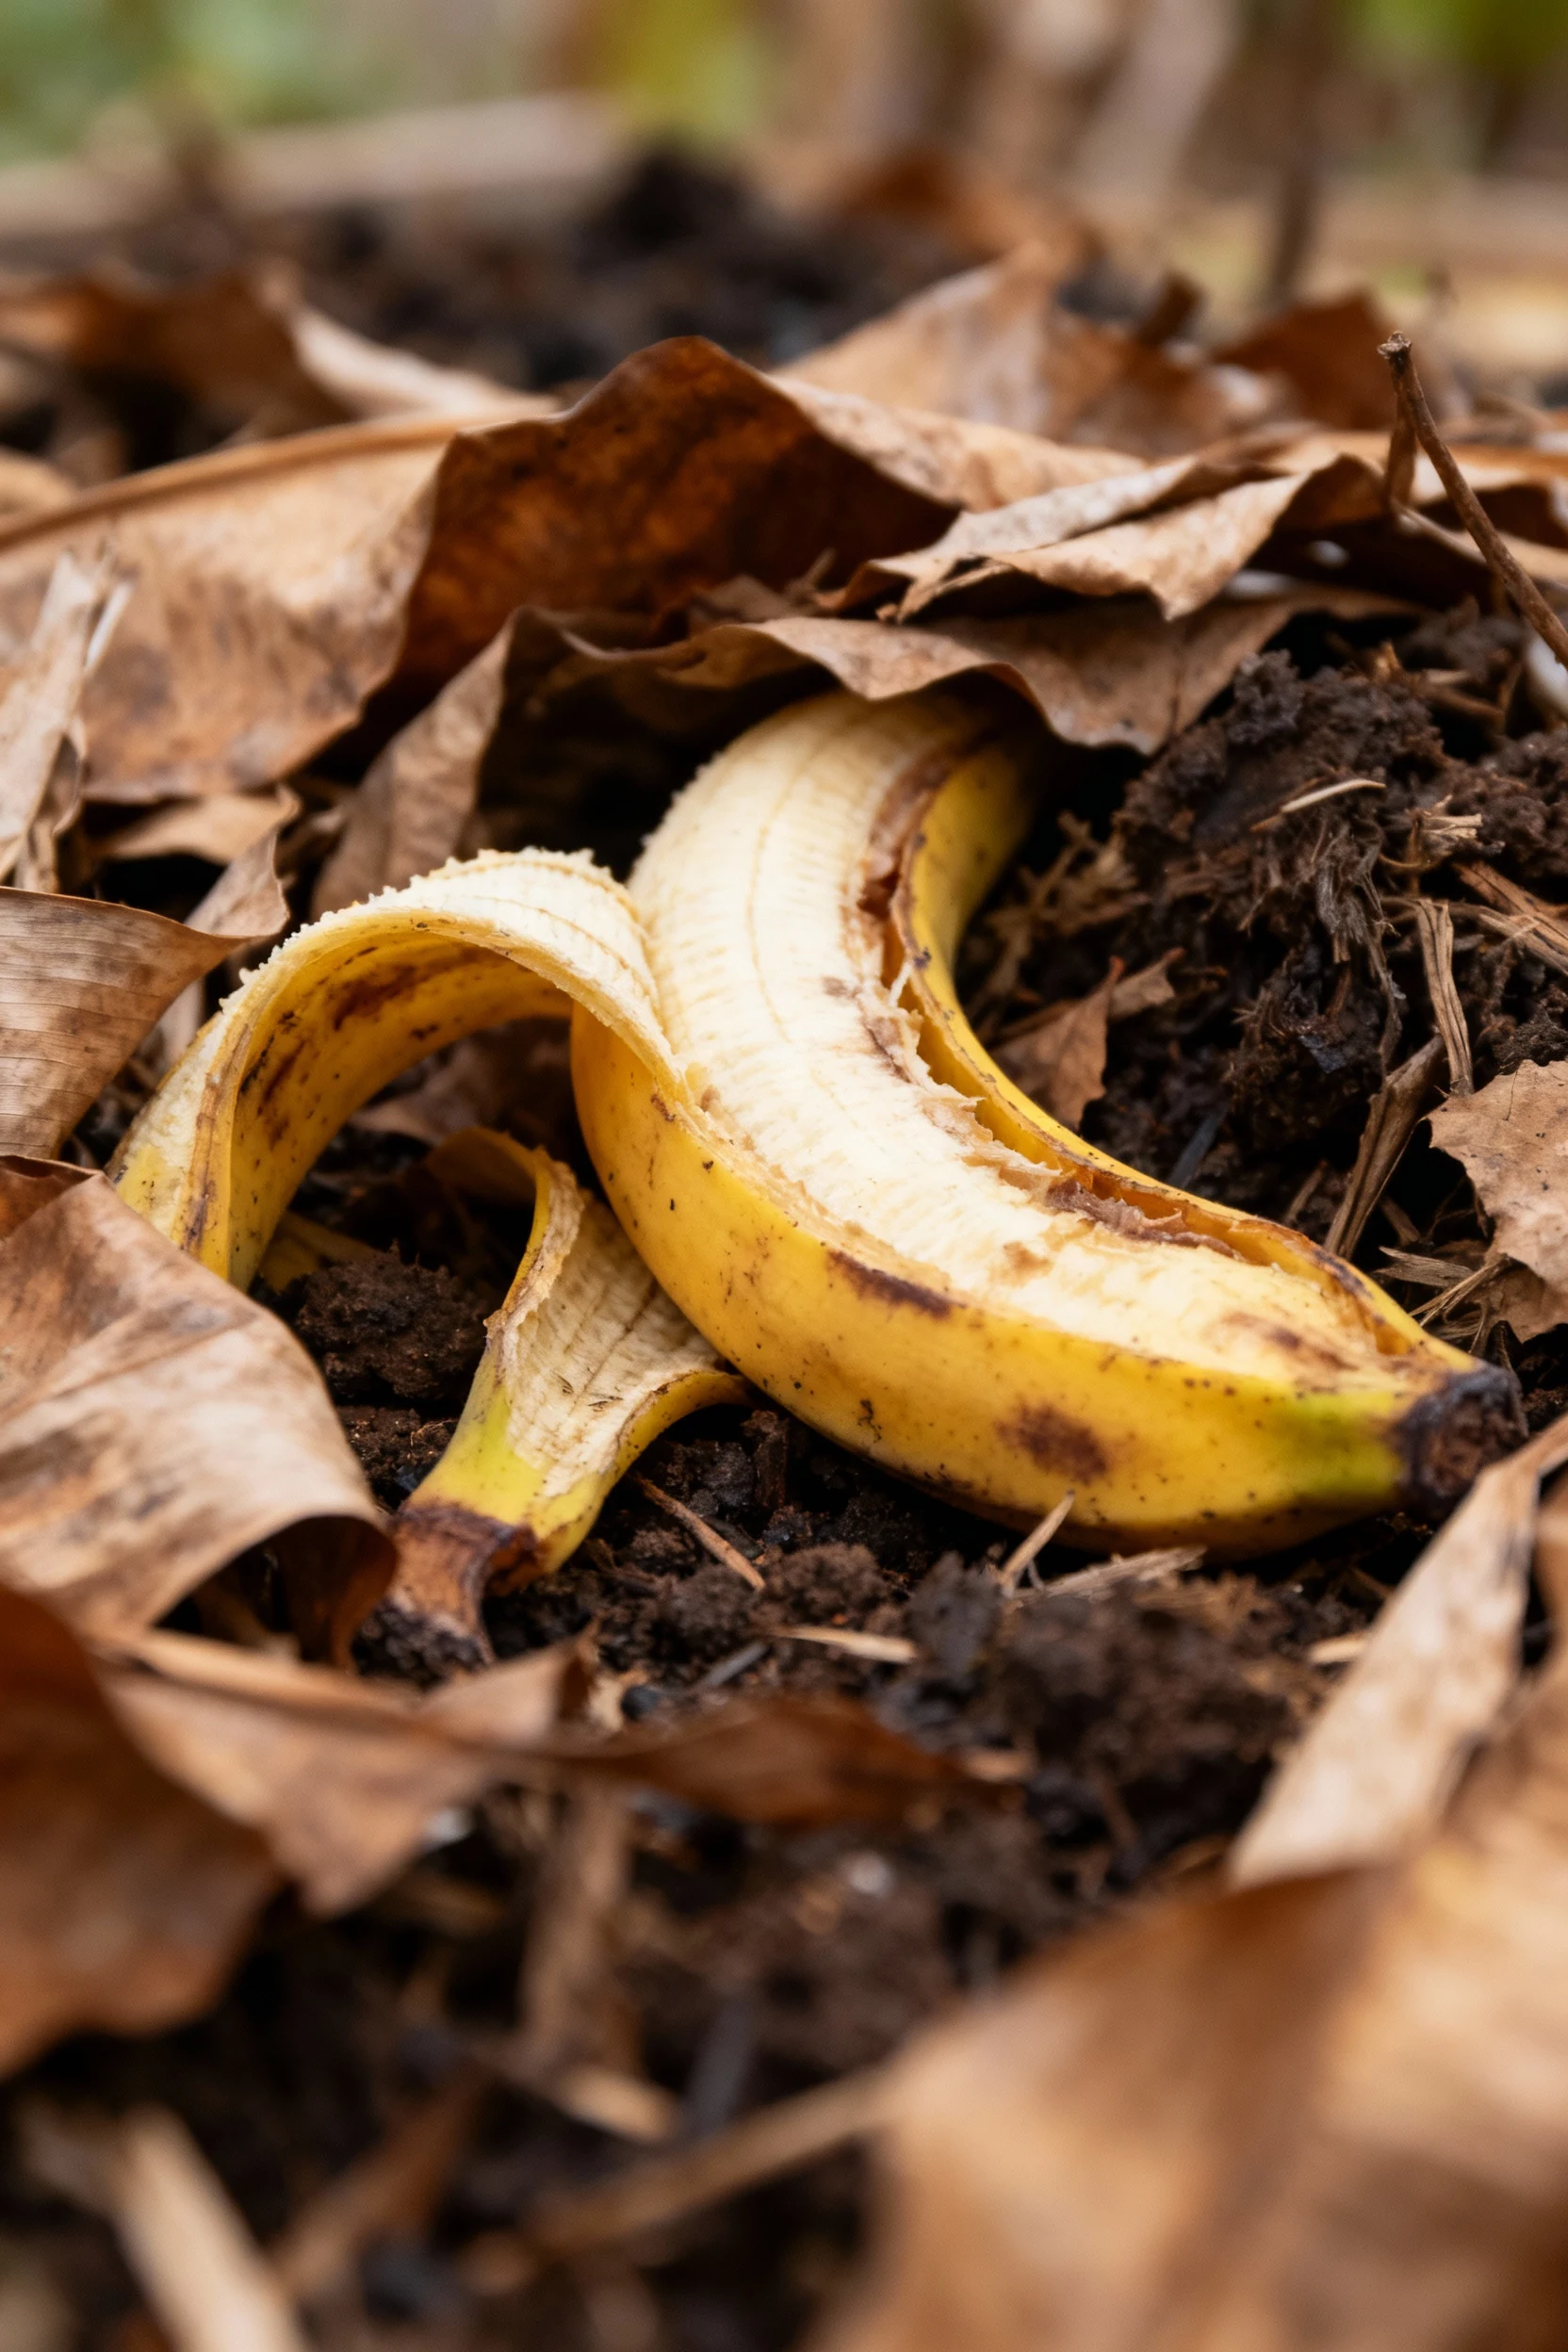
Want to turn kitchen scraps into garden gold without buying fancy gear? You can build a DIY compost bin in one afternoon and start making rich, crumbly compost that your plants will devour. We’ll keep it simple, cheap, and actually doable. Ready to turn banana peels and leaves into soil superpowers? Let’s dig in.
Why compost at home? The quick win
You cut down your trash by a ton, you feed your soil, and you save real money on bagged fertilizers. That’s a triple win. Your garden gets healthier, your plants grow stronger, and your bin gives you that smug “I made this” feeling. Not bad for stuff you usually toss.
Compost boosts soil structure, water retention, and nutrient availability. You help beneficial microbes thrive and improve your plants’ root environment. You also keep food scraps out of landfills, which reduces greenhouse gas emissions. Small habit, big impact.
Pick your DIY compost bin style
You’ve got options, and none require a workshop or a PhD in soil science. IMO, you choose based on space, budget, and how often you want to turn the pile.
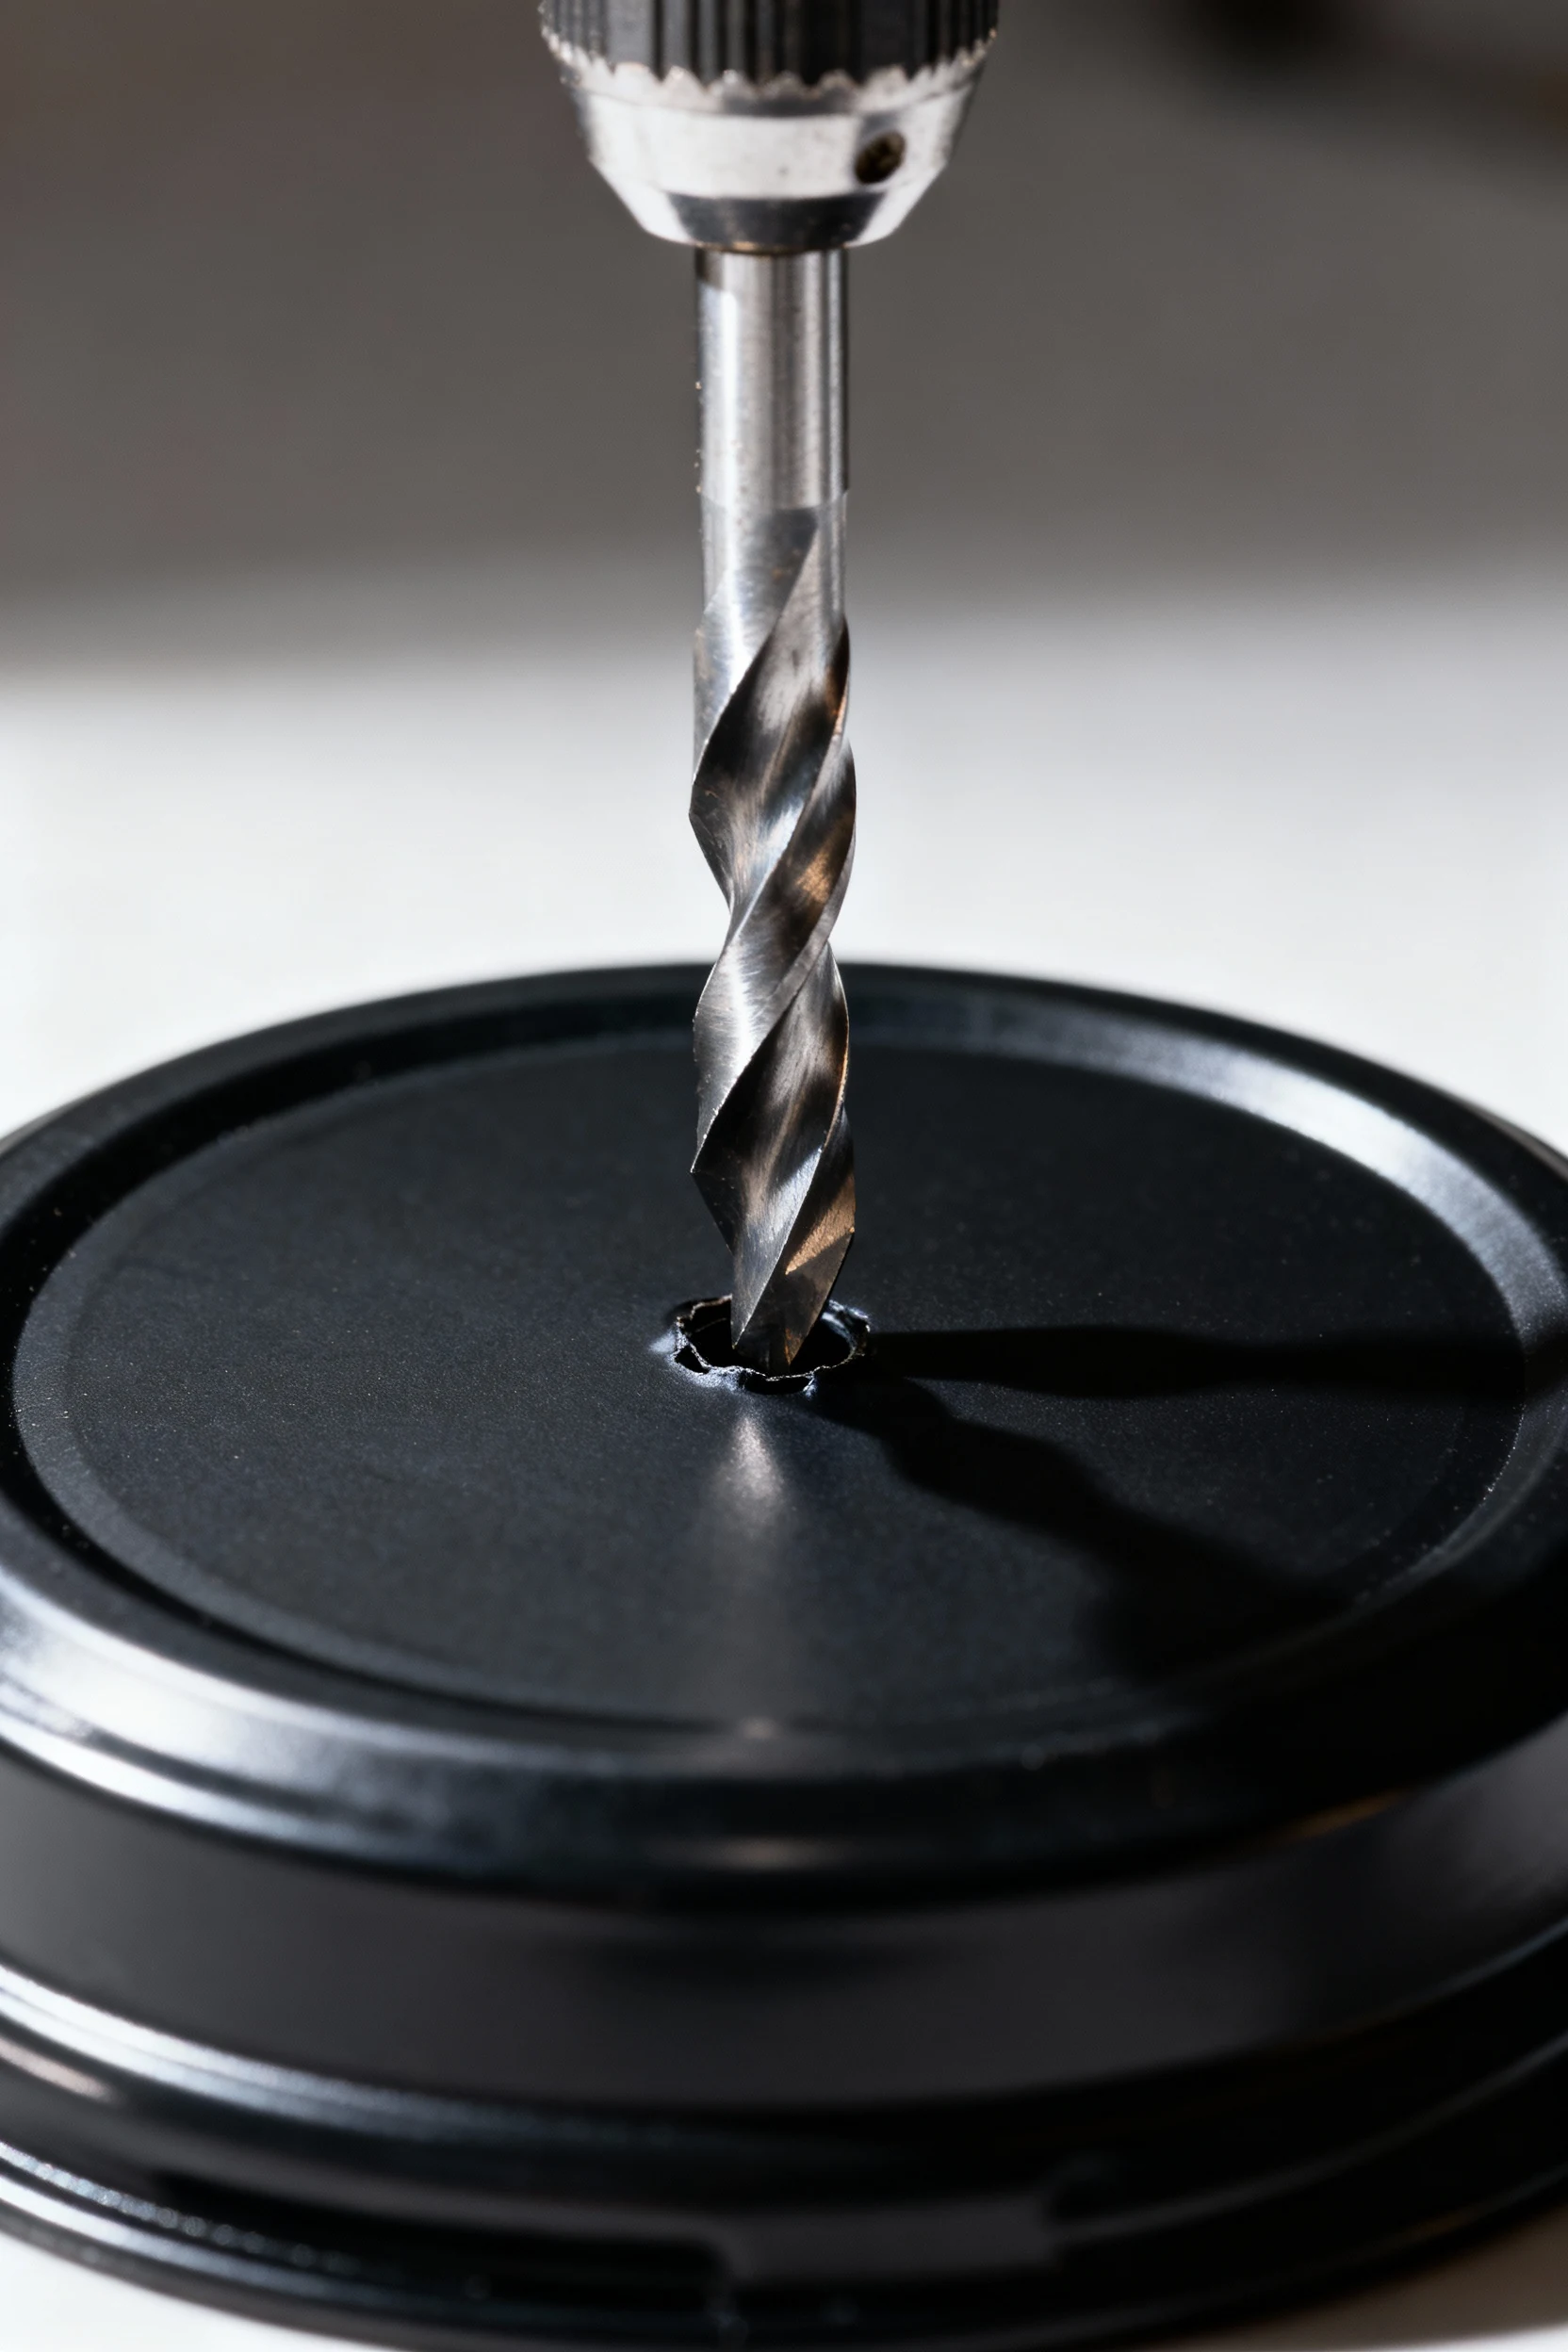
Drill-a-Can Bin (cheap and fast)
This one works great for patios or small yards. You grab a lidded garbage can and give it some air holes. Done.
- Materials: 32–50 gallon plastic trash can with tight lid, 3/8″ drill bit, bricks or wood blocks
- Steps:
- Drill holes every 4–6 inches around the sides and lid. Add a few holes in the bottom for drainage.
- Set the can on bricks so excess moisture drains and air flows from below.
- Add a base layer of browns (shredded leaves or cardboard), then start layering greens and browns.
- Shake or roll the can weekly to aerate. Easy cardio, zero gym membership.
Pallet Cube Bin (sturdy and scalable)
You build a simple cube by securing pallets together. It looks rustic and holds a lot.
- Materials: 3–4 pallets, deck screws or zip ties, optional hardware cloth for critter control
- Steps:
- Stand three pallets on edge to form a U shape and secure them.
- Add a fourth pallet as a front gate or leave the front open for easy turning.
- Line the inside with hardware cloth if raccoons feel nosy.
- Start your pile with a thick brown base, then build layers.
No-Build Pile (ultra minimal)
You pick a corner of your yard and start a pile. That’s it. FYI, it works surprisingly well if you manage it.
- Materials: None, unless you want a simple ring of wire fencing
- Steps:
- Choose a spot with partial shade and good drainage.
- Lay down a brown base (sticks or straw) to lift material off the soil.
- Layer greens and browns, then turn with a pitchfork every 1–2 weeks.
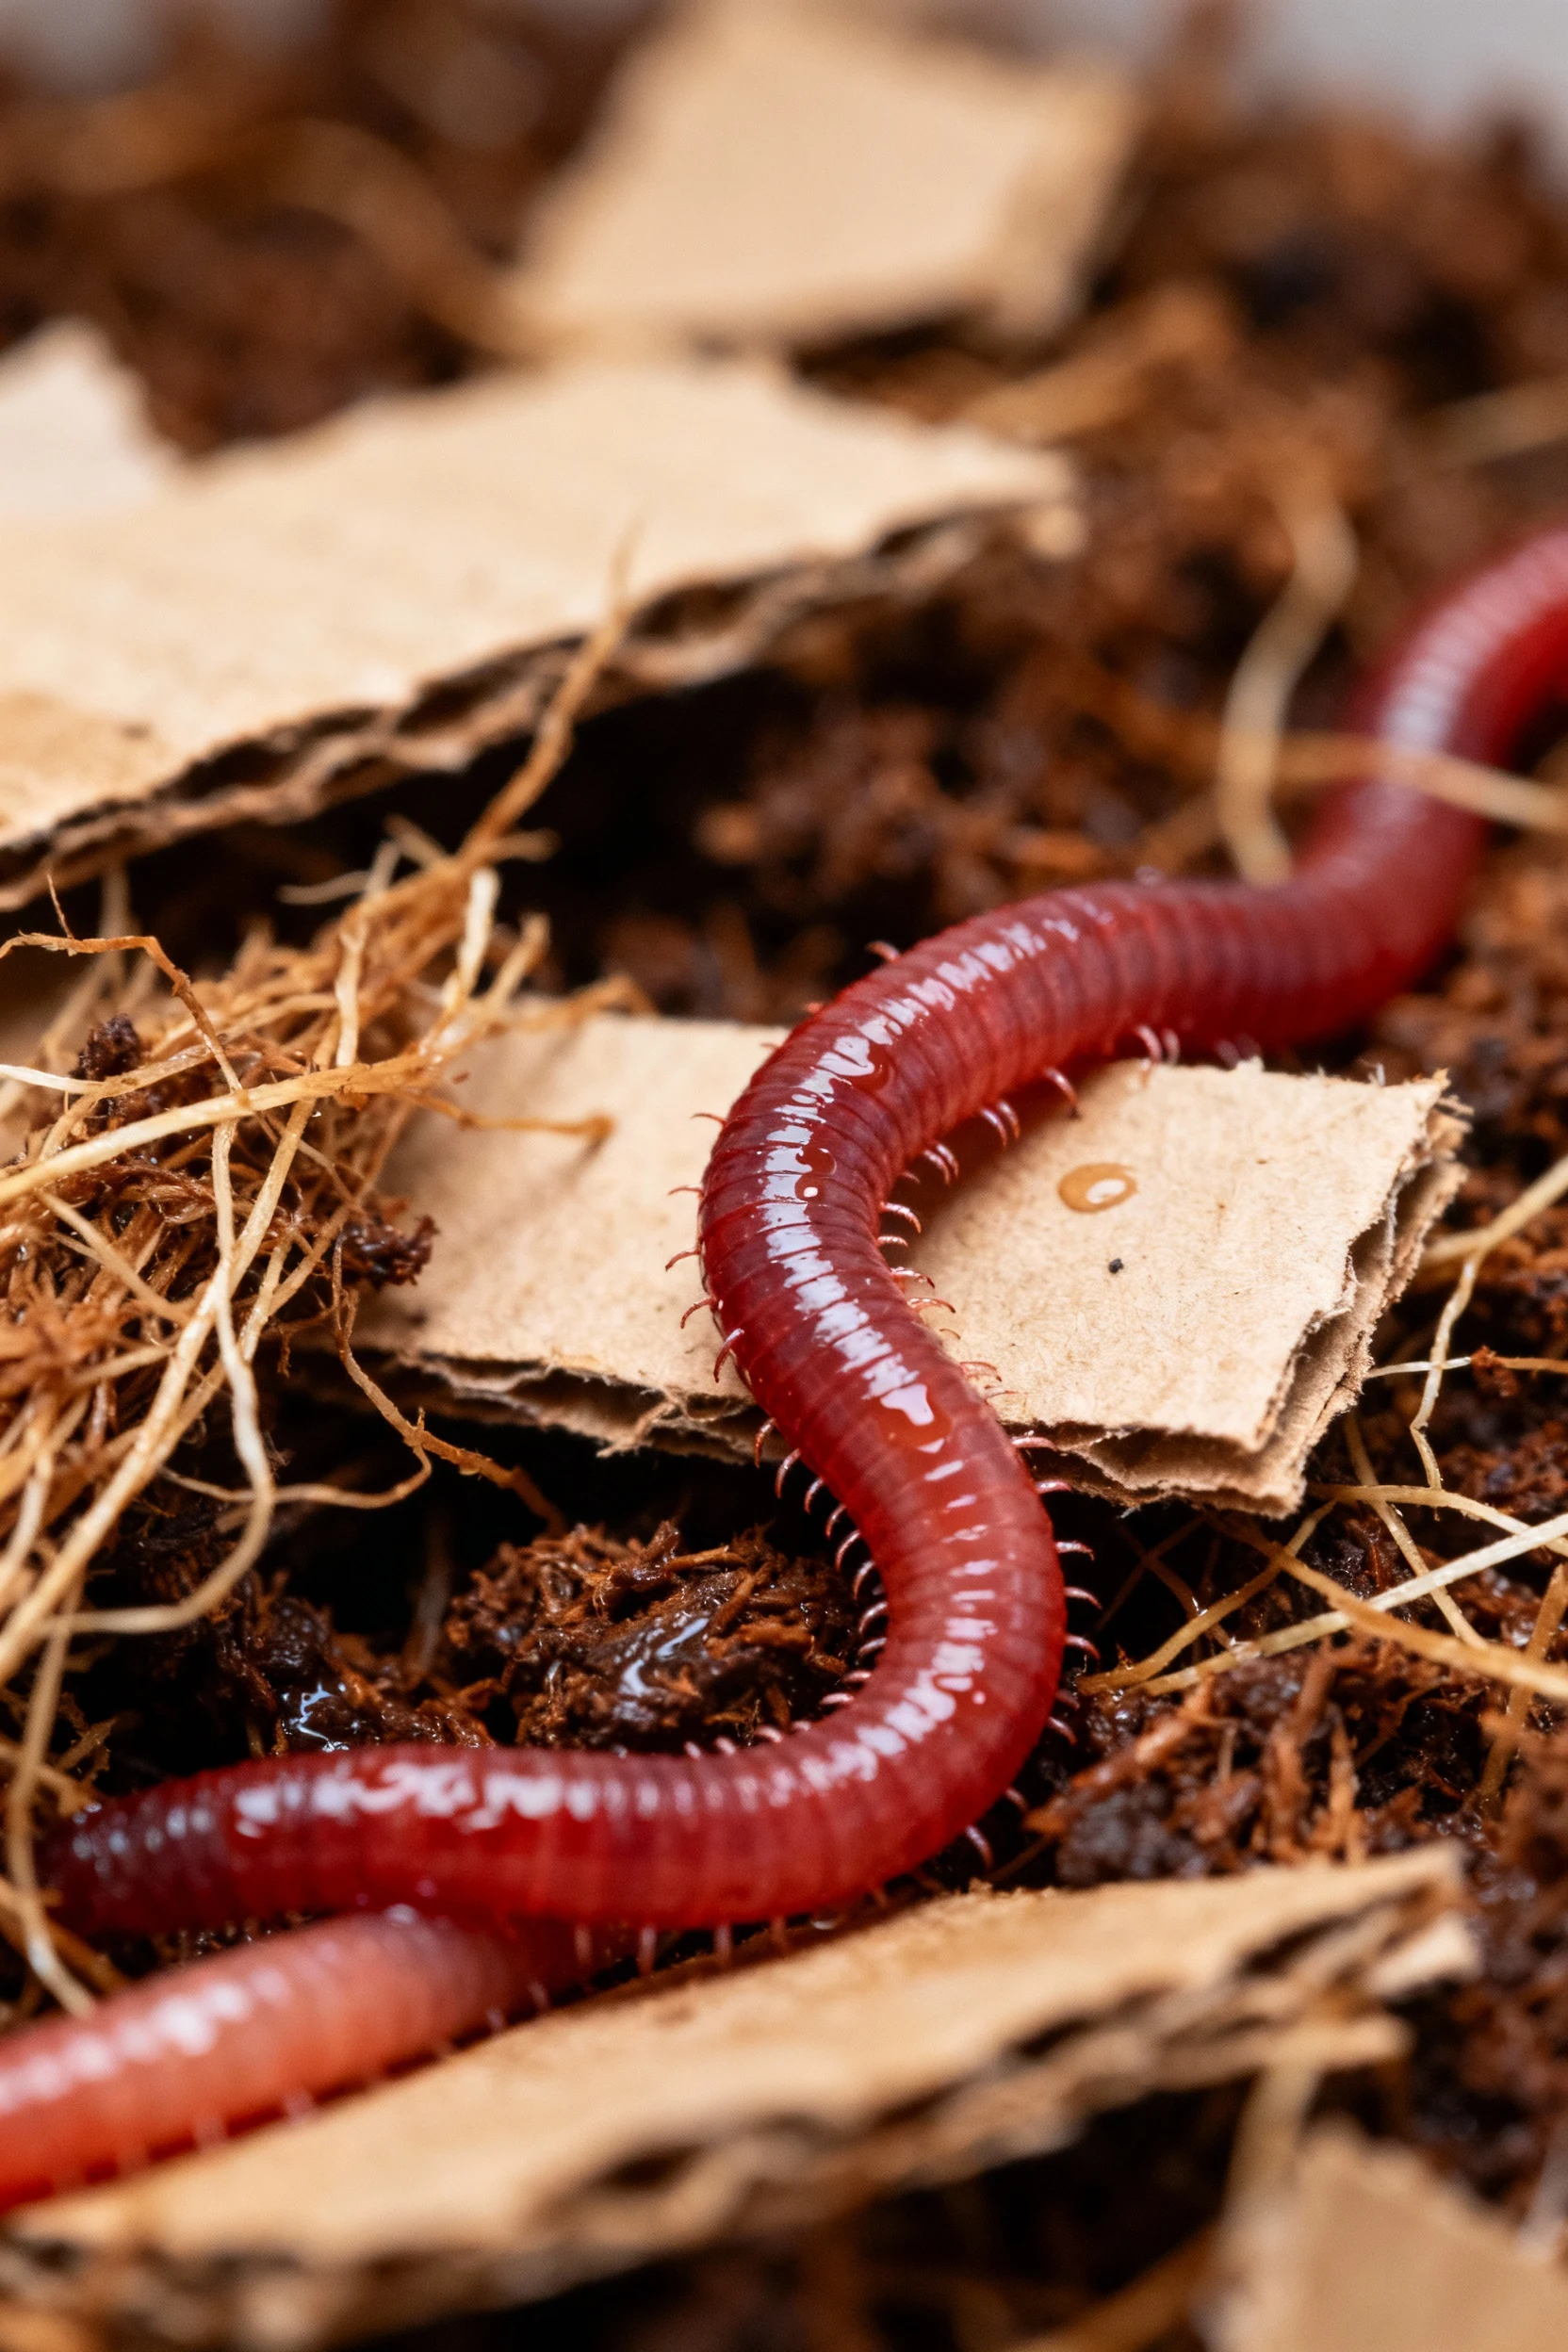
Tote Worm Bin (indoor friendly)
If you want compost indoors or year-round, vermicomposting rocks. The worms handle the heavy lifting.
- Materials: Two sturdy totes with lids, drill, bedding (shredded cardboard + coco coir), red wigglers
- Steps:
- Drill ventilation holes around the tote’s sides and a few drainage holes in the bottom.
- Nest the holed tote inside the second tote to catch drips.
- Add moistened bedding, then add worms and small amounts of food scraps.
- Harvest castings every few months. Your houseplants will swoon.
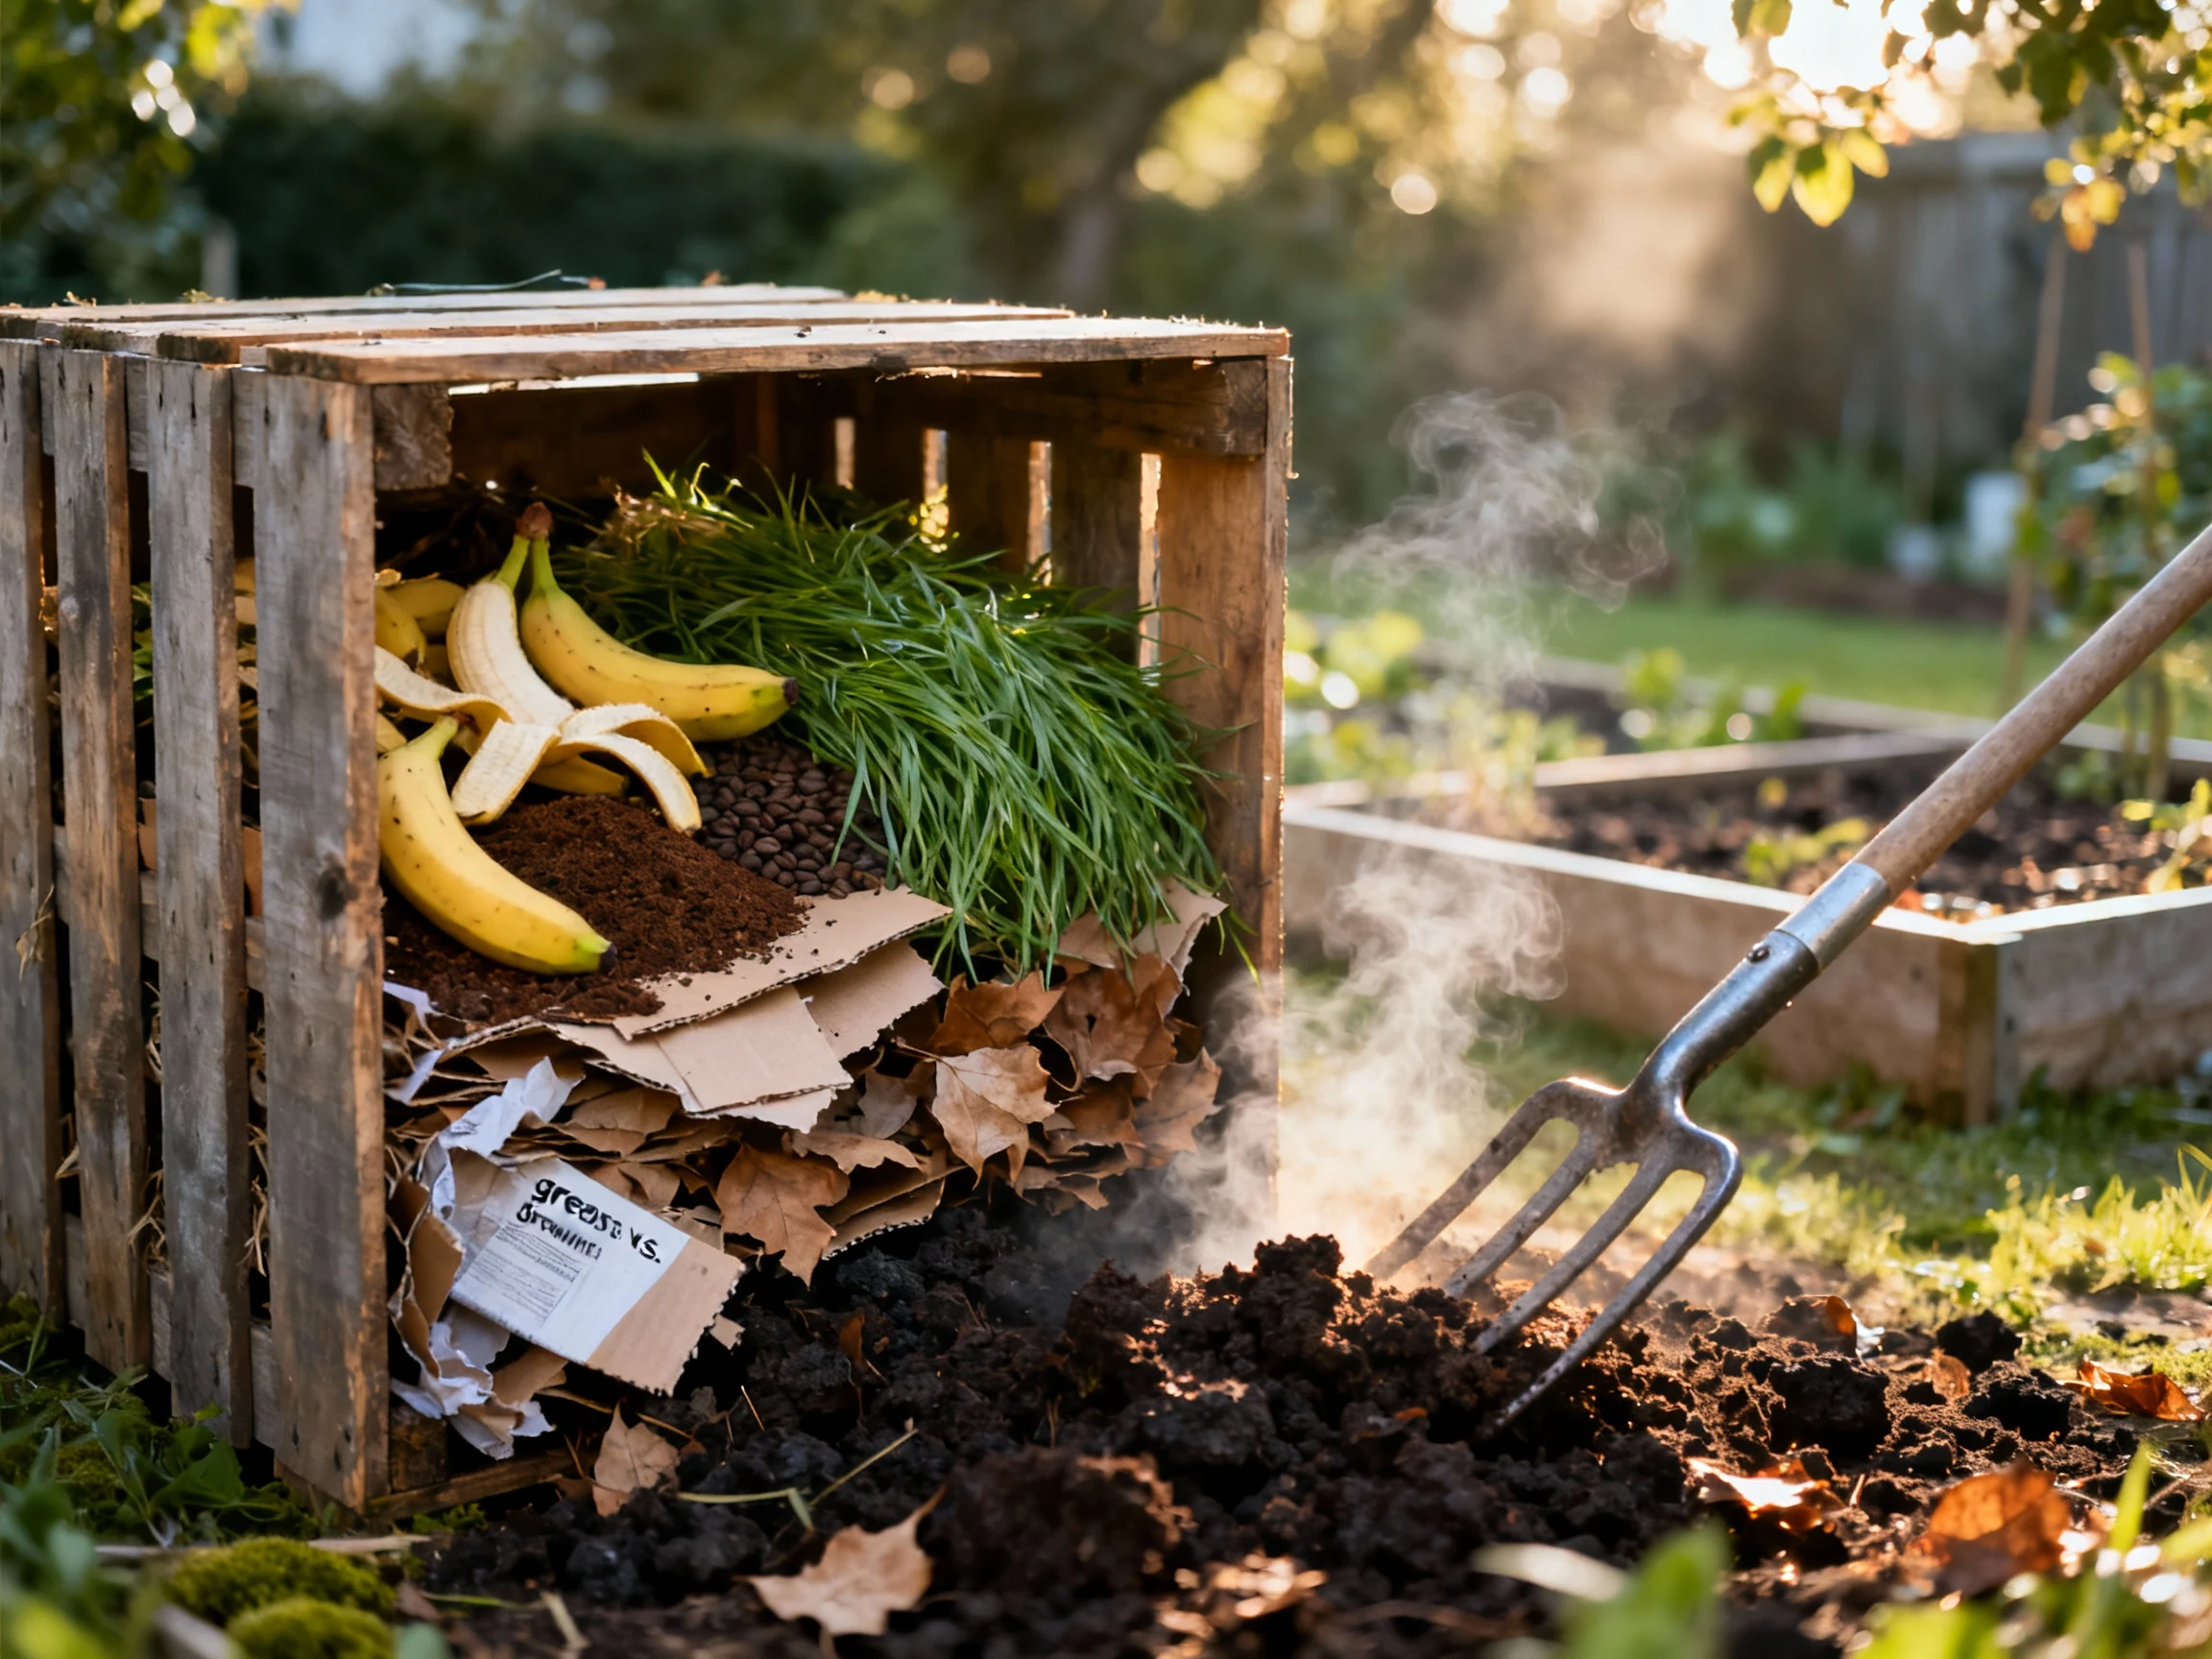
What goes in: greens vs. browns
Your bin eats two kinds of ingredients: greens (nitrogen-rich, juicy) and browns (carbon-rich, dry). You balance them to keep the pile healthy and cooking. Greens add fuel; browns add structure.
Greens (nitrogen)
- Fruit and vegetable scraps
- Coffee grounds and tea leaves (remove plastic tea bags)
- Fresh grass clippings
- Plant trimmings and spent annuals
- Manure from herbivores (aged if possible)
Browns (carbon)
- Dry leaves and straw
- Shredded cardboard and paper (avoid glossy)
- Wood chips and sawdust (untreated)
- Paper egg cartons
- Dry plant stems
Rule of thumb: Use 2–3 parts browns to 1 part greens by volume. That ratio keeps odors down and heat up. If your pile smells funky, add more browns. If it stalls, add a bit more greens or turn for air.
Stuff to skip
Ultrafast way to sink a compost pile? Toss in the wrong stuff. Skip these and you avoid pests and drama.
- Meat, bones, dairy, oily foods
- Pet waste (dogs/cats), glossy paper, synthetic materials
- Weeds with mature seeds, invasive plant roots
- Heavily treated wood shavings or colored paper
Prep tips that make compost faster
You speed things up when you size ingredients right. The microbes handle the rest.
- Chop scraps small and shred cardboard fine.
- Mix grass clippings with dry leaves so they don’t mat.
- Keep the pile moist like a wrung-out sponge.
- Turn the pile regularly to add oxygen.
Build and start your pile: easy steps
Think of this as a recipe. You layer, water, and turn. Then you let nature work.
- Pick a spot. Choose partial shade with good drainage. Keep it close enough that you actually use it.
- Lay a brown base. Add 4–6 inches of sticks or straw for airflow.
- Layer greens and browns. Add a bucket of greens, cover with two buckets of browns, repeat.
- Add water. Moisten each layer. Aim for damp, not soggy.
- Optional booster. Sprinkle a shovelful of old compost or garden soil for microbes.
- Cap with browns. Top every addition with browns. That prevents flies and smells.
- Turn regularly. Use a fork or compost aerator weekly. You feed the microbes oxygen and speed the process.
Keep it cooking: moisture, air, and heat
Compost microbes love a comfy environment. You give them air, moisture, and a decent pile size, and they throw a tiny party.
Moisture: Squeeze test time. If water drips, it’s too wet—add browns and turn. If it feels dry, add water and greens. You want that wrung-out sponge feel.
Air: Oxygen drives decomposition. Turn weekly for active composting. If you hate turning, build with coarse browns and use a bin with ventilation holes.
Heat: Hot composting works fast when you build a pile about 3 ft x 3 ft x 3 ft. It heats up, kills many weed seeds, and makes finished compost sooner. Small piles still work; they just take longer.
Hot vs. cold composting
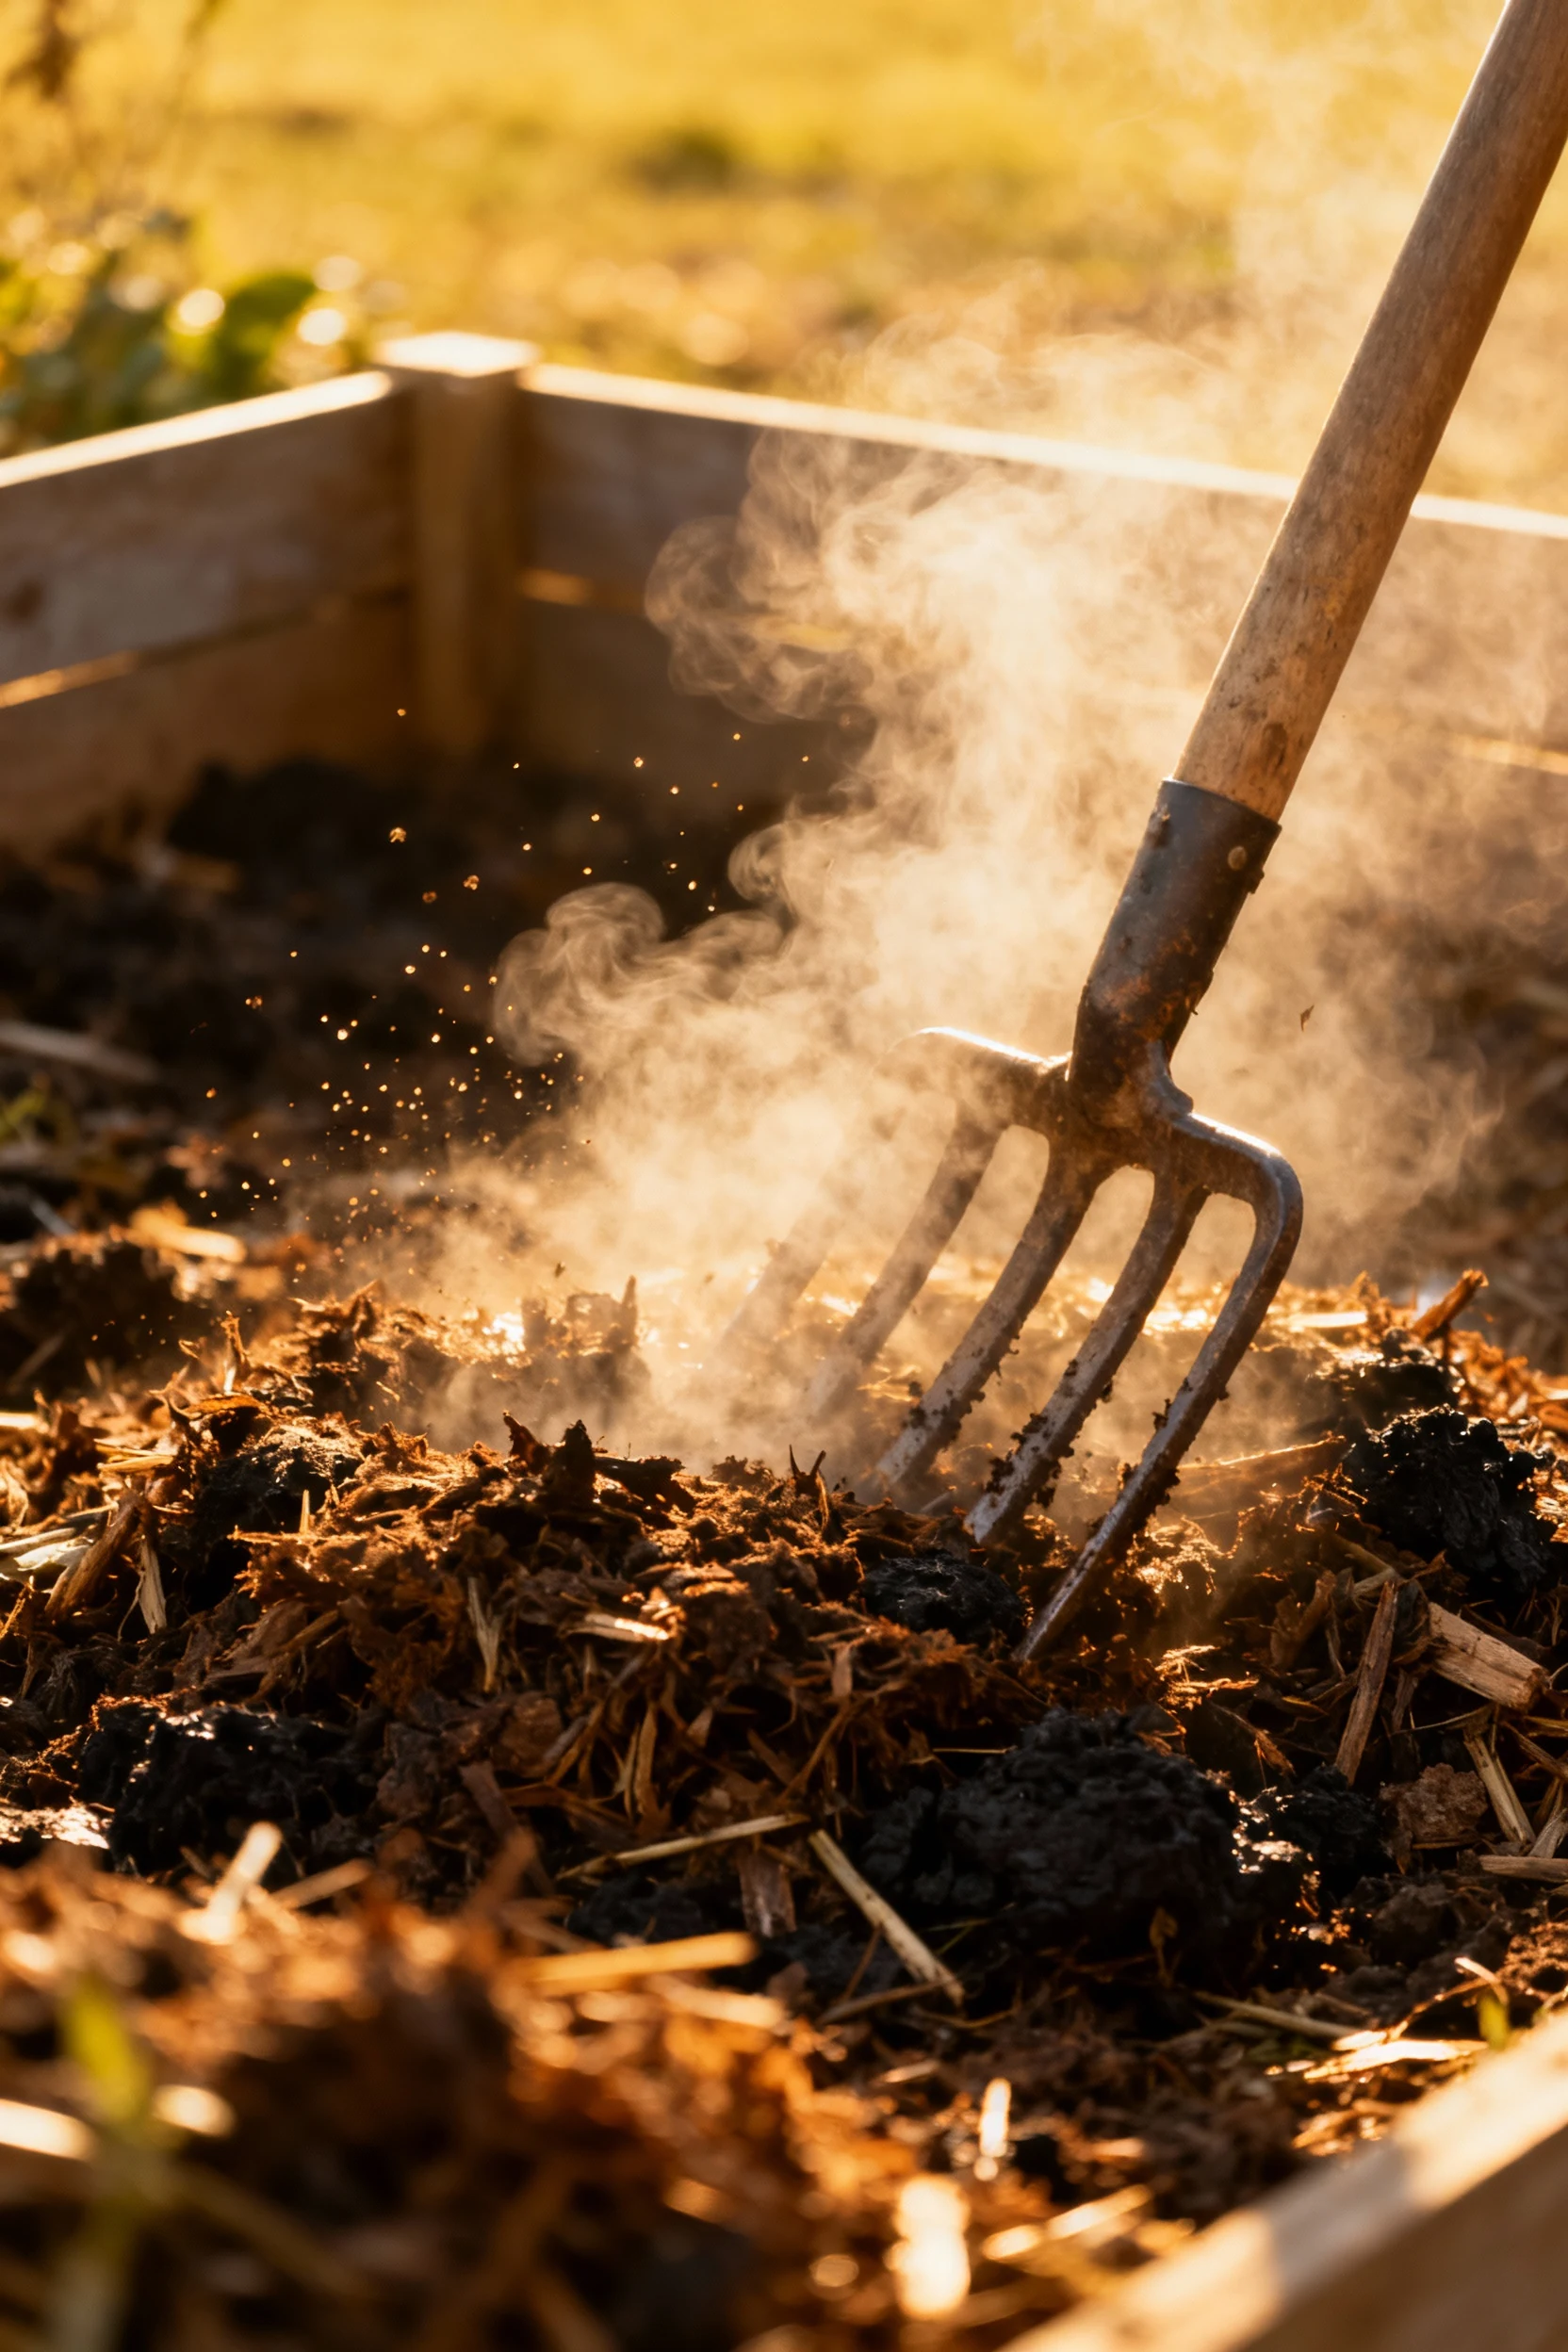
Hot composting runs fast when you feed the pile often, keep the ratio right, and turn regularly. You see steam on cool mornings and feel warmth when you dig in. It’s oddly satisfying.
Cold composting takes less effort. You add scraps when you have them and turn occasionally. It takes longer, but it still finishes. IMO, cold composting wins for busy people, hot composting wins if you love tinkering.
Troubleshooting smells and pests
Smelly pile? You probably added too many greens or not enough air. Add dry browns, turn hard, and stop overwatering. You fix stink in a day.
Fruit flies? Cover new scraps with browns and keep the lid closed. Raccoons or rodents? Use hardware cloth, avoid meat and dairy, and bury fresh greens deeper in the pile. FYI, a secure lid and frequent turning deter nosy neighbors of the furry variety.
Timeline: when do you get compost?
You control speed with effort and pile size. If you turn weekly and maintain moisture, you finish faster.
- Hot method: 6–12 weeks for mature compost, sometimes faster in ideal conditions.
- Cold method: 3–9 months depending on climate and materials.
- Worm bin: 2–4 months for usable castings once the system stabilizes.
How do you know it’s ready? It looks dark and crumbly, smells earthy, and you can’t recognize original scraps. If you still see big bits, screen or let it cure for a couple weeks. Then unleash it on your garden.
Use your compost like a pro
You earned this. Use it smart to get the best results.
- Top dressing: Spread 1–2 inches around plants, then mulch. You feed and protect soil.
- Soil mix: Blend up to 25–30% compost with potting soil for containers.
- Bed prep: Work 1–3 inches into vegetable beds before planting.
- Compost tea (optional): Steep compost in water, then foliar spray or soil drench. Don’t overcomplicate it.
- Seed starting: Use a light mix with a small amount of fully finished compost. Heavy mixes can stunt delicate seedlings.
FAQ
Can I compost in winter?
Yes, you can. The pile slows down, but microbes keep working. You add browns and greens, cover with a thick brown cap, and wait. In spring, you turn and watch it kick back into gear.
Will my compost smell bad?
No, not if you balance it right. A healthy pile smells earthy, not trashy. If you catch a whiff of funk, add dry browns and turn. Smell = too wet or too many greens, and you fix it fast.
Do I need a fancy compost tumbler?
Nope. Tumblers help if you prefer neat and easy turning, but DIY bins work great. You spend less and get the same results. Choose a style you’ll actually use.
How often should I turn my pile?
Turn weekly for hot compost and every 2–3 weeks for a laid-back approach. If you see matted grass or smell sour notes, turn more often. Consistent turning speeds things up.
Can I compost cooked food or bread?
You can, but do it carefully. Add small amounts and bury them under browns to avoid pests. Skip oily foods, meat, and dairy entirely. Your bin stays tidy and drama-free.
Why does my pile stay dry even after I water?
Dry browns soak water before it reaches the whole pile. Pre-moisten browns or water layer by layer. Then cover with a brown cap. You keep moisture where microbes need it.
Conclusion
You don’t need fancy gear or a huge backyard to make fantastic compost. You pick a bin style, feed it a mix of greens and browns, keep it damp, and turn it now and then. That’s the whole playbook. Build one today, toss in those scraps, and let your future garden thank you later.
Printable Recipe Card
Want just the essential recipe details without scrolling through the article? Get our printable recipe card with just the ingredients and instructions.