garden lighting design
You can have the prettiest garden on the block, but once the sun goes down? It can turn into a black hole with suspicious rustling sounds. Garden lighting design fixes that fast. You don’t need a celebrity landscape budget either—you just need a plan, a little restraint, and a refusal to blast your yard with stadium lights.
Start With the “Why” (Because Random Lights Look Random)
Before you buy anything shiny, ask yourself what you actually want at night. Do you want to see where you’re walking without performing accidental acrobatics? Do you want the garden to look magical from the patio? Or do you want your front yard to quietly flex on the neighbors?
Pick two or three priorities and commit. Lighting works best when it feels intentional, not like you clicked “Add to Cart” during a late-night scrolling session. A clear purpose keeps your design cohesive, and FYI, it also saves money.
Three Common Goals That Actually Make Sense
Most garden lighting designs land in a few buckets. You can mix them, but don’t try to do everything everywhere. That’s how you end up with a yard that looks like an airport runway.
- Safety and navigation: paths, steps, edges, changes in level.
- Ambience: patios, seating areas, dining spots, cozy corners.
- Drama: highlighting trees, sculpture, water features, interesting textures.
Think in Layers: The Secret Sauce of Good Outdoor Lighting
If you take only one idea from this article, take this: layering makes lighting feel “designed.” You build a scene the same way you build an outfit—base layer, highlights, and a little flair. You don’t wear six hats at once, right?
Layered lighting avoids harsh glare and dead zones. It also helps your garden look great from different angles, like from inside the house or from the driveway. IMO, the best gardens look like they glow, not like they scream.
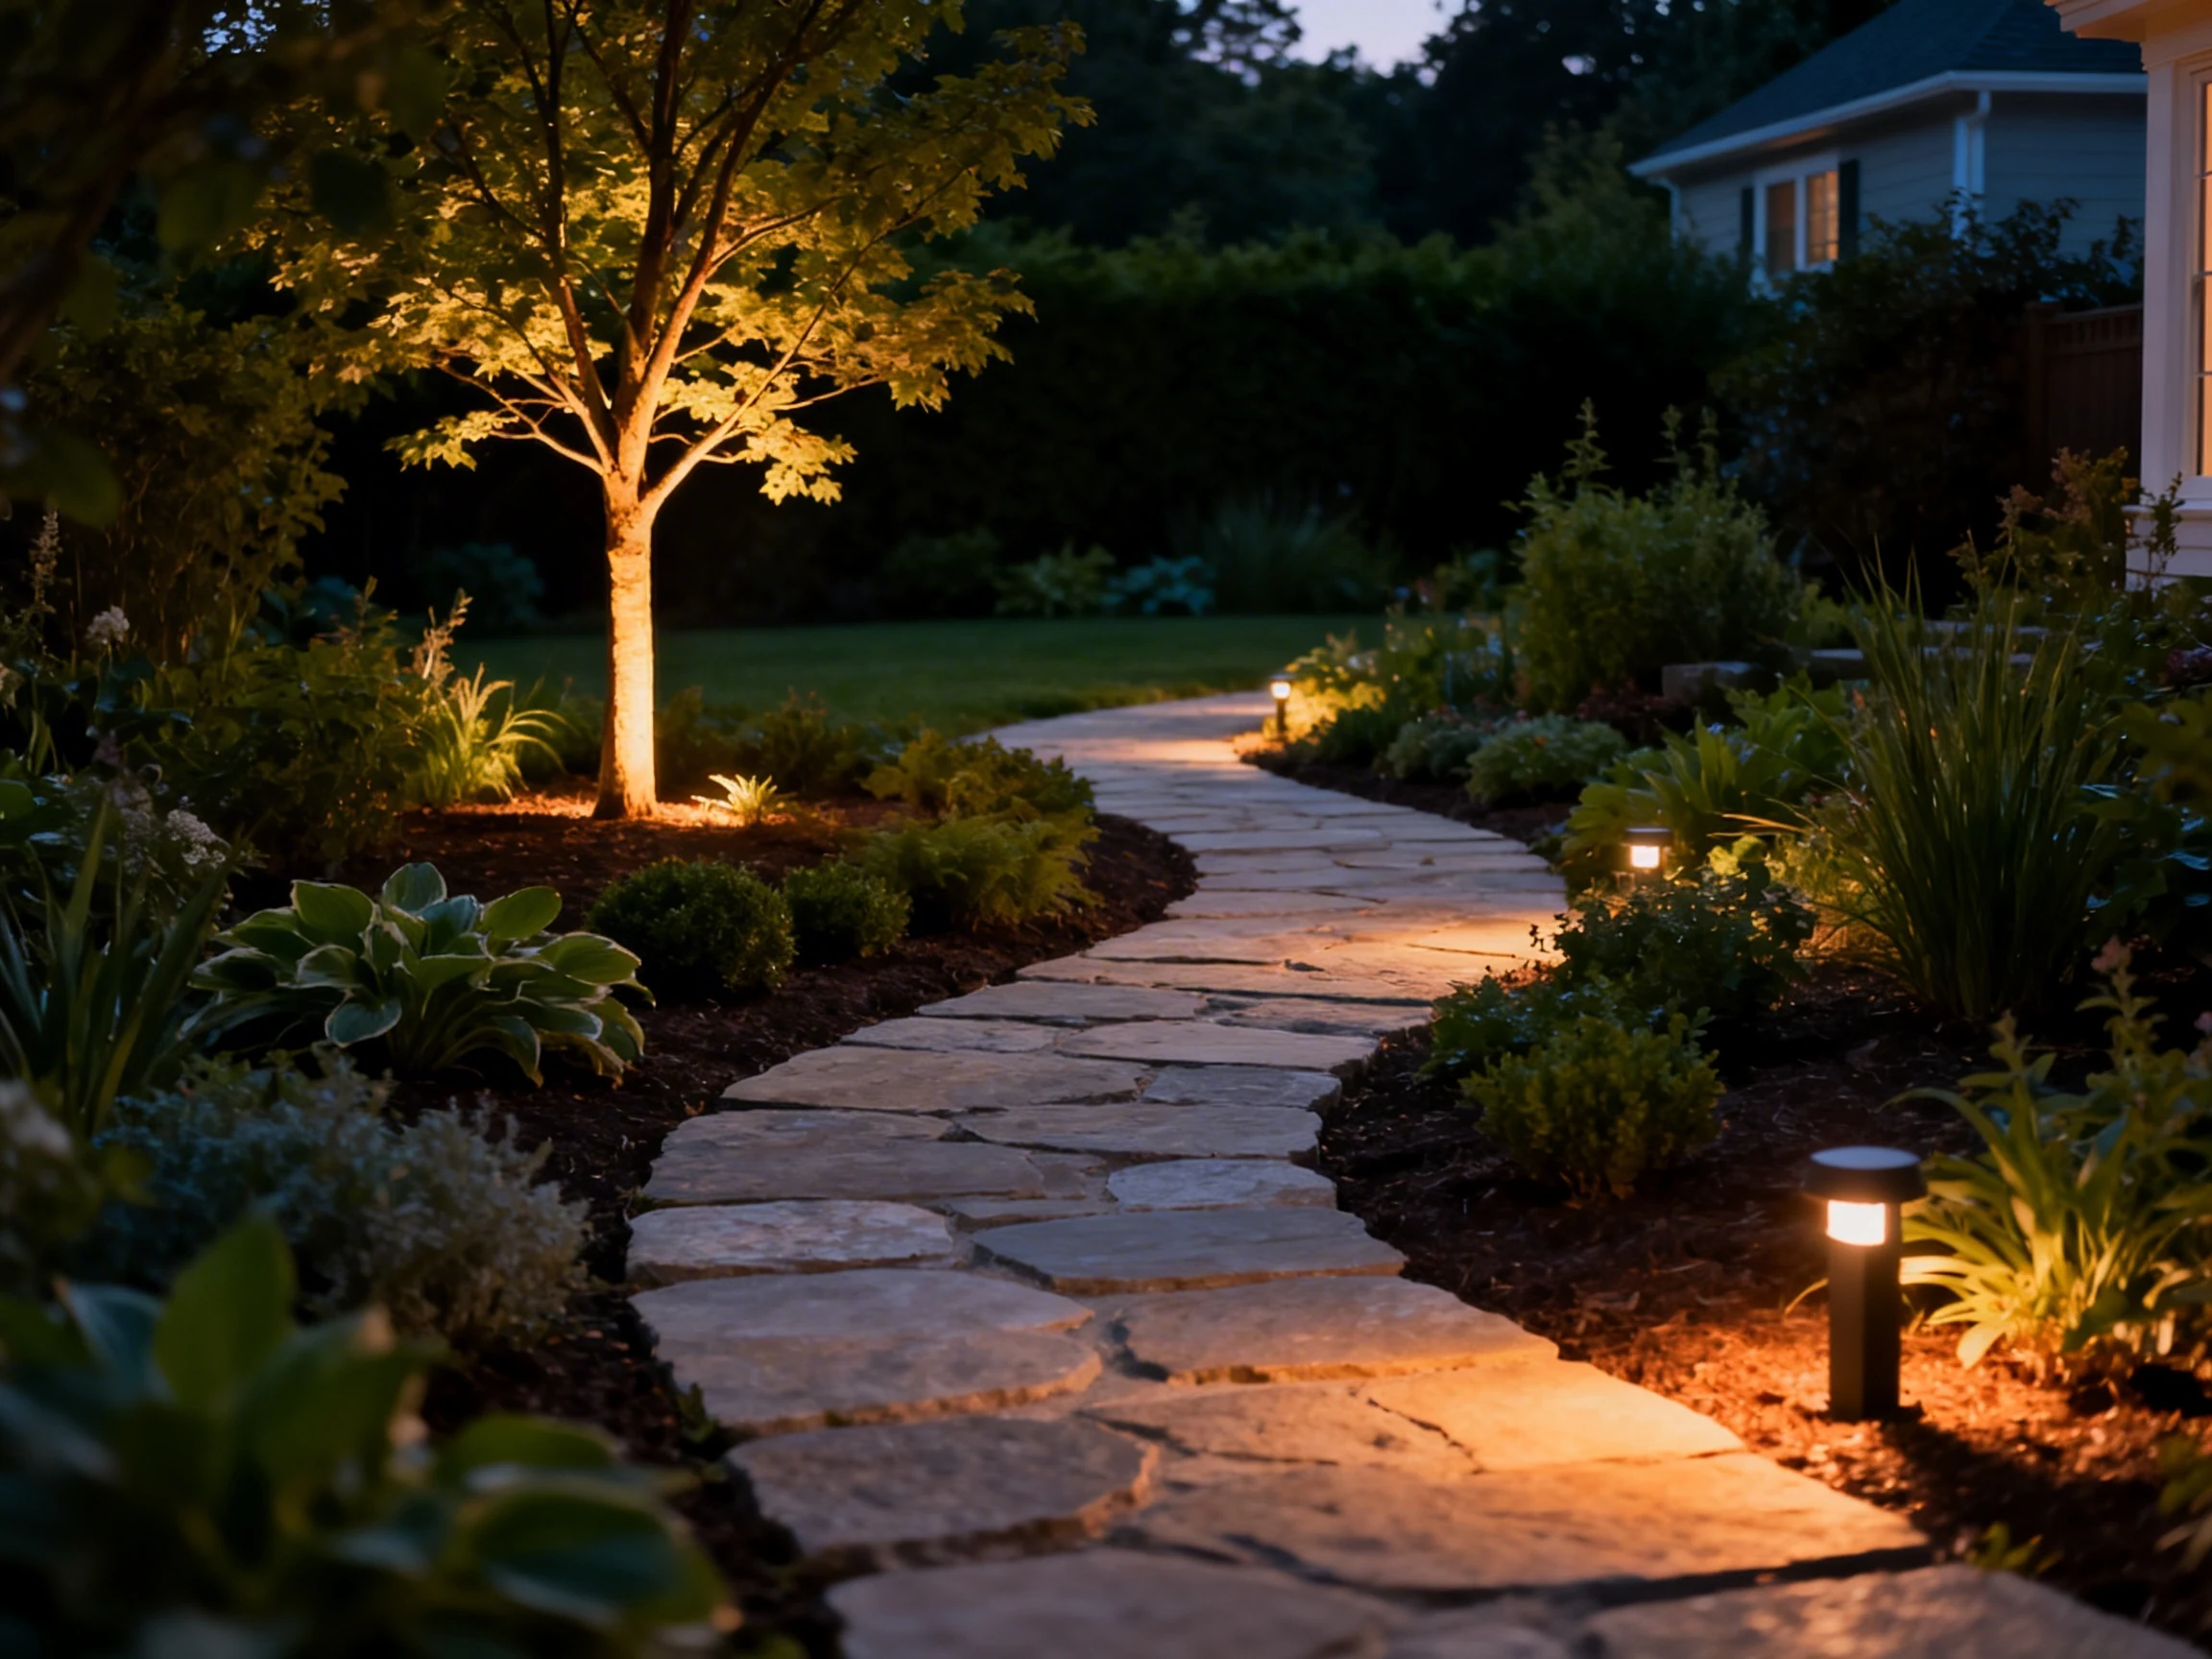
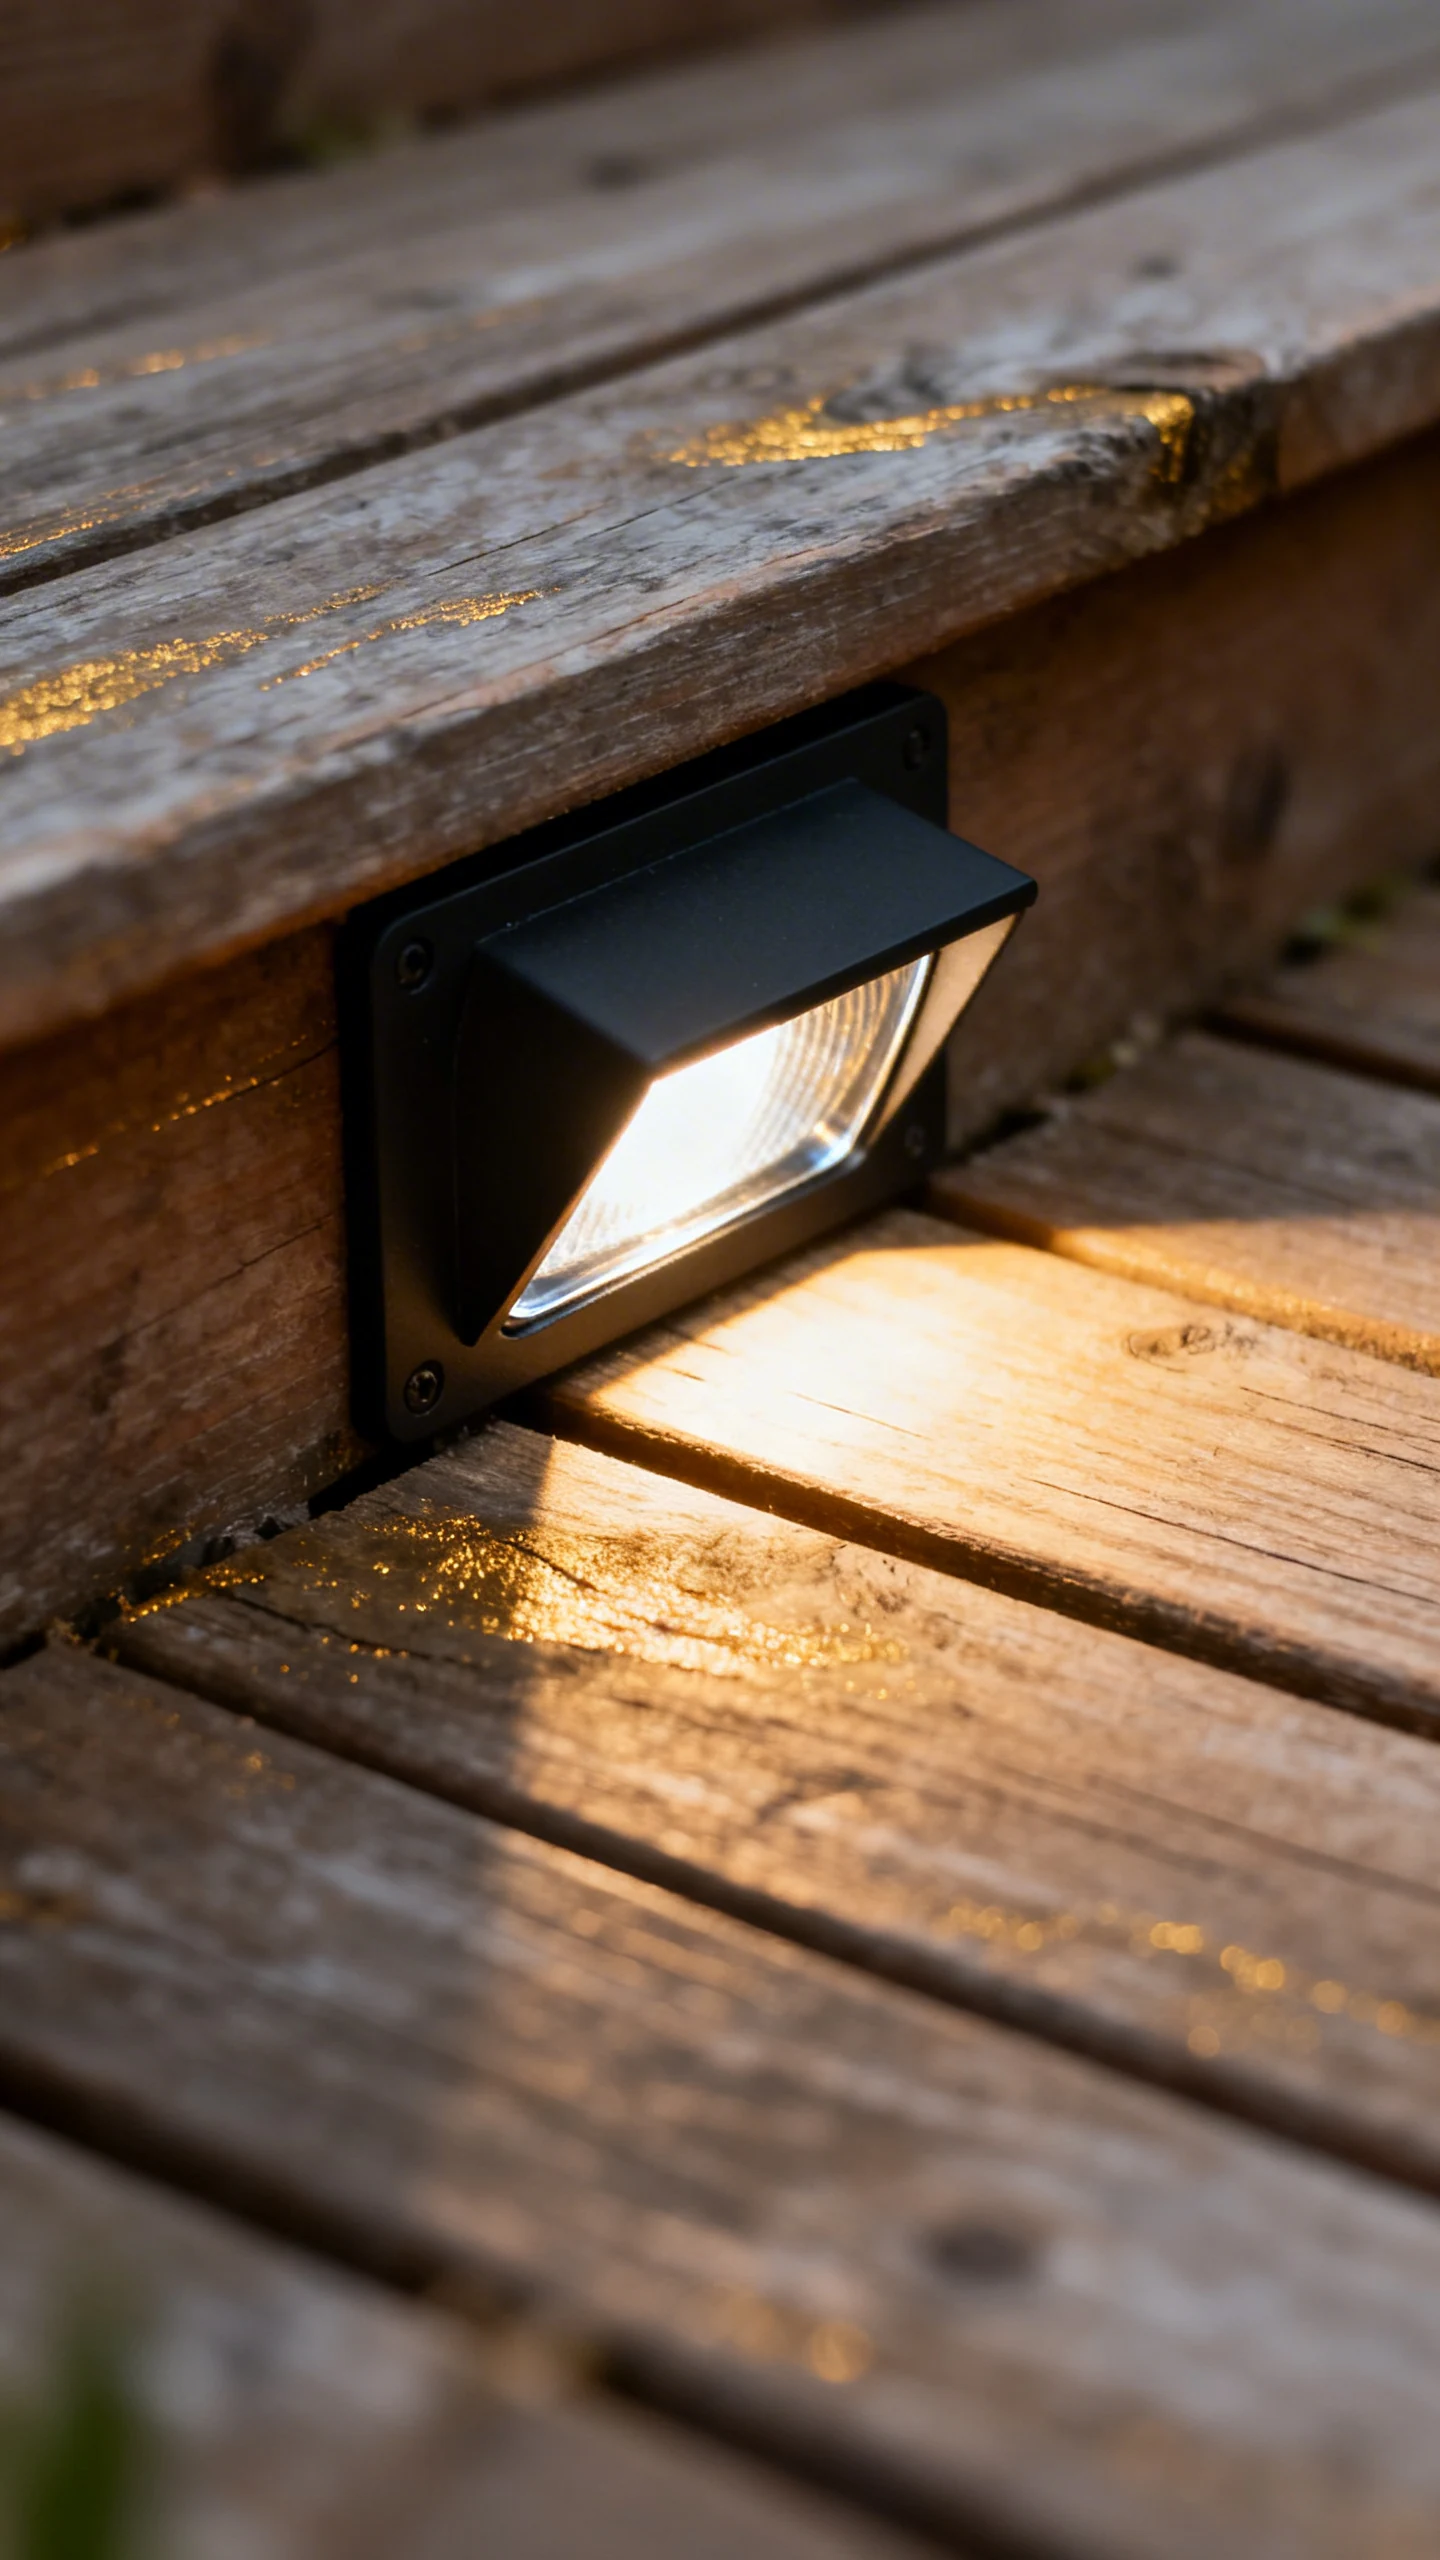
Layer 1: Path and Step Lighting (AKA Don’t Break an Ankle)
Paths and steps need consistent, low-level light. You want to see the route without feeling like you’re in an interrogation scene. Aim for small pools of light that overlap slightly.
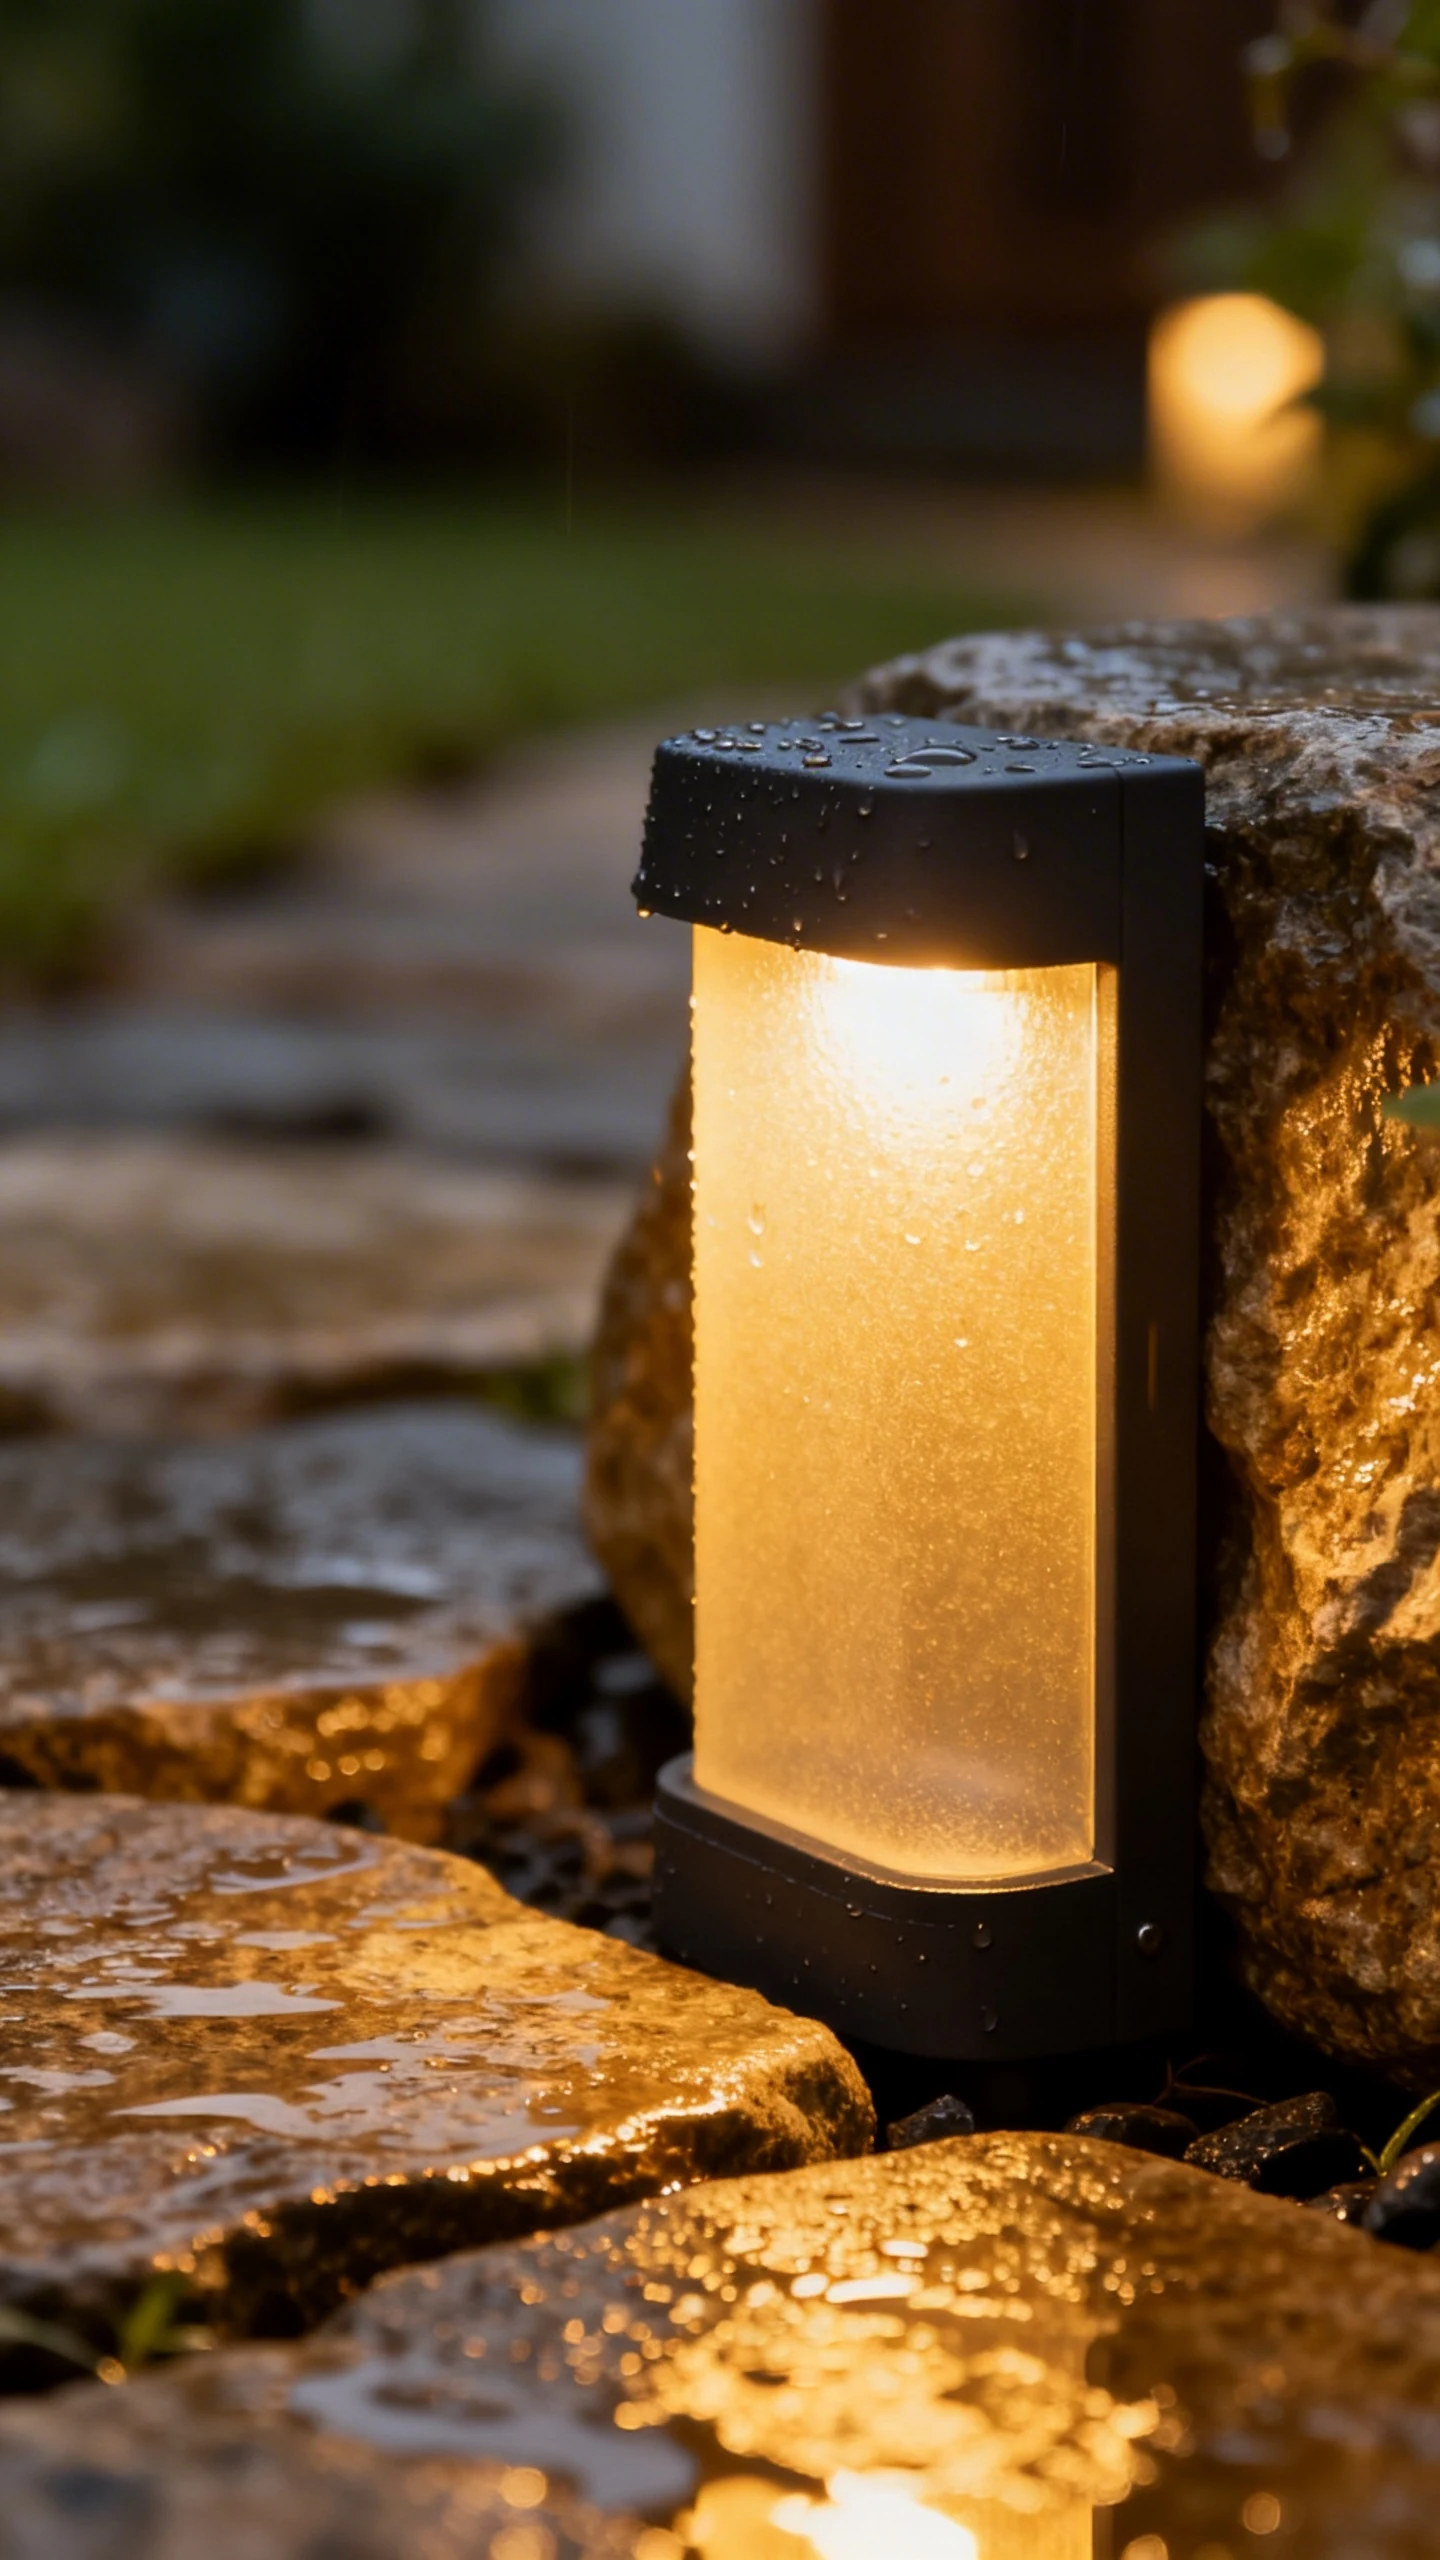
Use bollards, low path lights, or recessed step lights. Keep fixtures lower than eye level, and point them down. Glare ruins everything, especially when you’re carrying a drink and pretending you’re graceful.
Layer 2: Accent Lighting for Plants and Features
Accent lighting brings the wow factor. Shine a light up into a tree canopy, graze a stone wall, or spotlight that one plant you swear you’ll keep alive this year. Pick a few focal points and let them shine—literally.
Use spotlights or well lights, and aim them carefully. A slight angle can make leaves look lush and textured instead of flat. One well-lit tree beats ten poorly lit shrubs every single time.
Layer 3: Ambient Lighting Where Humans Hang Out
Ambient lighting sets the mood around patios, decks, and seating areas. Think warm, soft, and inviting. You want people to linger, not squint.
Try string lights overhead, lantern-style wall lights, or subtle downlights from a pergola. Keep it warm-toned so everyone looks alive in photos. Warm light flatters people and plants, and that’s just good manners.
Pick Fixtures Like You Pick Shoes: Practical First, Cute Second

Outdoor fixtures have to survive rain, sprinklers, dirt, heat, and that one time you “accidentally” hit them with the hose like a pressure-washer champion. So yes, aesthetics matter, but durability matters more. A gorgeous fixture that fails in six months will make you feel personally betrayed.
Look for solid construction, weather-rated materials, and a finish that won’t peel. Match fixture style to your home so the whole place feels intentional instead of mismatched. Your garden deserves better than “close enough.”
Low Voltage vs. Solar vs. Line Voltage
Everyone asks this, so let’s settle it. Each option works, but each comes with trade-offs. Choose based on reliability, brightness, and how much DIY you want to do.
- Low voltage (12V): reliable, bright, flexible, DIY-friendly with a transformer.
- Solar: easy install, no wiring, but performance varies with weather and placement.
- Line voltage (120V): very bright and permanent, but you’ll usually need an electrician.
If you want control and consistency, low voltage wins for most gardens. If you just want a quick glow-up, solar can work—just don’t expect miracles in shady areas. Solar lights need real sun, not “maybe sunlight if the clouds feel generous.”
Color Temperature and Brightness: Don’t Turn Your Garden Blue
Have you ever seen a yard lit with icy white lights and thought, “Wow, that feels cozy”? Yeah, me neither. Color temperature matters more than most people realize. It changes the vibe instantly.
Stick to warm white for most garden spaces. It looks natural, it feels relaxing, and it plays nicely with greenery. Warm light creates a welcoming mood without making your plants look like they came from a sci-fi lab.
Quick Guide to Warm vs. Cool Light
Manufacturers list color temperature in Kelvin (K). Lower numbers look warmer, higher numbers look cooler. Keep it simple and aim warm unless you have a specific modern aesthetic.
- 2200K–2700K: very warm, candle-like, great for ambience.
- 3000K: warm-neutral, clean but still inviting.
- 4000K+: cool white, crisp, often harsh outdoors.
Brightness matters too. You don’t need floodlights unless you’re trying to host nighttime baseball. Use the lowest brightness that still feels functional, and your garden will look richer and more intentional.
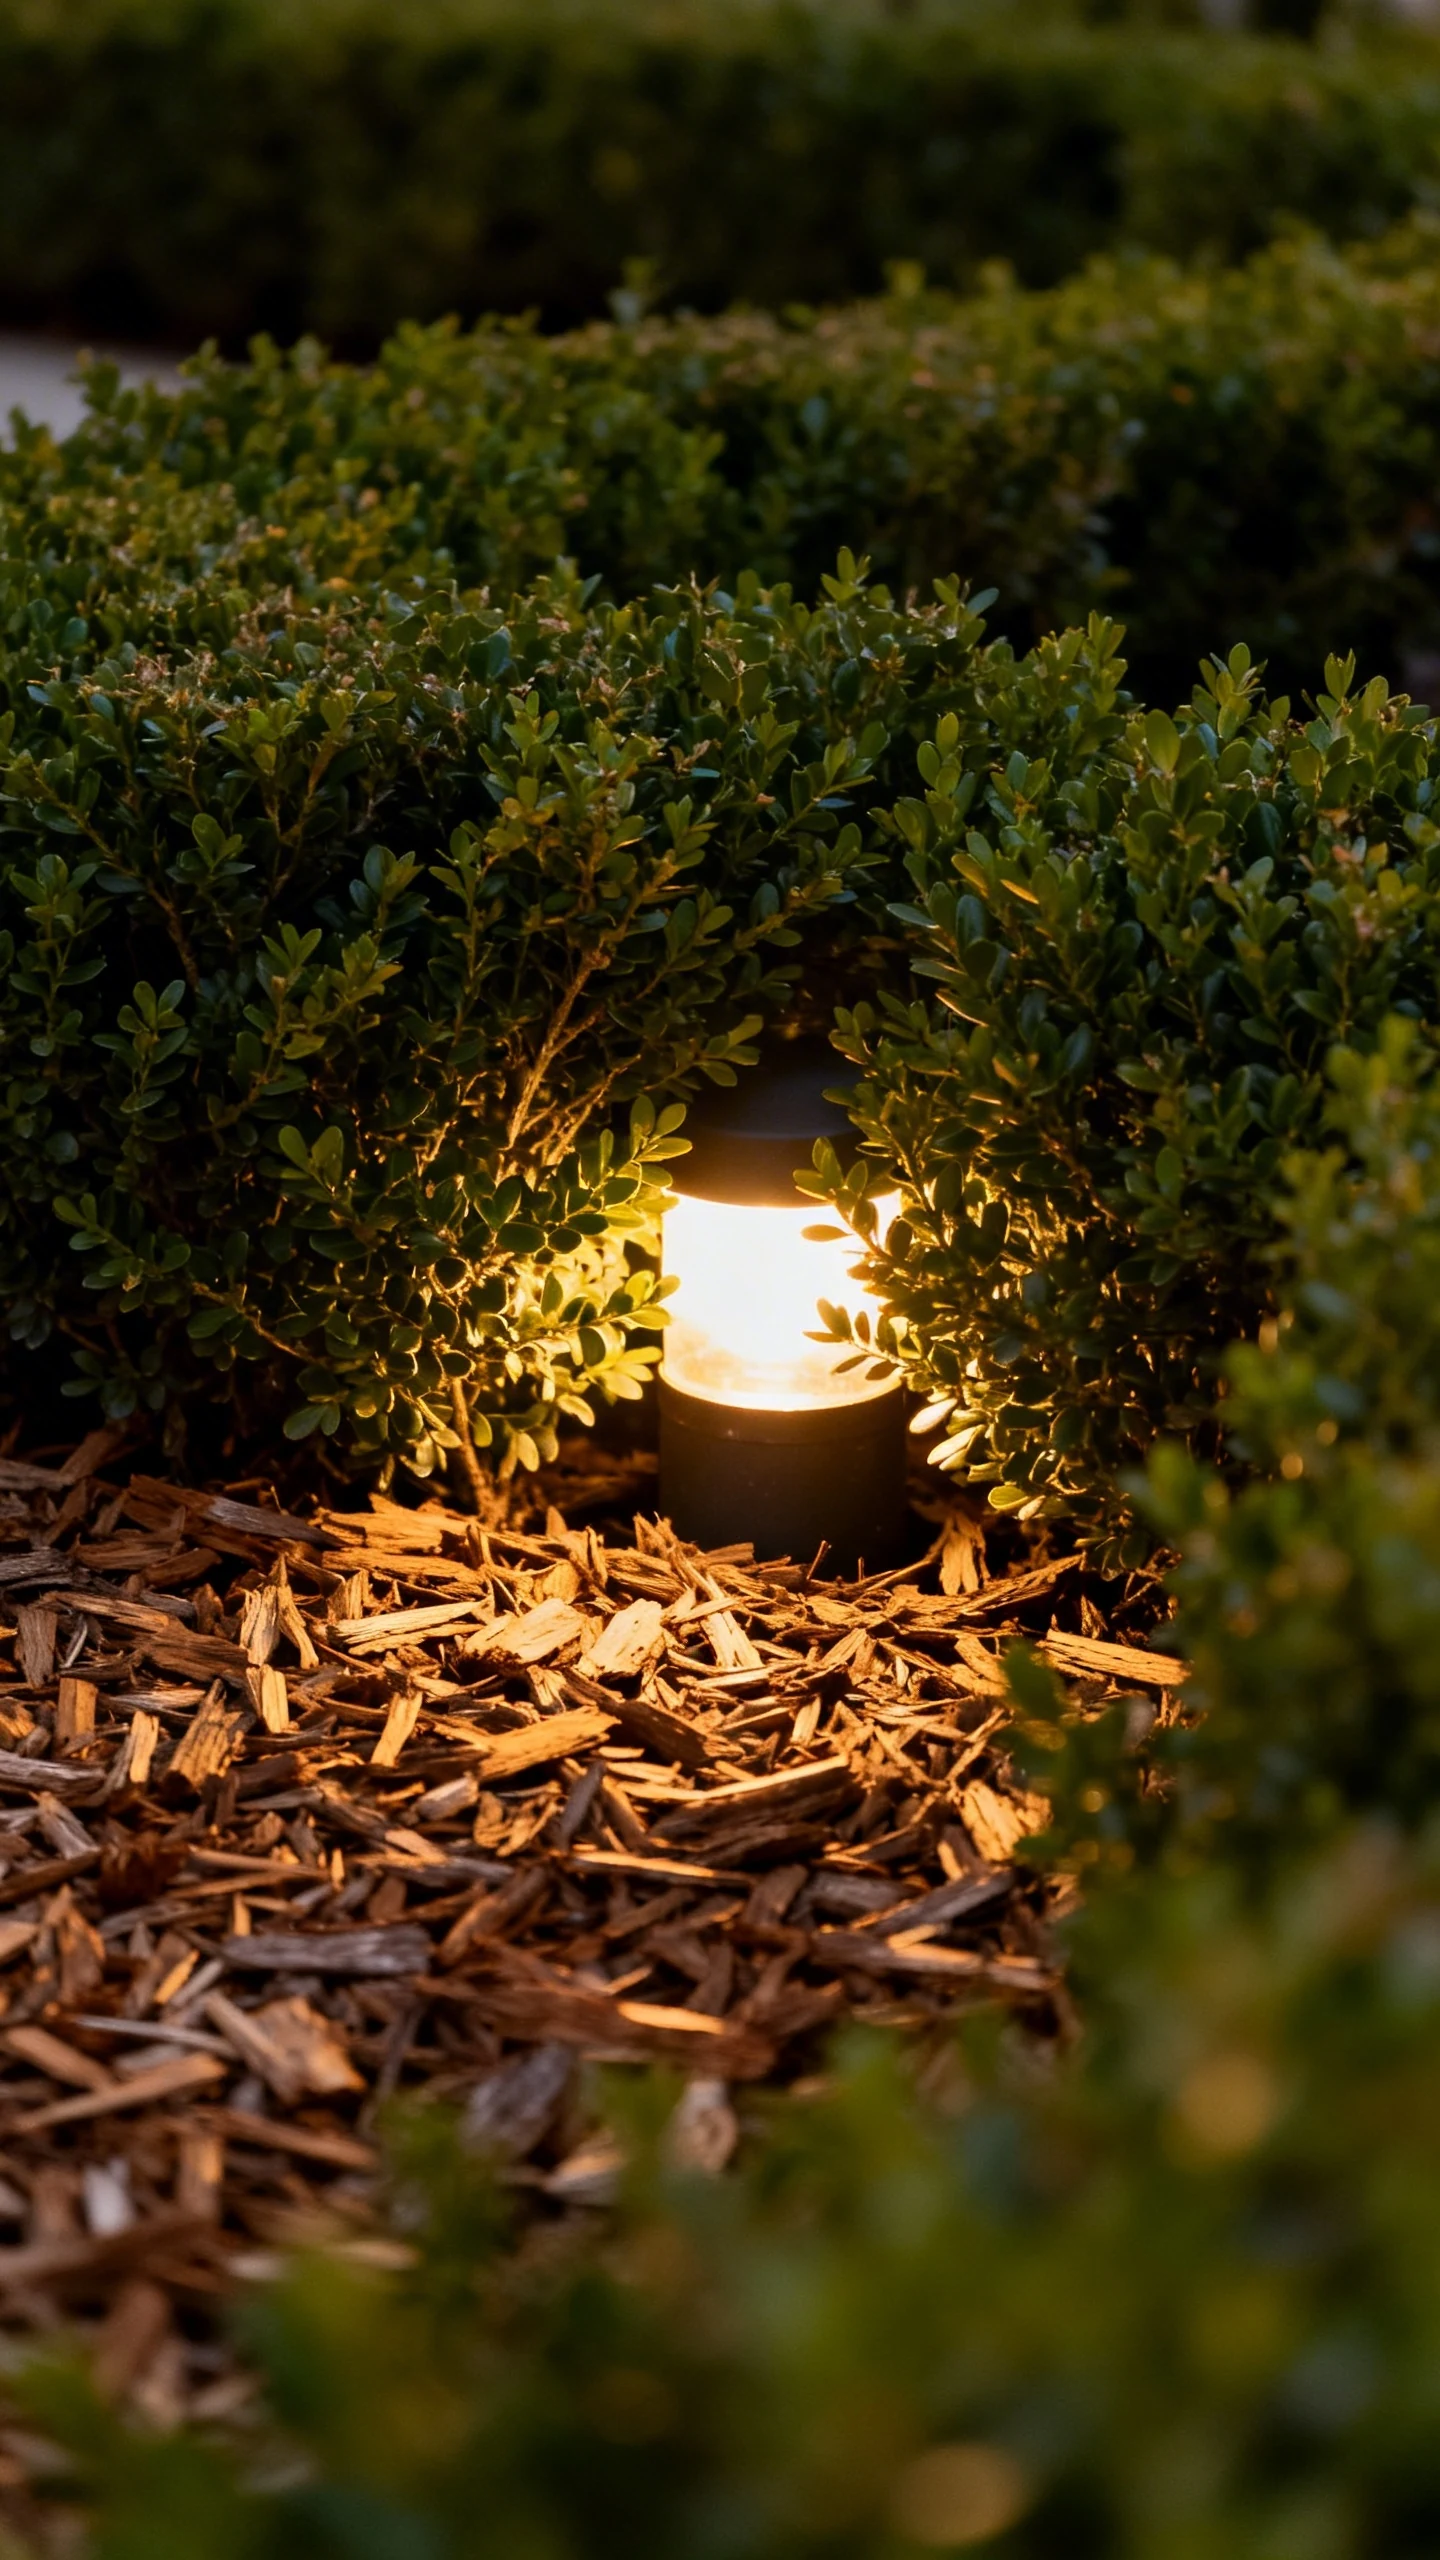
Placement Tricks: Hide the Hardware, Show the Magic

Great garden lighting feels like it comes from nowhere. Bad lighting makes you notice the fixture first, then the light second. You want the opposite.
Hide lights behind shrubs, tuck them into planting beds, and aim them at what you want to feature. Keep beams out of people’s eyes and away from neighboring windows. Good placement beats expensive fixtures, no contest.
Use Shadows on Purpose
Here’s the fun part: you don’t need to light everything. Darkness gives the bright areas more impact, like negative space in design. You can create depth with contrast instead of blasting uniform light everywhere.
Try lighting the background softly and highlighting a foreground plant. Or light a textured wall so it glows and adds drama. Shadows make your garden feel larger and more layered, which feels fancy without trying too hard.
Aim, Test, Adjust, Repeat (Yes, You Really Need to Do This)
Don’t “install and forget” your lights. Put them in place, turn them on, walk around, and tweak. You’ll notice glare, weird shadows, and spots that feel too bright.
Do a nighttime test from inside your house too. Your garden view matters from the couch, where you’ll actually enjoy it. Night testing prevents regret, and regret costs money.
Controls and Automation: Make It Easy or You Won’t Use It

If your lights require a complicated routine, you’ll stop using them. You’ll say, “I’ll turn them on later,” and then it’s midnight and you’re watching random videos instead. Automation fixes that.
Add timers, smart plugs, or a lighting transformer with scheduling. You can also use motion sensors for side yards and security spots. Simple controls increase consistency, and consistent lighting makes the whole yard feel polished.
Smart Lighting Without Overengineering Your Life
Smart lighting sounds fancy, but you can keep it simple. Start with one smart transformer or a few smart outdoor plugs for string lights and accent pieces. Then you can schedule dusk-to-midnight, or set scenes for entertaining.
Keep the interface easy. If you need a spreadsheet to turn on the patio lights, you went too far. Convenience beats complexity every time.
FAQ
How many lights do I actually need for a medium-size garden?
Start small and build. Most gardens look better with fewer, well-placed lights than with a ton of mediocre ones. Aim for a few path lights for safety, two or three accents for focal points, and one ambient source near seating.
Should I light every tree and flower bed?
Nope, and your electric bill thanks you. Pick the stars of the show: one great tree, a feature planter, a textured wall, or a water element. Selective lighting creates drama, and it keeps the garden from looking cluttered.
Are solar lights worth it?
They can work if you place them in full sun and keep your expectations realistic. Use them for gentle path markers or small accents, not for major illumination. If you want dependable brightness year-round, low voltage usually wins.
What’s the best color temperature for garden lighting?
Most gardens look best around 2700K for a warm, welcoming glow. If you like a slightly cleaner look, try 3000K. Avoid very cool temperatures unless you specifically want a modern, crisp vibe.
How do I stop lights from blinding guests?
Aim fixtures down or across, not into sightlines. Use shields or glare guards where needed, and position lights behind plants or hardscape edges. Also, choose lower brightness and spread light with multiple fixtures instead of one super-bright beam.
Can I install low-voltage garden lighting myself?
In many cases, yes. Low-voltage systems usually feel DIY-friendly: you place fixtures, run cable, and connect to a transformer. Always follow local codes and manufacturer instructions, and call an electrician if anything feels sketchy.
Conclusion
Garden lighting design doesn’t need to feel intimidating or overly technical. Focus on your goals, build light in layers, and place fixtures like you’re trying to hide them from a detective. Keep the light warm, avoid glare, and automate what you can so you actually use it. Do that, and your garden will look amazing long after the sun clocks out.