DIY Container Water Fountain for Your Patio: Easy Project Under $50
Alright — here’s your complete HTML article in the style you requested:
“`html
Picture this: you’re chilling on your patio with a cool drink, and there’s a gentle trickle of water nearby. Instant relaxation, right? That sound isn’t an expensive designer fountain – it’s your own DIY container water fountain that you built for less than $50. And yes, you can make it in a single afternoon without losing your patience or your paycheck. Let’s jump straight in before you start Googling “cheap patio fountains” and getting overwhelmed by overpriced nonsense.
Why a Container Fountain is Basically Patio Gold
Look, not everyone has space (or budget) for a giant stone koi pond. But almost everyone has a corner on their patio that could be upgraded from “meh” to “magical.” A container fountain checks every box: affordable, compact, and a surprisingly legit conversation starter.
Plus, IMO, there’s something satisfying about making your own statement piece instead of buying the same mass-produced thing everyone else has. You control the style, the vibe, and the bragging rights.
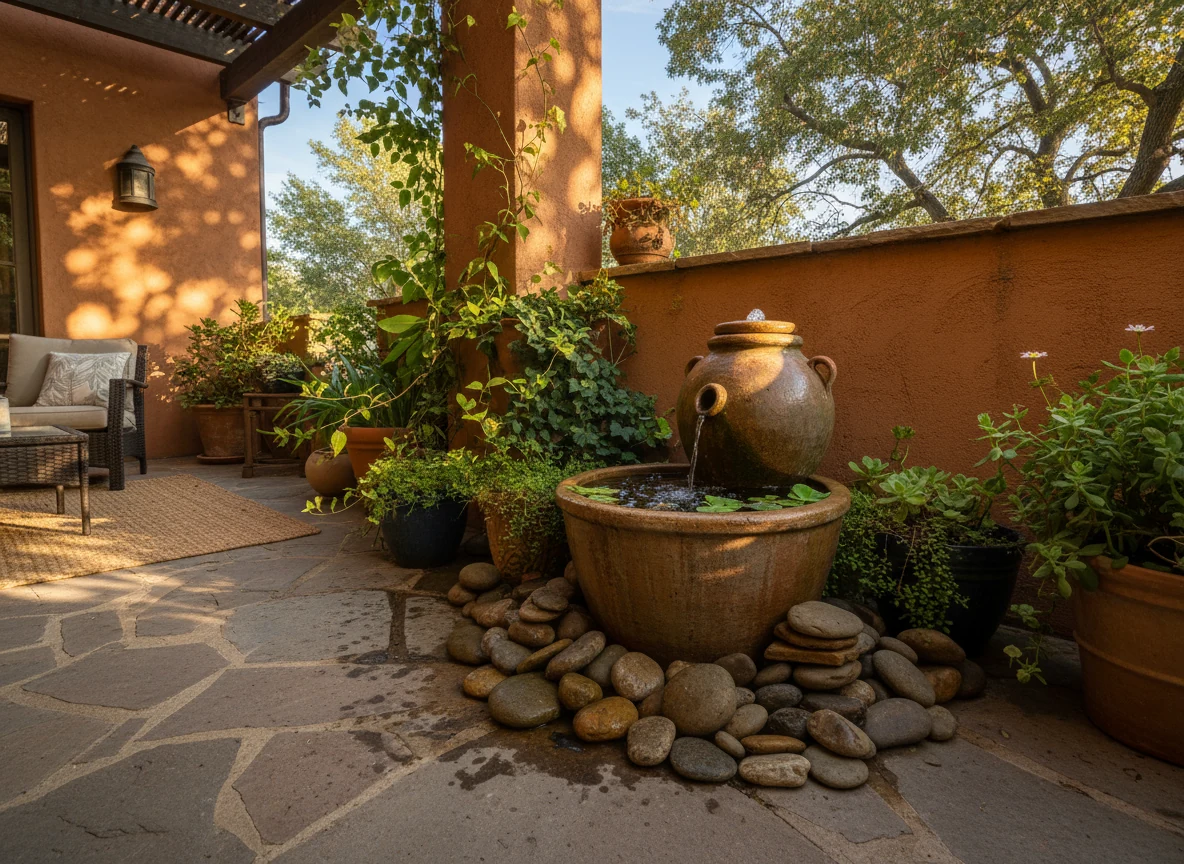
Picking the Right Container
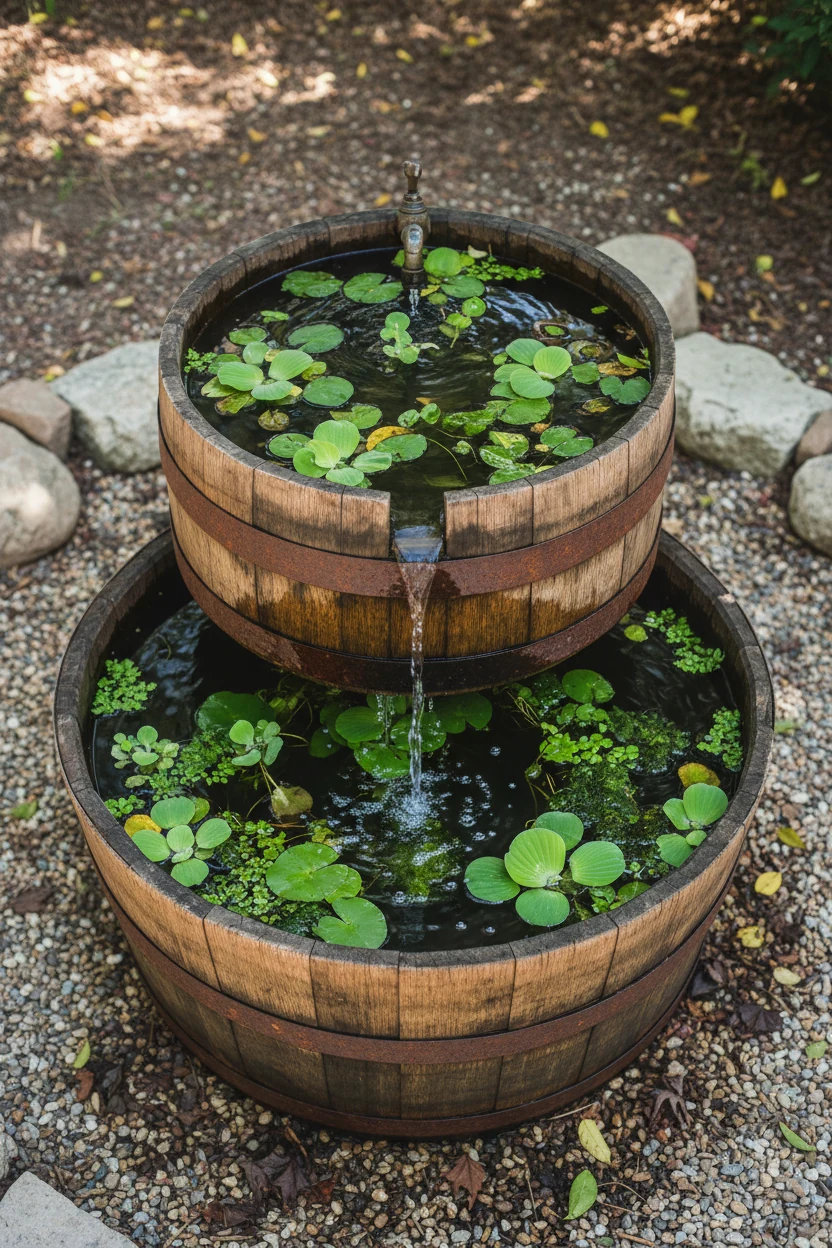
This is where the fun starts – and where you can get weird in the best way possible. Want sleek and minimal? Go for a modern planter. Prefer rustic vibes? Try an old whiskey barrel (bonus points if you tell people it was reclaimed from a mysterious barn).
Size Matters, but Not the Way You Think
Your container doesn’t have to be huge; small fountains can be charming AF. Just make sure it’s deep enough to hold the pump and enough water to keep it running without you refilling it every hour.
Material Choices
- Ceramic – Glazed pots look beautiful but can be heavy; choose wisely.
- Metal – Adds industrial flair but watch for rust (unless you’re into that patina look).
- Plastic/Resin – Lightweight, cheap, and easy to drill if needed.
The Core Supplies You’ll Need
Don’t overcomplicate this. Here’s your basic shopping list — and yes, it’s possible to stay under $50 if you don’t get carried away buying gold-plated garden hoses.
- Water-tight container
- Small submersible pump (look for “tabletop fountain pump” online)
- Flexible tubing (to carry water from the pump to the spout)
- Decorative rocks, pebbles, or glass beads
- Outlet access or good-quality extension cord
Optional But Awesome Extras
- A small solar-powered pump for eco cred
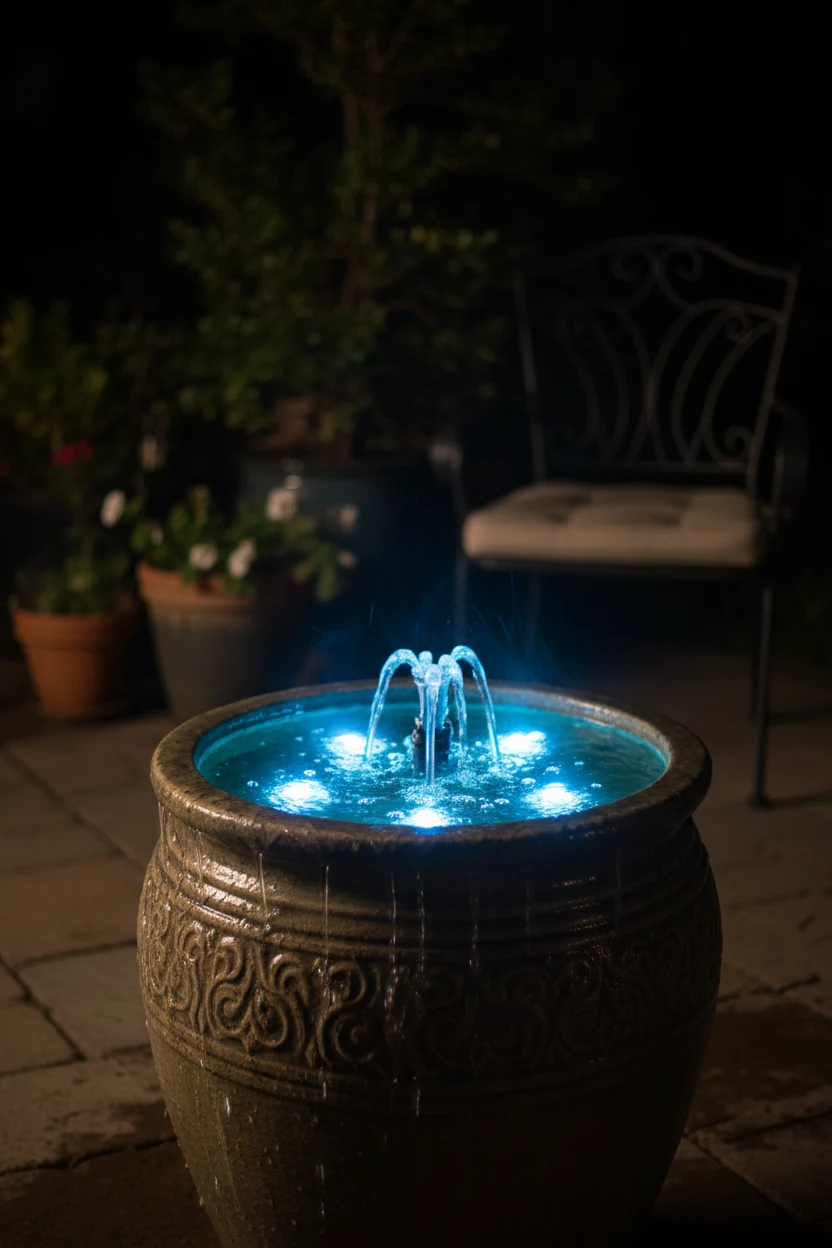
- LED lights for subtle nighttime drama
- Mini statue or spout attachment for a custom look
Step-by-Step: Building Your Fountain Without Losing Your Cool
Ready? Let’s do this.
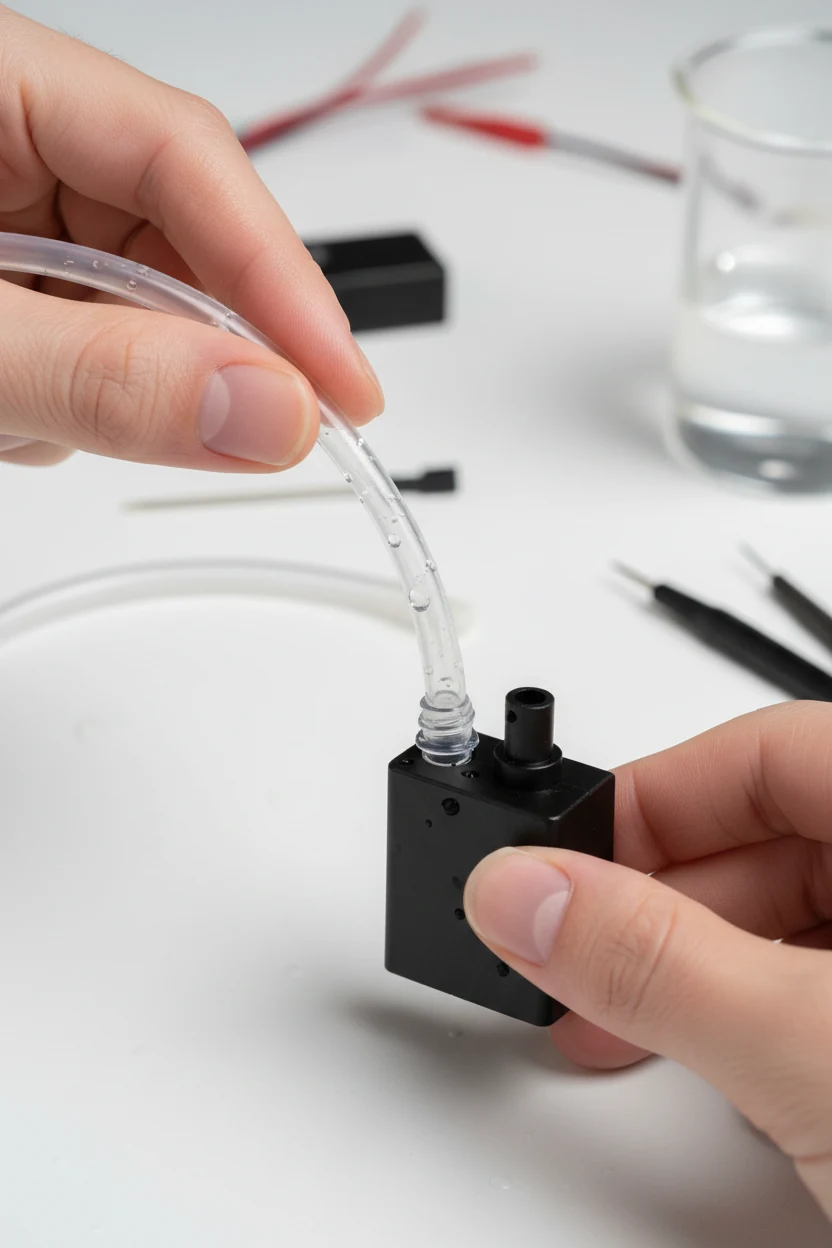
- Add the Pump: Set your pump inside the container, positioning it where you want the water to circulate.
- Attach the Tubing: Connect the tubing securely to the pump’s outlet. Make sure it’s pointing where you want your water to emerge.
- Create the Water Path: Feed the tubing up through decorative elements like rocks or a small statue head, so it looks intentional (and fancy).
- Hide the Hardware: Place rocks or pebbles around and over the pump to camouflage it. Functional, yet stylish.
- Fill with Water & Test: Pour in clean water, plug it in, and bask in your new bubbling creation.
Pro Tip for Preventing Pump Drama
Keep an eye on the water level. If the pump runs dry, it’ll make unhappy noises and possibly die. And we don’t want pump funerals on your patio.
Keeping Costs Down
Here’s how to hit that under-$50 sweet spot:
- Use what you already have: Old planters, unused bowls, random buckets — all fair game.
- Thrift it up: Yard sales and thrift stores are goldmines for quirky containers.
- Shop smart for pumps: Online deals and discount hardware stores often have small pumps for under $20.
Avoid Budget Busters
It’s tempting to grab super fancy accessories, but remember — the point of this fountain is charm, not bankruptcy. Keep your eyes on the DIY prize.
Decorating Your Fountain for Maximum Chill Factor
This is your chance to make it uniquely yours. Match your fountain décor to the rest of your patio, or go wild and make it the outrageous centerpiece that everyone asks about.
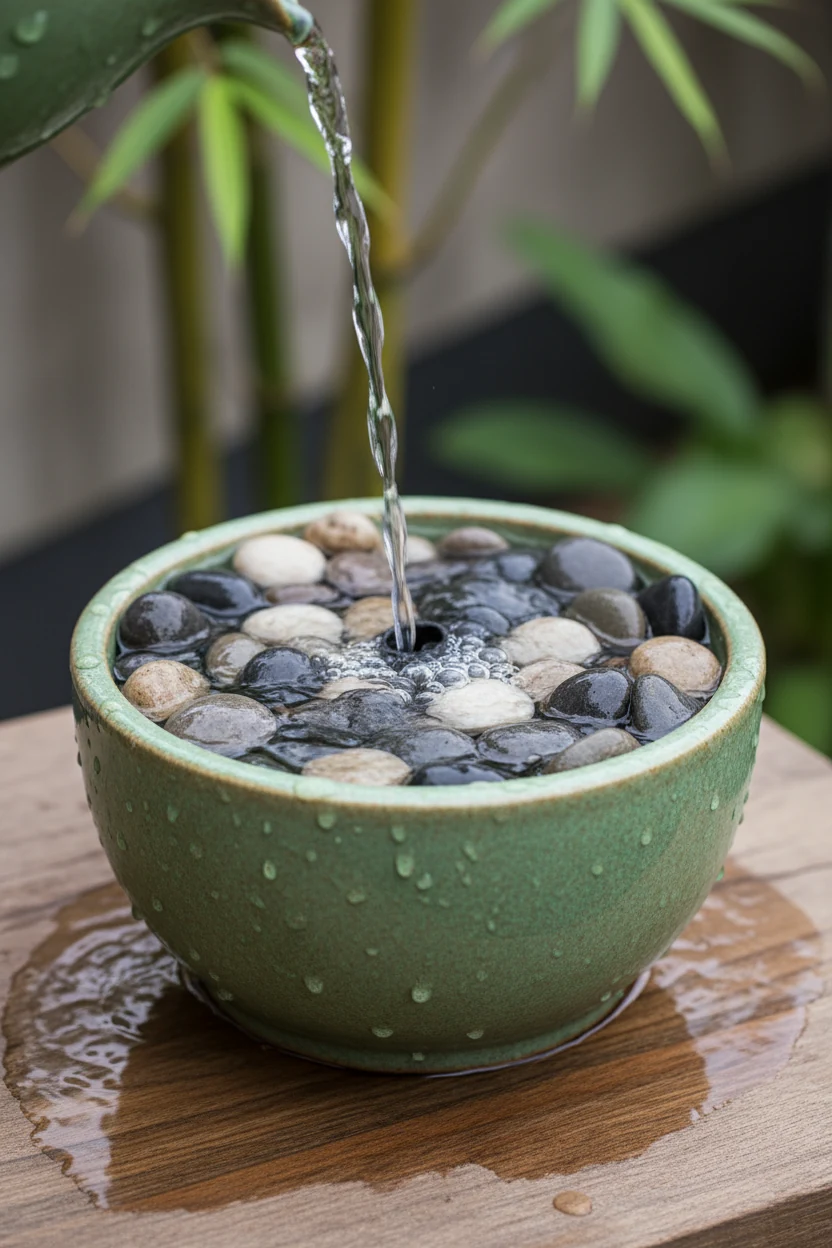
Simple Style Wins
- Layer different sizes of stones for texture
- Add floating plants for natural vibes
- Use colored glass for sparkle
Going Bold
- Paint the container a dramatic color
- Add quirky sculptures or garden gnomes (trust me, they’re making a comeback)
- Install a mini waterfall attachment
Routine Maintenance (Yes, You’ll Have to)
No one likes chores, but a tiny bit of maintenance keeps your fountain alive and happy. Think of it as a pet with no fur and no vet bills.
- Top off water regularly to prevent pump burnout
- Clean pump intake monthly to avoid clogs
- Swap out water every few weeks to keep algae under control
FAQ: Your Burning (and Bubbling) Questions
Do I need special tools to make this?
Not really. A drill might be handy if your container doesn’t already have holes for tubing, but most setups can be done with plain old human hands.
Can I use tap water?
Absolutely. If you have really hard water, you might see mineral deposits over time, but that just adds “rustic charm” – or you can use distilled water if you’re fancy.
Will it attract mosquitoes?
Nope, as long as the water keeps moving. Stagnant water is mosquito heaven, but a bubbling pump is basically a mosquito eviction notice.
Can I run it on solar power?
Yes! Small solar pumps are cheap and eco-friendly. They work best in sunny spots, so keep that in mind when placing your fountain.
What if I want it bigger later?
Go for it. You can always upgrade to a larger pump and container. It’s basically adult LEGO – build as big as you want.
Is it kid- or pet-safe?
Mostly, yes. Just make sure it’s stable so no curious hands or paws topple it over. Also, don’t make it a drinking source unless you’re using safe, clean water at all times.
Conclusion
There you have it — a relaxing, eye-catching container fountain without blowing your budget. In just an afternoon, you can turn your patio into a mini oasis that makes you smile every time you step outside. Plus, you get the satisfaction of saying, “Oh, that? I made it myself.” Now grab your supplies, get crafty, and let that water flow.
“`
—
Do you want me to also include **inline styling** so it looks visually polished right out of the box without needing any external CSS? That could make this more “ready-to-publish” for a blog.