Big Backyard Entertaining Ideas: Fire Pits, Outdoor Kitchens & Lighting
You want your backyard to feel like an instant vacation, right? Not just “sit and stare at a patch of grass” vibes, but actual hangouts, good food, and twinkly lights that make everyone look better. The right fire pit, outdoor kitchen, and lighting turn a regular yard into a legit destination. Let’s build a space that makes people say, “Why leave?”
Start With a Big-Backyard Vision: Zones, Flow, and Vibes
Think about your yard like a mini resort. You need zones: a spot to cook, a spot to eat, a spot to chill, and a spot to play. When you set these up with a little structure, everything feels intentional and easy.
Create flow between zones with clear paths and sightlines. Keep the kitchen close to the house; drop the fire pit away from doors so smoke doesn’t wander in. Pull seating into micro-conversations—clusters of 4–6 seats beat one giant circle of awkward eye contact.
Use simple anchors to define each zone:
- Outdoor kitchen: near utilities and the house.
- Dining area: flat, sturdy surface with shade.
- Lounge/fire pit: away from doors and plants.
- Open play space: lawn or turf with clear edges.
Want a quick sanity check? Stand inside your house and look out. If you can see your main zones at a glance, the flow works. If it looks like a yard sale, start rearranging.
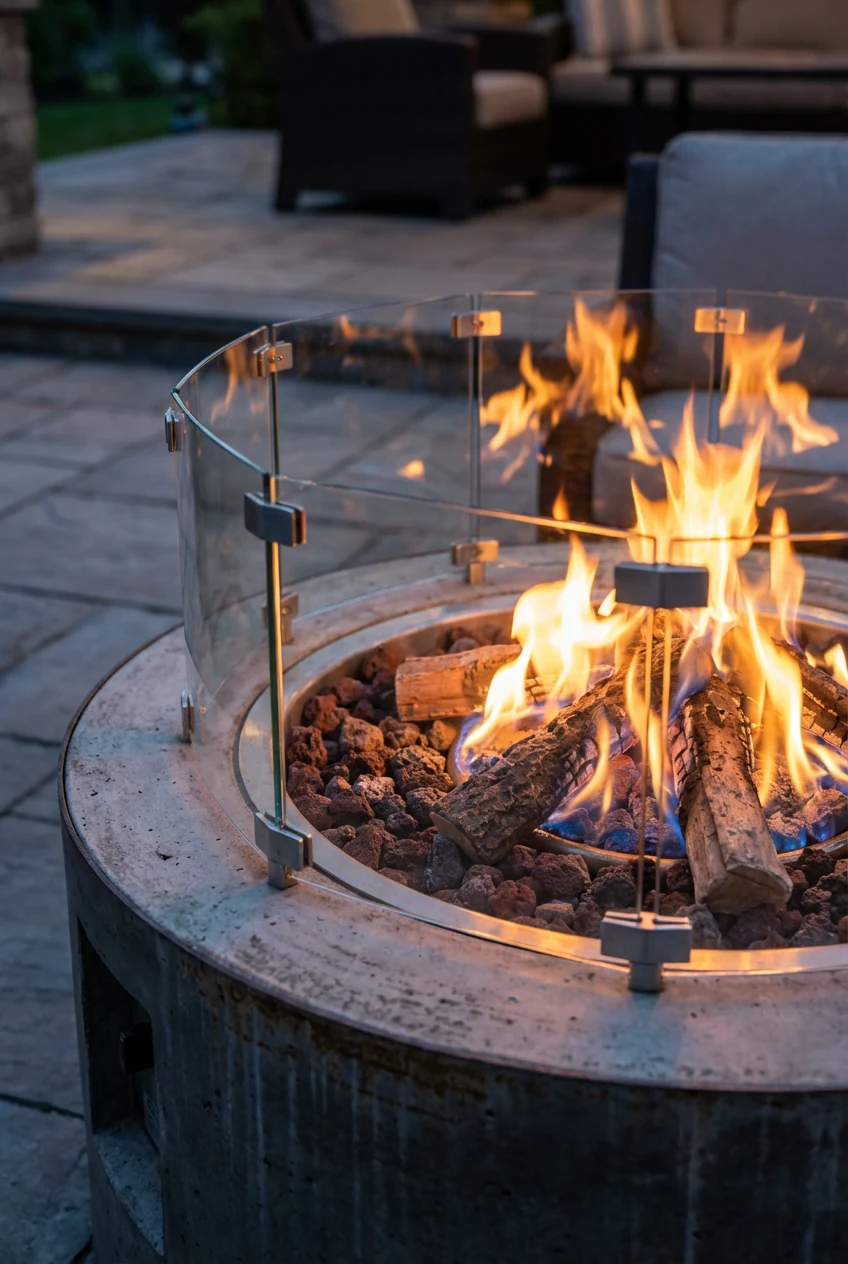
Fire Pits That Actually Bring the Heat (and the Drama)
A fire pit’s not just a warm circle—it’s your evening magnet. It sets mood, anchors seating, and stretches your seasons. You can go portable, built-in, or full statement piece with stone and gas lines.
Choose the size based on your seating. Keep 3–4 feet of clearance around the pit, and leave legroom between chairs. Think comfort first; nobody loves roasted shins and frozen backs.
Wood vs Gas: The Eternal Backyard Debate
Wood gives you crackle, scent, and primal campfire vibes. Gas gives you instant-on convenience and clean flames that don’t smoke out guests. Both win in different ways, so pick what matches your hosting style.
- Wood: budget-friendly, dramatic flame, requires seasoning and storage.
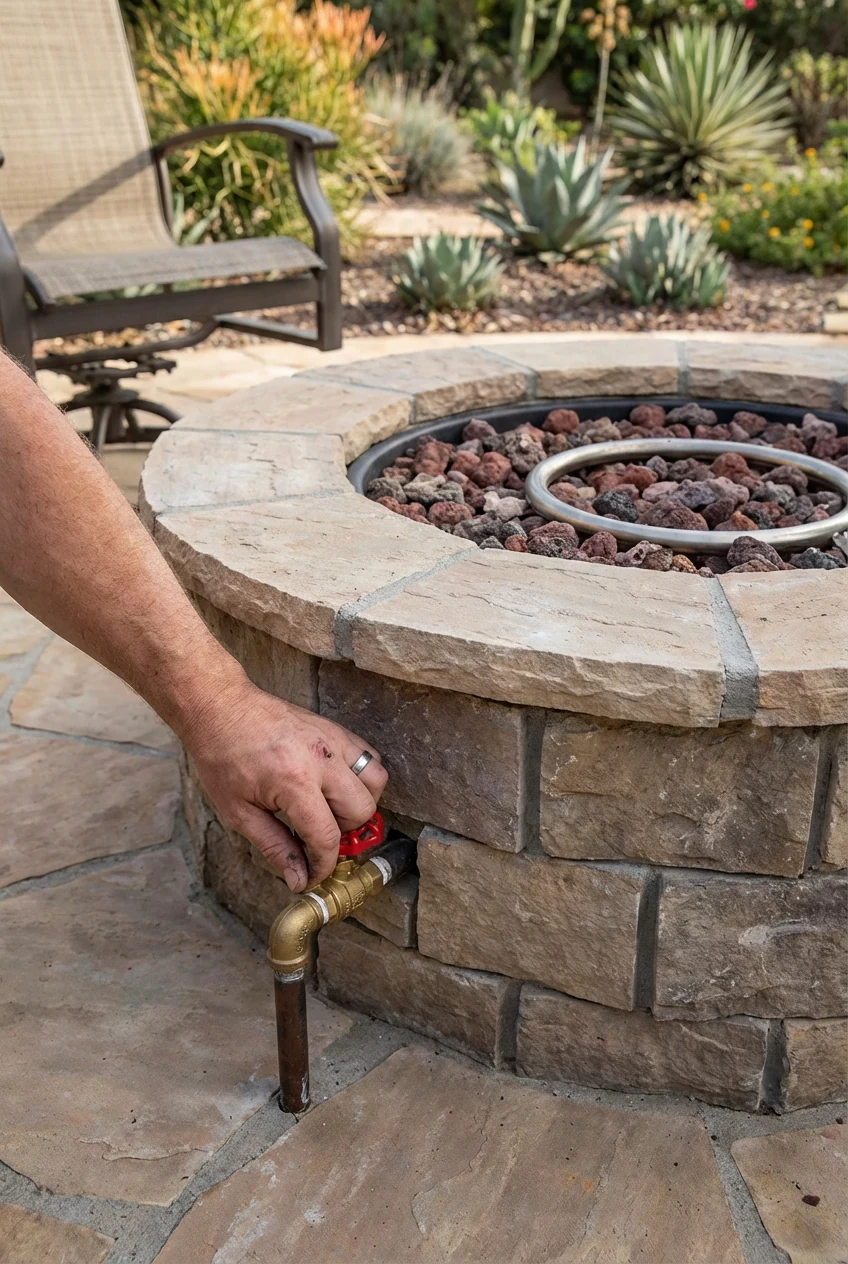
- Gas (natural/propane): reliable, low-smoke, easy start/stop, needs professional hook-up.
- Smokeless designs: clever airflow for less smoke, still wood-fueled.
IMO, gas rules for weeknights when you want fast ambiance. Wood rules for weekends when you want full “storytelling under the stars.”
Safety Basics You Shouldn’t Skip
You want s’mores, not sirens. Keep safety stupid-simple and consistent.
- Maintain clearance: 10 feet from structures and trees.
- Stable base: non-combustible pad or paving.
- Wind check: light it downwind, angle seating accordingly.
- Spark control: use a screen for wood; choose tempered glass wind guards for gas.
- Extinguish plan: sand bucket for wood; shutoff valve for gas.
FYI, insurance carriers care about fire safety. Keep a Class A extinguisher near the kitchen and a Class B near the fire pit if you run gas.
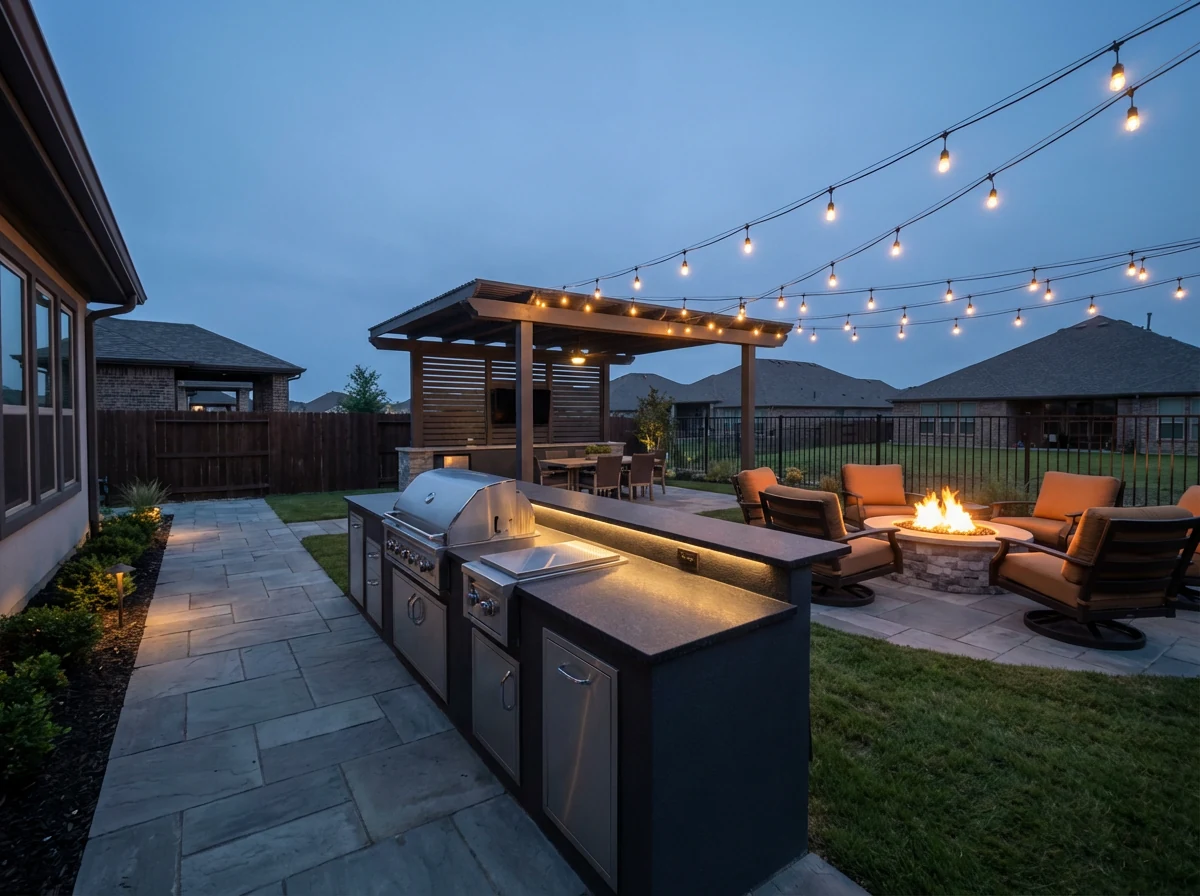
Build an Outdoor Kitchen You’ll Actually Use
Outdoor kitchens turn casual hangs into full-on feasts. But don’t build a selfie wall with a grill. Build a workstation that keeps you cooking calmly while your guests keep their fingers out of the action.
Think in zones: prep, cook, serve, clean. Keep those zones compact so you move less and cook more. You’ll host smarter and spill less.
Must-Have Components (Not Just a Fancy Grill)
An outdoor kitchen doesn’t need every gadget under the sun. Nail the basics, then upgrade as you go.
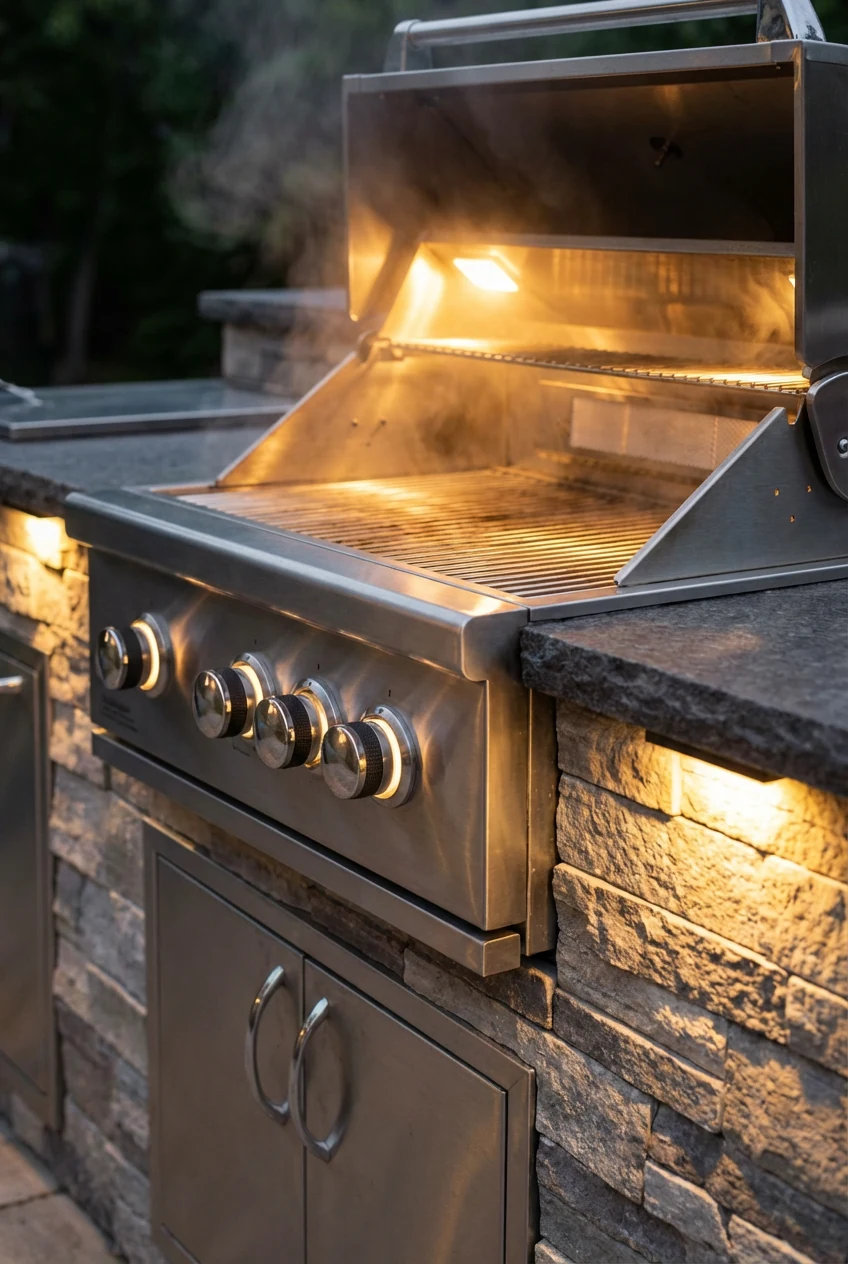
- Grill: gas for convenience; add charcoal or wood for flavor.
- Burner: side burner for sauces or paella flex.
- Counter space: 24–36 inches of landing on both sides of the grill.
- Cold storage: outdoor-rated fridge or drop-in cooler.
- Sink: great for cleanup; tie into code-compliant drainage.
- Trash + recycle: concealed pull-out keeps things tidy.
- Storage: weatherproof drawers and doors for tools and spices.
Want range? Add a pizza oven or griddle. But anchor the layout with the grill and counter space first. Fancy toys don’t fix bad workflow.
Smart Placement and Workflow
Place the kitchen near the house for utility hookups and easy ingredient runs. Face the cook station toward the action so you chat while you sear. Keep the dining table within 10–12 feet for smooth plate traffic.
Mind the heat and smoke. Put the grill perpendicular to prevailing wind, and give your cook a comfortable buffer from seating. Add task lighting over prep surfaces and a covered outlet for blenders or smokers.
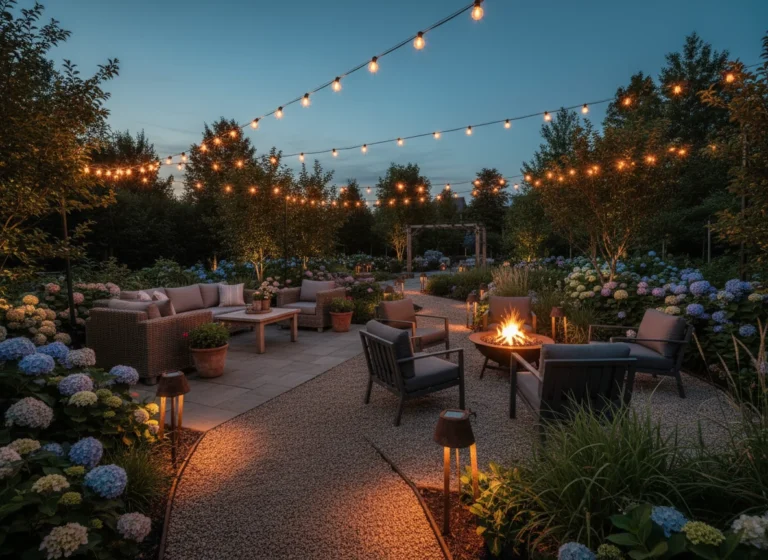
Lighting Layers: Because Nighttime Should Be Gorgeous
Good lighting unlocks your yard at night. It sets mood, improves safety, and secretly makes people stay longer. Think layers: ambient, task, and accent.
Ambient lighting gives a soft glow across seating and dining. Task lighting targets the grill and prep zones. Accent lighting highlights trees, paths, and architectural edges. Stack these layers, and the yard instantly looks “designer.”
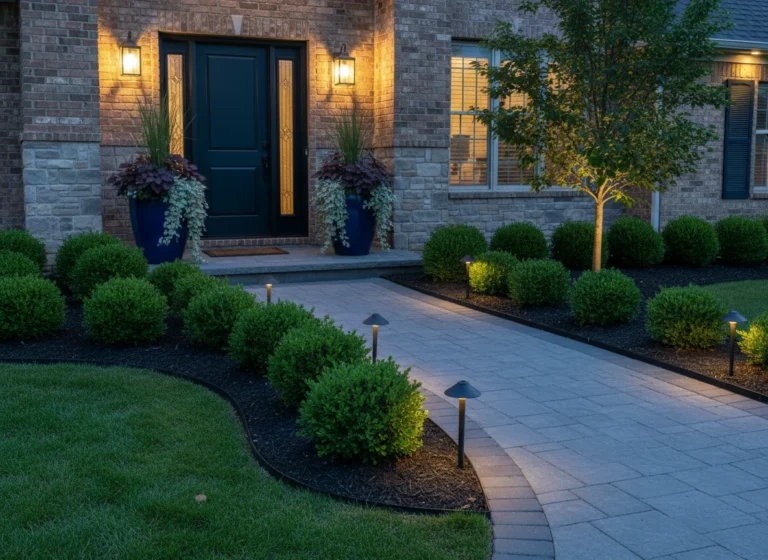
String Lights, Path Lights, and Uplights—Oh My
Mix simple fixtures for a custom look without drama.
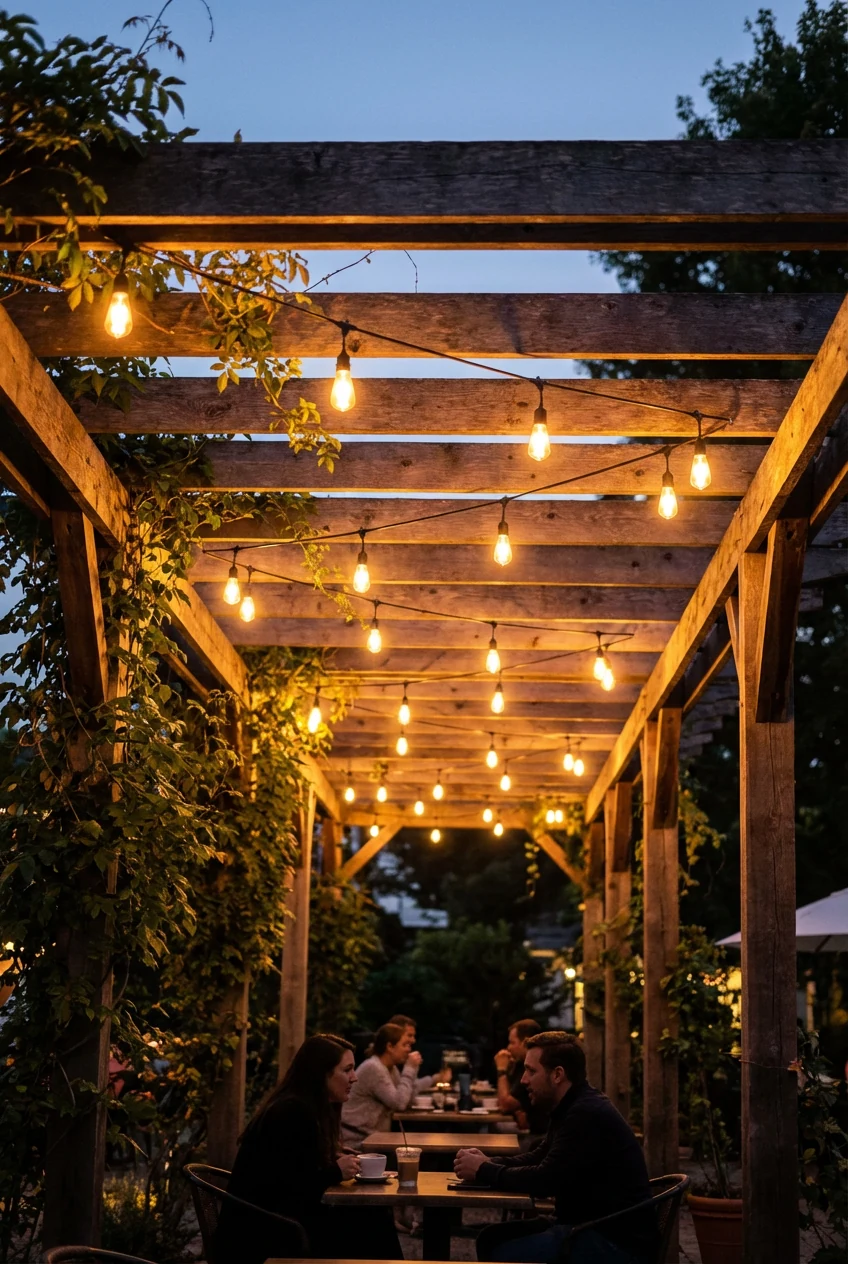
- String lights: drape in gentle zigzags; use café-grade, not cheap holiday strands.
- Path lights: spaced every 8–10 feet; aim light down for non-blinding safety.
- Uplights: hit trees or stone walls for depth and drama.
- Step lights: low-profile fixtures for stairs and level changes.
- Lanterns + candles: portable glow for tables and sideboards.
Want easy upgrades? Swap bright white bulbs for 2700K warm LEDs. That cozy tone flatters faces and food.
Smart Controls for Effortless Evenings
Program scenes so the yard wakes up with one tap. Set “Dinner” for brighter table light, “Fire Pit” for warm ambient glow, and “Late Night” for low-level accent lighting.
- Smart switches: control string lights and path lights.
- Dimmers: adjust mood on the fly.
- Timers + motion: auto-on for paths and steps.
IMO, smart lighting pays off more than almost any backyard upgrade. It saves energy and makes your yard feel intentional, even when you’re winging it.
Seating, Shade, and Comfort: Keep Everyone Happy
Comfort keeps guests planted and smiling. Mix seating types so everyone finds their happy spot. Pair a lounge set near the fire pit with dining chairs that don’t feel like medieval torture devices.
Balance cushy and practical. Use outdoor-rated fabrics, add side tables for drinks, and set stools by the kitchen so friends feel involved but not underfoot. Layer in throw blankets and outdoor rugs for zones that feel cozy, not empty.
Need shade? You do. Sun roasts guests, and shade saves your vibe and your food.
- Umbrellas: fast, adjustable, great for dining.
- Pergolas: define space; add canopy or vines.
- Sails: modern look; anchor to posts, not trees.
- Retractable awnings: flexible coverage over patios.
Cozy Touches That Matter
Small details elevate the whole experience.
- Blanket basket: grab-and-go warmth near the fire pit.
- Side tables: one for every chair cluster—don’t make people hold drinks forever.
- Bug plan: citronella isn’t enough; add fans and a perimeter mist system if mosquitoes throw shade.
- Heaters: mushroom or wall-mounted infrared extends your season.
Music adds life. Keep it chill and local, not club-level. Place weatherproof speakers toward your space, away from neighbors, at ear-level volumes.
Music Without Annoying the Neighbors
Aim for vibe, not volume. Position speakers near seating so you play softer but still hear clearly. Use multiple small speakers for even coverage instead of one subwoofer that rattles fences.
Choose playlists with warm midrange and minimal heavy bass. Bass travels farther and annoys faster. As a rule, if you can sing along from the sidewalk, you’re too loud.
Big Backyard, Smart Budget: DIY, Pros, and Maintenance
You don’t need a platinum budget to win backyard entertaining. You do need a plan. Split your project into phases, and finish each phase cleanly before you move on.
Use a simple stack: structure first, then features, then polish.
- Phase 1: layout, hardscape, utilities.
- Phase 2: kitchen and fire pit.
- Phase 3: lighting and shade.
- Phase 4: furniture and styling.
Spend more on the things you touch daily: seating, lighting, and the grill. Save on accents and décor you can swap seasonally.
What to DIY vs Call the Pros
DIY projects stretch budget and feel satisfying. But know your limits—flames and wires don’t accept apologies.
- DIY-friendly: furniture assembly, string lights, planters, portable fire pits, staining and sealing.
- Pro-required: gas lines, electrical circuits, drainage, structural pergolas, built-in kitchens.
If you hire pros, sketch your ideas first. You control the vision, they handle the risky stuff. It’s a happier partnership that saves time and regrets.
Ongoing Care That Saves Headaches
Maintenance keeps the backyard feeling new.
- Seasonal clean: pressure wash hardscape, reseal stone and wood.
- Grill care: deep-clean burners; replace igniters annually if needed.
- Fabric check: clean cushions; store or cover during storm seasons.
- Lighting tune-up: wipe lenses; check connections; update timers as seasons shift.
- Fire pit upkeep: empty ash; inspect gas lines; refresh lava rock or glass.
FYI, a Saturday of maintenance every few months beats a full overhaul later. Your future self will high-five you.
FAQ
How big should my fire pit area be?
Leave 3–4 feet of clearance around the pit and 18–24 inches between chair edges and the pit. Keep pathways clear behind seating so people can exit without limbo contests. If you host big groups, set extra chairs outside the core circle and pull them in as needed.
Do I really need an outdoor-rated fridge?
Yes, if you want the fridge to survive. Outdoor-rated fridges handle temperature swings and moisture better than indoor units. If budget’s tight, use a built-in cooler and bring perishables out right before cooking.
What lighting color temperature works best outdoors?
Stick to 2700K–3000K for warm, flattering light that doesn’t feel sterile. Use 2700K around seating and dining, and push 3000K for path lights or areas where you want a little extra crispness. Consistency across fixtures matters, so don’t mix wildly different tones.
Can I put a fire pit under a pergola?
You can, but only with careful planning—and gas beats wood here. Check clearance requirements, add ventilation, and use a non-combustible surface. Talk to a pro about local codes and install a shutoff valve you can reach fast.
What’s the best grill for an outdoor kitchen?
Pick a high-quality built-in gas grill for everyday ease, then add charcoal or a kamado for flavor weekends. Choose a grill with consistent heat distribution, sturdy grates, and a reliable ignition system. If you love pizza nights, a compact pizza oven beats trying to DIY on a grill.
How do I keep bugs from ruining every summer evening?
Use a layered approach. Remove standing water, add fans for air movement, and set warm-toned lighting that attracts fewer bugs than cool white. If mosquitoes go hard in your area, consider a professional misting system or run portable repellents near seating clusters.
Conclusion
Big backyards shine when you nail the essentials: a welcoming fire pit, a kitchen with smart workflow, and layered lighting that flatters everything. Build zones, tweak the flow, and layer comfort so guests settle in and don’t rush out. Start practical, add personality, and roll with what your space loves. IMO, the best backyard feels like you—just with better snacks and fewer bugs.