Backyard Vegetable Garden for Beginners: Step-by-Step Starter Guide
You want fresh veggies without mystery labels, overpriced herbs, and limp lettuce? Cool. You can build a simple backyard garden that feeds you for months, looks great, and doesn’t eat your weekends. I’ll walk you through the exact steps, minus the jargon and with a few lessons learned the hard way (you’re welcome). Ready to get your hands a little dirty and your salads a lot happier?
Pick Your Garden Style and Spot
The best garden works with your yard, your schedule, and your climate. Start small, win early, and scale up later. You don’t need a farm. You need a sunny spot, decent soil, and a hose within reach.
Choose a style that fits your space and effort level:
- Raised beds: Tidy, productive, and easy to manage. You control soil quality. They cost more up front but save you time every week.
- In-ground beds: Cheapest option if your soil drains well. You’ll loosen the soil, add compost, and avoid spots with tree roots.
- Containers: Perfect for patios and balconies. Use large pots (10–20 gallons) for tomatoes, peppers, and zucchini. Use smaller pots for herbs.
Sunlight matters a lot: Aim for at least 6 hours of direct sun (8+ for tomatoes, peppers, and cucumbers). Less sun favors leafy greens, herbs, and root crops.
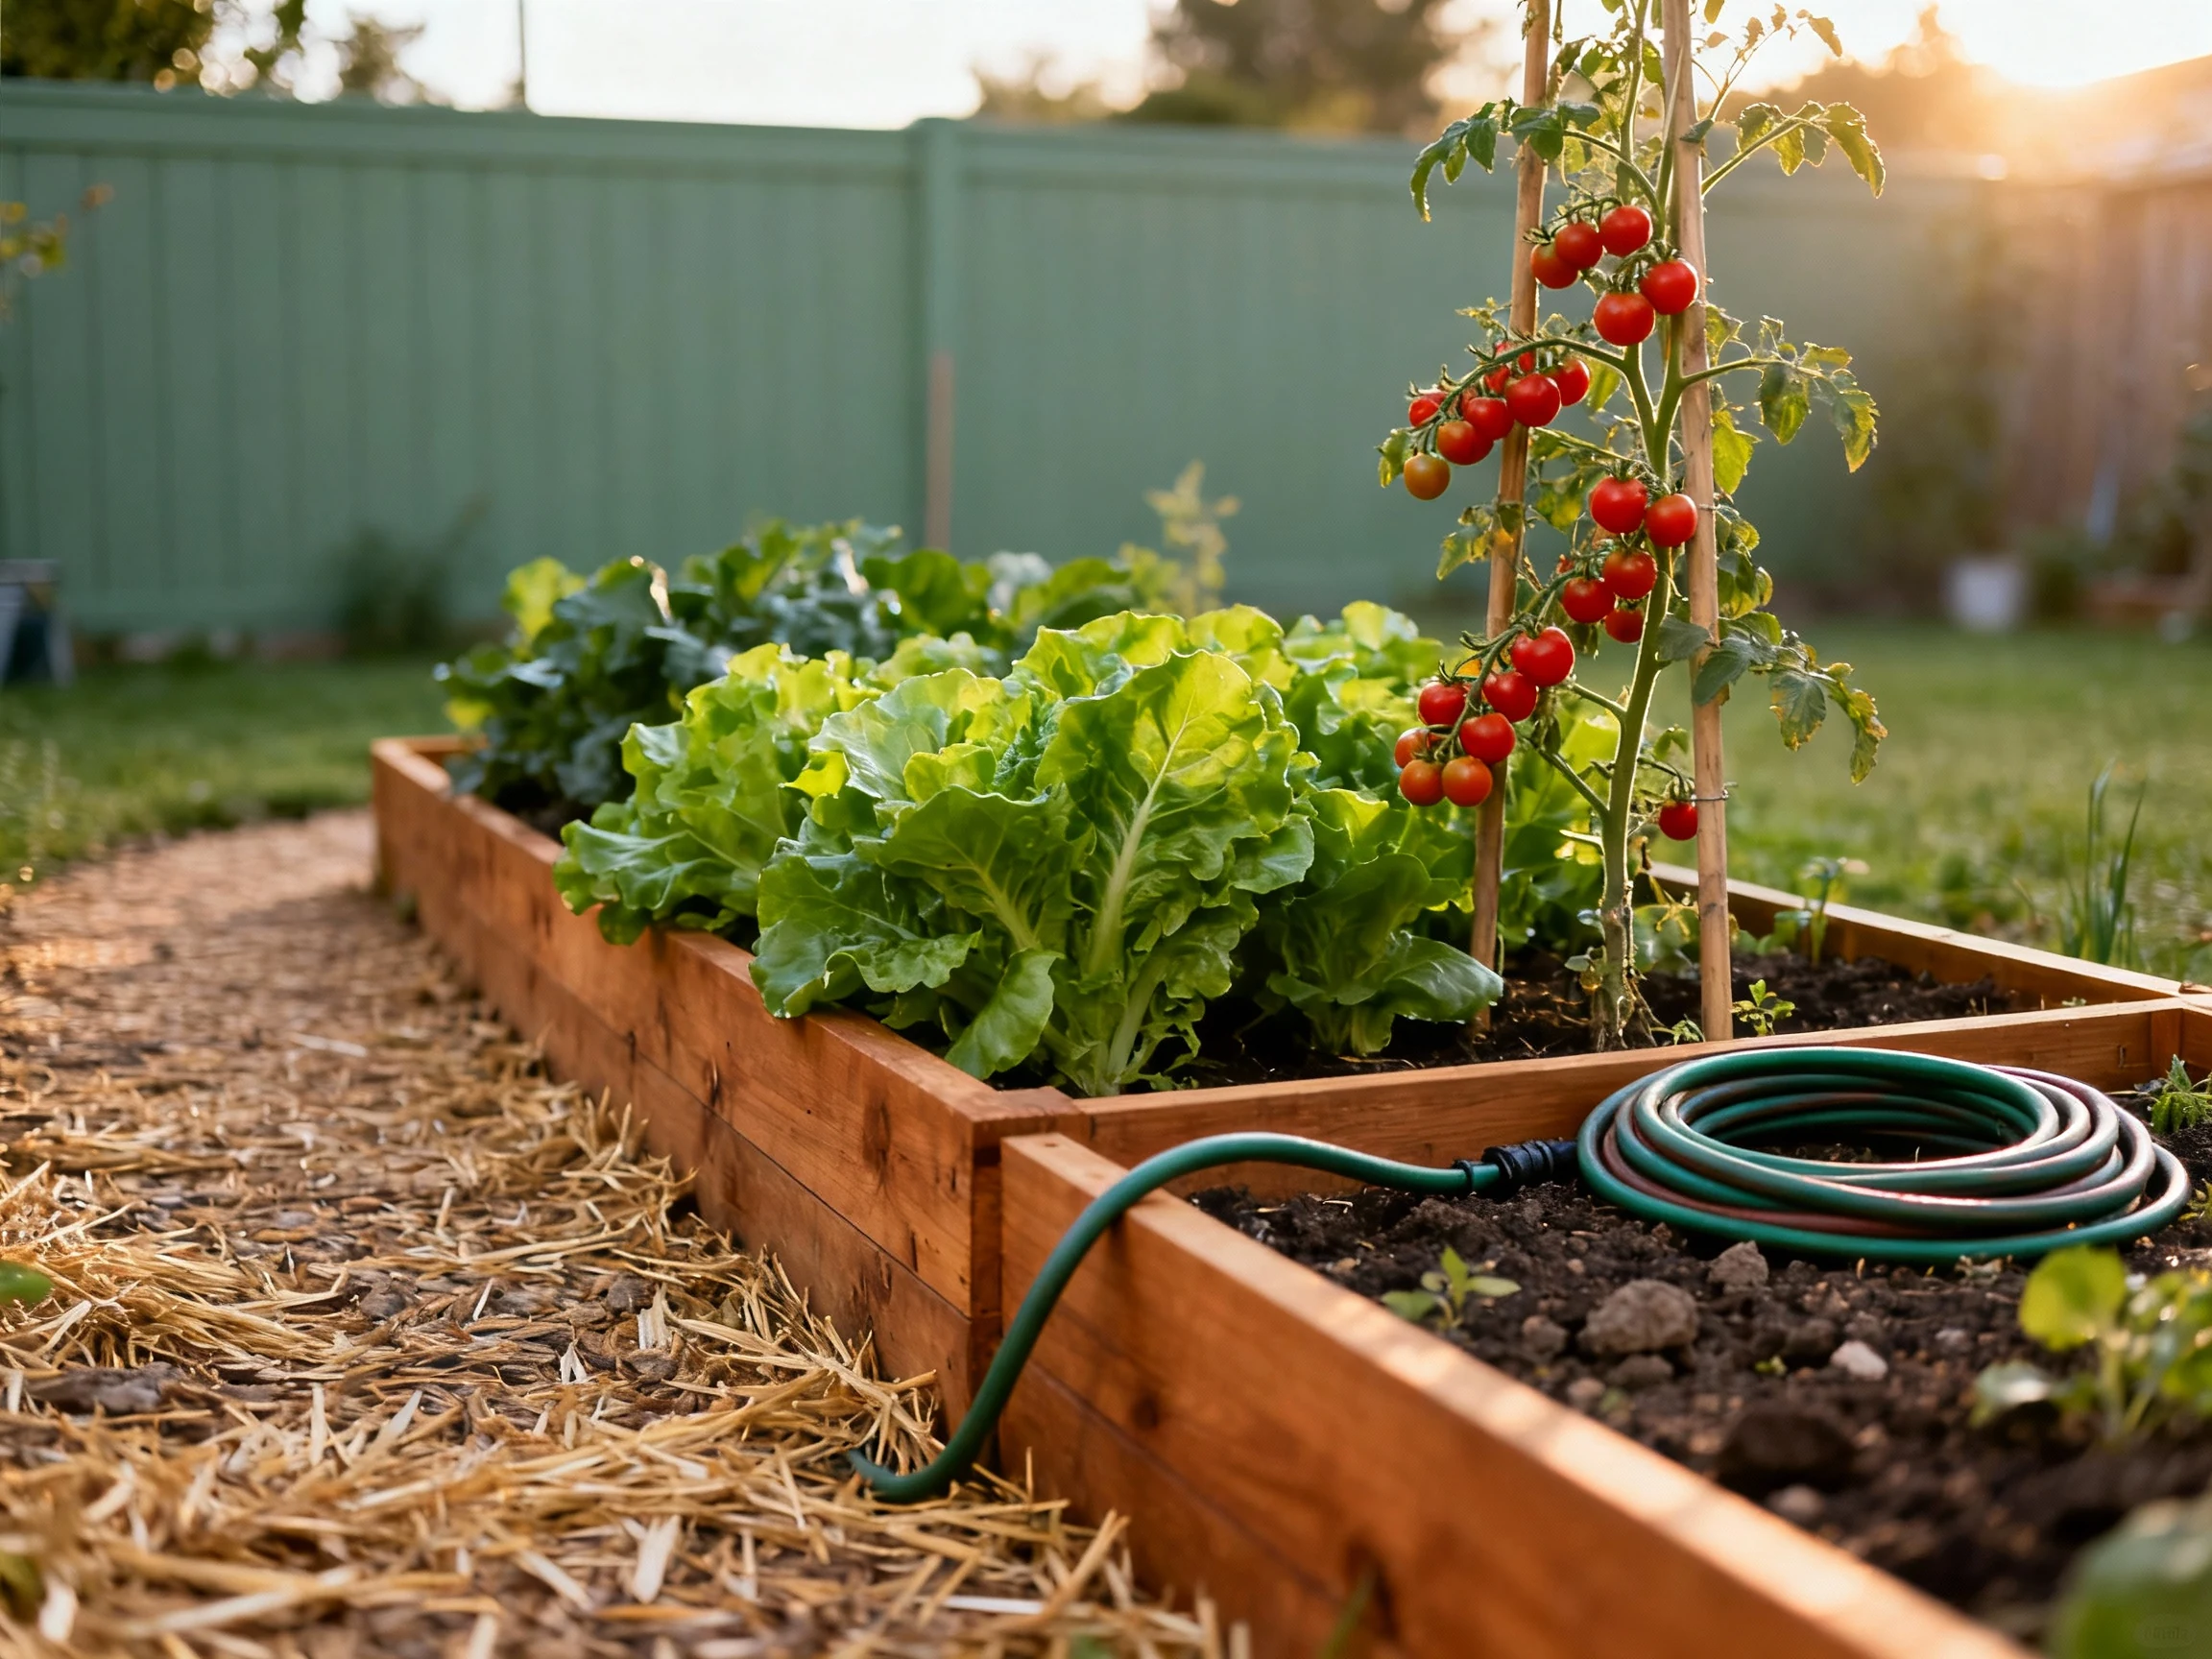
Water access saves your back: Keep the garden close to a hose or rain barrel. If you need to haul watering cans daily, you’ll quit. I would too.
Quick Checklist for a Winning Site
- Sun: 6–8 hours minimum for most veggies.
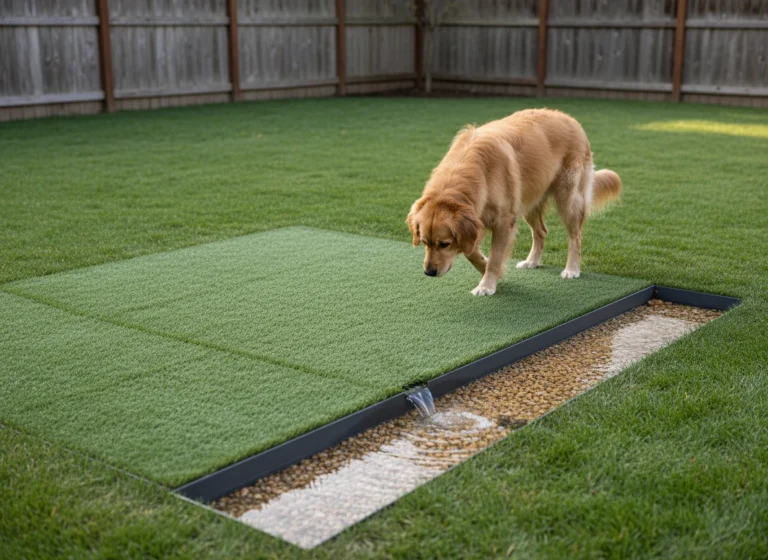
- Drainage: Puddles after rain? Pick a different spot or use raised beds.
- Wind: Avoid wind tunnels. Add a simple windbreak if needed.
- Convenience: Put it where you’ll see it. You’ll harvest more and catch problems early.
What to Grow First: Beginner MVPs
Start with plants that forgive a few mistakes and still taste amazing. Grow the easy wins. Save the divas for year two.
- Leafy greens: Lettuce, spinach, and arugula grow fast and love cooler temps. Cut-and-come-again varieties keep you in salads for weeks.
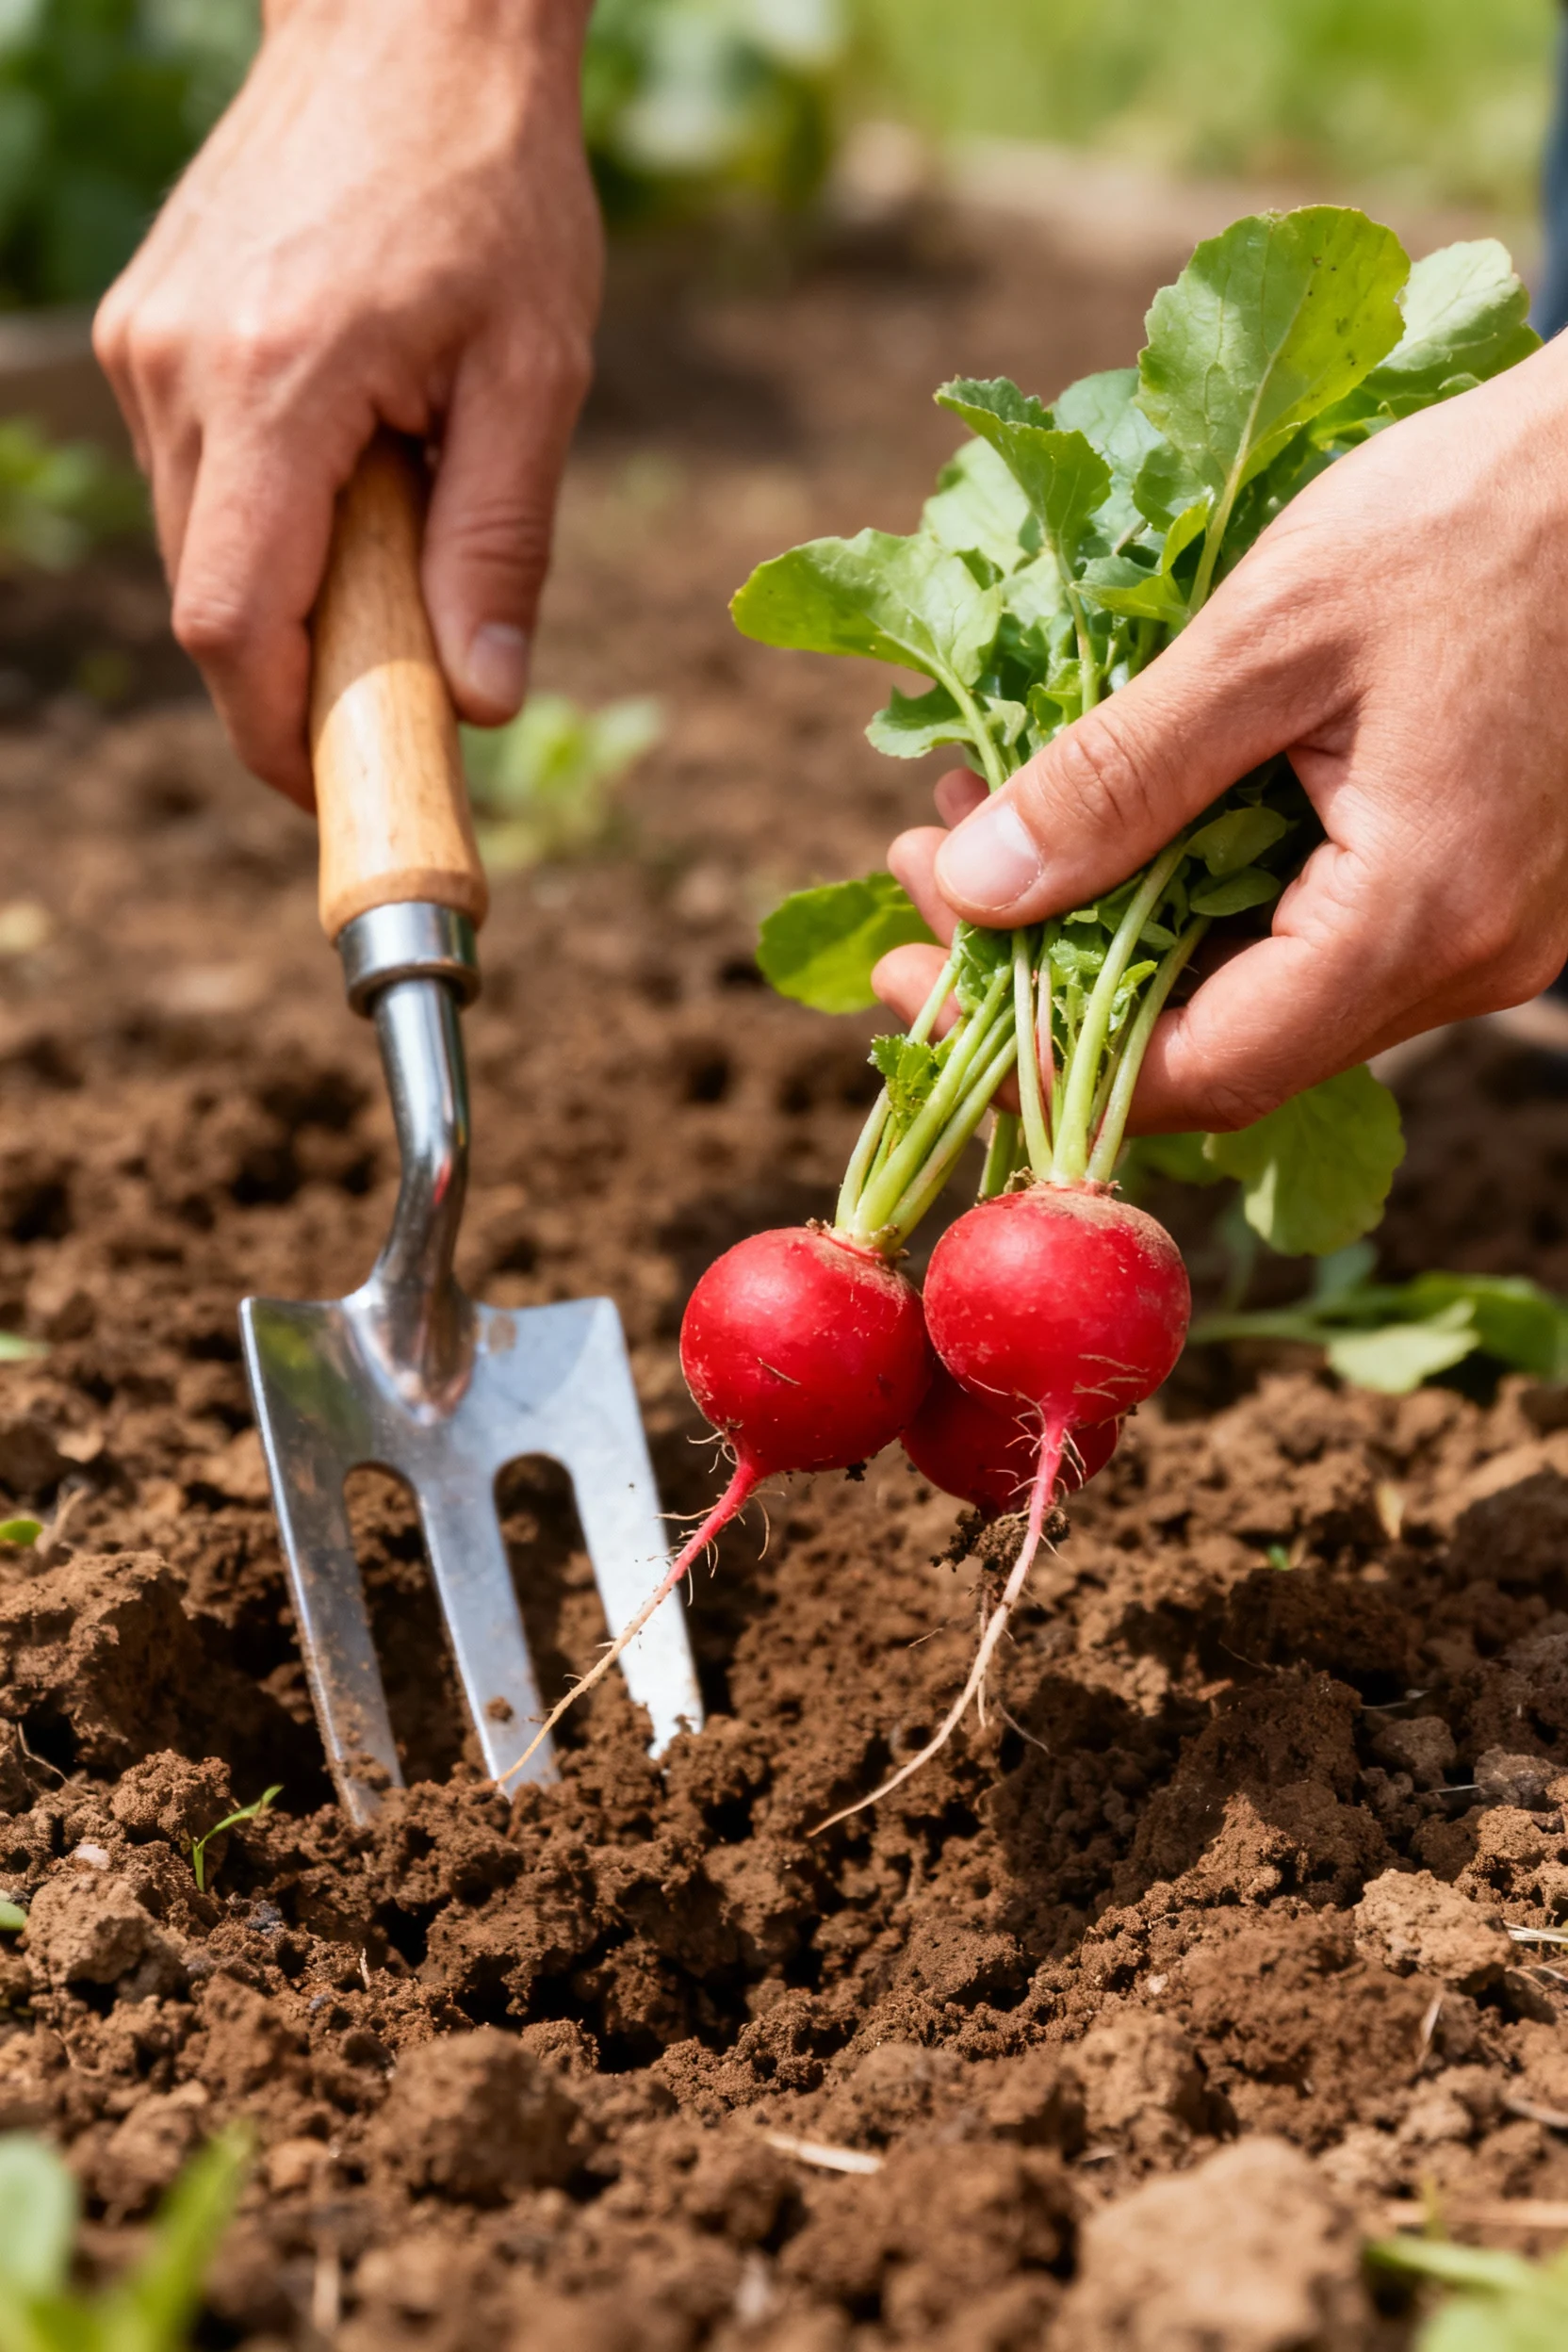
- Radishes: Ready in about a month. Great for quick wins and confidence boosts.
- Bush beans: Super productive and low maintenance. Harvest often for tender pods.
- Cherry tomatoes: More reliable than big slicers. Plant sturdy starts and use a cage or stake.
- Zucchini: One plant feeds a small army. Give it space and a trellis if possible.
- Cucumbers: Trellis them to save space and prevent slug parties.
- Peppers: Sweet or hot—both work great in warm sun. Start with nursery transplants.
- Herbs: Basil, parsley, chives, mint (grow mint in a pot, unless you want a mint takeover).
Pro tip: Buy starter plants for tomatoes, peppers, and zucchini. Direct sow radishes, beans, and most greens. That combo gives you speed and simplicity.
Skip (for now)
- Corn, pumpkins, and melons (space hogs and heavy feeders)
- Cauliflower and broccoli (fussy about temperature)
- Asparagus and artichokes (long-term commitment)
- Onions from seed (start indoors very early or buy sets)
FYI: You can grow these later after you nail the basics.
Soil 101: Build the Bed Like a Pro
Healthy soil grows tasty food. You want a crumbly, chocolate-cake texture that drains well but holds moisture. That soil doesn’t magically show up—you build it.
Rule #1: Mix in 2–3 inches of compost over the top 6–8 inches of soil. That boost improves nutrients, structure, and microbiology. Good soil makes everything easier.
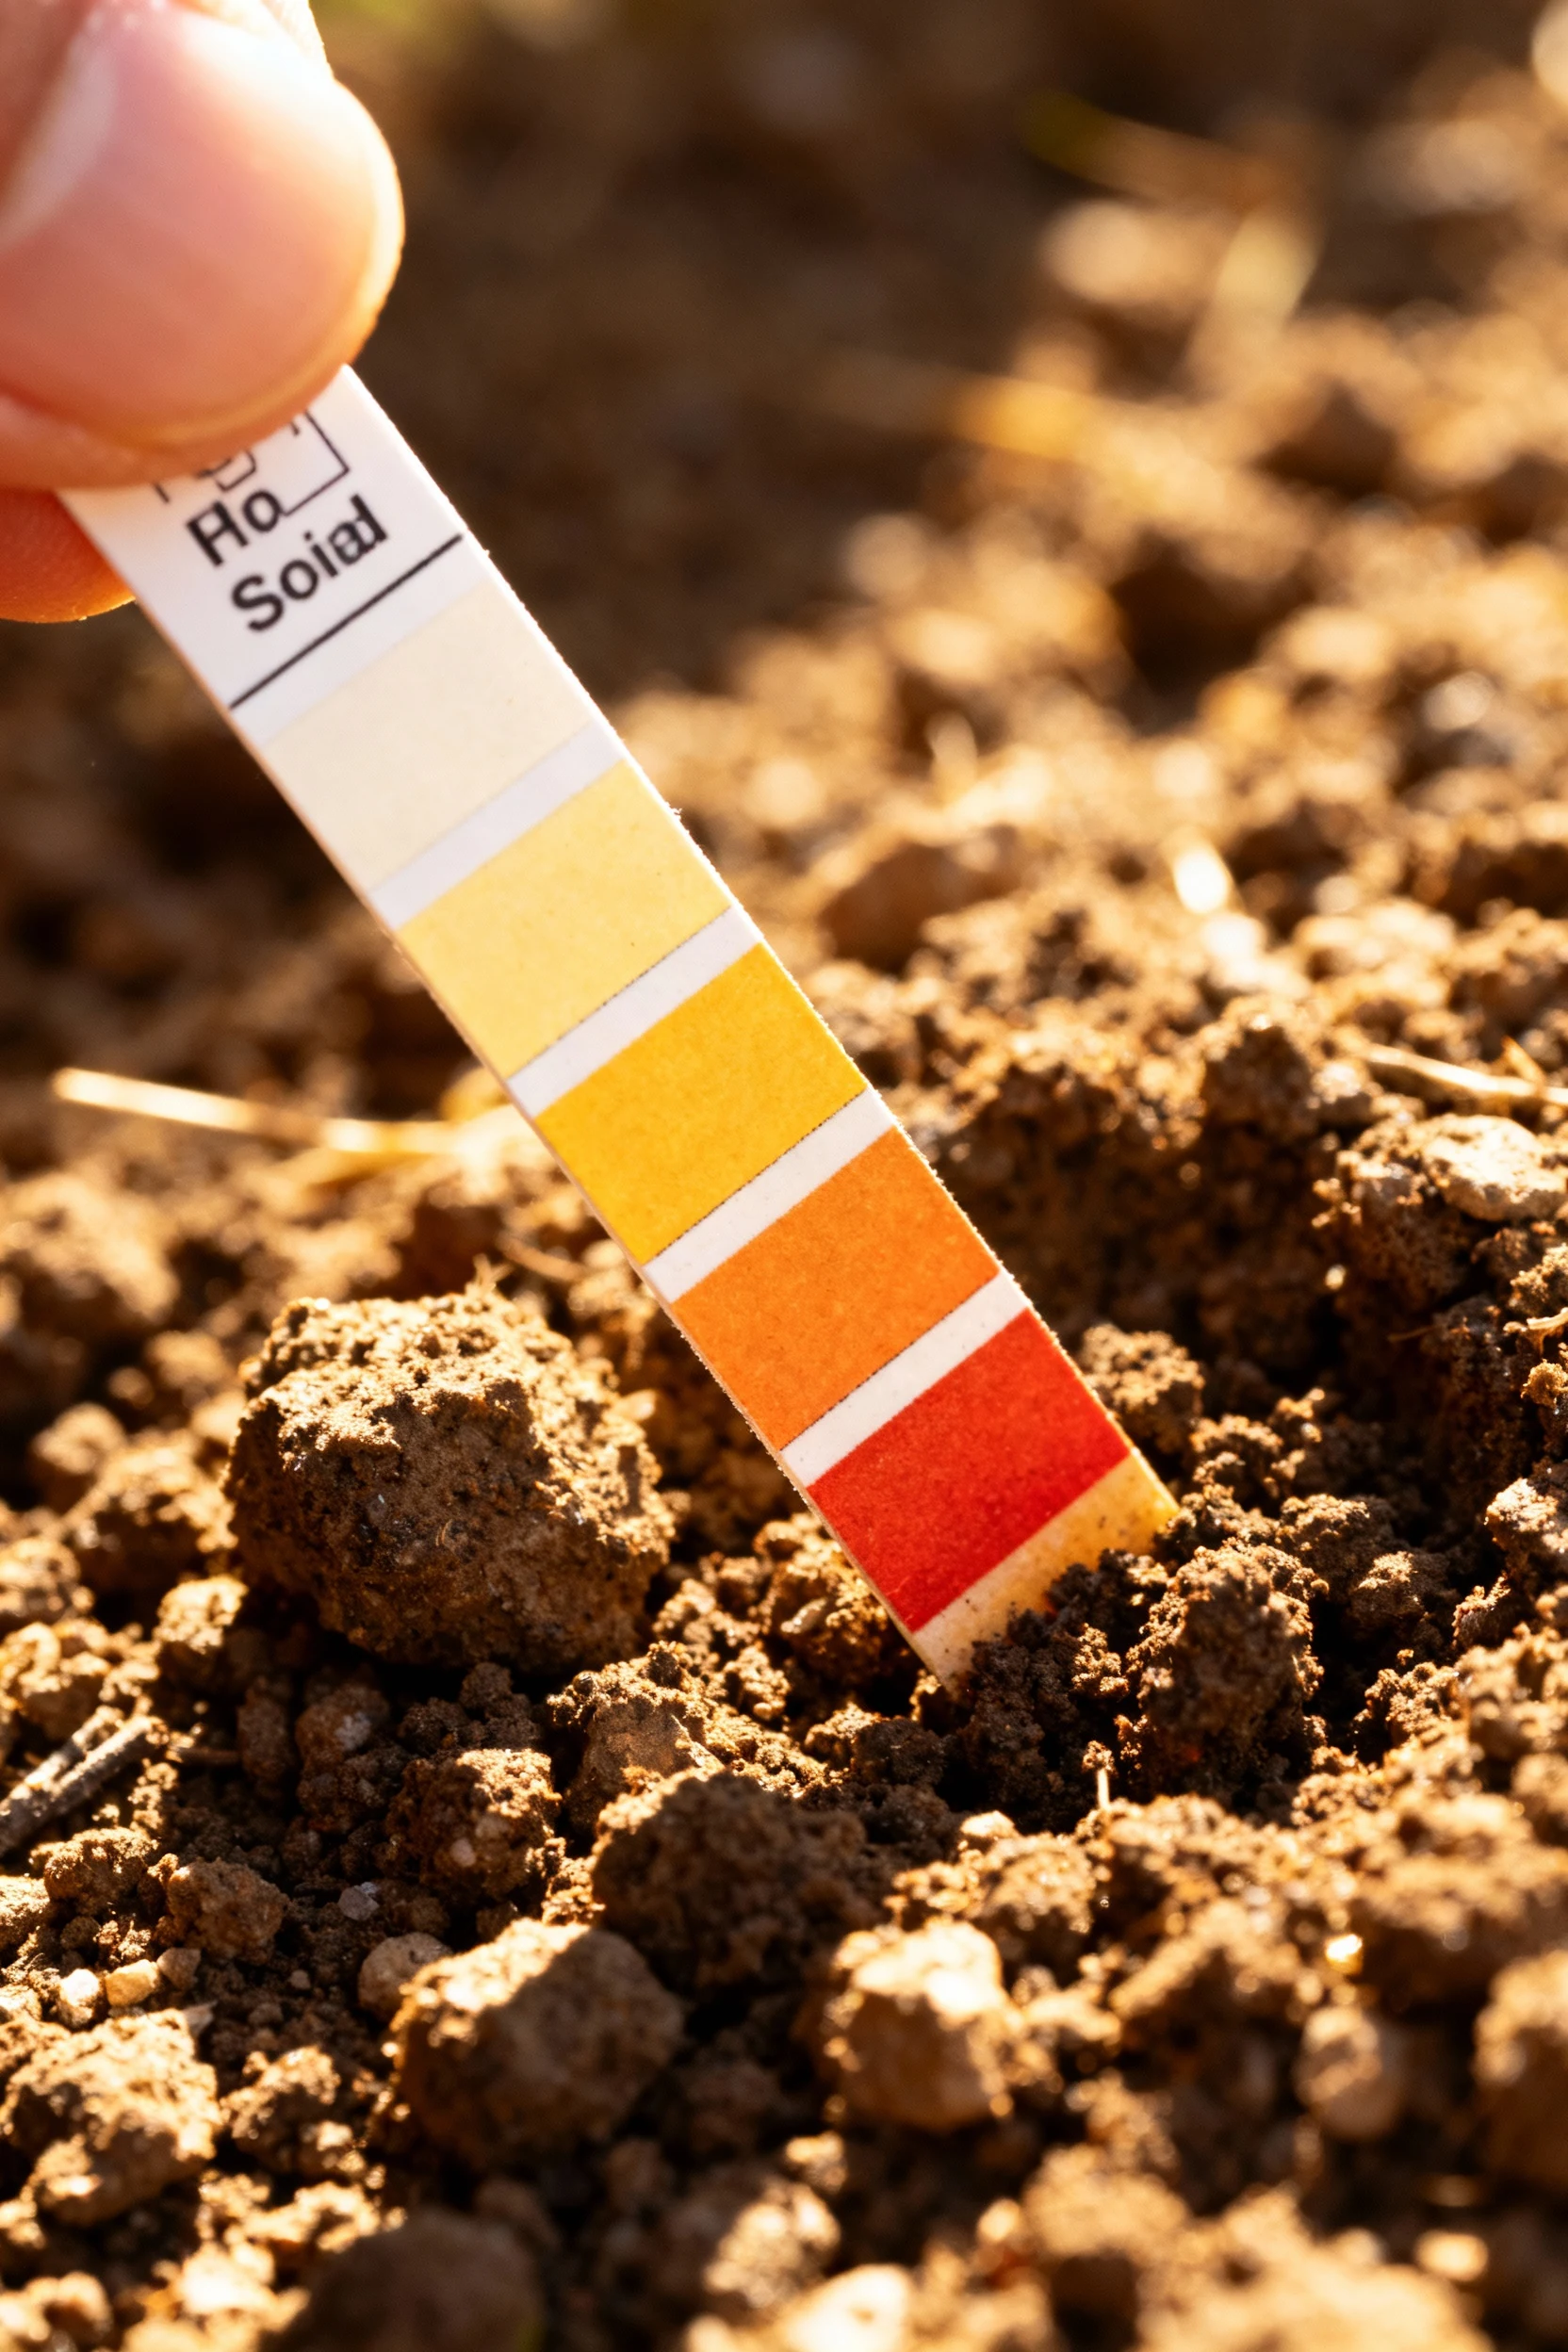
Do a Simple Soil Test
You can use a basic kit or send a sample to your local extension office. Aim for a pH around 6.0–7.0 for most vegetables. If your soil reads outside that range, add lime (to raise pH) or elemental sulfur (to lower pH). Follow package instructions and go slow.
Compost, Mulch, and Organic Matter
Compost fuels soil life. Add it once or twice a year. Save leaves in fall and shred them for mulch. Use grass clippings in thin layers only after they dry to avoid slime city.
Mulch matters: You keep moisture in, block weeds, and reduce soil splash on leaves. That trio prevents a lot of headaches.
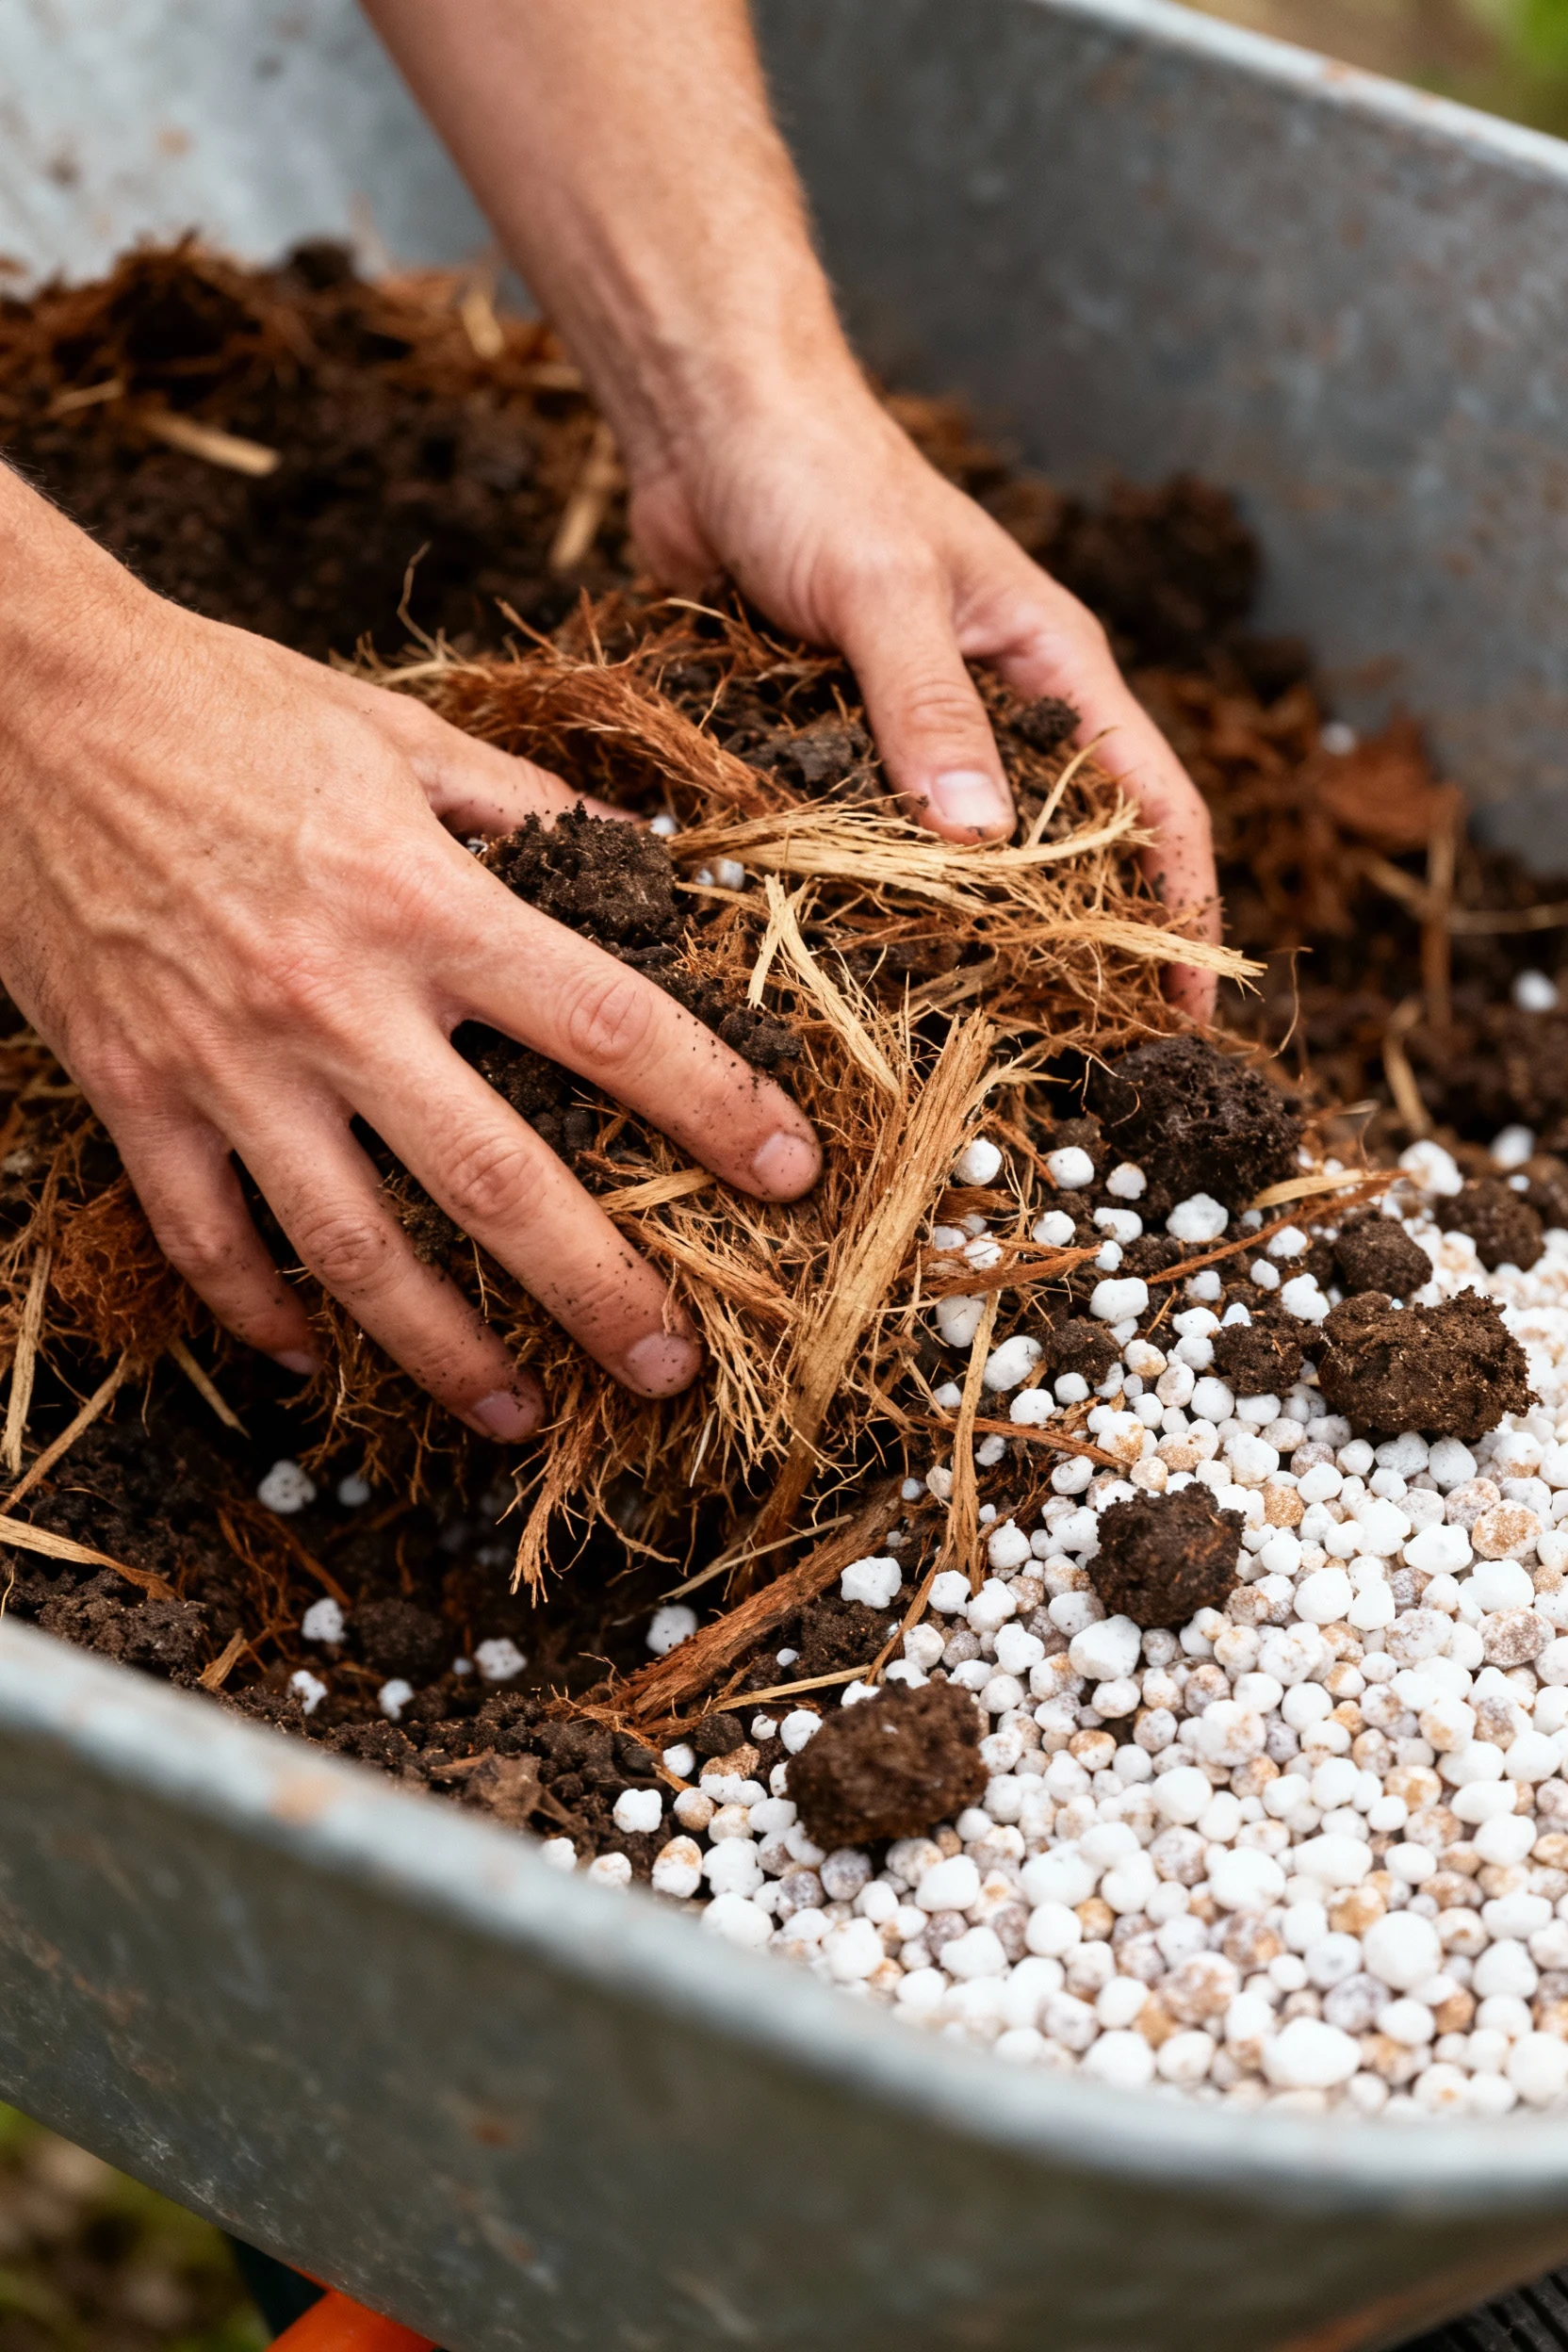
Raised Bed Mix That Works
Build a balanced mix for raised beds:
- 1/3 finished compost
- 1/3 coconut coir or peat moss (for moisture retention)
- 1/3 perlite or pumice (for drainage)
Blend in 10–20% topsoil if you want more minerals and heft. Add a balanced organic fertilizer at the start. IMO, simplicity beats fancy products every time.
Planting: Timing, Spacing, and Layout
Timing decides success. Plant cool-season crops in early spring and fall. Plant warm-season crops after your last frost date. Check a local frost calendar, or ask a neighbor who grows legendary tomatoes.
Golden rule: Never plant warm-season crops before your last frost date. Frost turns tomatoes into mush and peppers into sadness. If a surprise cold snap comes, cover plants with frost cloth or a bedsheet.
Cool-Season vs Warm-Season
- Cool-season: Lettuce, spinach, kale, peas, radishes, carrots, beets, broccoli. They handle light frost and prefer 45–70°F.
- Warm-season: Tomatoes, peppers, cucumbers, beans, squash, basil. They thrive at 70–90°F and sulk in cold soil.
Smart Layout
Think like a tiny city planner. Use every inch without crowding.
- Put tall crops (tomatoes, trellised cucumbers, peas) on the north side so they don’t shade shorter plants.
- Create 18–24 inch paths. You’ll reach everything without trampling soil.
- Group plants by water needs. Thirsty crops together, drought-tolerant ones together.
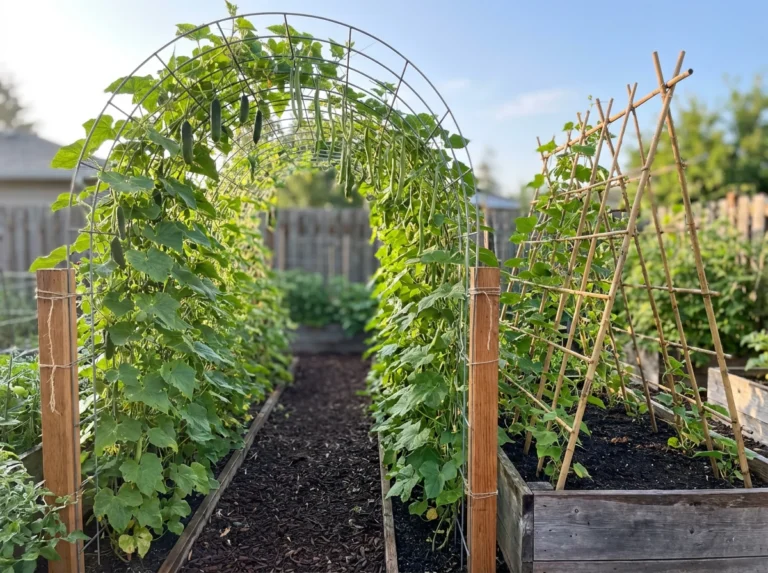
- Add trellises for cucumbers and peas. You’ll double your yield per square foot.
Succession Planting
Stagger your sowings. Plant a small row of lettuce every 2–3 weeks instead of a giant patch at once. Harvest radishes, then plant beans in that spot. You keep the garden productive all season.
Spacing hack: Check seed packets. When in doubt, give plants a little more elbow room. Airflow reduces disease and drama.
Watering, Feeding, and Mulch
Vegetables love consistency. Deep watering, steady feeding, and a good mulch layer do the heavy lifting.
Water the Right Way
Water deeply 2–3 times a week rather than a little every day. Aim for roughly 1 inch of water per week, more during heat waves. Water in the morning so leaves dry quickly and don’t invite disease. Use your finger as a moisture meter: if the top inch feels dry, water.
Upgrade tip: Drip irrigation or soaker hoses target roots, save water, and keep foliage dry. Set a timer and act like a hydration genius.
Fertilizer Basics
Plants need nitrogen (leaf growth), phosphorus (roots and flowers), and potassium (overall health). Use a balanced organic fertilizer at planting. Side-dress with compost mid-season, especially for heavy feeders like tomatoes and squash. Liquid feeds like fish emulsion or seaweed extract give quick boosts during flowering and fruiting.
FYI: Overfeeding causes lush leaves but fewer fruits. Follow the label and keep it moderate.
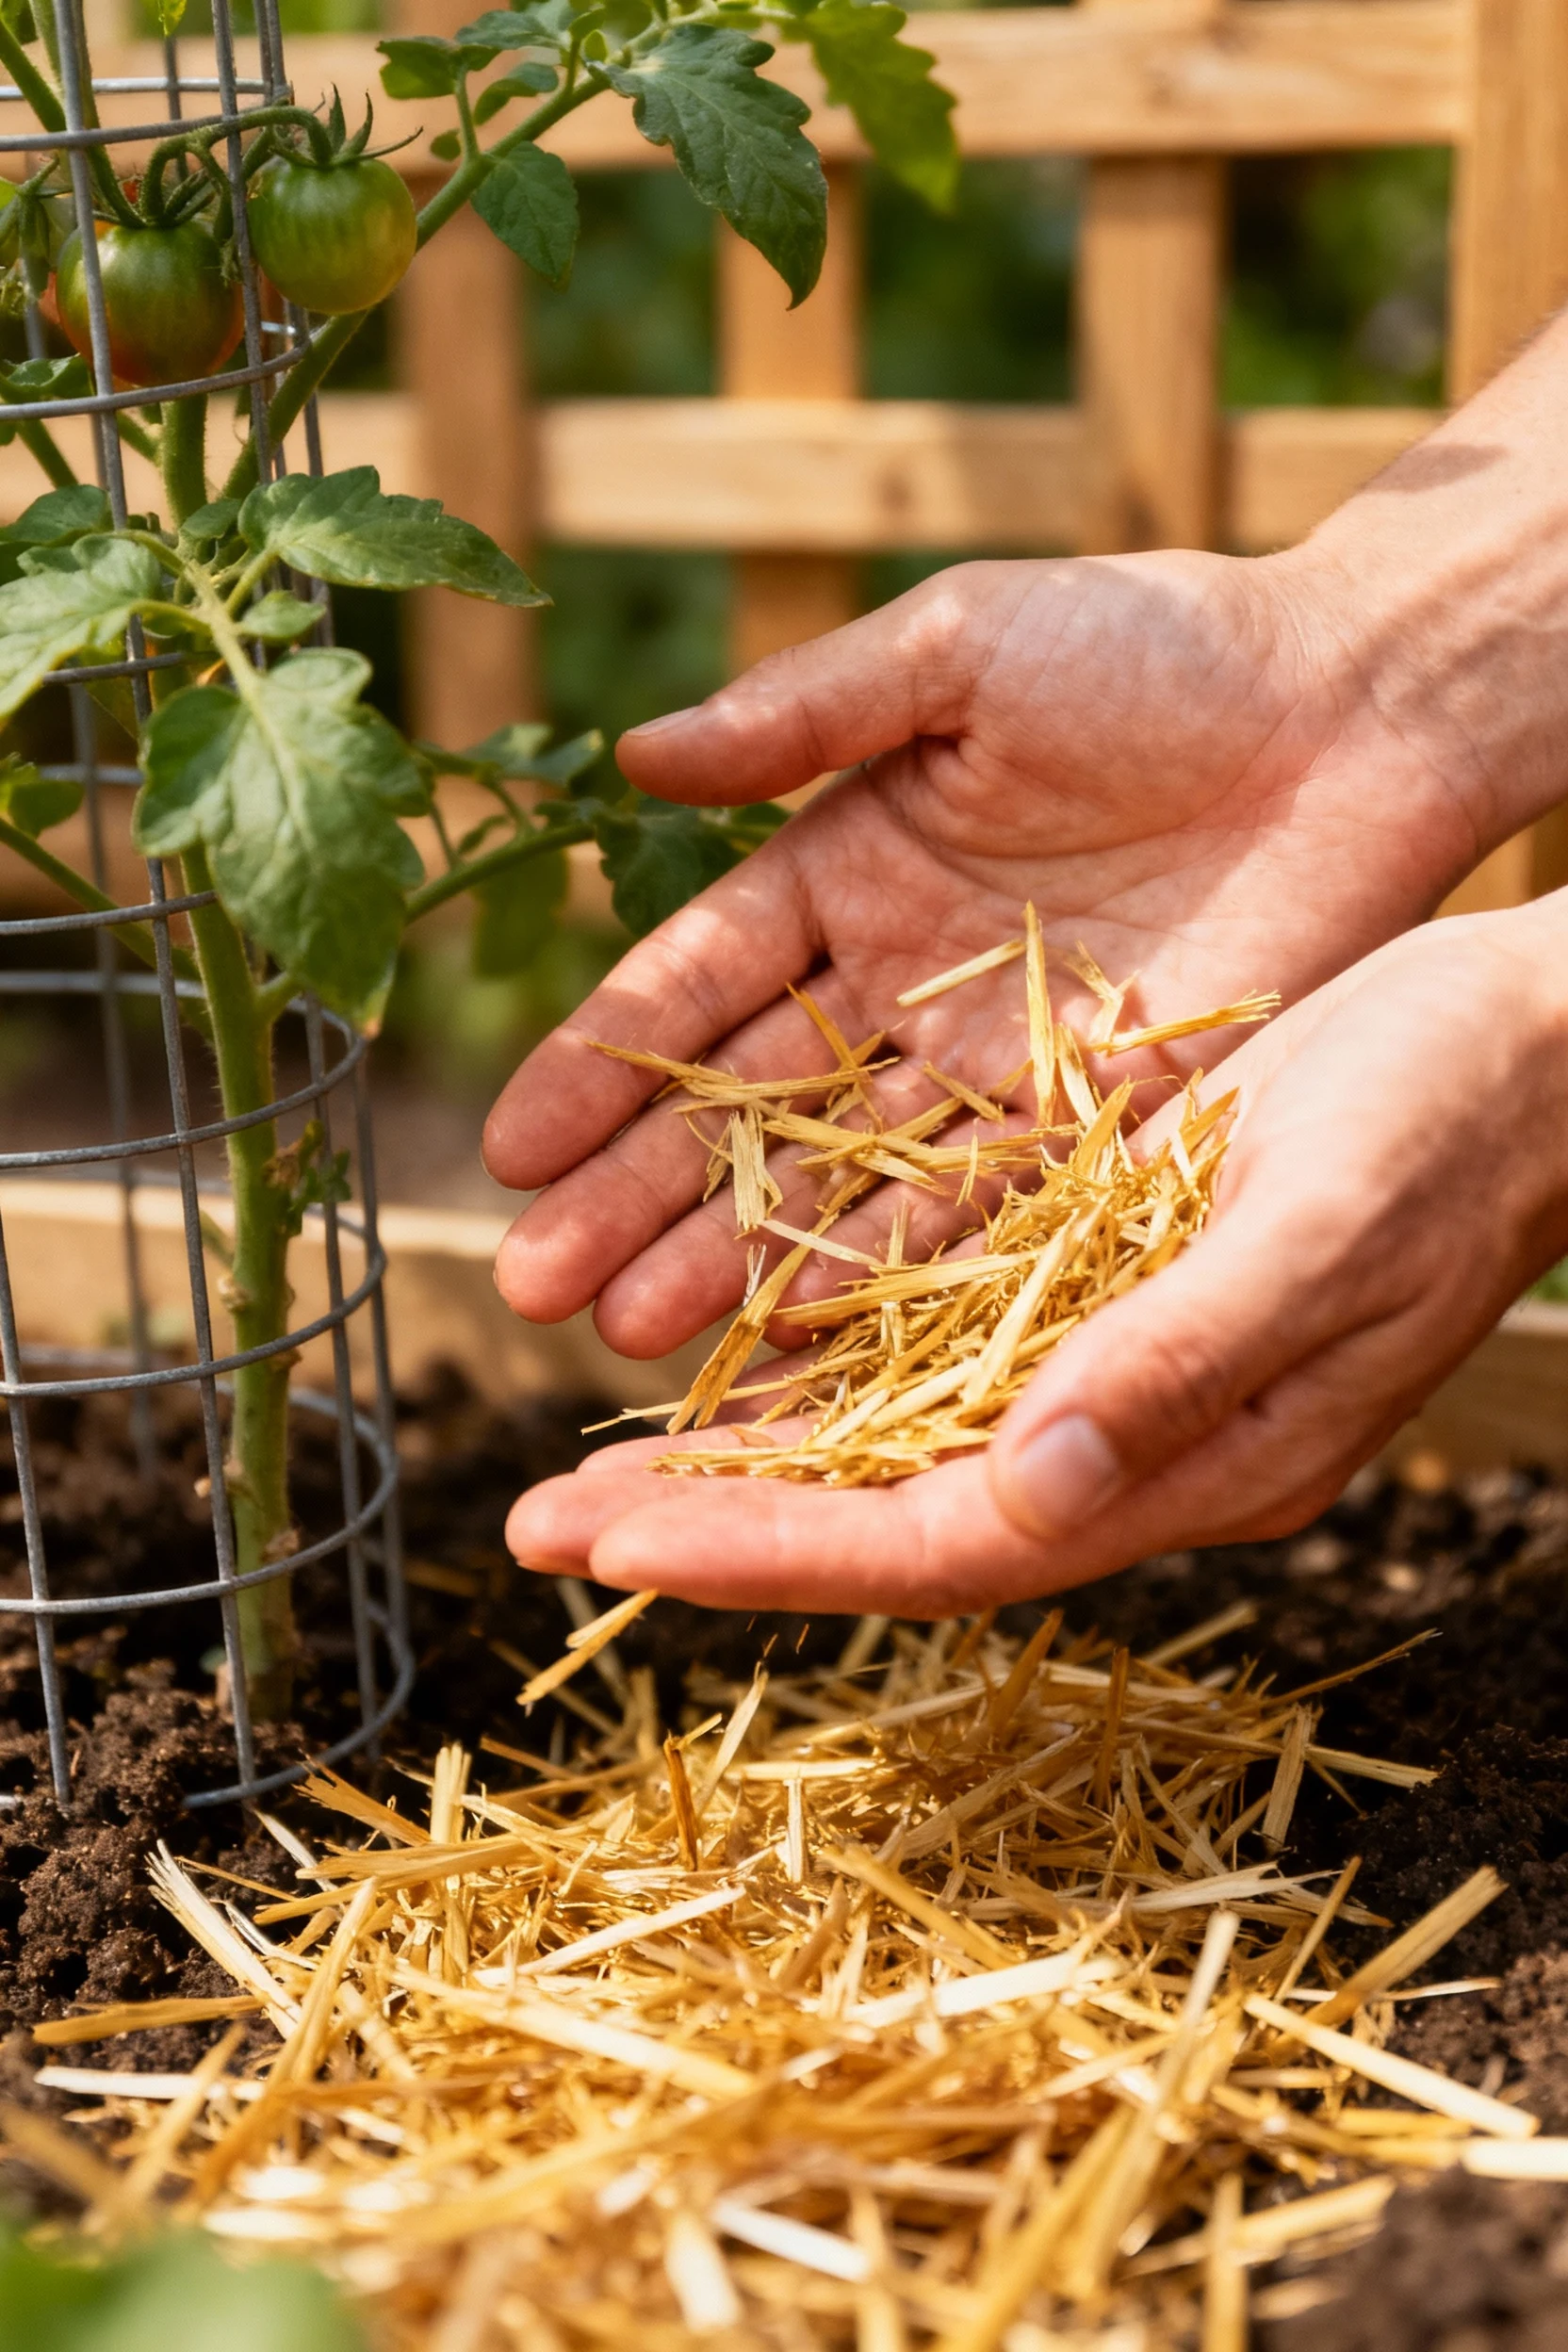
Mulch Materials That Actually Help
- Straw (not hay): Great for beds; use a 2–3 inch layer.
- Shredded leaves: Free, effective, and soil-friendly.
- Grass clippings: Thin, dry layers only.
- Wood chips: Use for paths and around perennials, not mixed into annual beds.
Mulch keeps soil cool, reduces weeding, and improves structure as it breaks down. Zero downside.
Pests, Problems, and Chill Solutions
Every garden attracts something hungry. You’ll win with prevention and quick action. Don’t reach for harsh stuff first—go gentle and targeted.
Common Rookie Issues
- Overwatering: Leaves yellow, soil smells funky. Let soil dry a bit and water less often.
- Underwatering: Plants droop midday and leaves crisp up. Water deeply and mulch.
- Planting too early: Cold soil stalls growth. Wait for warmth and use row covers if necessary.
- Overcrowding: Fewer fruits and more disease. Thin seedlings and stick to spacing.
Bug Patrol, the Low-Drama Way
- Aphids: Spray with a strong water blast, then use insecticidal soap if needed.
- Tomato hornworms: Hand-pick in the evening. Chickens consider them snacks; you probably don’t.
- Slugs/snails: Use iron phosphate bait and keep mulch thin near seedlings. Beer traps work too, and yes, it smells like a college party.
- Cucumber beetles/squash bugs: Cover seedlings with row cover until flowering, then uncover for pollinators.
Disease Prevention That Actually Works
- Water soil, not leaves. Drip or soaker hoses help a lot.
- Space plants well for airflow. Prune lower tomato leaves that touch soil.
- Rotate crops each year. Don’t plant tomatoes in the same spot annually.
- Remove diseased leaves quickly and toss them in the trash, not the compost.
Critters and Pets
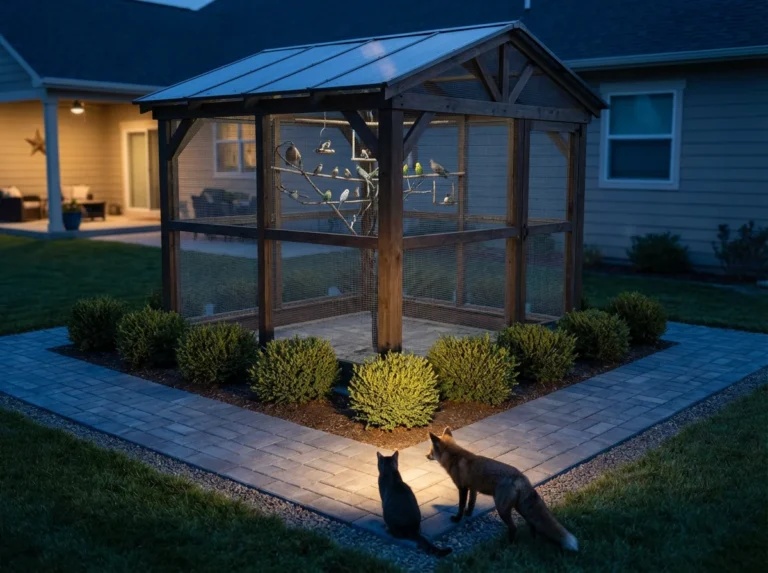
Rabbits love tender greens. Use 2–3 foot fencing with small openings. Deer consider tomatoes salad; they require tall fencing around 7–8 feet or a double fence trick. Birds peck strawberries—throw netting over berry beds. Squirrels act like tiny agents of chaos; motion sprinklers and covered beds discourage them.
Harvest, Store, and Keep It Going
Pick early and often. Most veggies taste best when small and tender. Morning harvests pack the best flavor and crunch.
- Leafy greens: Cut outer leaves and let centers keep growing.
- Beans and cucumbers: Harvest every 1–2 days to keep plants producing.
- Tomatoes: Pick when they color fully and feel slightly soft. Store on the counter, never the fridge.
- Root crops: Loosen soil with a fork and pull gently. Twist tops off carrots and beets for better storage.
Storage tips that save your haul:
- Greens: Wash, spin dry, and store in a container with a paper towel.
- Carrots and beets: Remove tops and store in the fridge in a slightly open bag.
- Herbs: Keep basil on the counter in water (like flowers). Refrigerate hardy herbs wrapped in a damp towel.
A Simple Week-by-Week Starter Plan
- Week 1: Pick your spot, measure sun, and choose your garden style.
- Week 2: Build beds or prep soil. Add compost and set up irrigation.
- Week 3: Plant cool-season crops (or warm-season after frost). Add mulch.
- Week 4: Install trellises and supports. Start a compost pile or bin.
- Week 5 and on: Water deeply, weed lightly each week, and harvest often. Succession plant greens and radishes.
FYI: Small, consistent effort beats marathon garden days every time.
FAQ
How much space do I need to start?
A 4×8 foot bed or 8–10 medium containers grow a surprising amount. Focus on a few high-yield crops you love to eat. You’ll learn faster and harvest plenty without feeling overwhelmed.
How much time should I plan each week?
Plan 2–3 hours total, split into short sessions. Watering, a quick weed session, and a harvest run make up most of it. Peak season might add an hour for trellising and pest checks.
Should I start seeds indoors or buy starts?
Buy starts for tomatoes, peppers, and eggplant. Start fast growers like lettuce, beans, and radishes directly in the garden. If you want to start seeds indoors later, invest in a simple grow light and a timer—window sills rarely deliver strong seedlings.
Can I grow veggies in partial shade?
Yes, but choose the right plants. Grow lettuce, spinach, kale, arugula, carrots, beets, and herbs like parsley and mint. Save tomatoes, peppers, and cucumbers for your sunniest spot.
How do I know when to water?
Use the finger test: stick a finger an inch into the soil. If it feels dry, water. Lift containers too—light pots need a drink. In heat waves, check daily; on cool, cloudy days, water less.
What if I go on vacation?
Set a timer on drip lines and mulch well. Ask a neighbor to harvest and water once midweek. Offer them a basket of veggies as thanks—people rarely say no to free tomatoes.
Conclusion
You don’t need perfect soil, fancy tools, or mystical green thumbs. You need sun, decent dirt, a plan, and a little consistency. Start small, pick forgiving crops, and enjoy the ridiculous satisfaction of eating what you grow. IMO, nothing beats a cherry tomato straight off the vine—except the second one you pop right after it.