Cheap Backyard Paver Patio Ideas: Stylish Looks on a Budget
You want a backyard paver patio that looks fancy but costs less than your monthly coffee habit. Totally doable. With smart planning, bargain hunting, and a few pro tricks, you can build a stylish, durable patio without draining your savings. Ready to trade patchy grass for a legit hangout zone you’ll actually use?
Why Pavers Make Budget Patios Shine

Pavers give you customization, durability, and serious style without a custom price tag. You control the size, shape, pattern, and finish, which means you tailor the look to your budget. You also install them DIY with basic tools and a free weekend. That control saves you money and lets you flex your creativity.
Pavers also handle weather and foot traffic like champs. If one cracks or stains, you pop it out and swap it. Try that with a poured slab. You fix mistakes and upgrades easily too, which means you keep your patio looking fresh for years.
Budget-Friendly Paver Types
- Basic concrete pavers: Affordable, widely available, and easy to cut. Expect $2–$4 per sq ft at big-box stores.
- Clay bricks: Classic look and warm color. Reclaimed bricks often cost less than new. Look for “builder’s takeouts.”
- Recycled or seconds: Overruns, chipped corners, color mismatches. Use them artfully and you’ll score huge savings.
- Permeable grids: Plastic or concrete honeycomb systems filled with gravel or turf. They give you drainage and a modern vibe on the cheap.
FYI: You don’t need the “premium textured slate finish” to impress. A clean layout, smart border, and solid edge restraint create a high-end look all by themselves.
Plan Smart: Prep, Layout, and Base (Without Breaking the Bank)
Good prep makes the difference between “eh” and “dang.” Start with a real plan. Sketch your patio, add furniture footprints, and map traffic lines. Keep it square to your house or align it with a fence for visual calm.
Mark the area with string lines and spray paint. Aim for a slight slope away from your house—1/4 inch per foot—so water doesn’t camp under your chairs. That tiny tilt saves you headaches, puddles, and mysterious basement smells.
Cut Costs on the Base (Safely)
You build patios on a base, not on hopes and dreams. But you still save money with smart choices:
- Base depth: For patios, aim for 4 inches of compacted base (not including your 1-inch sand layer). Skip deeper digs unless your soil stays squishy.
- Material options: Crushed stone (3/4″ minus) works best. You can also use crushed concrete or “recycled road base” for savings. Make sure it includes fines so it locks tight.
- Compaction: Rent a plate compactor for a few hours. Borrow one from a neighbor if you can. Tamping by hand for 200 square feet equals an involuntary gym membership.
- Sand layer: Use concrete sand or screenings. Screed it at exactly 1 inch with two pipes and a straight board. Keep it flat and consistent.
Tools You Can Borrow, Rent, or Hack
- Must-haves: Shovel, rake, wheelbarrow, level, rubber mallet, tape measure, gloves, knee pads (your future self says thanks).
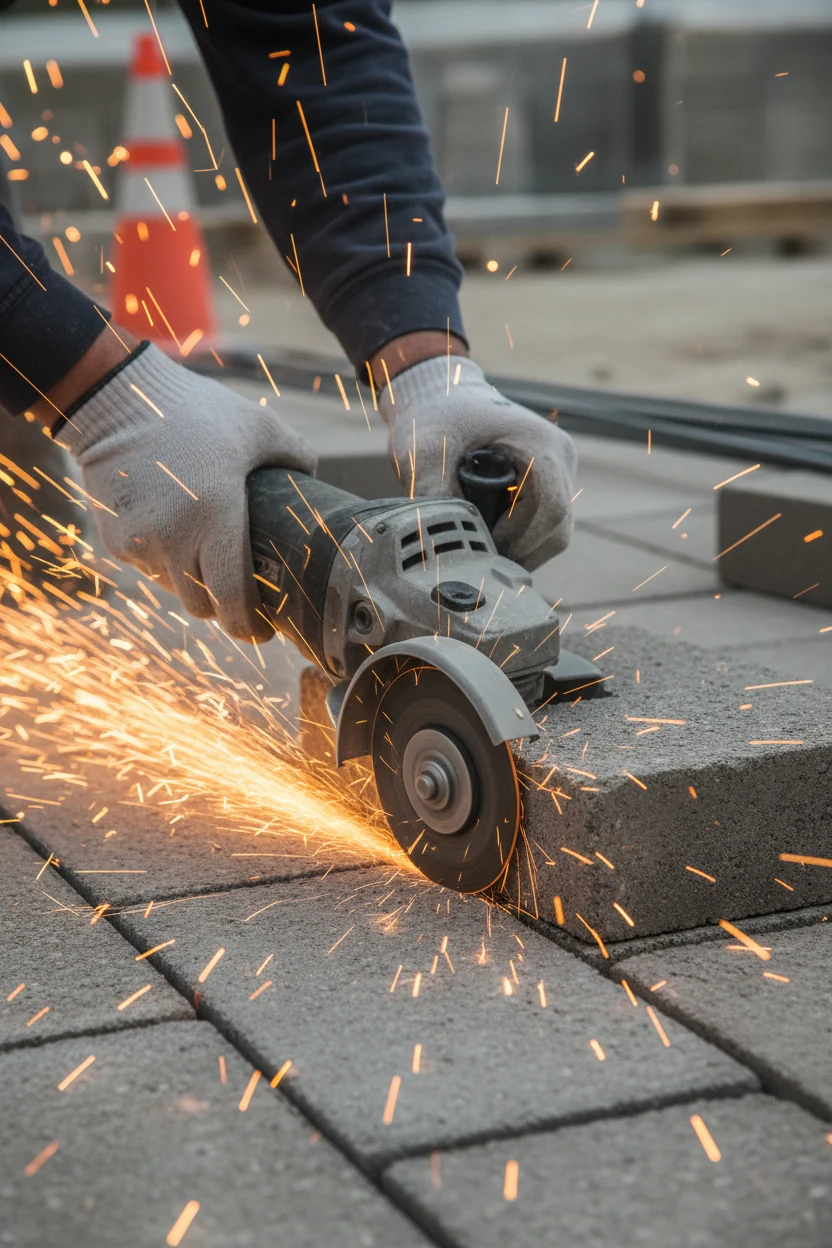
- Nice-to-haves: Plate compactor, angle grinder with a diamond blade, hand tamper, string line, stakes.
- Hacks: Use 3/4″ PVC pipes as screed rails. Cut pavers with an angle grinder, not a pricey saw. Rent the compactor only when your base and pavers are ready.
You can DIY this if you plan the sequence: dig, base, compact, screed, set pavers, edge, sand, compact again. Boring? Maybe. Effective? Absolutely.
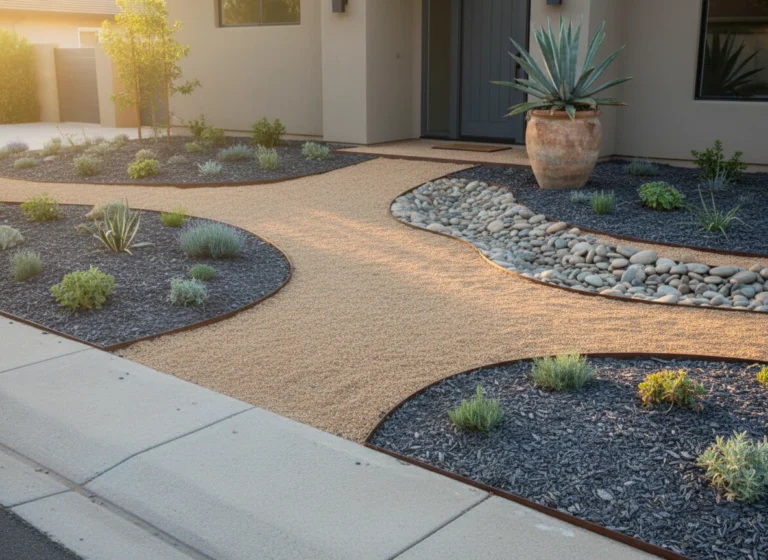
Cheap Paver Patterns That Look Expensive
Pattern choice changes the whole vibe. You elevate basic concrete pavers with smart layouts and a tight border. Keep joints consistent and you impress even the picky neighbor.
- Running bond: Easiest to lay, minimal cuts, classic look. Rotate it 90 degrees for a fresh angle.
- Herringbone: Strong and fancy. Use small rectangles for tighter zigzags. You’ll need more cuts at the edges, but the result screams “designer.”
- Basketweave: Pairs of rectangles alternate direction. Charming and forgiving with reclaimed bricks.
- Stack bond with border: Simple grid plus a contrasting border. Clean and modern.
Pattern + Border = Instant Upgrade
A border frames your patio and makes it feel “finished.” It also hides tiny size differences in pavers or DIY cuts.
- Color contrast: Charcoal edge around light gray field. Or flip it: light border, dark interior.
- Soldier course: Stand bricks on end to create a strong edge look.
- Double border: Two rows with staggered joints. Fancy without the fancy price.
Color Tricks on a Budget
You score style without splurging on premium finishes.
- Blend boxes: Mix pavers from multiple pallets. You avoid color “blotches.”
- Salt-and-pepper blend: Alternate light and dark stones for texture.
- Accent band: Add one row of a different color at the perimeter or through the center.
IMO, a simple pattern plus a bold border beats an overcomplicated layout 9 times out of 10.
Edging, Drainage, and Weed Control—The Budget-Proofing Trio
You need solid edges, smart water control, and tight joints. That combo gives you a patio that stays flat, drains well, and doesn’t turn into a dandelion farm.
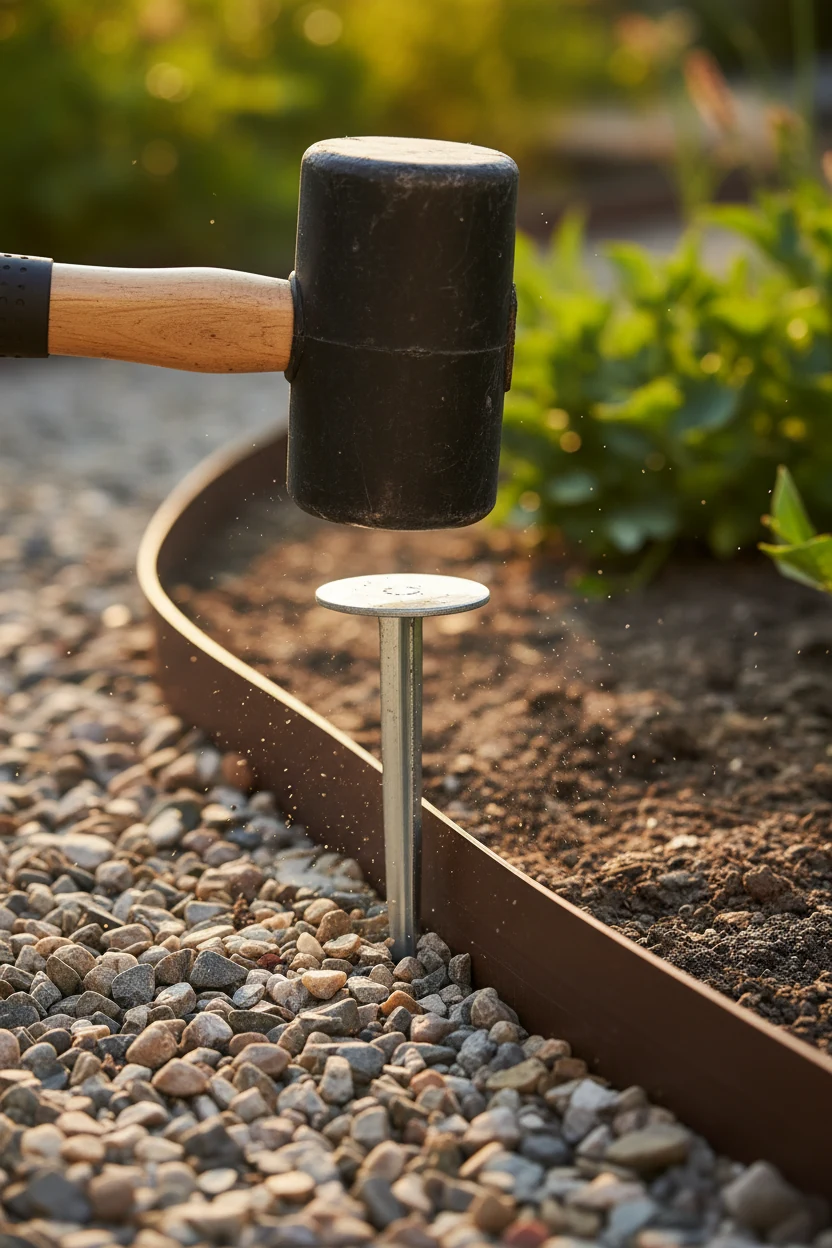
- Edge restraint: Use plastic paver edging with 10″ spikes every 8–12 inches. You can also set a concrete curb or a row of buried bricks as a hidden edge.
- Drainage slope: Maintain that 1/4 inch per foot slope away from structures. Add a shallow swale or mini French drain if your yard traps water.
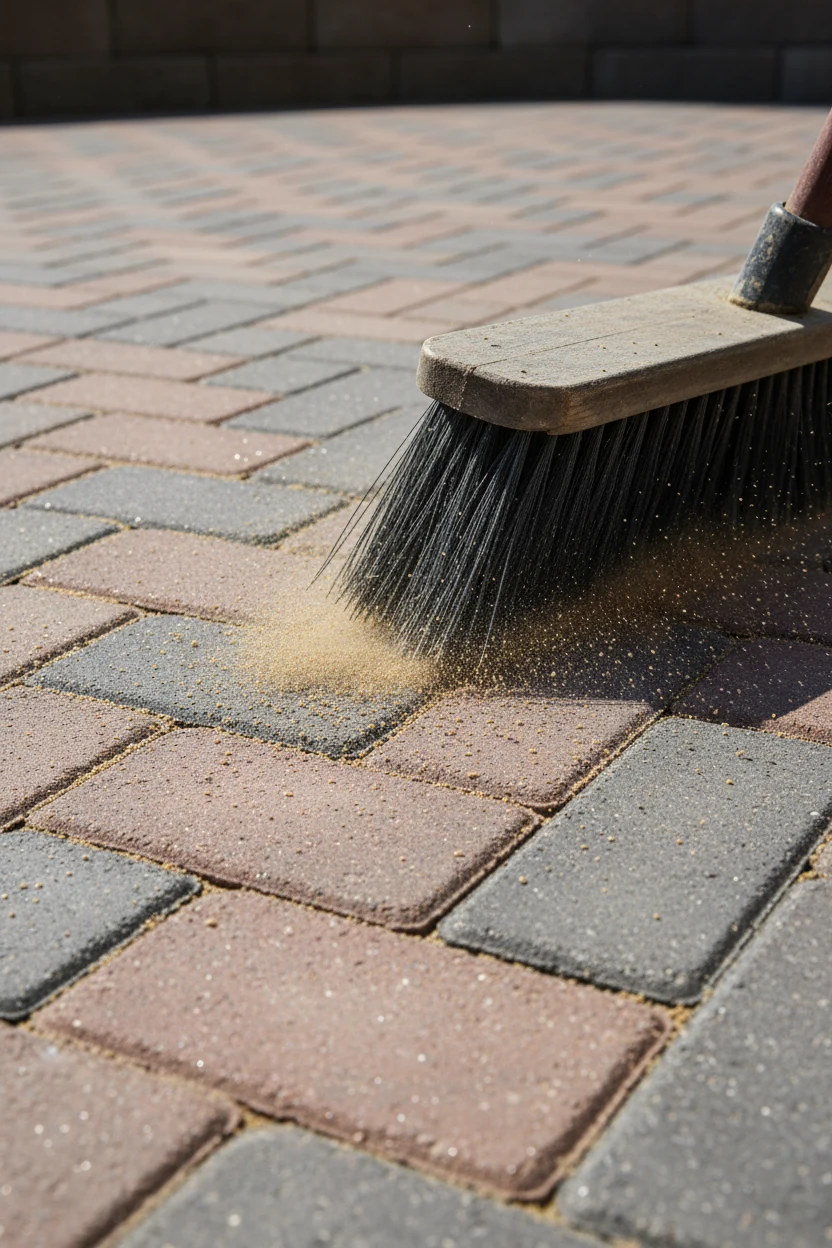
- Joint sand: Sweep in polymeric sand to lock joints and reduce weeds. Regular sand costs less, but you’ll need more maintenance. Pick your battles.
- Fabric: Landscape fabric under the base helps block weeds and separates soil and stone. Use it only on stable soil—avoid it if you need more depth or you’re correcting soft spots.
Save Big With Reuse, Recycle, and Marketplace Finds
Your best deals hide in plain sight—contractor leftovers, misordered pallets, and homeowners who bought too much. You swoop in, offer cash, and drive off with a screaming deal. You also help keep good materials out of the landfill. High-five.
- Where to hunt: Facebook Marketplace, Craigslist, Habitat ReStore, local stone yards, contractor auctions.
- What to ask: Exact quantities, thickness, brand/model name, and whether they kept them covered.
- How to buy: Bring a tape measure, count pieces, and load carefully. Grab 10% extra for cuts and future fixes.
How to Match Mismatched Batches
You found two lots that don’t perfectly match? No crisis.
- Blend them randomly across the patio so differences look intentional.
- Use one lot for the border and the other for the field.
- Create “zones” for dining and lounge so variation reads as design.
FYI: Texture differences show less once you sweep in sand and add furniture. Don’t stress perfection.
Transport Without a Truck
No pickup? Still doable.
- Ask the seller for delivery for a small fee.
- Rent a small trailer from a home center. Most SUVs handle a lightweight trailer just fine.
- Make multiple trips and keep your payload within your vehicle’s limits. Your suspension will thank you.
DIY Builds Under $500: Sample Plans You Can Copy
You want numbers, not vibes. Here are real-world patio concepts with ballpark costs. Prices vary by region, but these give you a solid target.
1) 8×8 Bistro Pad with 12×12 Concrete Pavers
Perfect for a two-chair coffee zone or a compact grill station.
- Area: 64 sq ft
- Pavers: 12×12 basic concrete, roughly 64 pieces plus 6–8 extra. Estimate: $160–$240
- Base + sand: 1 ton crushed stone + 5 bags sand. Estimate: $80–$130
- Edging + spikes: $35–$60
- Polymeric sand: 1 bag, $25–$35
- Total: $300–$450 if you borrow/rent tools smartly
Steps:
- Stake and square an 8×8 area. Set slope away from the house.
- Excavate 5 inches. Lay fabric if you need separation.
- Add 4 inches of base in two 2-inch lifts. Compact each lift.
- Screed 1 inch of sand. Lay pavers in a grid. Keep joints tight.
- Add edging, sweep polymeric sand, compact, and mist with water.
2) 10×12 Running Bond with Reclaimed Brick
Warm, classic, picky-neighbor approved.
- Area: 120 sq ft
- Reclaimed brick: $0.50–$1.00 each, ~5 per sq ft. Estimate: $300–$600 (hunt deals!)
- Base + sand: $120–$180
- Edging + spikes: $40–$70
- Total: $460–$850 (drops fast if you score a bulk lot)
Tips:
- Use a simple running bond to minimize cuts.
- Flip stained bricks face-down or use them in the center.
- Add a contrasting soldier-course border for pop.
3) Fire Pit Circle with Paver Ring and Pea Gravel
Lower cost, cozy feel, fast build.
- Area: 10–12 ft diameter circle, 80–115 sq ft pavers plus gravel surround
- Pavers: Mix rectangles for a radial pattern. Estimate: $180–$320
- Pea gravel: 1–2 tons, $60–$120
- Base + fabric: $120–$180
- Total: $380–$650
Pro move: Use pavers only for a 3-foot ring around the fire pit. Fill the rest with gravel. You get a huge seating zone for less.
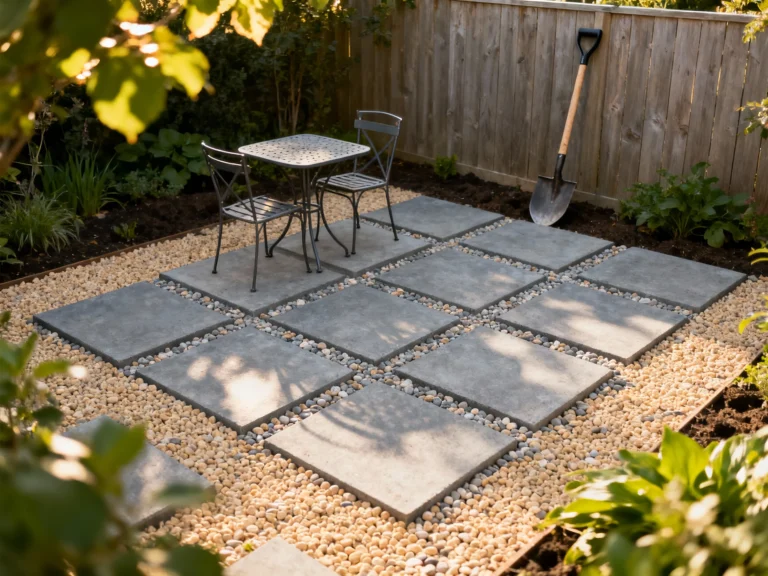
4) Patio + Path Combo Using Oversized Steppers
Blend steppers and pea gravel for a modern, low-cost look.
- Area: 6×10 pad plus 2-ft-wide path
- Steppers/large-format pavers: $150–$300
- Gravel + edging: $100–$160
- Base + sand: $100–$160
- Total: $350–$600
Layout tip: Stagger the steppers with 3–4 inches of gravel joints for a designer courtyard vibe.
Little Details, Big Impact: Finishing Touches That Sell the Look
You stretched your budget on materials. Now finish strong with simple upgrades that punch above their weight.
- Lighting: Solar stake lights along the border, or LED rope under the edge for a soft glow.
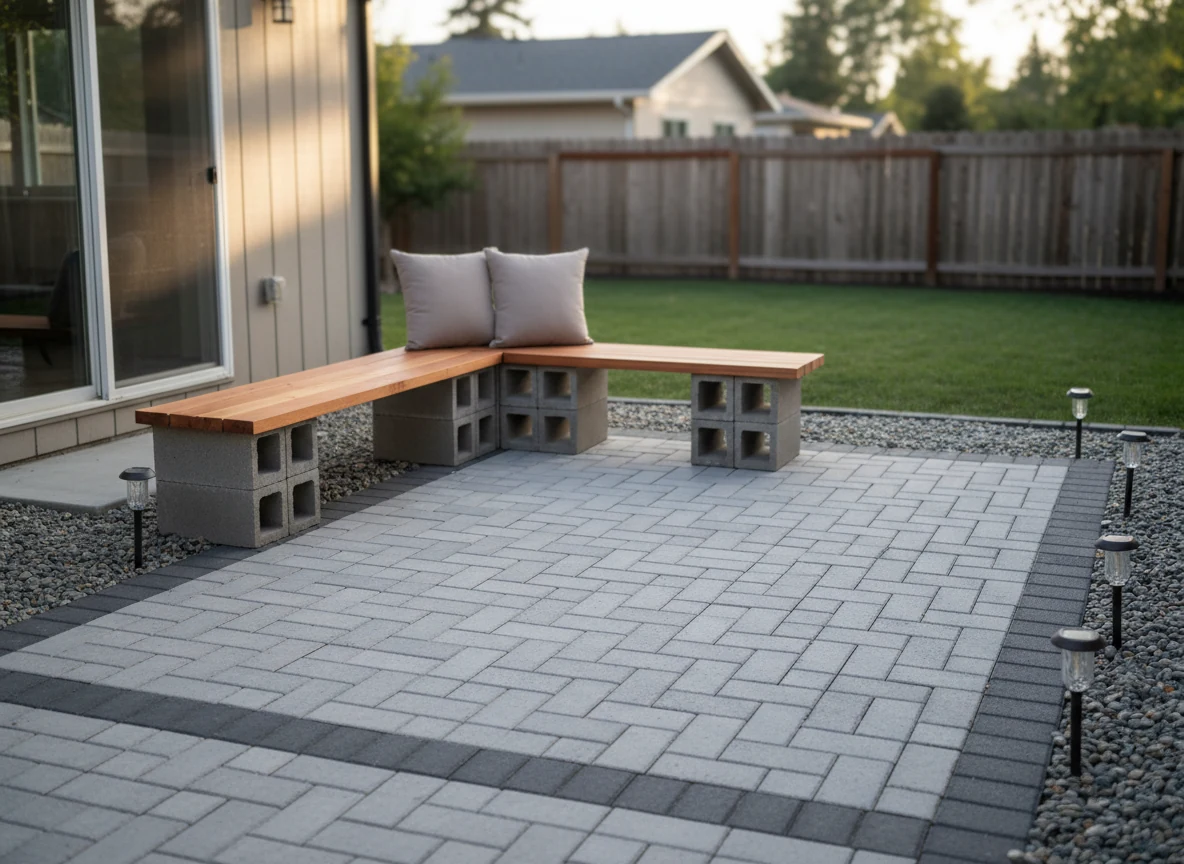
- Furniture hacks: Cinder-block bench with a wood cap. Pallet sofa with outdoor cushions. Cheap, sturdy, and surprisingly chic.
- Planters: Spray-painted buckets with drainage holes. Group them in threes for an “I meant to do that” moment.
- Border gravel: A 6–8 inch gravel perimeter catches runoff and frames the patio.
- Rug and textiles: One outdoor rug and two pillows make even basic chairs look intentional.
- Sealer: A matte sealer darkens colors and protects stains. Test on a spare paver first.
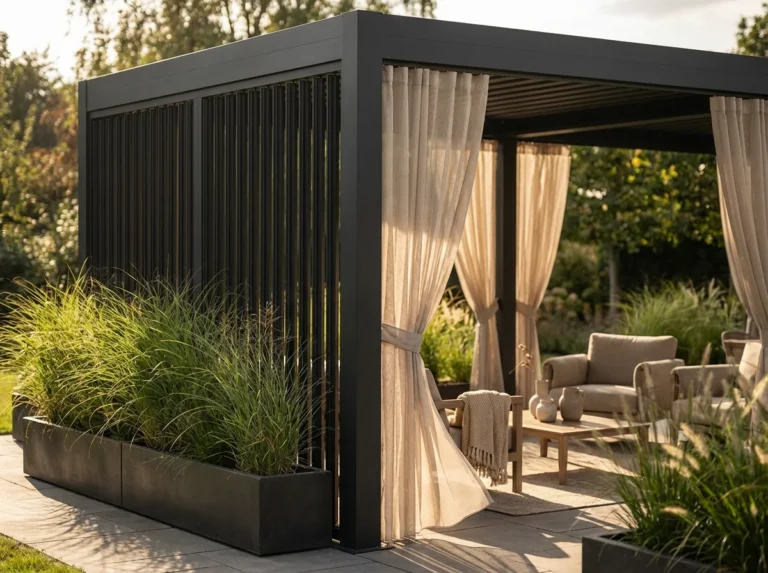
- Privacy: Lattice screen with climbing vines or a freestanding slat wall. Instant cozy.
Weekend Upgrades with Big Impact
- Lay a contrasting border after the fact by swapping the outer row.
- Add a 12-inch gravel strip for planters or herb pots.
- Install two low-voltage path lights and call yourself an ambiance expert.
Maintenance That Keeps It Looking Fresh (Without Babysitting)
Keep it simple so you actually keep up with it. Sweep sand into joints each spring, rinse debris, and top off polymeric sand if joints open. Pull weeds early and they won’t stage a coup.
Seal concrete pavers every 3–5 years if you want stain resistance. Skip sealing if you like a natural matte finish. Replace any settled paver by lifting it, topping the sand, and resetting. Ten minutes now beats three hours later.
FAQ
How much slope do I need so water drains correctly?
Aim for about 1/4 inch per foot away from your house or structures. You set that slope in the compacted base, not in the pavers or the sand layer. Use a long level and shims to dial it in, then keep that slope consistent across the entire patio.
Do I really need a plate compactor?
Yes, if you want a patio that stays flat. Compact the base in thin lifts and compact again after you sweep in sand on top of the pavers. Borrow one, rent one, or bribe a friend with pizza. Your back and your patio will thank you.
Polymeric sand or regular sand—what’s the difference?
Polymeric sand hardens slightly when you mist it, which helps lock the joints and slow weeds and ants. Regular sand costs less, but it washes out faster and invites more maintenance. If your budget allows, go polymeric for fewer headaches.
Can I lay pavers over existing concrete?
You can, as long as the slab drains well and doesn’t crumble. Add an edge restraint, screed a thin setting bed, and maintain a low profile at doors. Watch your thresholds and step heights so you don’t create a trip hazard.
What’s the cheapest paver pattern for beginners?
Running bond wins for speed and low waste. You align rows, stagger joints, and make minimal cuts. Add a bold border and it reads “intentional” rather than “first-timer.”
How do I prevent weeds between pavers?
Start with a compacted base and tight joints. Use polymeric sand and keep organic debris off the patio. If weeds show up, treat them early with boiling water or a targeted herbicide and re-sweep sand where needed.
Conclusion
You don’t need a luxury budget to build a patio you love. You just need a solid plan, a simple pattern, and smart sourcing. Blend bargain pavers, install a strong base, and finish with a clean border and good sand. Do that, and your backyard goes from “meh” to “meet me outside” in one weekend, IMO.