How to Start an Organic Vegetable Garden: Step-by-Step for Beginners
You want tomatoes that actually taste like tomatoes? You can grow them. You want crisp cucumbers, sweet carrots, and kale that doesn’t judge your smoothie habit? You can grow those too. Starting an organic vegetable garden takes a bit of planning, a dash of patience, and some dirt under your nails. But once you harvest your first salad, you’ll wonder why you didn’t start sooner.
Pick Your Spot and Make a Game Plan
You set yourself up for success when you pick the right location. Vegetables love sunlight, so aim for 6–8 hours of direct sun daily. Keep the garden near your water source and close to your kitchen. You’ll actually maintain it, and you’ll stroll out for herbs while pasta boils.
Start small. A 4×8 raised bed or two large containers can produce a shocking amount of food. Avoid tree roots and low spots that collect water. Good drainage matters more than a fancy tool collection.
Sunlight Check (The Low-Tech Way)
– Watch your yard for a day and mark sunny spots in the morning, midday, and late afternoon.
– Avoid big shadows from fences and trees.
– South-facing areas usually win, but surprisingly bright corners can surprise you.
Choose Your Bed Style
– In-ground beds: Great if you have decent native soil and want a low-cost start.
– Raised beds: Warm up faster, drain well, and look tidy. You control the soil mix.
– Containers: Perfect for patios and balconies. Use at least 5–10 gallon pots for most veggies.
Build Living, Healthy Soil
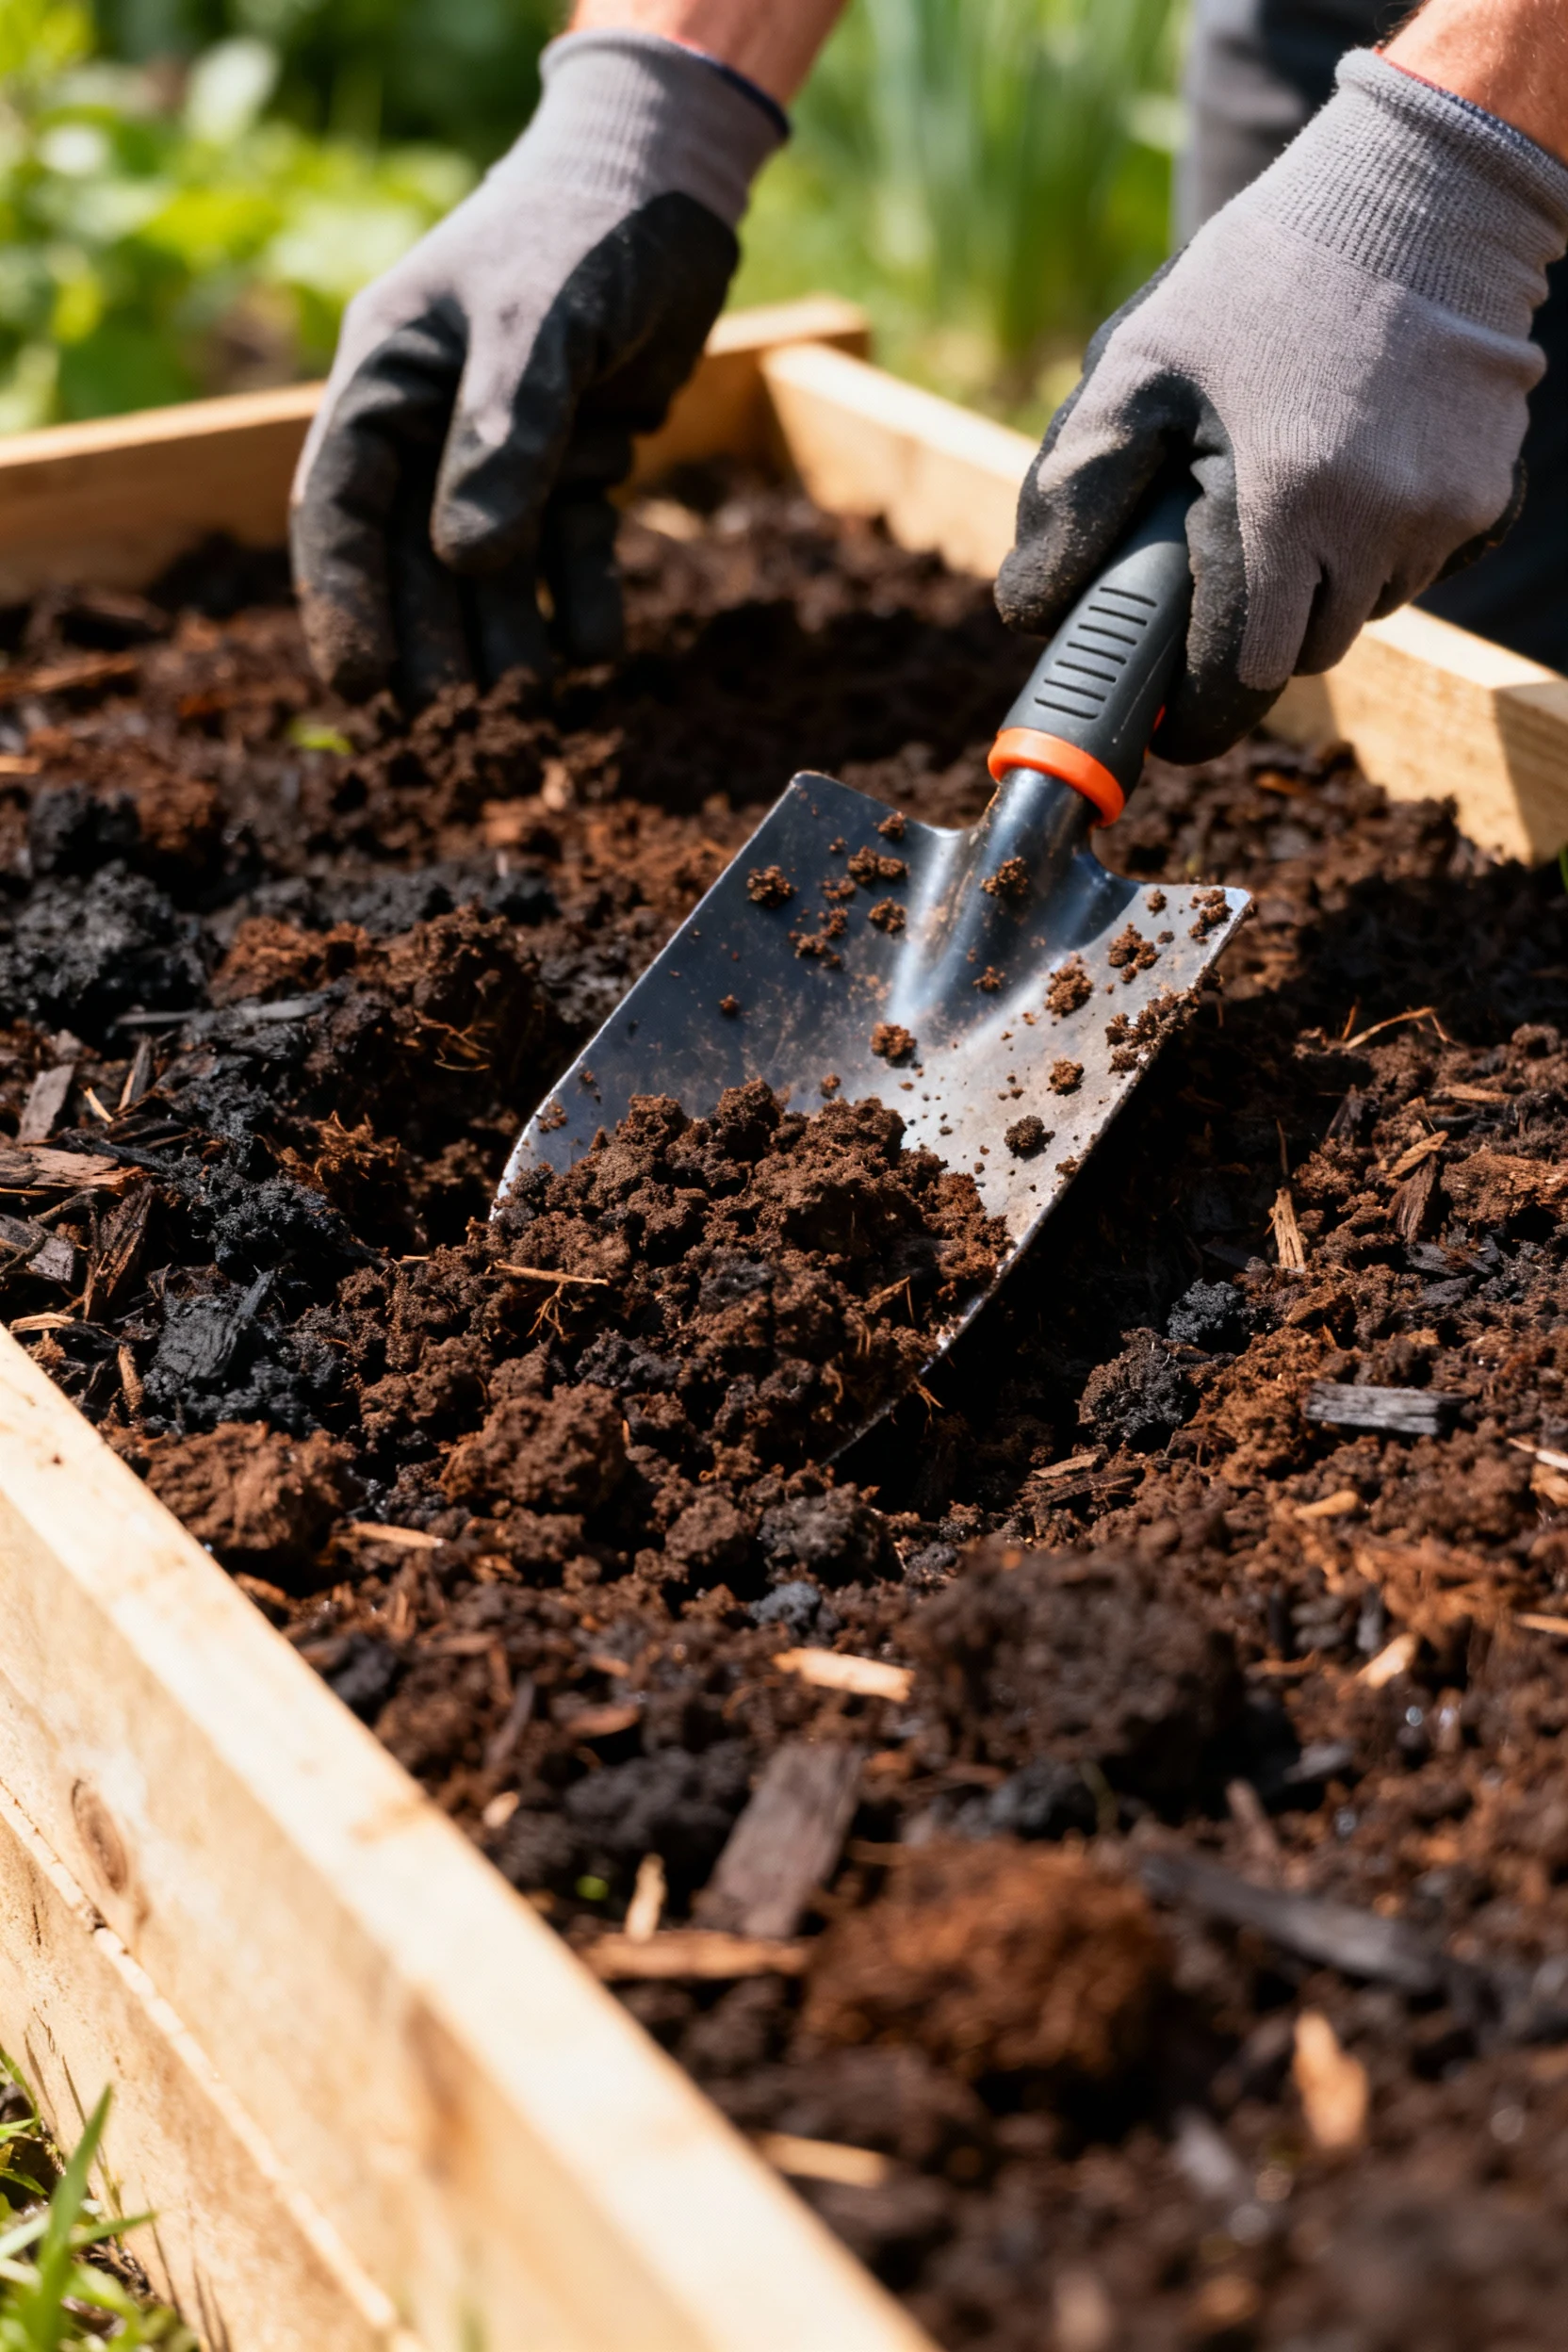
Healthy soil grows healthy plants. You skip chemical fertilizers here, so you need soil that feeds the garden naturally. Think of soil as an ecosystem, not just “dirt.” More life in the soil equals more flavor on your plate.
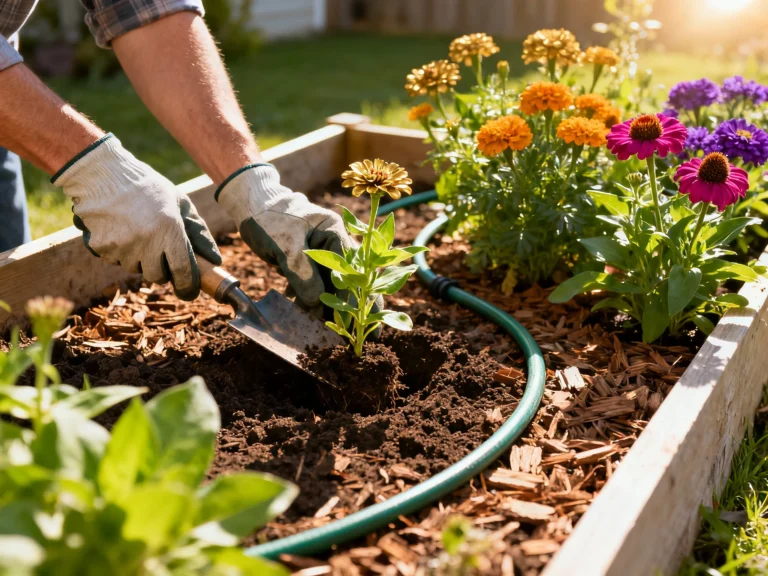
Add 2–3 inches of finished compost to your beds and mix it into the top 6–8 inches. Compost boosts nutrients, improves texture, and helps roots breathe. You can buy quality compost or start your own pile and turn kitchen scraps into garden gold.
Quick Soil Test = Fewer Headaches
Grab a basic soil test kit or send a sample to your local extension office. You want a pH between 6.0 and 7.0 for most veggies. Add lime if soil tests acidic or sulfur if it tests alkaline. FYI: Guesswork here usually leads to sad tomatoes and a lot of Googling later.
Compost 101
– Mix “greens” (kitchen scraps, coffee grounds, fresh grass) with “browns” (leaves, straw, cardboard).
– Keep it moist like a wrung-out sponge and turn it every week or two.
– Let it break down until it looks dark and crumbly and smells earthy, not funky.
Raised Bed Mix (Reliable and Simple)
– 40% compost
– 40% high-quality topsoil
– 20% aeration material (coarse sand, perlite, or pine bark fines)
Blend well. Top-dress with fresh compost every season.
Choose Beginner-Friendly Veggies
Start with crops that forgive rookie mistakes. You’ll build confidence while you learn the rhythm of your climate and soil. Mix quick wins with a few showstoppers for motivation.
Easy Wins (Start Here)
– Leafy greens: Lettuce, spinach, kale, Swiss chard
– Roots: Radishes (crazy fast), carrots, beets
– Fruit crops: Cherry tomatoes, bush beans, cucumbers, zucchini, sugar snap peas
– Herbs: Basil, parsley, dill, chives, cilantro
Pick plants that match your season:
– Cool-season (spring/fall): Lettuce, spinach, peas, radishes, broccoli
– Warm-season (late spring/summer): Tomatoes, peppers, cucumbers, beans, squash
Seeds vs. Transplants
– Direct-sow seeds for peas, beans, radishes, carrots, and arugula. They hate root disturbance and sprout easily.
– Buy transplants (starter plants) for tomatoes, peppers, eggplant, and sometimes broccoli. You’ll save weeks and dodge seedling drama.
– Choose disease-resistant varieties when you can. Labels like VFN on tomatoes signal resistance to common problems.
Plant at the Right Time and Give Everything Space
Timing matters. You want warm crops in warm weather and cool crops when the chill still lingers. Space plants generously so air flows and leaves stay dry. Cramped gardens grow pests and mildew faster than you can say “tomato jungle.”
Frost Dates and Your Zone
– Look up your USDA Hardiness Zone and your average last frost date.
– Plant cool-season crops a few weeks before last frost.
– Set out warm-season crops after all danger of frost. If nights drop below 50°F, cover tender plants or wait a week.
Spacing Cheat Codes
Use the seed packet as your guide, or try these ballpark numbers:
– Lettuce: 8–10 inches apart
– Tomatoes: 24–36 inches apart, one plant per cage
– Cucumbers: 12 inches apart on a trellis, or 3 feet apart if they sprawl
– Bush beans: 3–4 inches apart
– Carrots: Thin to 2 inches apart (yes, it feels ruthless; do it anyway)
The Simple Planting Process
1. Rake your bed smooth and remove rocks and big roots.
2. Mark rows or grids with twine or a stick.
3. Plant seeds at 2–3 times their width deep. Plant transplants at the same depth they grew in their pots.
4. Water gently right after planting.
5. Label everything. You’ll forget. Everyone forgets.
Water, Mulch, and Feed: The Big Three
Plants want consistent moisture, a comfy blanket for their roots, and steady nutrients. You can deliver all three without synthetic fertilizers or complicated gadgets. Keep it simple, and keep it regular.
Watering That Works
– Aim for 1 inch of water per week, including rain.
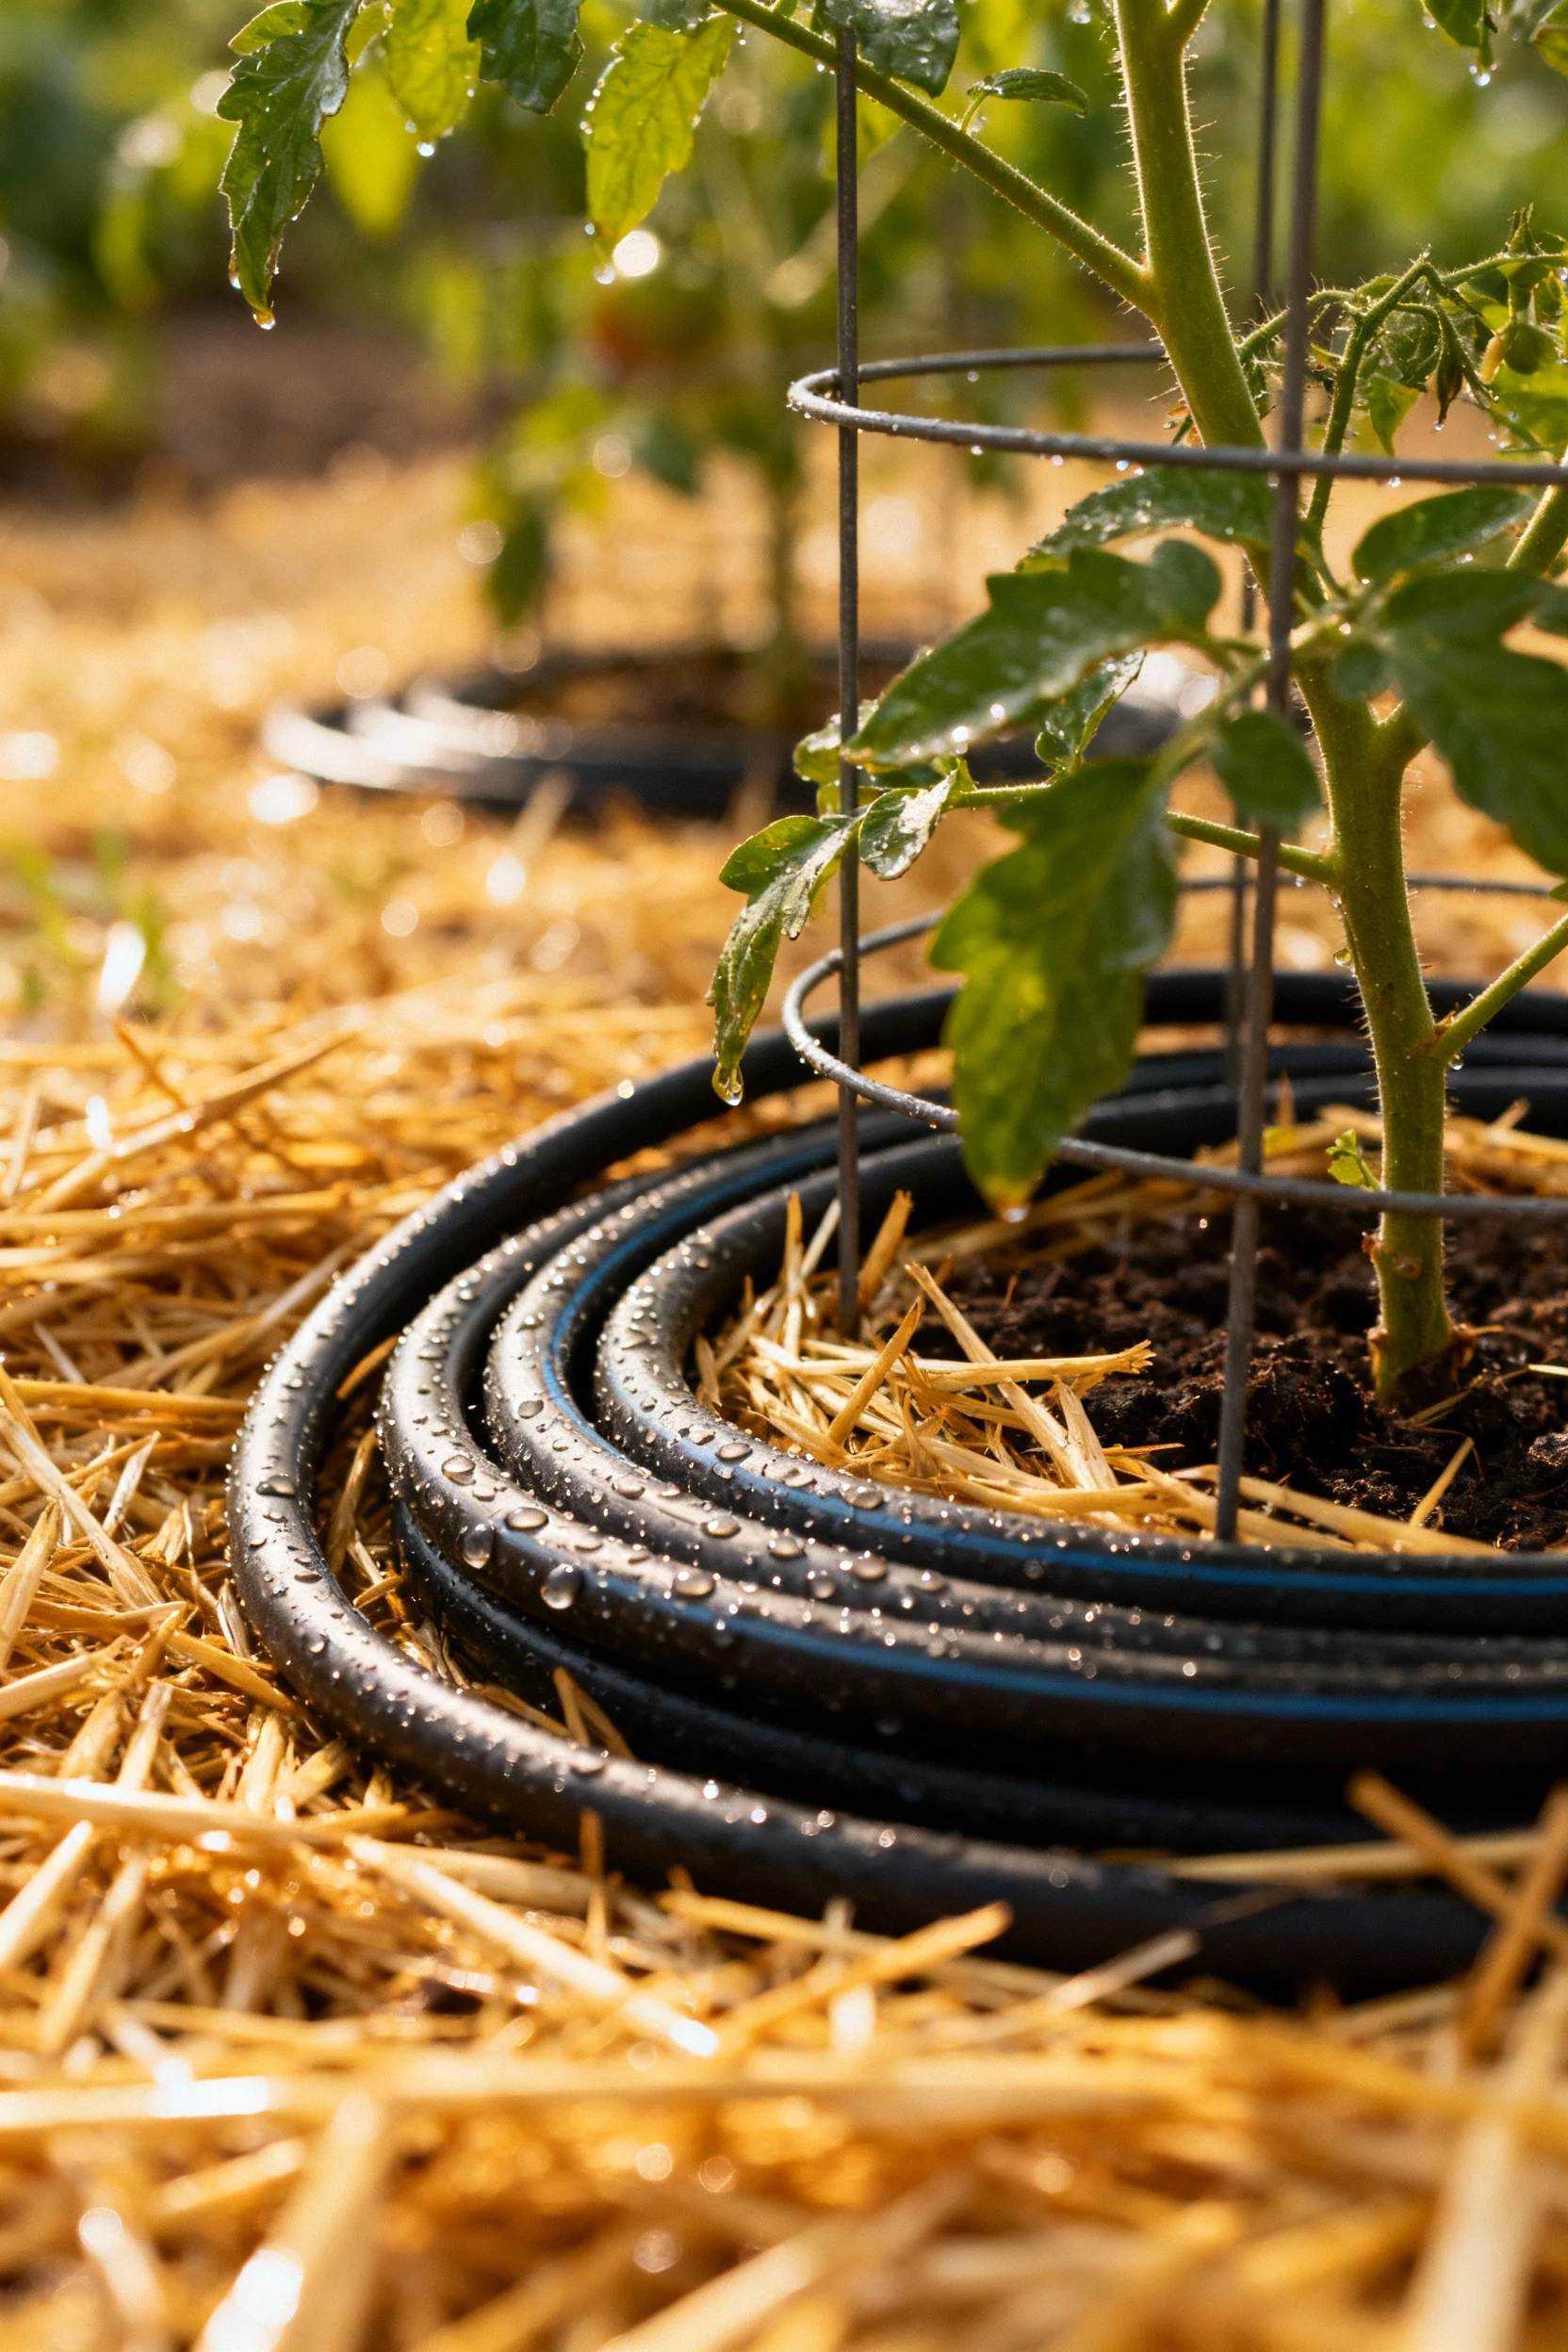
– Use a soaker hose or drip line to water at the base. Leaves stay dry and diseases take a hike.
– Water deeply and less often so roots grow down, not sideways. Morning watering beats evening watering.
Mulch = Weed Control + Moisture Savings
Spread 2–3 inches of organic mulch (straw, shredded leaves, or untreated grass clippings) around your plants. Mulch keeps soil cool, holds water, and blocks weeds. Keep mulch an inch away from stems so you don’t invite rot.
Organic Feeding, Simplified
– Work compost into beds before planting.
– Side-dress heavy feeders (tomatoes, squash) with a scoop of compost every 3–4 weeks.
– Use gentle organic fertilizers like fish emulsion or kelp extract every 2–4 weeks during peak growth.
– IMO: Skip random “miracle” hacks (like dumping Epsom salts everywhere). Only add minerals that your soil test says you need.
Prevent Pests and Diseases the Organic Way
You can garden organically and still protect your crops. Focus on prevention first. Healthy plants resist problems better than stressed plants. When issues pop up, you have plenty of gentle tools.
Prevent Problems Before They Start
– Rotate crops each season. Don’t plant tomatoes where tomatoes grew last year.
– Space plants for airflow, and water at the soil, not the leaves.
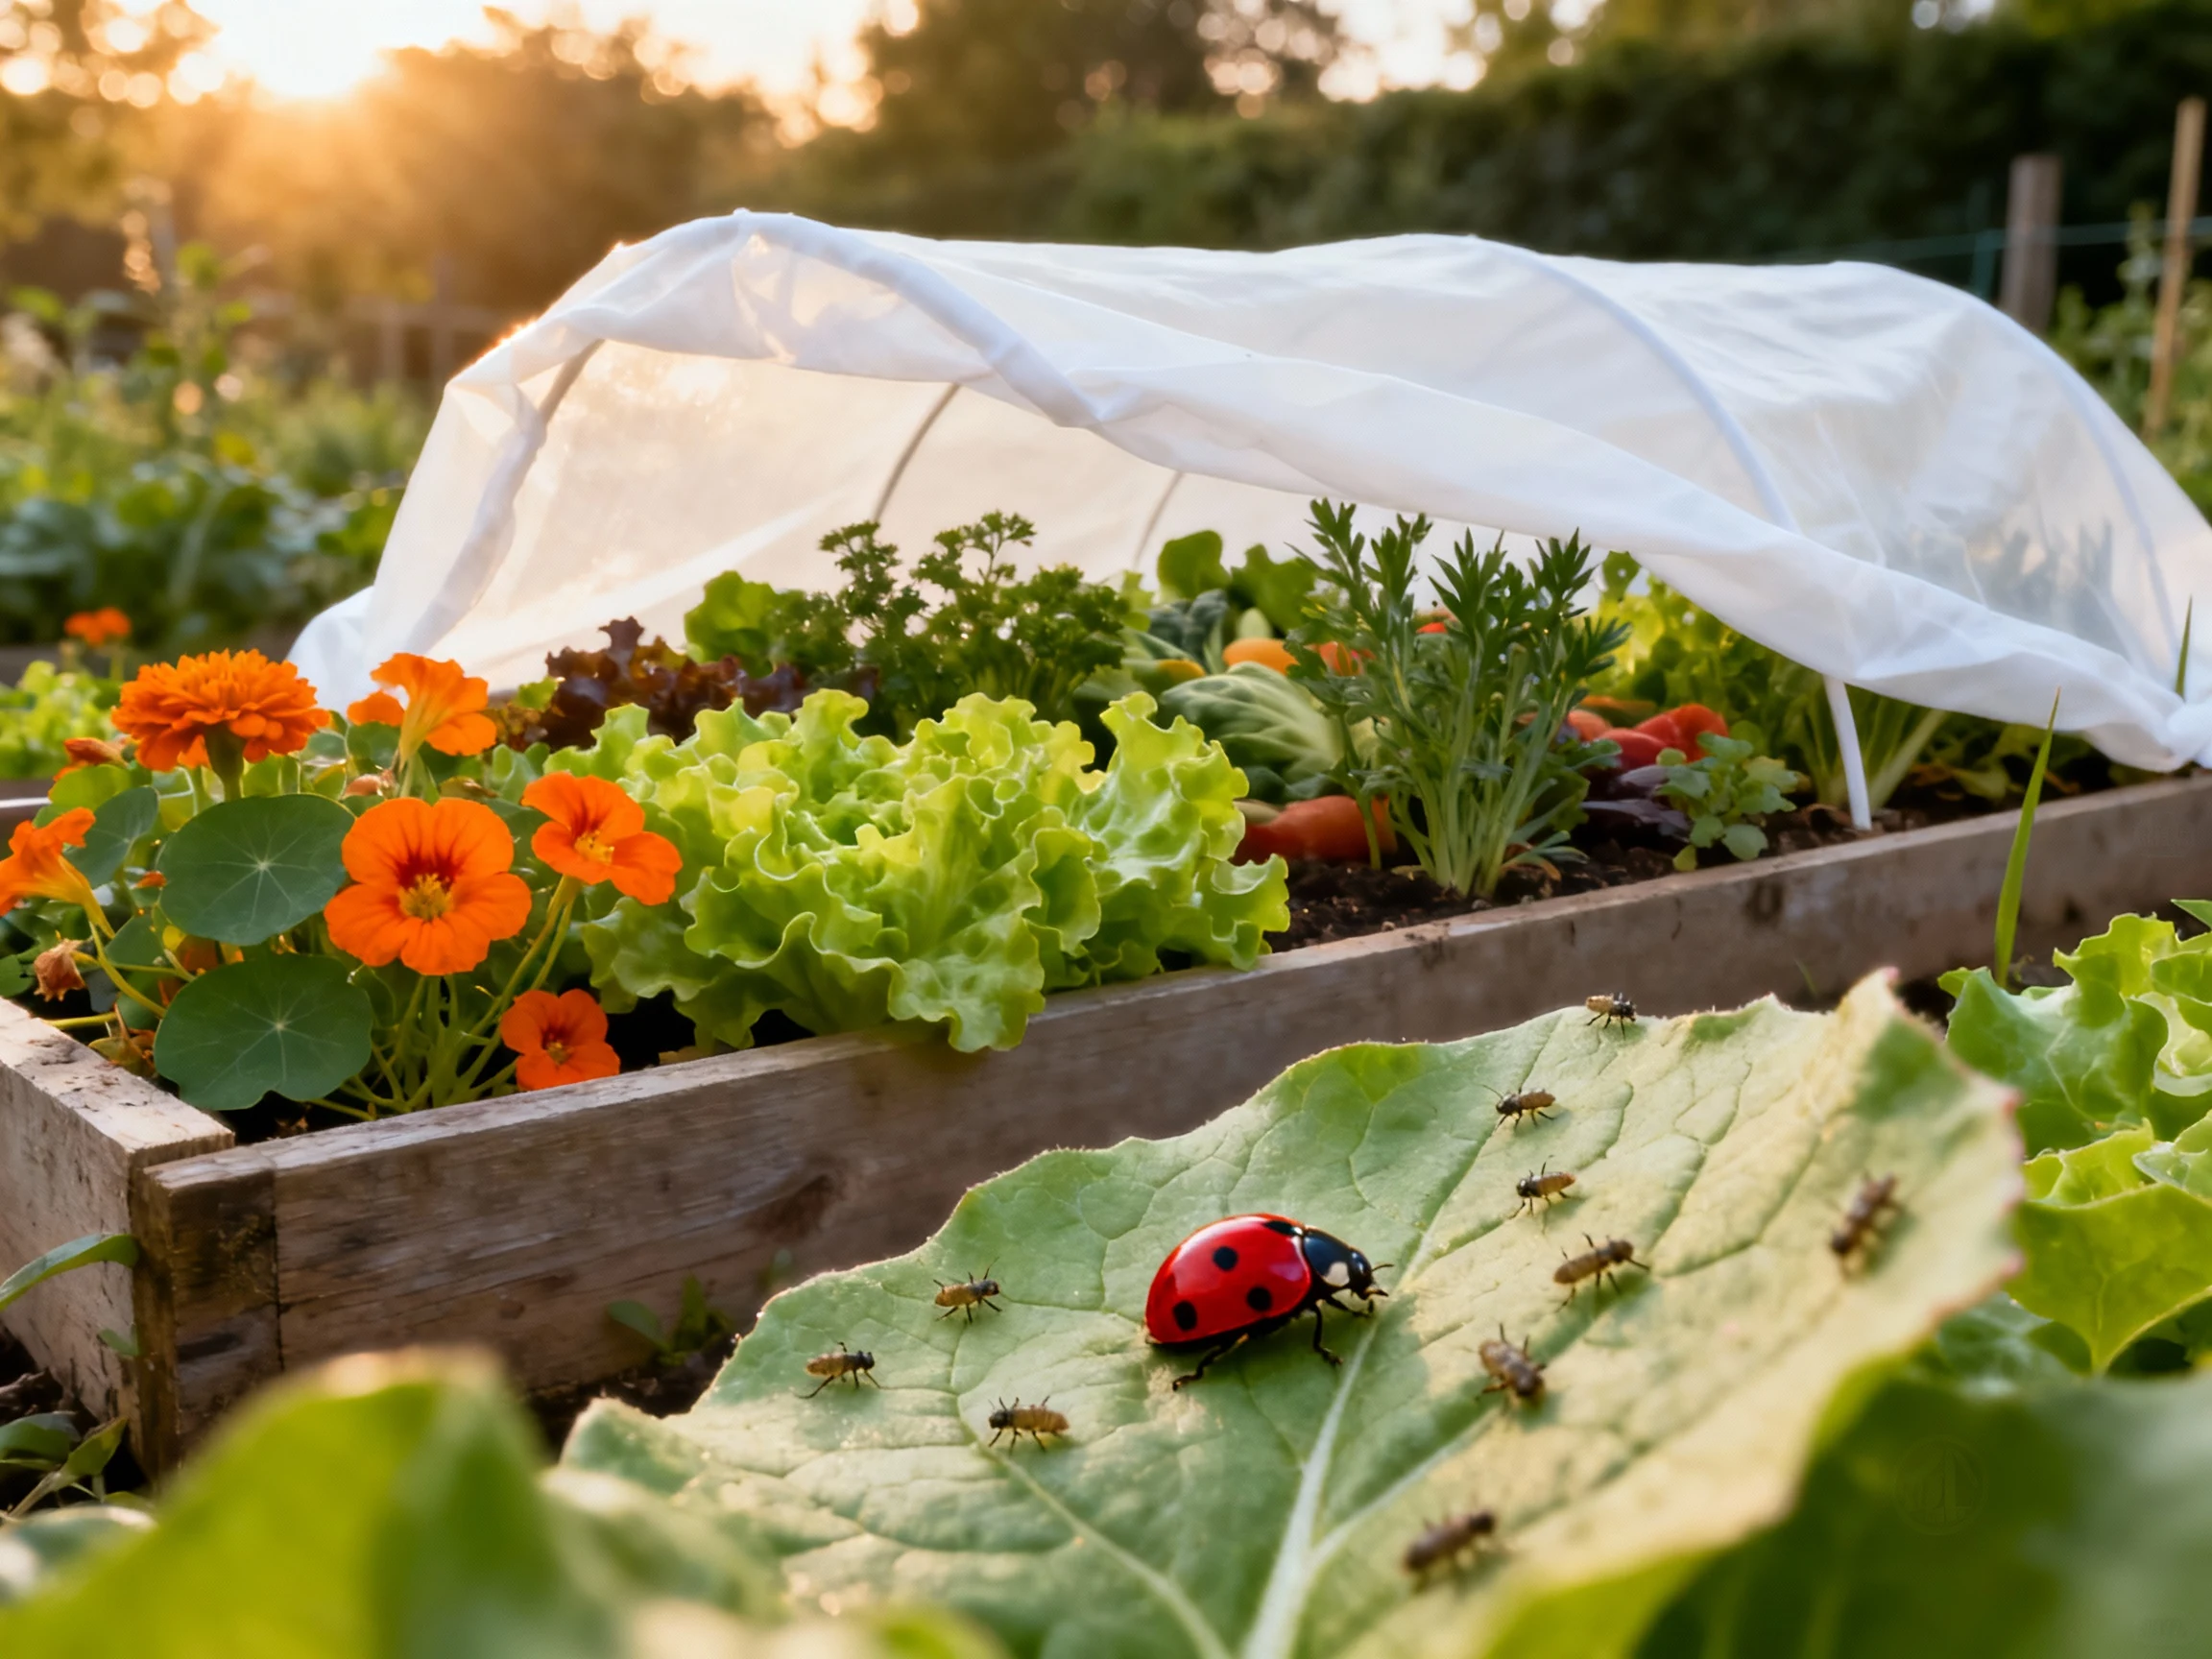
– Attract beneficial insects with flowers: alyssum, calendula, cosmos, dill, and yarrow.
– Keep the garden tidy. Remove dead leaves and spent plants quickly.
Defend with Smart Tactics
– Hand-pick pests like hornworms and squash bugs. Weirdly satisfying.
– Use floating row covers to block cabbage moths and cucumber beetles.
– Set beer traps or sprinkle iron phosphate bait for slugs and snails. Pets and wildlife won’t suffer with iron phosphate.
– Dust with diatomaceous earth for crawling insects, but use it sparingly.
Last Resorts (Still Organic)
– Insecticidal soap for aphids and mites
– BT (Bacillus thuringiensis) for caterpillars
– Neem oil for chewing and sucking pests
Use these at dusk to protect pollinators, and always follow labels. If you see bees on flowers, avoid spraying the flowers entirely.
Weed Less, Harvest More: Your Weekly Routine
Consistency makes this fun and manageable. Little tasks done often beat one exhausting weekend battle. The plants don’t nag, but they definitely notice.
Your Weekly Checklist
– Weed for 10–15 minutes. Mulch any bare spots.
– Check leaves (top and bottom) for pests or eggs.
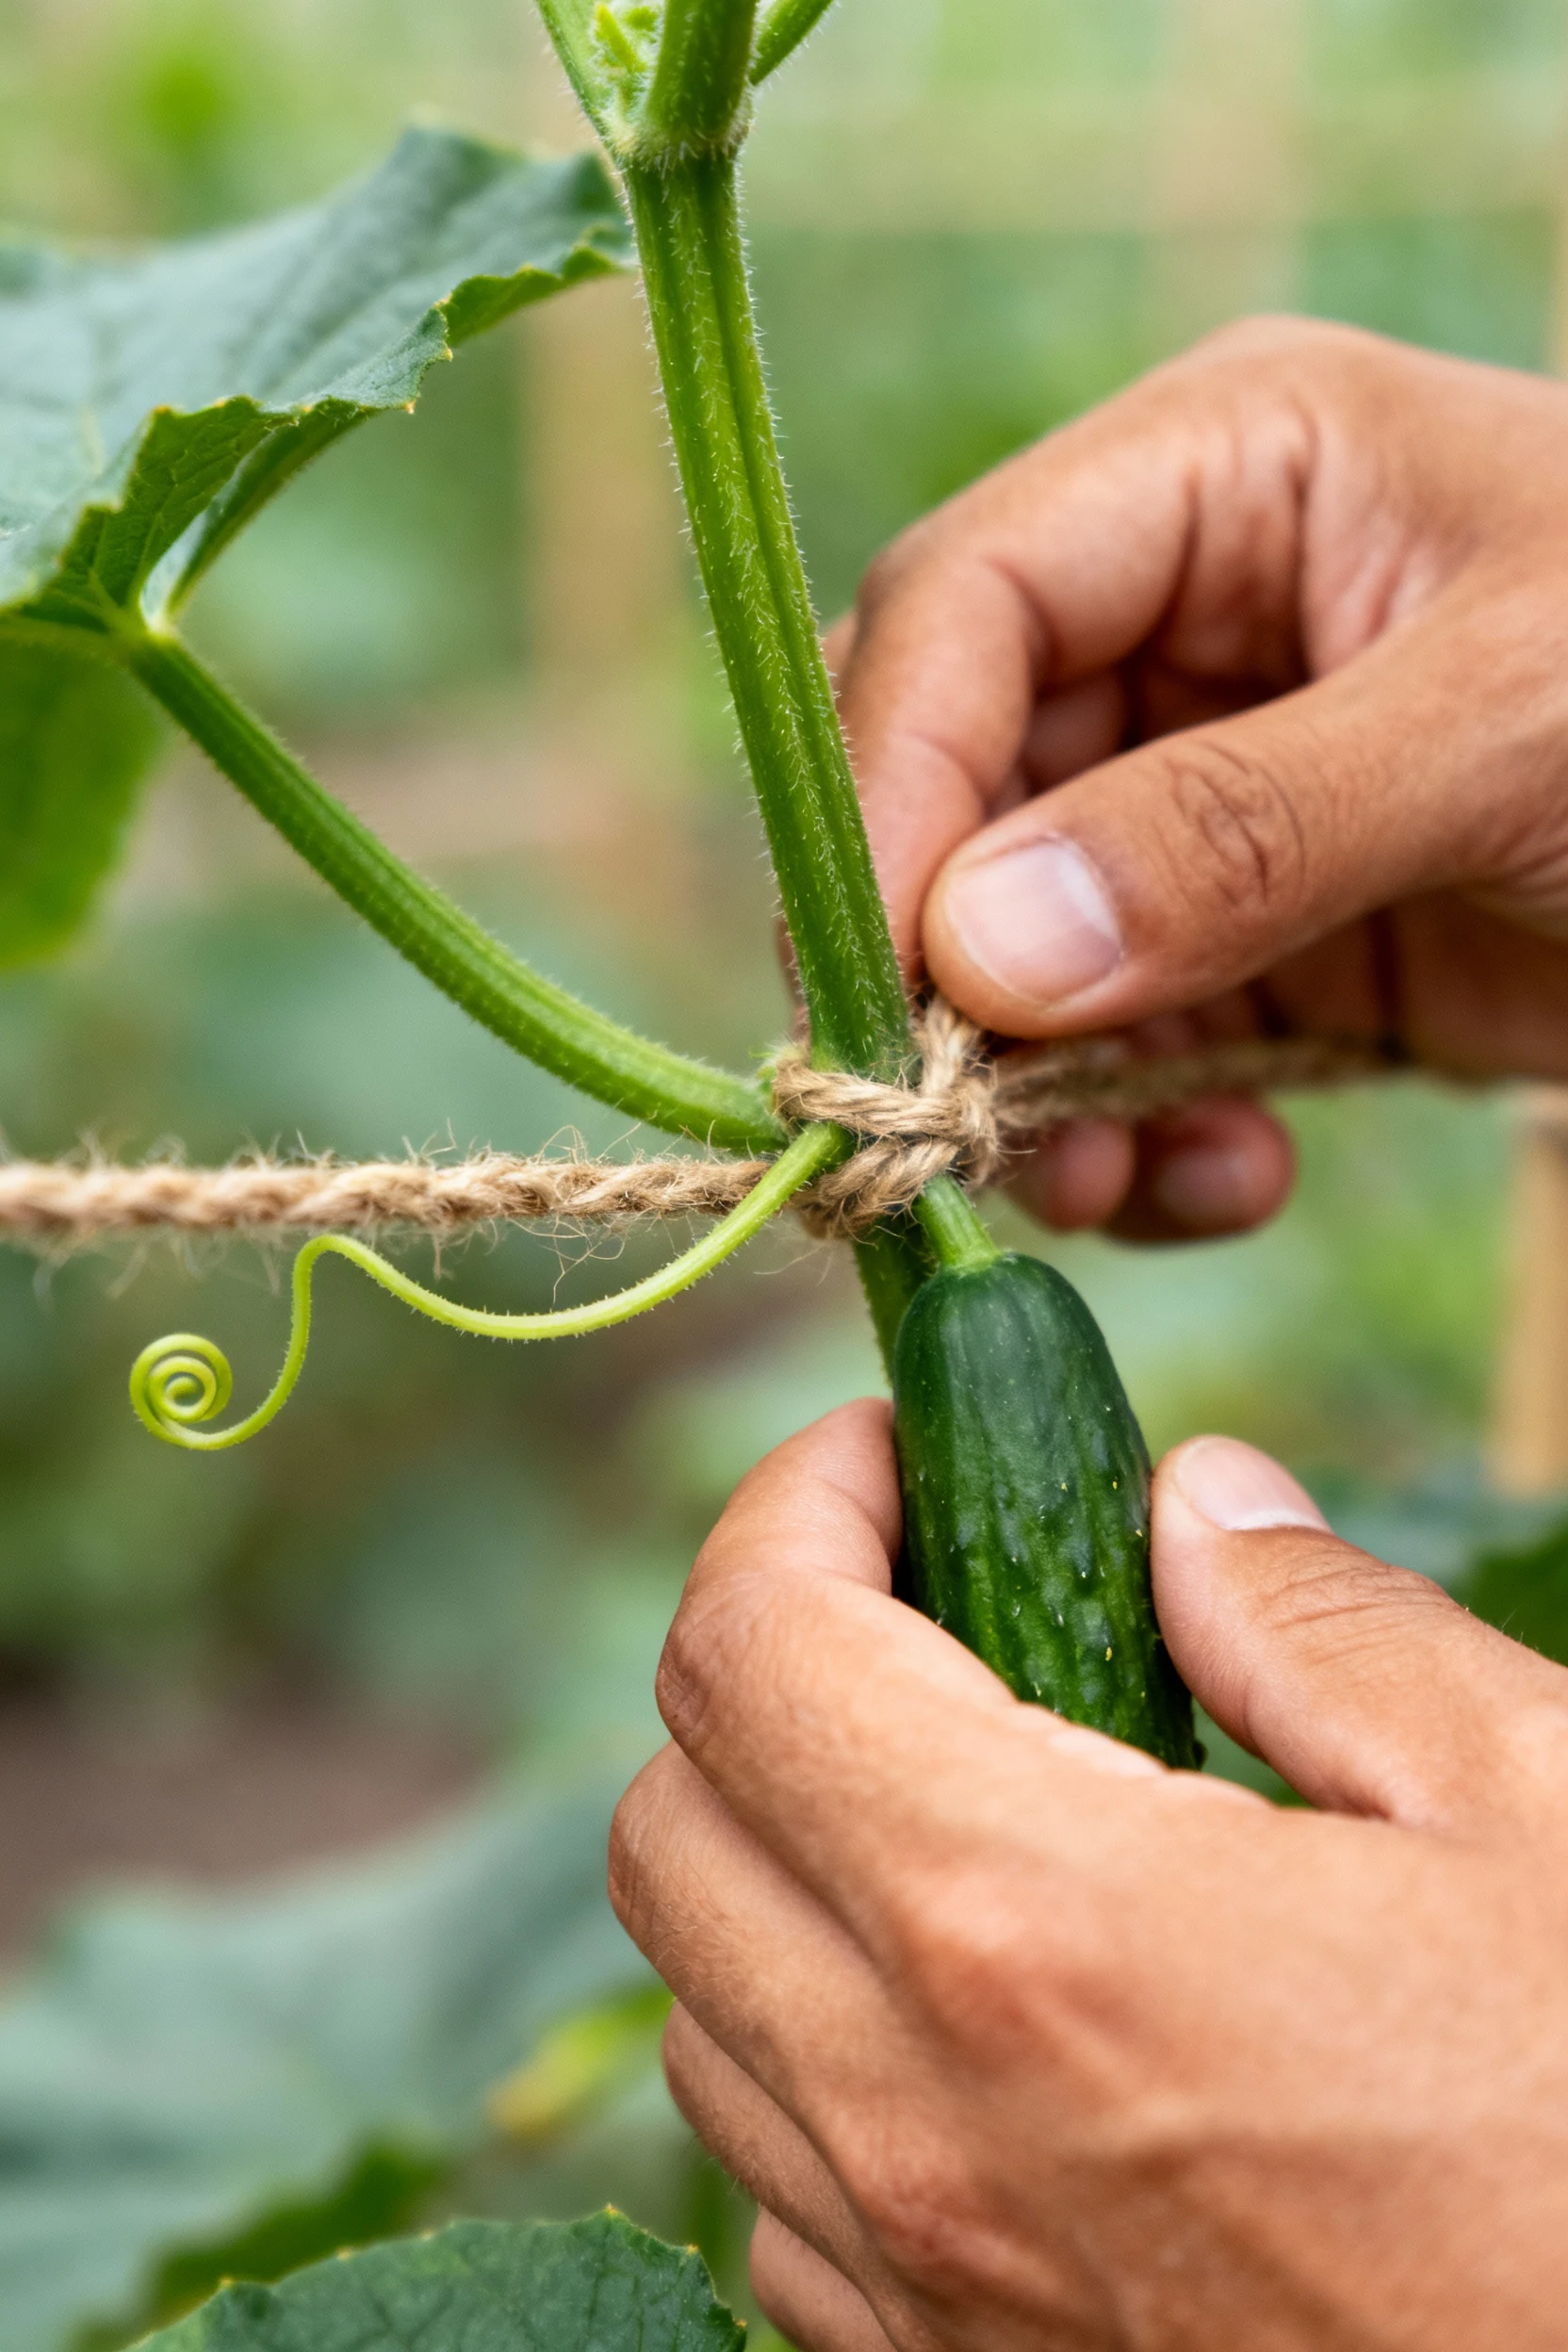
– Tie up tomatoes and cucumbers as they grow.
– Snip herbs to encourage bushier growth.
– Top up water on your compost pile.
– Record quick notes: what you planted, what thrived, what failed gloriously.
Harvest Like You Mean It
– Pick cucumbers when they feel firm and reach 6–8 inches. Bigger usually means bitter.
– Harvest zucchini at 6–8 inches for the best texture (before they turn into bats).
– Snap beans when they feel crisp and flexible.
– Cut lettuce leaves outside-in for “cut and come again” harvests.
– Pick tomatoes when they turn their full color and give slightly to a gentle squeeze.
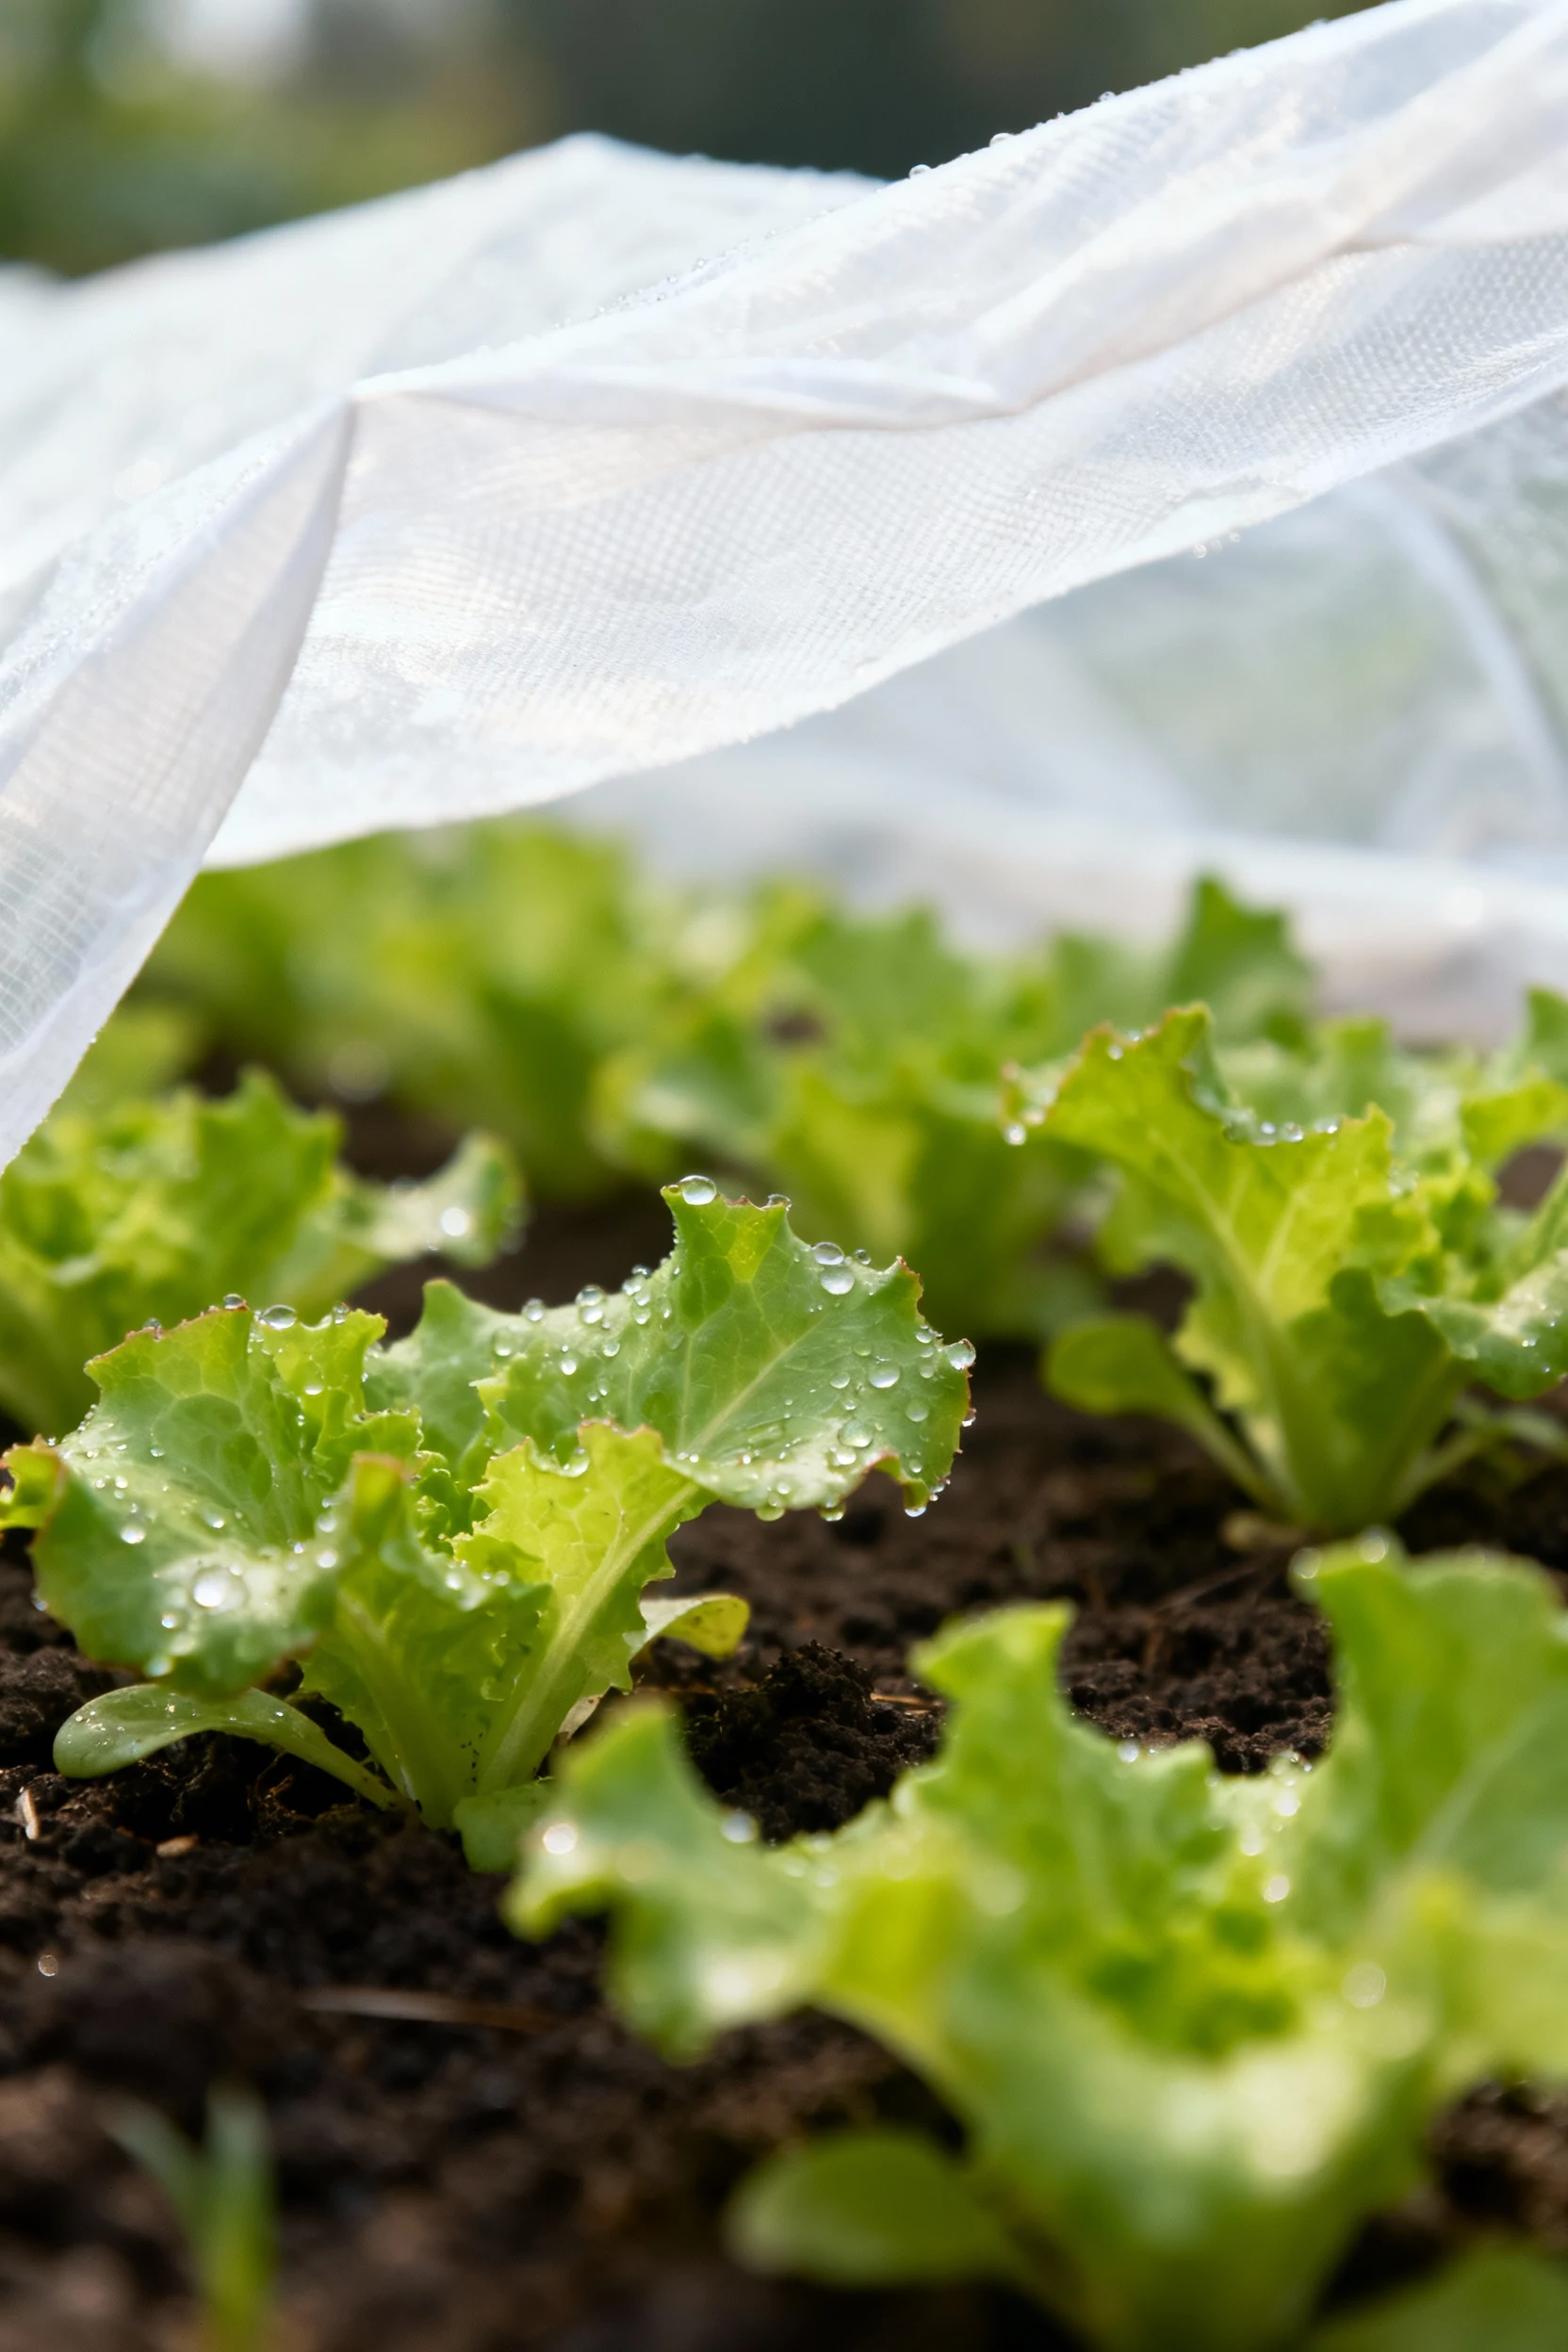
Extend the Season
– Use row covers to protect from light frost in fall and early spring.
– Add cold frames or a clear storage bin over a bed for a simple heat boost.
– In summer, use shade cloth during extreme heat to prevent bolting and bitter greens.
Tools and Supplies You Actually Need
You don’t need a tractor. You need a few sturdy basics and the willpower to ignore marketing emails about titanium weeders.
– Hand trowel and a garden fork
– Bypass pruners
– A hoe (a stirrup/scuffle hoe makes weeding almost fun)
– Watering wand or hose with a gentle spray head
– Stakes, twine, and a couple tomato cages
– Soil test kit
– A tarp or bucket for weeds and debris
– Gloves that you’ll actually wear
Buy quality so tools last. Your future self will thank you when you slice through soil instead of wrestling with it.
Sample Planting Plan for a 4×8 Bed
Want a simple layout that just works? Try this mix for a classic summer bed.
– Back row (trellis): 4–6 cucumber plants or pole beans
– Middle rows: 3 tomato plants, each in a cage, with basil tucked between
– Front rows: Lettuce, scallions, and a patch of carrots
– Corners: Marigolds or calendula to attract beneficial insects
Keep pathways clear so you can reach everything without stepping on your soil. Step on paths, not beds. Your soil structure stays fluffy and root-friendly.
FAQ
How much time will this take each week?
Plan for 2–4 hours per week for a small bed, spread across a couple short sessions. You’ll water, weed, check for pests, and harvest. During peak summer, you might spend a bit more time, but you’ll snack as you work. That counts as self-care, right?
Can I grow organically in containers?
Yes, totally. Use high-quality organic potting mix, not garden soil. Choose large containers (5–10 gallons or more), water consistently, and feed lightly every 2–3 weeks with a liquid organic fertilizer. Mulch containers as well; it keeps moisture in and roots cool.
Do I need compost if I already have good soil?
Short answer: yes. Compost feeds soil life and maintains structure, even in decent soil. Add 1–2 inches each season to keep nutrients flowing and microbes happy. Your plants will show the difference with stronger growth and better flavor.
What do I do if pests keep coming back?
Identify the pest first. Then tighten up your prevention game: rotate crops, add row covers at the right time, and bring in beneficials with flowers and habitat. If you still struggle, switch varieties or planting dates. Sometimes you outsmart pests by planting earlier or later than their usual cycle.
Is organic gardening more expensive?
Not if you start smart. You invest in soil and compost up front, but you skip pricey chemicals. Save seeds, make compost, and buy tools once. Over time, an organic garden usually costs less and tastes way better.
When should I start seeds indoors?
Start warm-season crops like tomatoes and peppers 6–8 weeks before your last frost date. Use a bright window or, ideally, a grow light. Harden seedlings off for a week outdoors before planting so they handle real sunshine and wind like champs.
Conclusion
You can grow an organic vegetable garden without a degree in botany or a shed full of gizmos. Pick a sunny spot, build living soil, plant beginner-friendly crops, and stick to a simple weekly routine. You’ll eat fresher food, spend more time outside, and learn fast. Start small, learn as you go, and enjoy the wins—messy, delicious, and totally worth it.